-
Notifications
You must be signed in to change notification settings - Fork 72
Release testing instructions for WC Payments 3.7.0
EPS gateway should be available in UPE to be enabled for stores in the list below, gateway fees are displayed and calculated correctly on checkout.
- United States: 1.8% + $0.30 with 1.5% international fee and 1% for currency conversion
- Canada: 1.8% + C$0.30 with 1.5% international fee and 2% for currency conversion
- UK: 1.6% + 20p
- Australia: 1.8% + A$0.30 with 1.5% international fee and 2% for currency conversion
- New Zealand: 1.8% + NZ$0.30 with 1.5% international fee and 2% for currency conversion
- European countries (Ireland, France, Italy, Spain, Portugal, Germany, Austria, Netherlands, Belgium): 1.8% + €0.25
- Poland: 1.8% + 1.00zl
- Switzerland: 2.9% + CHF0.30
- Singapore: 1.8% + S$0.50 with 1.5% international fee and 2% for currency conversion
- Hong Kong: 1.8% +HK$2.35 with 1.5% international fee and 2% for currency conversion
- Under dev tools the boxes for Enable grouped settings, Enable UPE checkout, and Add UPE additional payment methods need to be checked.
- If EUR is your default currency, navigate to WooCommerce > Settings > General and change the currency to USD.
- If EUR is an enabled currency in your store, navigate to WooCommerce > Settings > Multi-Currency and remove EUR as a currency.
- Navigate to Payments > Settings.
- Find Payments accepted on checkout, verify EPS is in the list, along with its icon.
- Select EPS and click Save changes, verify that changes were saved.
- Navigate to WooCommerce > Settings > Multi-Currency and verify EUR is now an enabled currency in your store.
- On the frontend, add an item to your cart, and go to checkout.
- Verify your currency is not EUR, payment method should show as Credit card / debit card and when selecting Use a new payment method, EPS should not appear.
- Switch your currency to EUR, payment method should show as Popular payment methods and when selecting Use a new payment method, EPS should appear.
- Select EPS.
- Complete checkout/place order.
- You will be taken to a Stripe test confirmation page, choose Authorize test payment.
- Once order is received, navigate to WooCommerce > Orders in the admin.
- Find your order and select it.
- Click Refund, and then increase a line item in your order to 1.
- Click Refund via WooCommerce Payments, verify your refund completed.
- Navigate to Payments > Transactions, you should see your Payment and Payment refund listed for your order, verify both have the Bancontact logo.
- Click on the Payment, then verify the Payment method both at the top and bottom are correctly formatting (they will have default test info).
- Do the same for the Payment refund.
- Navigate to Payments > Settings, then click the trash can icon to delete EPS. Verify the name and the logo in the modal are correct, then click Remove, scroll to the bottom and Save changes.
- Verify EPS is no longer in enabled the list of Payment methods.
BECS Direct Debit gateway should be available to be enabled for stores in Australia, gateway fees are displayed and calculated correctly on checkout.
Fee structure: 1% + A$0.30 capped at A$3.50
- Setup a new JN site with WooCommerce, WooCommerce Payments & WooCommerce Payments Dev Tools.
- Configure WCPay Dev according to this screenshot.
- On-board WooCommerce Payments choosing
Australiaas country. - Go to
WP-ADMIN -> Payments -> Settings -> Payments accepted on checkout -> Add payment methodand confirm thatBECS Direct Debitis displayed, along with its icon, and the fees match. Screenshot - Enable
BECS Direct Debit, and clickSave changes. - On the store, add an item to your cart, and go to checkout.
- Verify your currency is not
AUD, BECS should not appear under Popular payment methods. - Switch your currency to
AUD, BECS should be available under Popular payment methods. Screenshot - Make 3 purchases using the following accounts numbers and 000000 as BSB.
-
000123456- Order notes screenshot -
111111113- Order notes screenshot -
922222227(have a 3 minutes delay) - Order notes screenshot
- Use the 1st account number again to do a purchase over $500 to test capped fees.
- Go to
WP-ADMIN -> WooCommerce -> Orders. - Open the first order (with account number 000123456).
- Click
Refund, and then increase the line item in your order to 1. - Click
Refund via WooCommerce Payments, verify your refund is completed. - Confirm that the orders notes match the ones on the screenshots above in
9. Order notes screenshot. - Go to
WP-ADMIN -> Payments -> Transactions, you should see yourPaymentandPayment refundlisted for your order, verify both have the Direct Debit logo. Screenshot - Click on the Payment, then verify the Payment method both at the top and bottom are correctly formatted. Screenshot
- Go to
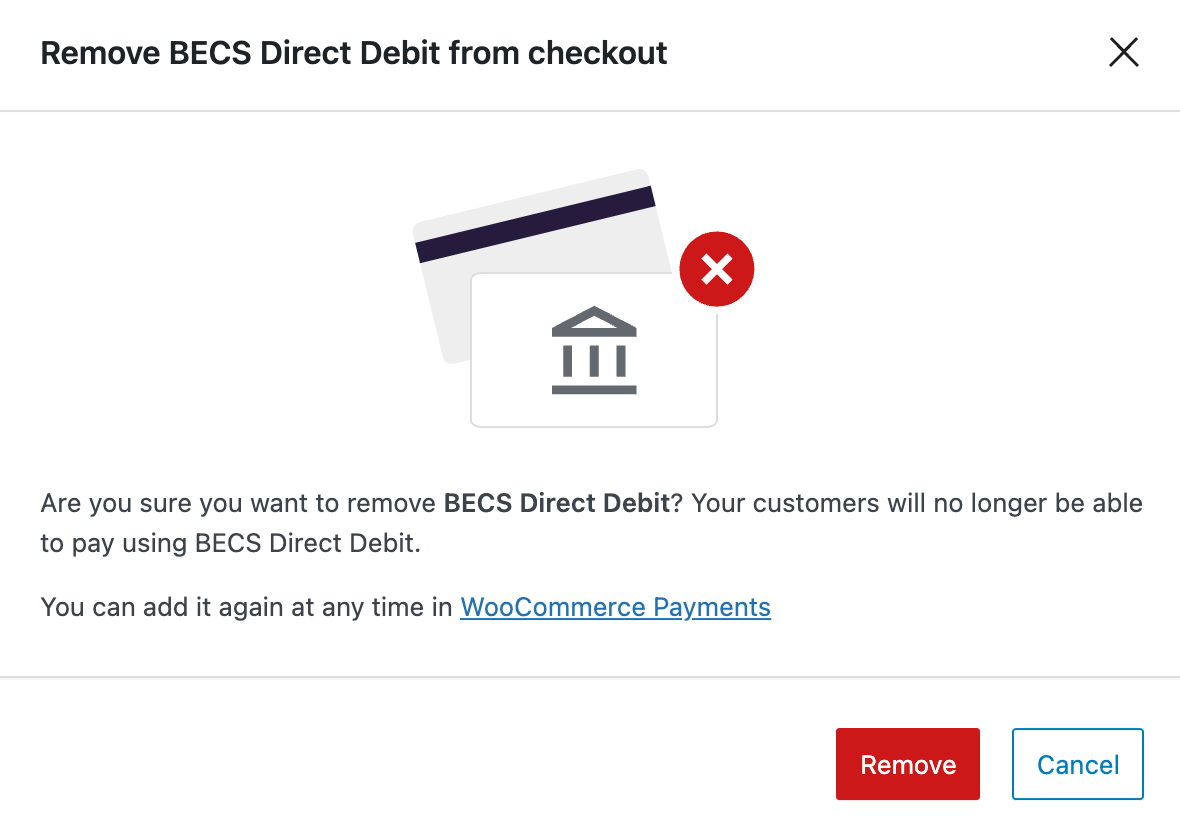
WP-ADMIN -> Payments -> Settings, then uncheckBECS Direct Debit. - Verify that the name and the logo in the modal are correct (screenshot), then click
RemoveandSave changes. - Verify BECS Direct Debit is no longer in enabled the list of Payment methods.
The data in the Disputes list can be filtered by applying filters from the Advanced filters drop-down.
Prerequisites
You need some disputes data to be shown in the table. To do so you can create a number of orders in test mode and pay for them using one of Stripes's testing cards i.e: 4000000000000259
Advanced filters:
- Visit Payments -> Disputes page.
- You should see a dropdown labeled as Show and then select Advanced filters from the drop-down.
- Make sure you have more than 30 disputes in the table to validate the pagination.
- Make sure you get the desired result with the Disputed on data filter.
- Make sure you get the desired result with the Status filter.
- Make sure you get the desired result with the Match filter in combination with Disputed on date and Status.
- Make sure table summary data (total count of rows for selected filters) and pagination of the table are working as expected.
- Make sure the disputes page is working as expected without applying advanced filters.
Note: For match filter
- selecting All - will fetch results with AND operator among applied filters.
- selecting Any - will fetch results with OR operator among applied filters.
Currency filter:
- Make sure you have disputes in different currencies. To do that, WooCommerce Admin > Settings > Multi-Currency > Add a new currency (like EUR)
- Add a multi-currency widget to your site so end-users can switch between currencies
- Make some purchases using the EUR currency and use a Dispute Stripe card for paying
- Visit Payments -> Disputes page.
- You should see a dropdown labeled as Dispute currency
- Make sure the currencies in the dropdown menu are the same currencies you have in your disputes (ie USD and EUR).
- Select one currency from the dropdown menu. Make sure the displayed disputes match the filter.
- Refresh the page. Make sure the currency filter is still selected and page is working.
- Make sure the currency filter works with other advanced filters.
The data in the Disputes list can be sorted in ascending / descending order by clicking on one of this columns: Disputed on, Amount, Respond by. By default, the list is sorted by Disputed on column, in descending order.
Prerequisites
You need some disputes data to be shown in the table. To do so you can create a number of orders in test mode and pay for them using one of Stripes's testing cards i.e: 4000000000000259
- Go to
WP-ADMIN -> Payments -> Disputes. - Check that the Disputes list is sorted by
Disputed oncolumn in descending order. - Click on any of sortable columns.
- Verify that the available data is sorted accordingly.
Dispute export CSV file has a column containing currency.
Prerequisites
You need some disputes data to be shown in the table. To do so you can create a number of orders in test mode and pay for them using one of Stripes's testing cards i.e: 4000000000000259
- Go to
WP-ADMIN -> Payments -> Disputes. - Click the "Download" button.
- Verify that the downloaded CSV file contains the currency field.
Safe Mode banner for IDC (Identity crisis) issue with the WooCommerce Payments customization should display for both admins and non-admins in the WP-Admin area.
As an admin, see the full banner:
- Download the zip file, install, and activate this plugin
Jetpack Debug Toolshttps://github.com/Automattic/jetpack-debug-helper . If there is any error related to the plugin header, goes to site.com/wp-admin/plugins and reactivate it. - In wp-admin, click the
Jetpack Debugmenu item. - Enable the Identity Crisis Simulation Utility.
- Navigate to wp-admin -> Jetpack Debug -> IDC Simulator
- Enable the IDC simulation (you can enter a spoof url if you’d like, or just use the default spoof url, which is `https://example.org”.
- Click “Send Remote Request” button in the IDC Simulator. OR visit some pages under Payments menu such as Overview, Transactions, Deposits, etc.
- Verify: The IDC/Safe Mode should be detected, and the UI should be displayed - screenshot
- Click the link in
Or decide later and stay in Safe mode, which is in the bottom of the banner. -
Verify: Orange button with text
WooCommerce Payments Safe Modedisplays in the admin bar - screenshot. - Click this orange button.
- Verify: See the banner again.
- Visit wp-admin -> Payments -> Overview.
- Verify: See a notice asking to take action for Safe Mode. - screenshot
- Click the link in this notice.
- Verify: the link destination is site.com/wp-admin/admin.php?page=wc-settings&tab=checkout§ion=woocommerce_payments, and the Safe Mode banner continues to display.
- Go to wp-admin > Plugins > Add New, install and activate "Jetpack".
- Verify: In wp-admin > Jetpack, it displays the banner with Jetpack logo and text. But other pages continue to display the banner with WooCommerce Payments info.
As an author, see another banner:
- Create a new user with the author role.
- Log into this account.
- Verify: See the Safe Mode banner with the content asking to contact admins - screenshot
As an admin, take action:
- Log in the site again as an admin.
- See the banner, and click either black buttons.
- Verify: see a successful banner or an error message. success - error. Note: seeing an error is OK as we're using the IDC simulator.
All flows should work as intended till the newly supported versions of WooCommerce(6.2.0-rc.1) and WordPress(5.9)
When UPE is enabled, new payment or setup intents are created on each load of the Checkout page. This results in a high number of abandoned intents, potentially wasting network resources. This change fixes this behavior by caching the newly created intent in a cookie. Once cached, it is then reused in the next mounting of UPE.
Reloading the Checkout page does not lead to the creation of a new intent.
Testing will require you to enable UPE first. Do this by using the "Enable the new Stripe checkout experience" option on the Settings page. Update the store currency as per the payment methods you want to test. Eg. Giropay, iDEAL, etc. will require Euro as the store currency.
- Create a new order in the front-end.
- Open Network tab in browser's dev tools, and visit the Checkout page.
- On this page, notice an XHR call to
create_payment_intent. - Also confirm that a new cookie
wcpay_upe_payment_intentis created. - Reload the page. No fresh XHR call to create_payment_intent should be observed.
- Complete the payment. The above cookie should be now removed.
- Also check if the cookie is removed when a payment fails, for example when:
- using a credit card that is immediately declined
- using a card that requires further authentication and eventually the transaction fails
- using a redirection payment method (e.g. Giropay, SEPA, iDEAL, Sofort, etc.) and eventually the transaction fails
- using a saved payment method that fails
FYI: The intent id retrieved from cache or received as a response from create_payment_intent is used only when a new payment method is used. Using saved cards will create a new intent on the server, resulting in the UPE intent being abandoned.
- Open Network tab in browser's dev tools, and visit My account → Payment methods → Add payment method.
- On this page, notice an XHR call to
init_setup_intent. - Also confirm that a new cookie
wcpay_upe_setup_intentis created. - Reload the page. No fresh XHR call to create_payment_intent should be observed.
- Add a new payment method. The above cookie should be now removed.
- New card - successful payment
- New card - declined
- New card - authentication failed
- Saved card - successful payment
- Saved card - authentication failed
- New SEPA - successful payment
- Saved SEPA - successful payment
- Giropay - successful payment
- Giropay - failed payment