本文将介绍结合 Label-Studio 和 SAM (Segment Anything) 半自动化标注方案,Point2Labl:用户只需要在物体的区域内点一个点就能得到物体的掩码和边界框标注,Bbox2Label:用户只需要标注物体的边界框就能生成物体的掩码,社区的用户可以借鉴此方法,提高数据标注的效率。
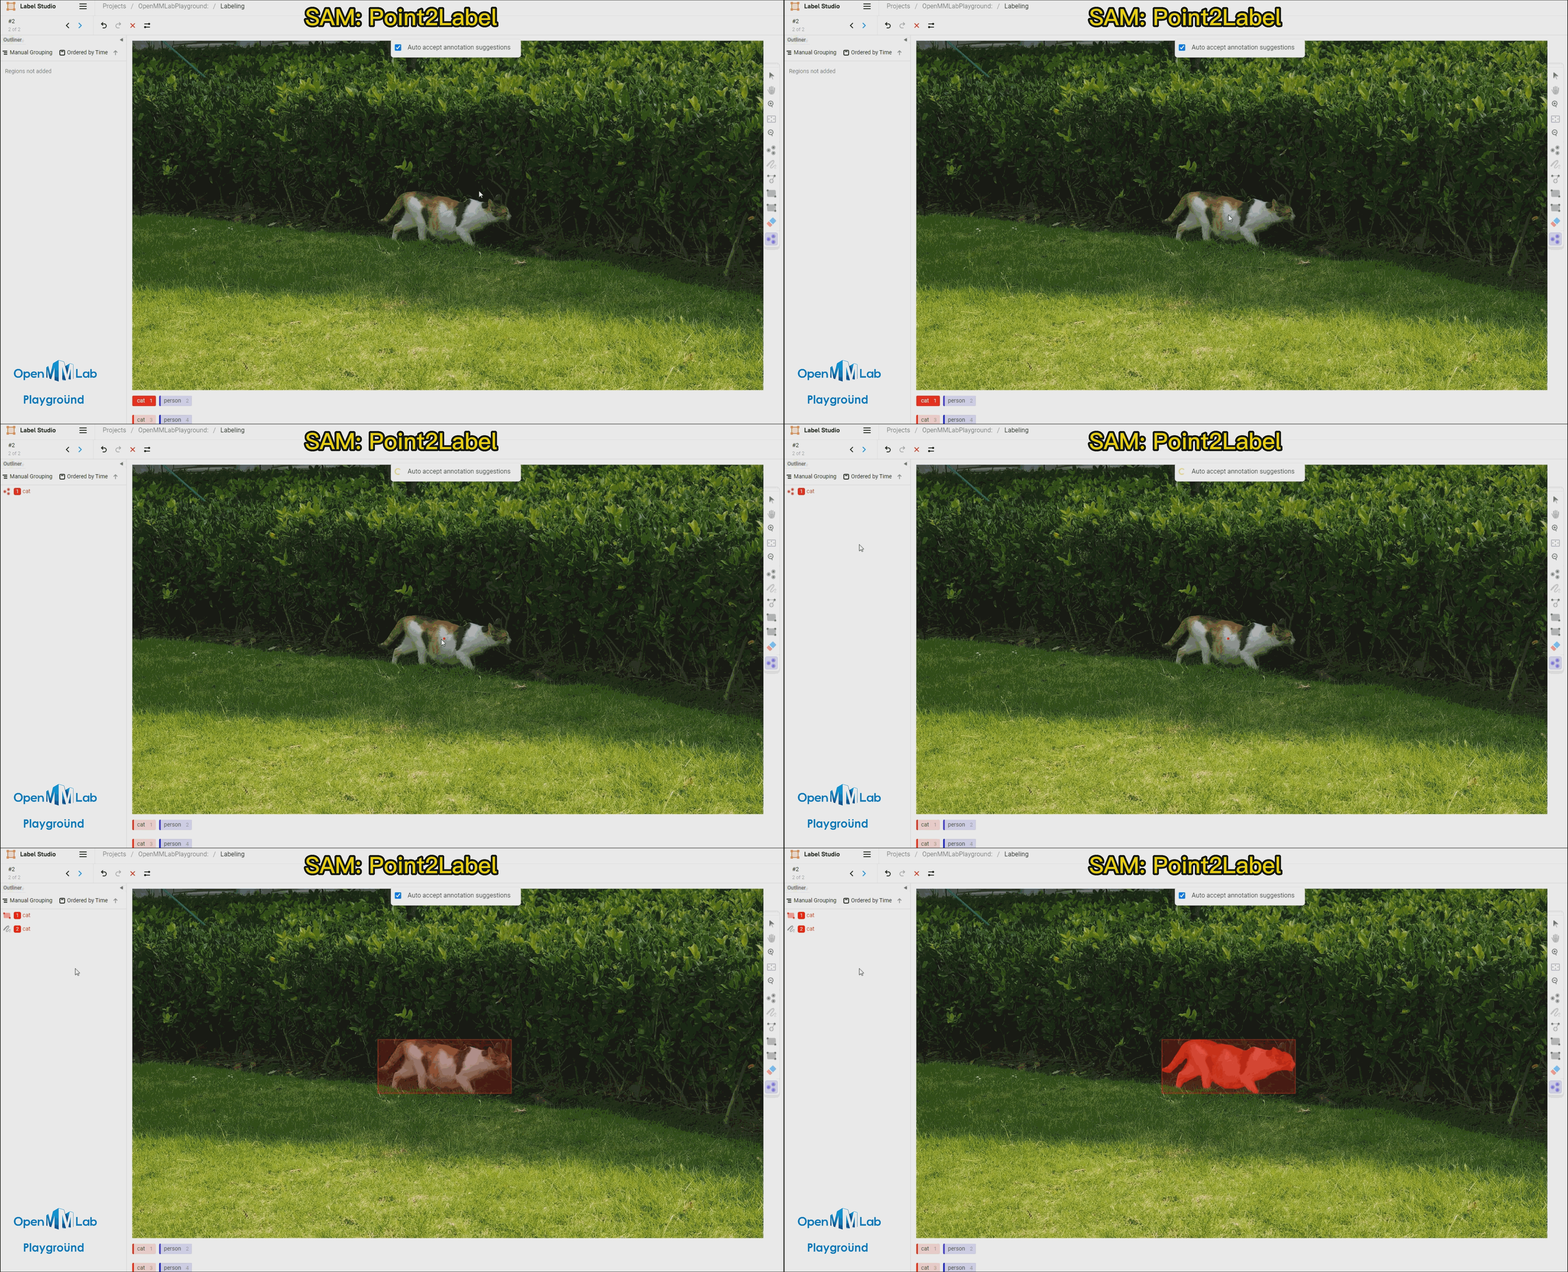
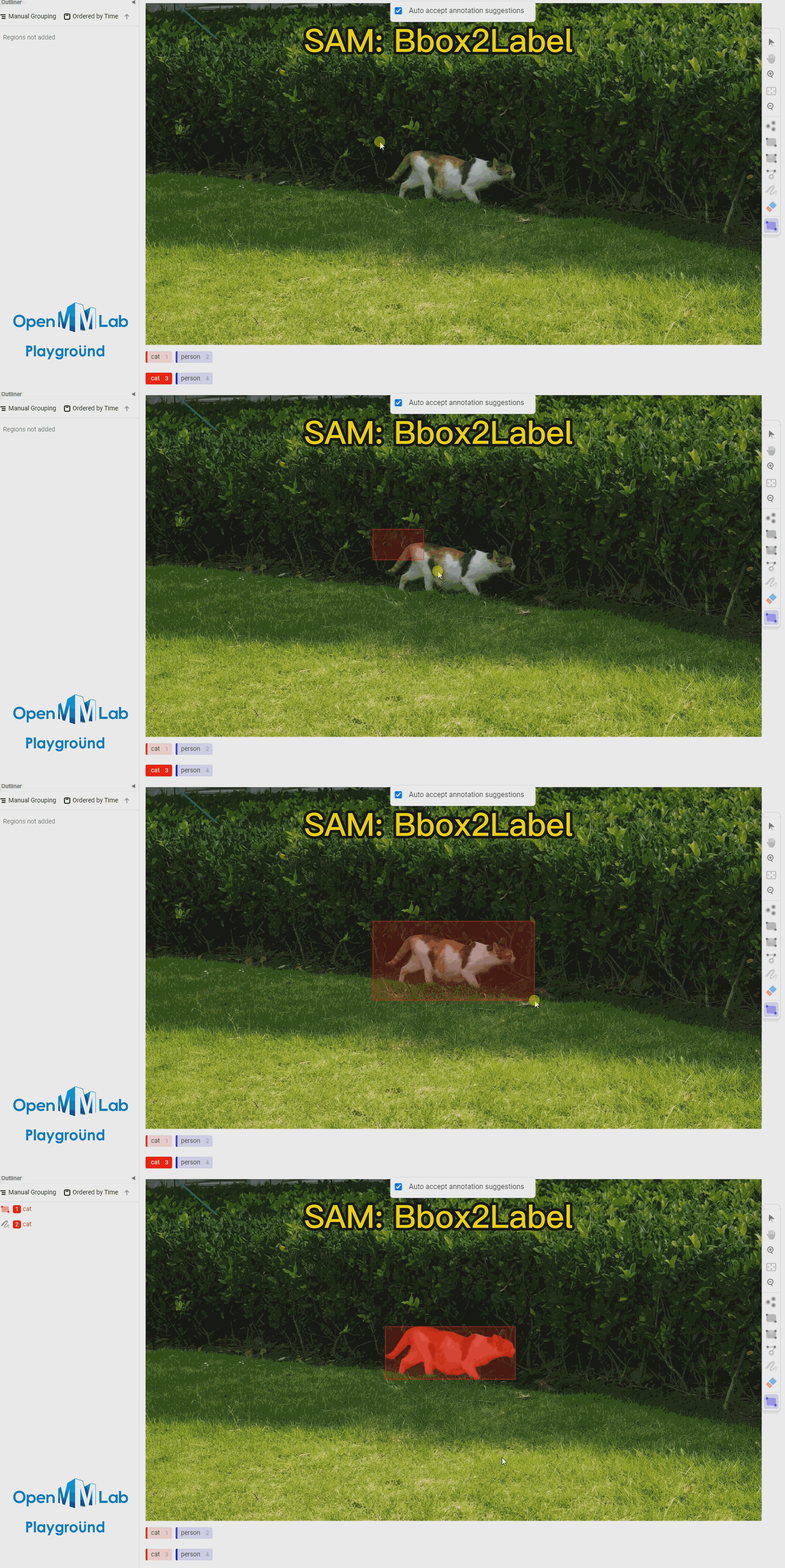
- SAM (Segment Anything) 是 Meta AI 推出的分割一切的模型。
- Label Studio 是一款优秀的标注软件,覆盖图像分类、目标检测、分割等领域数据集标注的功能。
本文将使用喵喵数据集的图片,进行半自动化标注。
首先需要创建一个虚拟环境,然后安装 PyTorch 和 SAM。 创建虚拟环境:
conda create -n rtmdet-sam python=3.9 -y
conda activate rtmdet-sam
PS: 如果你在conda环境中无法使用git命令,可以按照以下命令安装git
conda install git克隆 OpenMMLab PlayGround
git clone https://github.com/open-mmlab/playground如果你遇到网络错误,请尝试通过ssh完成git克隆,像下面这个命令一样:
git clone git@github.com:open-mmlab/playground.git安装 PyTorch
# Linux and Windows CUDA 11.3
pip install torch==1.10.1+cu113 torchvision==0.11.2+cu113 torchaudio==0.10.1 -f https://download.pytorch.org/whl/cu113/torch_stable.html


# Linux and Windows CPU only
pip install torch==1.10.1+cpu torchvision==0.11.2+cpu torchaudio==0.10.1 -f https://download.pytorch.org/whl/cpu/torch_stable.html

# OSX
pip install torch==1.10.1 torchvision==0.11.2 torchaudio==0.10.1
安装 SAM 并下载预训练模型
cd path/to/playground/sam_label_studio
# 在Windows中,进行下一步之前需要完成以下命令行
# conda install pycocotools -c conda-forge
pip install opencv-python pycocotools matplotlib onnxruntime onnx
pip install git+https://github.com/facebookresearch/segment-anything.git
wget https://dl.fbaipublicfiles.com/segment_anything/sam_vit_b_01ec64.pth

# 如果想要分割的效果好请使用 sam_vit_h_4b8939.pth 权重
# wget https://dl.fbaipublicfiles.com/segment_anything/sam_vit_l_0b3195.pth
# wget https://dl.fbaipublicfiles.com/segment_anything/sam_vit_h_4b8939.pth
PS: 如果您使用Windows环境,请忽略wget命令,手动下载wget的目标文件(复制url到浏览器或下载工具中) 例如: https://dl.fbaipublicfiles.com/segment_anything/sam_vit_b_01ec64.pth
安装 Label-Studio 和 label-studio-ml-backend
# sudo apt install libpq-dev python3-dev # Note:如果使用 Label Studio 1.7.2 版本需要安装 `libpq-dev` 和 `python3-dev` 依赖。

# 安装 label-studio 需要一段时间,如果找不到版本请使用官方源
pip install label-studio==1.7.3
pip install label-studio-ml==1.0.9⚠label_anything 需要启用SAM后端推理后再启动网页服务才可配置模型(一共需要两步启动)
1.启动 SAM 后端推理服务:
cd path/to/playground/sam_label_studio

label-studio-ml start sam --port 8003 --with \
sam_config=vit_b \
sam_checkpoint_file=./sam_vit_b_01ec64.pth \
out_mask=True \
out_bbox=True \
device=cuda:0 \
# device=cuda:0 为使用 GPU 推理,如果使用 cpu 推理,将 cuda:0 替换为 cpu
# out_poly=True 返回外接多边形的标注
PS: 在Windows环境中,在Anaconda Powershell Prompt输入以下内容等价于上方的输入:
cd path/to/playground/sam_label_studio

$env:sam_config = "vit_b"
$env:sam_checkpoint_file = ".\sam_vit_b_01ec64.pth"
$env:out_mask = "True"
$env:out_bbox = "True"
$env:device = "cuda:0"
# device=cuda:0 为使用 GPU 推理,如果使用 cpu 推理,将 cuda:0 替换为 cpu
# out_poly=True 返回外接多边形的标注

label-studio-ml start sam --port 8003 --with `
sam_config=$env:sam_config `
sam_checkpoint_file=$env:sam_checkpoint_file `
out_mask=$env:out_mask `
out_bbox=$env:out_bbox `
device=$env:device
此时,SAM 后端推理服务已经启动。
⚠以上的终端窗口需要保持打开状态。
接下来请根据以下步骤在Label-Studio Web 系统中配置使用后端推理服务。
2.现在启动 Label-Studio 网页服务:
请新建一个终端窗口进入label_anything项目路径。
cd path/to/playground/sam_label_studio⚠(如不使用vit-h的SAM后端可跳过此步)使用的推理后端是SAM的 vit-h, 由于模型加载时间长,导致连接后端超时,需要设置以下环境变量。
具体可根据下载的SAM的权值名称判断,比如sam_vit_h_4b8939.pth 为 vit-h,sam_vit_b_01ec64.pth为 vit-b。
# Linux需要使用以下指令
export ML_TIMEOUT_SETUP=40
# Windows要使用以下指令
set ML_TIMEOUT_SETUP=40
启动 Label-Studio 网页服务:
label-studio start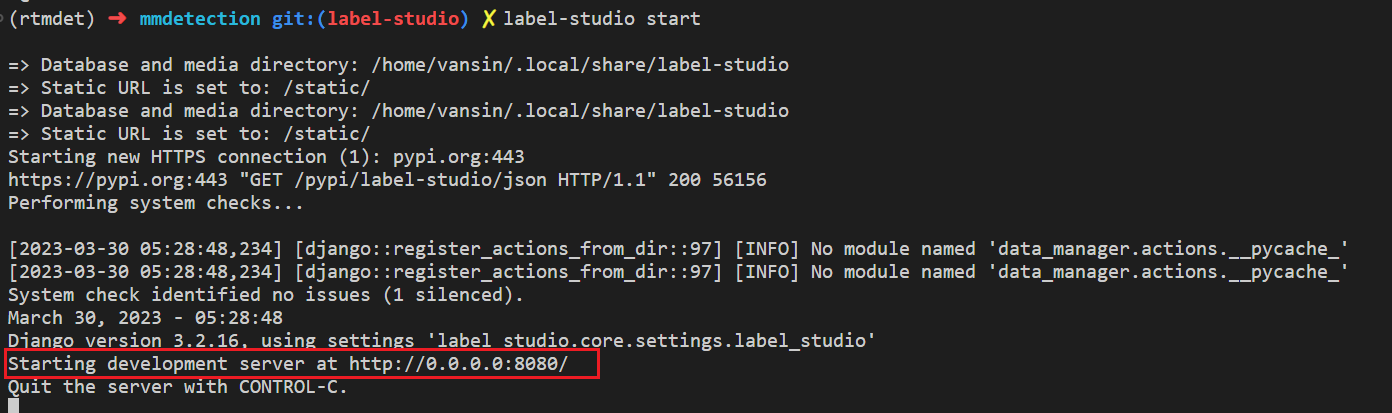
打开浏览器访问 http://localhost:8080/ 即可看到 Label-Studio 的界面。

我们注册一个用户,然后创建一个 OpenMMLabPlayGround 项目。 PS: Label-Studio的用户名密码存储于本地,如果出现浏览器记住了密码却无法登陆的情况,请重新注册
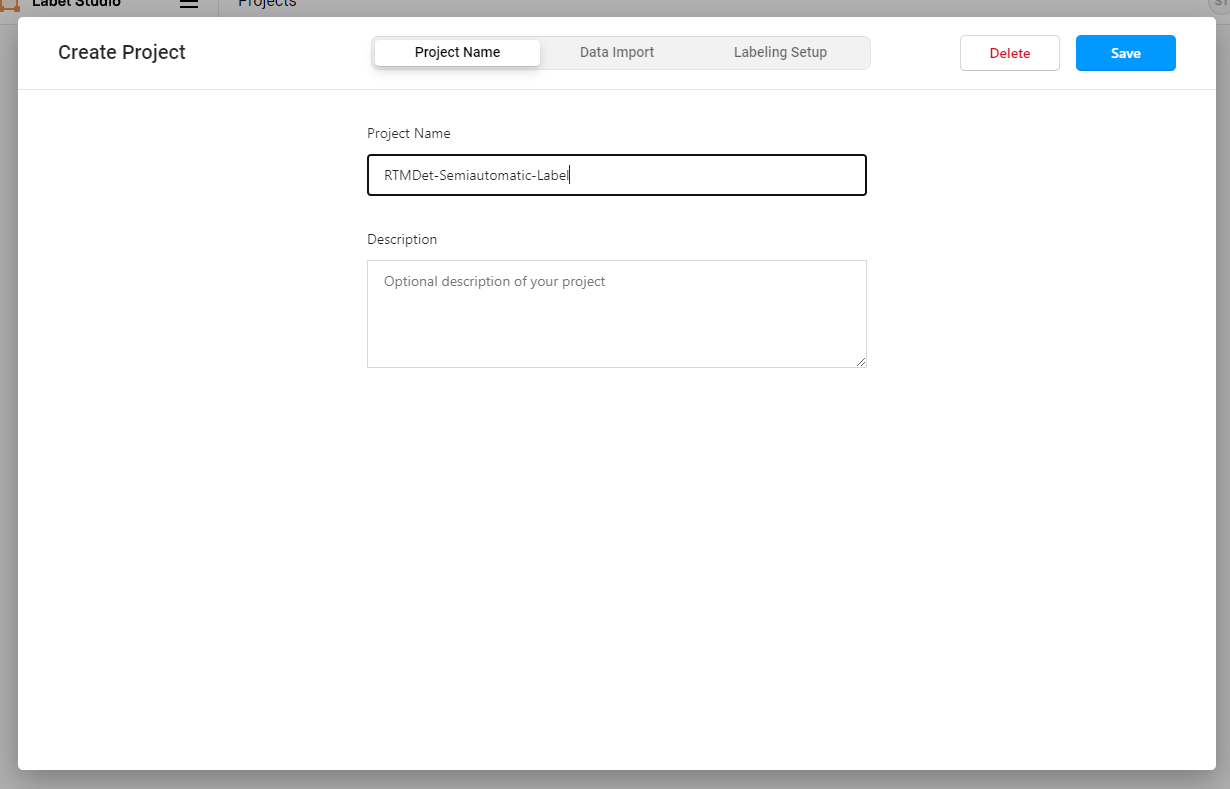
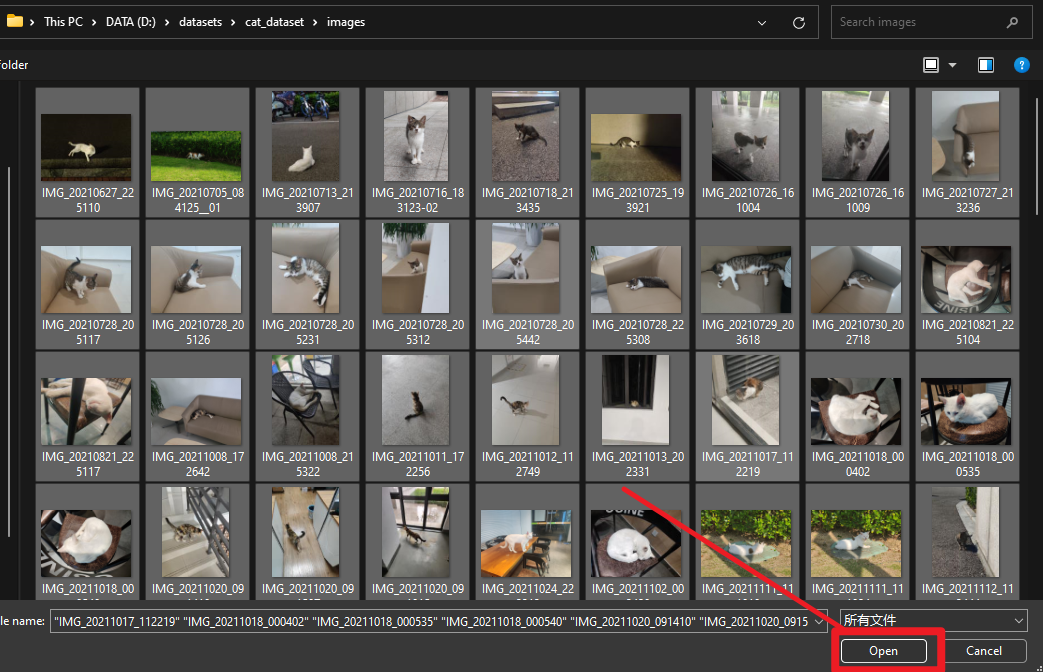
我们通过下面的方式下载好示例的喵喵图片,点击 Data Import 导入需要标注的猫图片,点击 Save 创建 Project。
注意,如果使用其他数据集须保证数据名称中不含有中文
cd path/to/playground/sam_label_studio
mkdir data && cd data

wget https://download.openmmlab.com/mmyolo/data/cat_dataset.zip && unzip cat_dataset.zip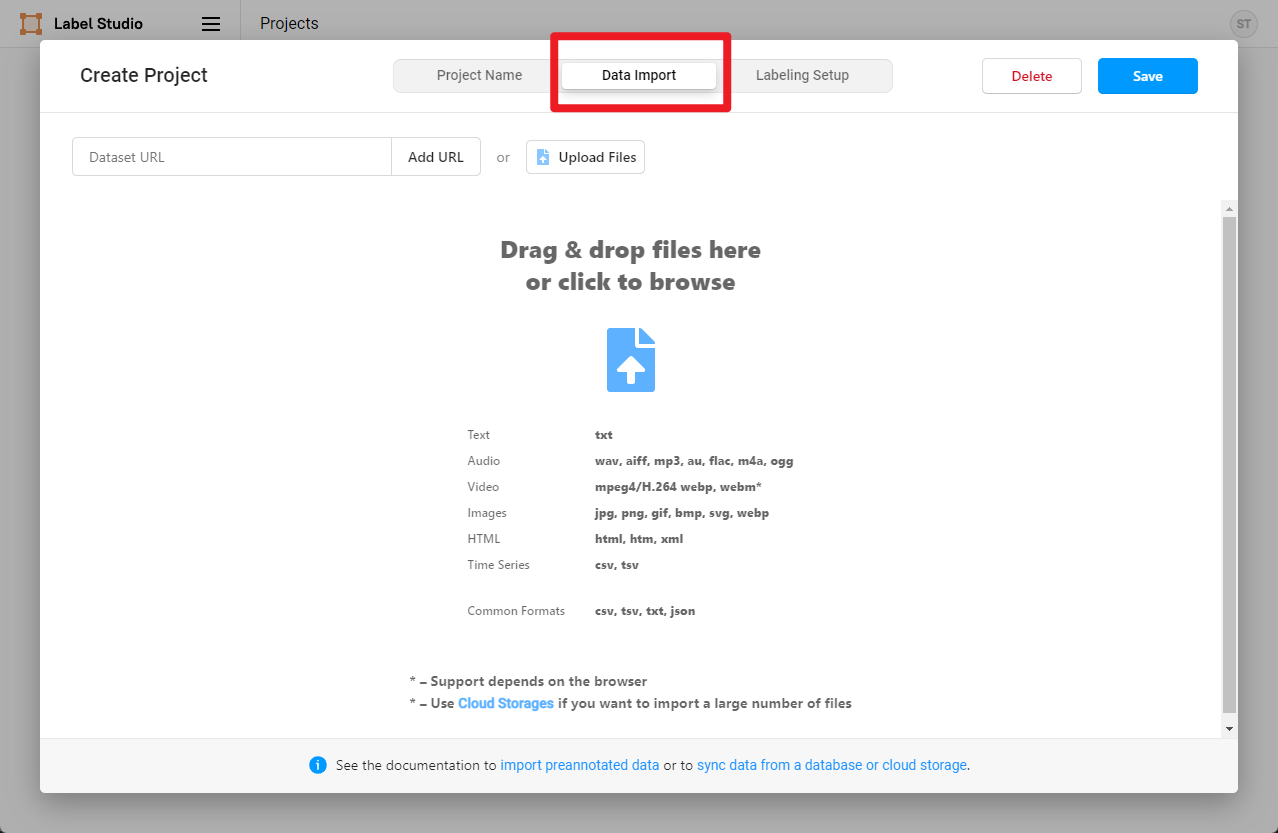
在 Settings/Labeling Interface 中配置 Label-Studio 关键点和 Mask 标注。
<View>
  <Image name="image" value="$image" zoom="true"/>
  <KeyPointLabels name="KeyPointLabels" toName="image">
    <Label value="cat" smart="true" background="#e51515" showInline="true"/>
    <Label value="person" smart="true" background="#412cdd" showInline="true"/>
  </KeyPointLabels>
  <RectangleLabels name="RectangleLabels" toName="image">
  	<Label value="cat" background="#FF0000"/>
  	<Label value="person" background="#0d14d3"/>
  </RectangleLabels>
  <PolygonLabels name="PolygonLabels" toName="image">
  	<Label value="cat" background="#FF0000"/>
  	<Label value="person" background="#0d14d3"/>
  </PolygonLabels>
  <BrushLabels name="BrushLabels" toName="image">
  	<Label value="cat" background="#FF0000"/>
  	<Label value="person" background="#0d14d3"/>
  </BrushLabels>
</View>
在上述 XML 中我们对标注进行了配置,其中 KeyPointLabels 为关键点标注,BrushLabels 为 Mask 标注,PolygonLabels 为外接多边形标注,RectangleLabels 为矩形标注。
本实例使用 cat 和 person 两个类别,如果社区用户想增加更多的类别需要分别在 KeyPointLabels、BrushLabels、PolygonLabels、RectangleLabels 中添加对应的类别。
然后将上述 XML 复制添加到 Label-Studio,然后点击 Save。

然后在设置中点击 Add Model 添加 OpenMMLabPlayGround 后端推理服务,设置好 SAM 后端推理服务的 URL http://localhost:8003 ,并打开 Use for interactive preannotations 并点击 Validate and Save。
⚠如果你在这一步无法顺利执行,可能由于模型加载时间长,导致连接后端超时,请重新执行 export ML_TIMEOUT_SETUP=40 (linux) 或 set ML_TIMEOUT_SETUP=40 (windows) ,重新启动 label-studio start SAM后端推理服务。

看到如下 Connected 就说明后端推理服务添加成功。

点击 Label 开始标注

需要打开 Auto-Annotation 的开关,并建议勾选 Auto accept annotation suggestions,并点击右侧 Smart 工具,切换到 Point 后,选择下方需要标注的物体标签,这里选择 cat。如果是 BBox 作为提示词请将 Smart 工具切换到 Rectangle。

Point2Label:由下面的 gif 的动图可以看出,只需要在物体上点一个点,SAM 算法就能将整个物体分割和检测出来。

Bbox2Label: 由下面的 gif 的动图可以看出,只需要标注一个边界框,SAM 算法就能将整个物体分割和检测出来。
我们 submit 完毕所有图片后,点击 exprot 导出 COCO 格式的数据集,就能把标注好的数据集的压缩包导出来了。
注意:此处导出的只有边界框的标注,如果想要导出实例分割的标注,需要在启动 SAM 后端服务时设置 out_poly=True。

用 vscode 打开解压后的文件夹,可以看到标注好的数据集,包含了图片和 json 格式的标注文件。
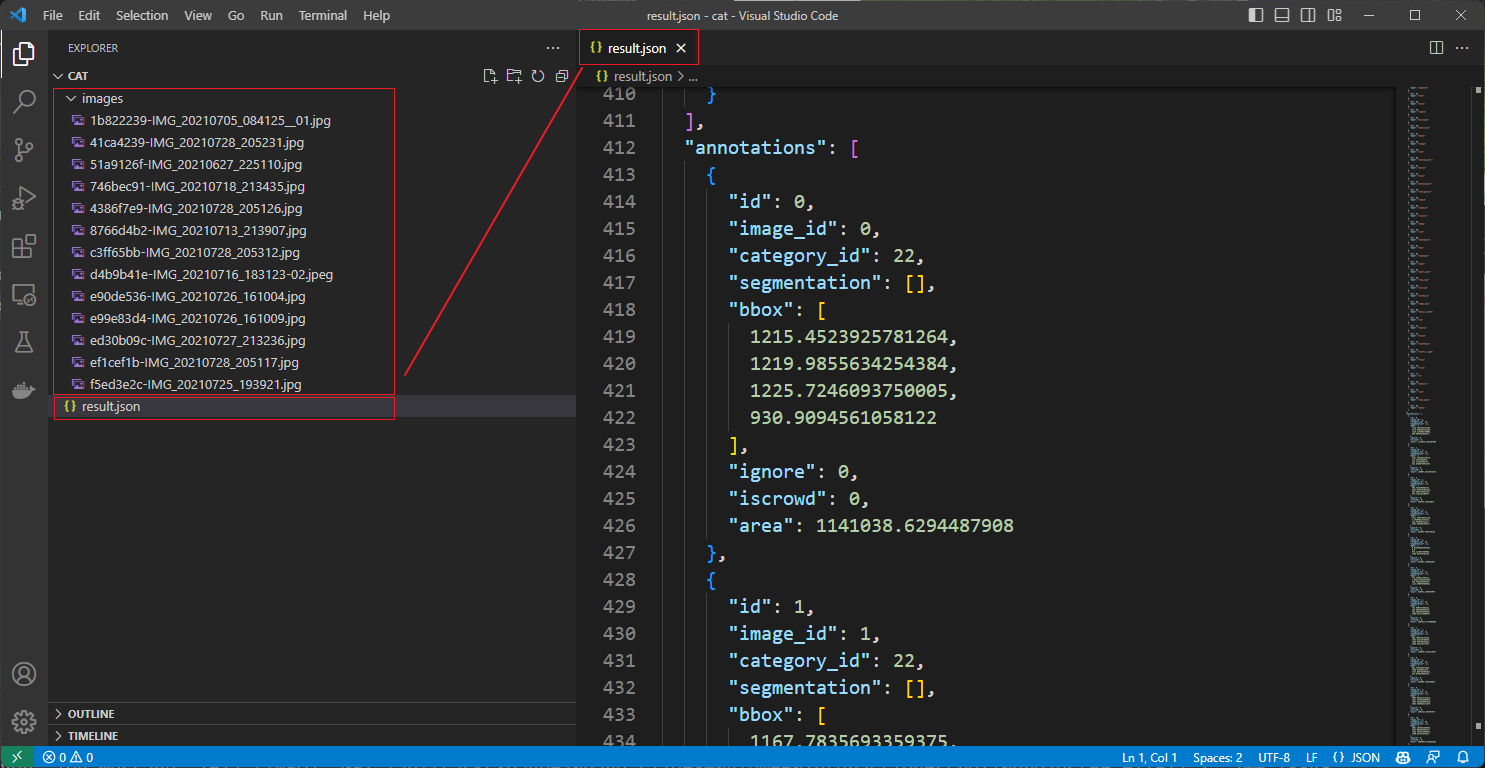
由于 label studio 导出来的 coco 不支持 rle 的实例标注,只支持 polygon 的实例。
polygon 实例格式由于不太好控制点数,太多不方便微调(不像 mask 可以用橡皮擦微调),太少区域不准确。
此处提供将 label-studio 输出的json格式转换为COCO格式的转换脚本。
⚠目前仅支持已经标注完所有图片的项目.
cd path/to/playground/sam_label_studio
python tools/convert_to_rle_mask_coco.py --json_file_path path/to/LS_json --out_dir path/to/output/file
--json_file_path 输入 Label studio 的输出 json
--out_dir 输出路径
生成后脚本会在终端输出一个列表,这个列表是对应类别id的,可用于复制填写 config 用于训练。
输出路径下有 annotations 和 images 两个文件夹,annotations 里是 coco 格式的 json, images 是整理好的数据集。
Your dataset
├── annotations
│   ├── ann.json
├── images
本节将介绍如何使用 mmdetection 中 browse_dataset.py 对生成的数据集进行可视化。
首先在 playground 目录下获取 mmdetection。
cd path/to/playground/
# build from source
conda activate rtmdet-sam
# Windows 用户需要使用 conda 安装 pycocotools
# conda install pycocotools -c conda-forge
pip install -U openmim
mim install mmengine
mim install "mmcv>=2.0.0"
git clone https://github.com/open-mmlab/mmdetection.git
cd mmdetection; pip install -e .; cd ..
然后使用本脚本根据需求输出训练用的 config,此处提供了模板 mask-rcnn_r50_fpn 存放在 label_anything/config_template 中。
#安装 Jinja2
pip install Jinja2
cd path/to/playground/sam_label_studio
python tools/convert_to_rle_mask_coco.py --json_file_path path/to/LS_json --out_dir path/to/output/file --out_config config_mode
--out_config 选择你的模板 mask-rcnn_r50_fpn。
此处建议 --out_dir 为 ../mmdetection/data/my_set 以方便使用 mmdetection 进行训练。
完成转换后,即可在 mmdetection/data/my_set 下找到转换好的数据集以及生成好的 config。
playground
├── mmdetection
│   ├── data
│   │   ├── my_set
│   │   │   ├── annotations
│   │   │   │   ├── ann.json
│   │   │   ├── images
│   │   │   ├── mask-rcnn_r50_fpn.py
├── ...
接着我们使用 tools/analysis_tools/browse_dataset.py 对数据集进行可视化。
cd path/to/playground/mmdetection

python tools/analysis_tools/browse_dataset.py data/my_set/mask-rcnn_r50_fpn.py --output-dir output_dir
可视化结果将会保存在 mmdetection 项目路径下的 output_dir 中。
以下是使用转换后的数据集通过 tools/analysis_tools/browse_dataset.py 转化结果。

经过上一步生成了可用于 mmdetection 训练的config,路径为 data/my_set/config_name.py 我们可以用于训练。
python tools/train.py data/my_set/mask-rcnn_r50_fpn.py
训练完成后,可以使用 tools/test.py 进行测试。
python tools/test.py data/my_set/mask-rcnn_r50_fpn.py path/of/your/checkpoint --show --show-dir my_show可视化图片将会保存在 work_dir/{timestamp}/my_show
完成后我们可以获得模型测试可视化图。左边是标注图片,右边是模型输出。

到此半自动化标注就完成了, 通过 Label-Studio 的半自动化标注功能,可以让用户在标注过程中,通过点击一下鼠标,就可以完成目标的分割和检测,大大提高了标注效率。部分代码借鉴自 label-studio-ml-backend ID 为 253 的 Pull Request,感谢作者的贡献。同时感谢社区同学 ATang0729 为脚本测试重新标注了喵喵数据集,以及 JimmyMa99 同学提供的转换脚本、 config 模板以及文档优化。