I know this sounds silly, but your computer likely doesn't even recognize the device, which is the first problem you might encounter. A great indication of whether or not your computer will recognize the ATtiny85 is the USB port that you plug your device into. a blue rectangle inside the USB port means USB 3.0, a red one means USB 3.1, and a black one means 2.0 (reference image below).

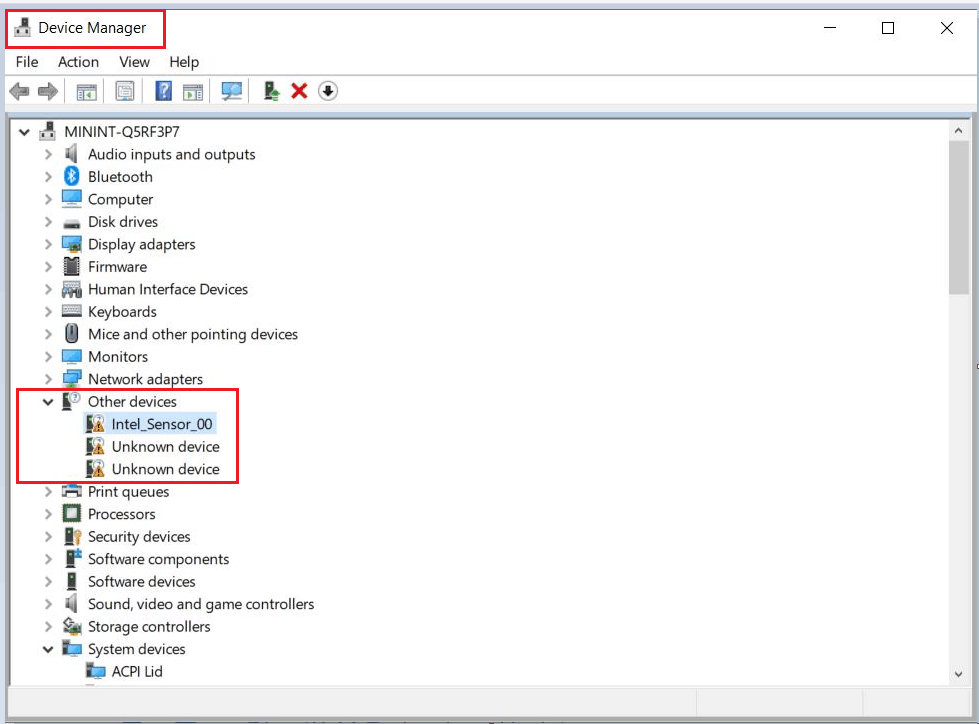
Open the windows menu, then search for device manager and open it. Unplug and replug the board in. This is so that the device is obvious to your computer. When you plug it in, for the first 5 seconds it is in programmable/obvious/reading mode, but after that it goes into write mode. Right now write mode won't do anything because it isn't programmed at all. Just unplug+replug, then look at device manager. Once you are on this list you want to look for an unknown device like in the picture below.
Firstly you need to download the ATtiny85 drivers so that you can put them on the device. Now click this GitHub link and download the circled driver file in the image (Digistump.Drivers.zip).


To put these drivers on your ATtiny85, go back to device manager. Find the unknown device with the yellow triangle again. Then right click on it. Now select update drivers or install drivers, either is fine. It will ask if you want it to search automatically for drivers, or if you want to browse and manually pick the drivers. Select "browse my computer for drivers". Now locate the Folder that you unzipped earlier and pick it. Once you return to the Device manager window make sure that "include subfolders" is checked so that all the driver files are used. Then select to put the drivers onto it. If done correctly, when you close and Re-open task manager there should be a new category called "libUSB-Win32 Devices". This means everything has been done correctly and you are ready for Arduino IDE.
Now you need to download the Arduino software. This is where you will make, paste, and upload payloads to the ATtiny85. Here is the link to the previous Arduino releases for download. I am using version 1.8.18, but versions 1.6.9->1.8.18 should work with this tutorial. You need to click the Windows installer, and then follow it's instructions. Now that you have downloaded the program you can open it.