Setting up pricing models and creating products for Roku channels 
This guide will focus on setting up an in-channel product and how to use that product in a sample Roku channel. For developers new to billing, make sure to review our Roku Billing Services guide here.
Requirements to follow along:
- A Roku device: www.roku.com/products/compare
- A Roku developer account: developer.roku.com/enrollment/standard
- Enroll in Roku Billing Services: developer.roku.com/enrollment/billing
- Understand how to install a sample channel (Hello world guide)
The primary steps for this tutorial are:
- Install the sample Roku Billing channel
- Packaging and publishing the sample channel
- Add an in-channel product to your Roku developer account
- Testing the in-channel product and sample code overview
- Addendum: How to setup a pay-to-install channel
Download the signup sample channel. Refer to the developer setup guide on how to install (or "sideload") channels onto a Roku device.

Once you have the sample channel side-loaded onto your device, you’ll need to generate a key to sign your package using a telnet client such as PuTTY on Windows or using the built-in client through terminal on OSX.
Windows: Download the telnet client PuTTY, enter the IP address of your Roku player, 8080 for the port and Telnet as the connection type.


Type genkey and wait for the process to complete. If the prompt says “Command not recognized”, type it again.


Return to your browser tab with the Developer Application Installer. There should now be a Packager option available. If you do not see this option, please go through the previous section and run genkey again.

Click on Packager to bring up the Application Packager page. The Dev ID should match the same developer ID that was generated with genkey. Enter an App Name and Version and enter the password created by genkey.

Click on Package and a few short moments later you can download the signed package using the .pkg link.

The next step is to create a private channel with the signed package we just generated. On the developer dashboard, select Manage My Channels and Add Private Channel on the following page. On the first page, select how you plan to monetize your channel. For this example, select My channel contains in channel subscriptions.

Fill out the channel properties, descriptions and Channel Store icons as needed.


Note: Screenshots can be omitted for private channels. Once you get to the screenshots page, click Continue to move on to the Package Submission page. For this example, the minimum firmware version needs to be v7.0 b1 or higher. Select your signed package and click on Save Changes.

After the package has been uploaded, there should now be an Access Code available. Feel free to click on it now to add the channel to your player(s). The Submit button should now be green and selectable.

Select Submit and you’ve successfully published a private channel.

The package details will be shown on the right and the status will update to Published.
After you have published your private channel, the next step is to create an in-channel product. Return to the developer dashboard and select Manage My In-Channel Products. On the following page, select Add a Product. For this example, we’ll be creating a subscription product called monthly subscription. Under Channels, select the private channel you just published and fill out the remaining fields as appropriate.

Here is an example of the product we created:
- Channels: billingsample
- Product Name: monthly subscription
- Identifier: billingsample-monthlysubscription
- Purchase Type: Monthly Subscription
- Free Trial Period: Disabled
- Classification: Video
- Internet Connection Required: Yes
- Requires Additional Purchase: No
- Cleared for Sale: Yes
- Price Tier: 1
Click Save when finished and you will be directed back to the Manage In-Channel Products page.

The product you just created should be available with a Submit for review option. Select it and your product will change to Approved under status.

With an approved product, we’ll now install the private channel and see if the product works. If you haven’t yet installed the private channel, return to the Manage Channels page and select the channel to get the Vanity Access Code. Alternatively, select Edit Channel and click on the Access Code on the following page to add the channel to your Roku. Once the channel is installed, launch it and you should see the following screen:
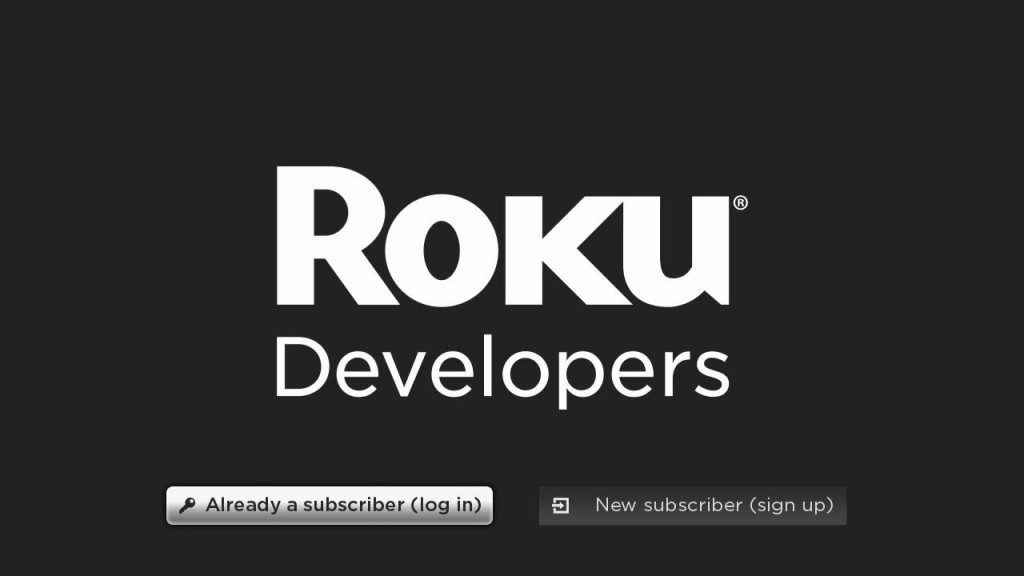

Select Share to use your Roku account’s email address or Don’t share to enter a different email on the following KeyboardDialog screen.

Enter a password (or play around with the error handling dialogs). The next screen displays an example Terms Of Use dialog.

Select Accept to show a dialog displaying the product(s) associated with your channel. If you see the following, congrats! You’ve just successfully created a channel with an in-channel purchase.

Now let’s go through the code and see how the channel is requesting the product and how it is purchased. Open up the unzipped sample source code folder (or download the sample again) and open the components folder. Go into the RokuSignUp folder and open up the RokuBillingTask.brs file in your code editor of choice.
To see what product(s) are available for purchase, we need to use the roChannelStore component. In our sample, this is set up in sub GetPartialUserData() in lines 20-22:
    port = CreateObject("roMessagePort")
    channelStore = CreateObject("roChannelStore")
    channelStore.SetMessagePort(port)
Now that we have an interface to the Channel Store, we can make requests to see what products are available for purchase and what products have already been purchased. In our sample, we make these requests through sub GetProducts() which provides an associative array of products available for purchase.
    sub GetProducts()
        result = {
            availForPurchase : {
                list : []
                map  : {}
            }
            validPurchased : {
                list : []
                map  : {}
            }
        }
        allProducts = Helper_GetAllProducts()
        purchasedProducts = Helper_GetPurchasedProducts()

        datetime = CreateObject("roDateTime")
        utimeNow = datetime.AsSeconds()

        for each product in allProducts
            bAddToAvail = true
            for each purchase in purchasedProducts
                if purchase.code = product.code then
                    bAddToAvail = false
                    if purchase.expirationDate  invalid then
                        datetime.FromISO8601String(purchase.expirationDate)
                        utimeExpire = datetime.AsSeconds()
                        if utimeExpire > utimeNow then
                            result.validPurchased.list.Push(purchase)
                            result.validPurchased.map[purchase.code] = purchase
                        end if
                    end if
                    exit for
                end if
            end for

            if bAddToAvail then
                result.availForPurchase.list.Push(product)
                result.availForPurchase.map[product.code] = product
            end if
        end for

        m.top.products = result
    end sub
On lines 40-41, you’ll see two helper functions, Helper_GetAllProducts() and Helper_GetPurchasedProducts(). Helper_GetAllProducts() returns an associative array with the details for each product associated with the channel.
    function Helper_GetAllProducts() as Object
        result = []

        port = CreateObject("roMessagePort")
        channelStore = CreateObject("roChannelStore")
        channelStore.SetMessagePort(port)

        channelStore.GetCatalog()
        msg = invalid
        while type(msg)  "roChannelStoreEvent"
            msg = Wait(0, port)
        end while

        if msg.isRequestSucceeded() then
            response = msg.GetResponse()
            if response  invalid then
                result = response
            end if
        end if

        return result
    end function
Helper_GetPurchasedProducts() returns an associative array with the details for each valid product (i.e. a subscription that has not expired) the user has purchased.
    function Helper_GetPurchasedProducts()
        result = []

        port = CreateObject("roMessagePort")
        channelStore = CreateObject("roChannelStore")
        channelStore.SetMessagePort(port)

        channelStore.GetPurchases()
        msg = invalid
        while type(msg)  "roChannelStoreEvent"
            msg = Wait(0, port)
        end while

        if msg.isRequestSucceeded() then
            response = msg.GetResponse()
            if response  invalid then
                result = response
            end if
        end if

        return result
    end function
Returning to sub GetProducts(), lines 43-67 determines whether a subscription product that has been purchased has expired and is available for purchasing again.
Now that we know what products are available for purchase, we need to set up a couple of calls to actually purchase the product. In our sample, this is done in sub PurchaseProduct().
    sub PurchaseProduct()
        port = CreateObject("roMessagePort")
        channelStore = CreateObject("roChannelStore")
        channelStore.SetMessagePort(port)

        channelStore.ClearOrder()
        channelStore.SetOrder([{
            code : m.top.products.availForPurchase.list[m.top.indexPurchase].code
            qty  : 1
        }])
        channelStore.DoOrder()
        msg = invalid
        while type(msg)  "roChannelStoreEvent"
            msg = Wait(0, port)
        end while

        result = {
            isSuccess : msg.isRequestSucceeded()
        }
        if msg.isRequestSucceeded() then
            response = msg.GetResponse()
            if response  invalid AND response[0]  invalid then
                result.Append(response[0])
            end if
        else if msg.isRequestFailed() then
            result.failureCode = msg.GetStatus()
            result.failureMessage = msg.GetStatusMessage()
        end if

        m.top.purchaseResult = result
    end sub
This task function is called when the user selects the product from the dialog. We determine which product is selected with the indexPurchase field, referencing the current index in the Subscription dialog seen below.

In line 80, we call ClearOrder() which is good practice to be sure we don’t have any anomalies when creating an order. In lines 81-85, the order is set up using the product identifier specified when the product was created. In SetOrder(), we are using a quantity of 1 as we are focusing on subscriptions for this example. Once we have the order set up, the final step is to place the order. This is done in line 85: channelStore.DoOrder() The remaining lines of code in sub PurchaseProduct() ensures that we get a response that the order was placed successfully or display an error if the purchase failed.
In addition to in-channel purchases, we also offer a "pay-to-install" option for channels. Pay-to-install requires users to purchase before the channel can be installed. This pricing model is best suited for apps such as screensavers and themes where users can quickly see what is offered through reviewing the Channel Store details. To set up a new channel with pay-to-install pricing, select Manage My Channels on the developer dashboard, and Add Public Channel on the following page. **Note: **On the "Add public channel page", select "Customers will pay before installing my channel" and any other options as appropriate.

After you’ve filled out the rest of the Channel Properties, Descriptions and Channel Store icons, you’ll be presented with the pricing page.

On this page you can select the Purchase Type: one-time purchase, monthly subscription or yearly subscription, and a corresponding price tier.
Related resources: