ScalityS3 on a Raspberry Pi 3 with Ubuntu Server 16.04
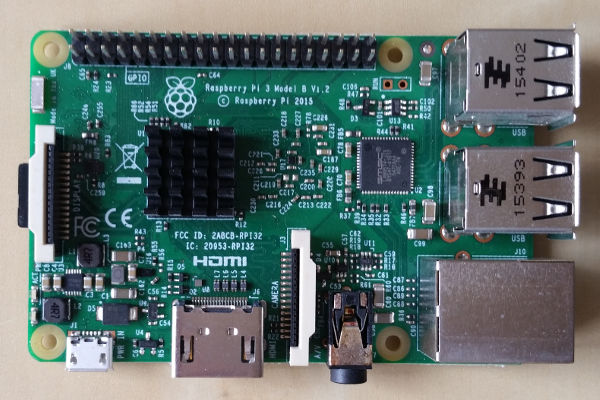
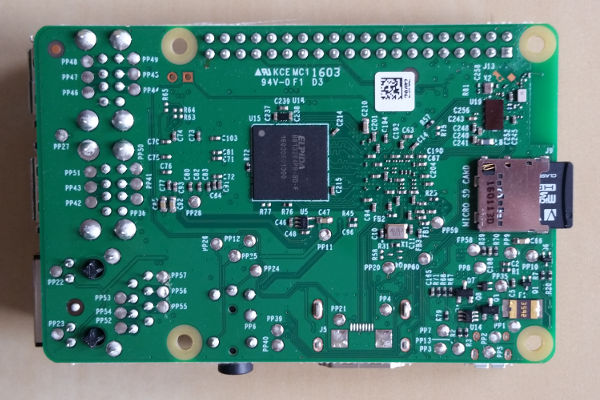
The Raspberry Pi 3 single board computer from the Raspberry Pi Foundation has a 1.2 GHz quad-core ARMv8 processor, 1 GByte main memory and a 10/100 Mbps Ethernet interface.
This installation tutorial explains the installation of a Raspberry Pi 3 device from scratch and the configuration of s3cmd on your computer.
This implies that you have already an installation of s3cmd on the system you want to use for the interaction with the Scality S3 Server storage service.
$ wget http://www.finnie.org/software/raspberrypi/ubuntu-rpi3/ubuntu-16.04-preinstalled-server-armhf+raspi3.img.xz
$ unxz ubuntu-16.04-preinstalled-server-armhf+raspi3.img.xz
Check which one is the correct device! If you use an internal card reader, it is often /dev/mmcblk0, when using an external card reader, it is often /dev/sdb.
dd bs=1M if=ubuntu-16.04-preinstalled-server-armhf+raspi3.img of=/dev/mmcblk0 && sync#
Default login of this image is ubuntu/ubuntu. To become user root, execute sudo su.
Ths Ubuntu image will automatically resize the partitions on first boot and it forces the user to modify the password. This means it is required to start first with a monitor and keyboard. Afterwards, an SSH server ist started per default.
Insert the micro SD card into the Raspberry Pi computer, connect it with the ethernet cable and the micro USB cable for power suppy and switch on the power supply. The operating system will try to fetch network configuration by using DHCP on the Ethernet interface per default. If you activated the SSH server, you can now log in via SSH.
The system used with this tutorial had these characteristics
$ lsb_release -a
No LSB modules are available.
Distributor ID:	Ubuntu
Description:	Ubuntu 16.04 LTS
Release:	16.04
Codename:	xenial
$ uname -a
Linux ubuntu 4.4.0-1009-raspi2 #10-Ubuntu SMP Tue Apr 19 19:51:04 UTC 2016 armv7l armv7l armv7l GNU/Linux
This is not required for running the Scality S3 Server, but it is always useful to configure the operating system properly
$ sudo dpkg-reconfigure tzdata
$ cat /etc/timezone
Europe/Berlin
It is also possible to specify the time zone via the raspi-config tool.
This is not required for running the Scality S3 Server, but it is always useful to have the correct time on a computer
$ sudo apt-get update && sudo apt-get install -y ntp ntpdate
Now the time sould be synchronized with several NTP servers.
$ ntpq -p
remote           refid      st t when poll reach   delay   offset  jitter
==============================================================================
0.ubuntu.pool.n .POOL.          16 p    -   64    0    0.000    0.000   0.001
1.ubuntu.pool.n .POOL.          16 p    -   64    0    0.000    0.000   0.001
2.ubuntu.pool.n .POOL.          16 p    -   64    0    0.000    0.000   0.001
3.ubuntu.pool.n .POOL.          16 p    -   64    0    0.000    0.000   0.001
ntp.ubuntu.com  .POOL.          16 p    -   64    0    0.000    0.000   0.001
#s3.b128.net     134.249.140.162  2 u    4   64    1   35.368   -4.819   0.404
-s1.heeg.it      131.188.3.220    2 u    5   64    1   25.564    0.355   0.407
#69.10.161.7     144.111.222.81   3 u    5   64    1  197.047   -5.799   0.407
-batleth.sapient 131.188.3.220    2 u    2   64    1   34.956   -4.379   0.268
-login-vlan87.bu 185.219.2.214    2 u    4   64    1   38.803    0.894   0.457
-static.140.107. 192.53.103.103   2 u    3   64    1   35.851   -4.448   0.354
-ramses.wh2.tu-d 129.70.132.32    3 u    3   64    1   38.381    1.145   0.341
-ns.km33237.keym 131.188.3.221    2 u    1   64    1   25.662    4.352   0.167
*ntp1.rrze.uni-e .DCFp.           1 u    -   64    1   30.451    0.445   0.055
+char-ntp-pool.c .SHM.            1 u    3   64    1   34.713   -2.276   0.382
+81.2.248.189 (h 195.113.144.238  2 u    -   64    1   37.397    1.417   0.203
-golem.canonical 17.253.52.125    2 u   13   64    1   31.243    0.650   0.001
Check the time and date:
$ date -R
Mon, 01 May 2017 16:31:56 +0200
Some of them are not required for the installation of Scality S3 Server, but just nice to have.
$ sudo apt-get install -y curl htop joe nmap git
apt-get install -y python git build-essential --no-install-recommends
Install required node.js and npn from here
$ curl -sL https://deb.nodesource.com/setup_6.x | sudo -E bash -
$ sudo apt-get install -y nodejs

$ npm -version
3.10.10
$ nodejs --version
v6.10.2
1 GB of main memory is not enought to run Scality S3. In order to get the service running, it is mandatory to create a Swap file
$ sudo mkdir -p /var/cache/swap
$ sudo fallocate -l 2G /var/cache/swap/swap0
$ sudo chmod 0600 /var/cache/swap/swap0
$ sudo mkswap /var/cache/swap/swap0
$ sudo swapon /var/cache/swap/swap0
Insert a line into the file /etc/fstab
/var/cache/swap/swap0 none swap sw 0 0
$ git clone https://github.com/scality/S3.git
$ cd S3/
$ npm install
$ npm start
Just these lines need to be modified:
access_key = accessKey1
host_base = <the_ip_of_your_raspberry>:8000
host_bucket = <the_ip_of_your_raspberry>:8000
secret_key = verySecretKey1
use_https = False
Now s3cmd should work properly with the S3ninja service.
$ s3cmd mb s3://testbucket
Bucket 's3://testbucket/' created
$ s3cmd ls
2017-05-01 18:51  s3://testbucket
$ s3cmd rb s3://testbucket
Bucket 's3://testbucket/' removed
1 GB of main memory is not enought to run Scality S3. In order to avoid this problem, a Swap partition of at least 1 GB of size or a Swap file is required. See here for more information.
The user access key and secret access keys can be specified in this file ~/S3/conf/authdata.json.
In the configuration file ~/S3/config.json, the port number is specified. The default port number of S3ninja is 8000.