The following guide in intended to provide quick start intructions on how to install and configure Turbonomic with Kubeturbo on Openshift using operators. For full intstructions on Multi-Node Deployment of Turbonomic on Kubernetes, please visit the Turbonomic Wiki Instructions.


The Turbonomic Platform Operator can be quickly installed on your Openshfit cluster(s). This can be done through Openshift Console under the operator catalog, or directly through the CLI. The Turbonomic Platform is deployed as a set of containerized micro-services owned and managed by the Operator, and covers varios components across mediation, abtraction, analysis, automation, presentation, and more. For a more detailed description, the Turbonomic architecture can be viewed here. The following meaningful resources will be installed into the Openshift Cluster:
- Operator Deployment (t8c-operator)
- Custom Resource Definition (xl-release)
- 21 Deployments & Services
- 5 ConfigMaps
- 10 PersistentVolumeClaims
- Service Account
- Cluster Role
- RoleBinding
- 2 Openshift Routes (one for api service, and one for topology-processing service)
- Secrets
For detailed pre-requisites, please visit wiki page here, otherwise continue to the proceeding sections.
The Kubeturbo Operator can be quickly installed on your Openshfit cluster(s). This can be done through Openshift Console under the operator catalog, or directly through the CLI. Kubeturbo operator will run as a single pod deployment of kubeturbo per cluster, with the following meaningful resources installed into the Openshift Cluster:
- Operator Deployment (kubeturbo-operator)
- Custom Resource Definition (kubeturbo-release)
- 1 Deployment (kubeturbo pod) & Service
- 1 ConfigMap (for kubeturbo to connect to the Turbonomic topology processing server)
- Service Account
- Cluster Role
- RoleBinding
- Secrets
- Kubernetes version 1.8 or higher, OpenShift release 3.4 or higher, including any k8s upstream compliant distribution
- Turbonomic Server version 5.9 or higher is installed, running, and the following information:
- Turbonomic Server URL https://
- Turbonomic username with administrator role, and password
- Turbonomic Server Version. To get this from the UI, go to Settings -> Updates -> About and use the numeric version such as “6.2.11” or “6.3” (No minor version needed 6.3+. Build details not required) To determine Turbo Server, CWOM Server and the kubeturbo image tags, refer to Turbonomic - CWOM - Kubeturbo version mappings
- User needs cluster-admin cluster role level access to be able to create the following resources if required:
- namespace
- service account,
- cluster role binding for the service account.
- Note: kubeturbo will run the with the following cluster level permissions
- Instructions assume the node you are deploying to has internet access to pull the kubeturbo image from the DockerHub repository, and your environment is configured with a repo accessible by the node.
- Kubeturbo pod will have access to the kubelet on every node
- Network: https + port=10250 (default). Or http + port=10255.
- Kubeturbo pod will have https/tcp access to the Turbonomic Server
- Proxies between kubeturbo and Turbonomic Server need to allow websocket communication.
- One kubeturbo pod will be deployed per cluster or per control plane when using stretch clusters. Kubeturbo pod will run with a service account with a cluster-admin role
- This pod will typically run with no more than 512 Mg Memory, less than 1 core or 1 GHz CPU, and maximum volume space of 10 G.
Create a namespace with the name 'turbonomic'.
oc create ns turbonomic
From the Openshift Console, go to OperatorHub, select the project you just created from step 1, and search for turbonomic. Select the non-community, non-marketplace option.
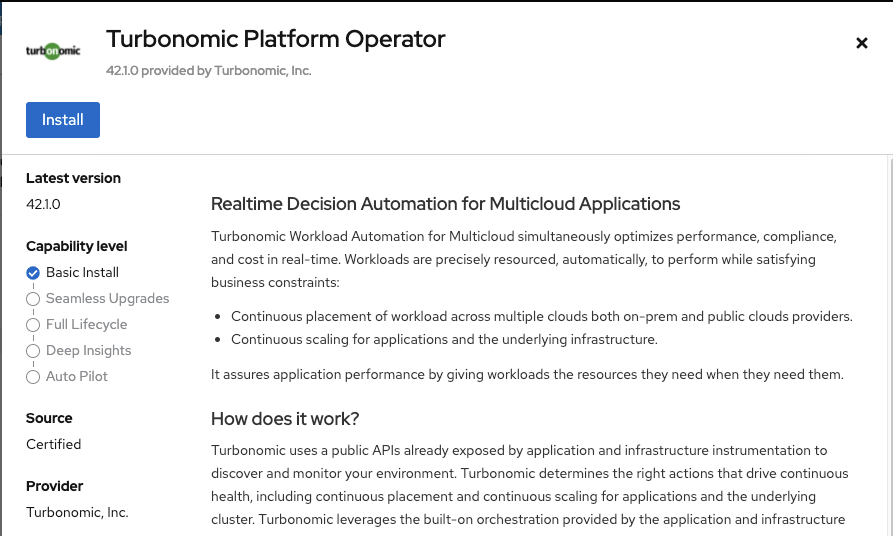
Proceed with the installation of the default configuration in your project. You should now see the operator installed and running in your turbonomic project.
The Operator can also be easily installed through the CLI using an OperatorGroup and Subscription resource. More documentation on this can be found here
- Deploy the OperatorGroup
oc create -f https://raw.githubusercontent.com/ericbannon/kubeturbo-openshift/main/operator-cli-install/t8c/t8c-operatorgroup.yaml
- Deploy the Subscription
oc create -f https://raw.githubusercontent.com/ericbannon/kubeturbo-openshift/main/operator-cli-install/t8c/t8c-operatorsub.yaml
You should now see the operator installed and running in your turbonomic project
When deploying on Openshift, you need to use the group id from the uid-range assigned to the turbonomic project. This can be done by running oc describe project -n turbonomic and looking for the following annotations:
  	openshift.io/sa.scc.supplemental-groups=1000660000/10000
	openshift.io/sa.scc.uid-range=1000660000/10000
You would then take the first group id and include that in the crd yaml. See step 3 for more details.
spec:
  global:
    securityContext:
      fsGroup: 1000660000
Or, optionally, you can just change the security context of the project to the 'anyuid' SCC:
oc adm policy add-scc-to-group anyuid system:serviceaccounts:turbonomic
- Go to Installed Operators, and click into the The Turbonomic Platform Operator that was installed in step 2.
- Click 'create instance' under Provided APIs for turbonomic platform operator.
- In the next screen, define the following values for the CRD:
| Key | Value | Description |
|---|---|---|
| openshiftingress.enabled | true | exposes the UI over an Openshift route |
| global.securityContext.fsGroup | group id for your project 's uid-range | group id from the uid-range assigned to the turbonomic project. If assigned anyuid, you do not need this value assigned |
If you prefer to deploy the CRD from the CLI, you can simply use the sample one included in this repo which has the default configuration and openshift ingress enabled instead of steps 1-3 above.
Note: If you did not grant the turbonomic service account access to anyuid, please modify the yaml file below with your fsGroup group id from the uid-range assigned to the turbonomic project
oc create -f https://raw.githubusercontent.com/ericbannon/kubeturbo-openshift/main/operator-cli-install/t8c/sample-crd-t8c.yaml
- Get the route for the Turbonomic API.
oc get route -n turbonomic
-
Go to your browser and access the route for the api over https.
-
When prompted, create your administrator password and add your license

You are now ready to proceed to installing kubeturbo in the cluster.
Create a namespace with the name 'turbo'.
oc create ns turbo
From the Openshift Console, go to OperatorHub, select the project you just created from step 1, and search for kubeturbo. Select the non-community, non-marketplace option.
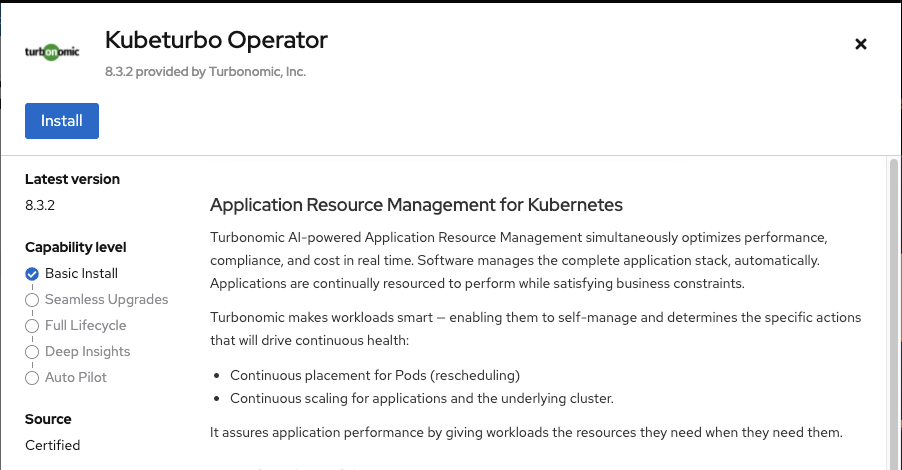
Proceed with the installation of the default configuration in your project. You should now see the operator installed and running in your turbo project.
The Operator can also be easily installed through the CLI using an OperatorGroup and Subscription resource. More documentation on this can be found here
- Deploy the OperatorGroup
oc create -f https://raw.githubusercontent.com/ericbannon/kubeturbo-openshift/main/operator-cli-install/kubeturbo/kubeturbo-operatorgroup.yaml
- Deploy the Subscription
oc create -f https://raw.githubusercontent.com/ericbannon/kubeturbo-openshift/main/operator-cli-install/kubeturbo/kubeturbo-operatorsub.yaml
You should now see the operator installed and running in your turbo project. You can verify installation through the cli or through the Openshift Console.
- Go to Installed Operators, and click into the Kubeturbo operator that was installed in step 2
- Click 'create instance' under Provided APIs for kubeturbo operator
- In the next screen, you must define the following values for the CRD.
| Key | Value | Description |
|---|---|---|
| serverMeta.turboServer | https://Turbo_server_URL | The turbonomic platform's https address (Openshift route) |
| restAPIConfig. opsManagerUserName: | Turbo_username | default is administrator |
| restAPIConfig.opsManagerPassword: | Turbo_password | configured during setup of t8c |
| targetConfig.targetName: | Name_Each_Cluster | a unique name for the managed kubeturbo cluster |
| args.sccsupport | * | Include a value of * in order to enable support of actions that move container pods |
Note: It is reccomended to configure add a value of * to the sccsupport key if you plan on testing move actions for pods
Using the sample provided here, modify the appropriate values to your own.
- Modify values
apiVersion: charts.helm.k8s.io/v1
kind: Kubeturbo
metadata:
  namespace: turbo
  name: kubeturbo-release
spec:
  restAPIConfig:
    opsManagerPassword: <insert-your-password>
    opsManagerUserName: administrator
  serverMeta:
    turboServer: 'https://<insert-your-tc8s-topologyprocessing-route>'
  targetConfig:
    targetName: <insert-a-cluster-name>
  args:
    sccsupport: '*'
- Deploy the crd
oc create -f <your-modified-yaml>
You can verify installation through the cli or through the Openshift Console. For additional documentation and more detailed steps for validation, you can visit the wiki page here: https://github.com/turbonomic/t8c-install/wiki/5.-Deployment-Validation-and-First-Time-Setup
If you would like to explore other options for exposing the Turbonomic api over different ingress, please see the following page