简体中文 | English



Video-subtitle-extractor (VSE) is a free, open-source tool which can help you rip the hard-coded subtitles from videos and automatically generate corresponding srt files for each video. It includes the following implementations:
- Detect and extract subtitle frames (using traditional graphic method)
- Detect subtitle areas (i.e., coordinates) (as well as scene text if you want) (using deep learning algorithms)
- Converting graphic text into plain-text (using deep learning algorithms)
- Filter non-subtitle text (e.g., Logo and watermark etc.)
- Remove watermark, logo text and original video hard subtitles, see: video-subtitle-remover (VSR).
- Remove duplicated subtitle line and generate srt file (by calculating text similarity)
- Batch extraction. You can select multiple video files at one time and this tool can generate subtitles for each video.
- Multiple language support. You can extract subtitles in 87 languages such as: Simplified Chinese, English, Japanese, Korean, Arabic, Traditional Chinese, French, German, Russian, Spanish, Portuguese, Italian
- Multi-mode:
- fast: (Recommended) Uses a lightweight model for quick subtitle extraction, though it might miss a small amount of subtitles and contains a few typos.
- auto: (Recommended) Automatically selects the model. It uses the lightweight model under the CPU, and the precise model under the GPU. While subtitle extraction speed is slower and might miss a minor amount of subtitles, there are almost no typos.
- accurate: (Not Recommended) Uses the precise model with frame-by-frame detection under the GPU, ensuring no missed subtitles and almost non-existent typos, but the speed is very slow.

Features:
- You don't need to do any preprocessing (e.g., binarization) and don't need to consider all aspects like subtitle fonts and size etc..
- This is an offline project. There is no online API call and you dont need to connect to the Internet service provider in order to get results.
Usage:
-
After clicking "Open", select video file(s), adjust the subtitle area, and then click "Run".
- Single file extraction: When opening a file, choose a single video.
- Batch extraction: When opening files, choose multiple videos, ensure that every video's resolution and subtitle area remain consistent.
-
Remove watermark text/replace specific text:
If specific text needs to be deleted from generated .srt file, or specific text needs to be replaced, you can edit the
backend/configs/typoMap.jsonfile and add the content you want to replace or remove.
{
    "l'm": "I'm",
    "l just": "I just",
    "Let'sqo": "Let's go",
    "Iife": "life",
    "威筋": "threat",
    "性感荷官在线发牌": ""
}
In this way, you can replace all occurrences of "威筋" in the text with "threat" and delete all instances of the text "性感荷官在线发牌".
- Directly download the compressed package, unzip it and run it. If it cannot run, follow the tutorial below and try to install the Conda environment and run it using the source code.
Download:
-
Windows executable (might be slow when initial start): vse.exe
-
Windows GPU version:vse_windows_gpu_v2.0.0.7z
-
Windows CPU version:vse_windows_cpu_v2.0.0.zip
-
MacOS:vse_macOS_CPU.dmg
Provide your suggestions to improve this project in ISSUES & DISCUSSION
Pre-built Package Comparison:
| Pre-built Package Name | Python | Paddle | Environment | Supported Compute Capability Range |
|---|---|---|---|---|
vse-windows-cpu.7z |
3.12 | 3.0.0 | No GPU, CPU only | Universal |
vse-windows-directml.7z |
3.12 | 3.0.0 | Windows without Nvidia GPU | Universal |
vse-windows-nvidia-cuda-10.2.7z |
3.11 | 2.5.2 | CUDA 10.2 | 3.0 – 7.5 |
vse-windows-nvidia-cuda-11.8.7z |
3.12 | 3.0.0 | CUDA 11.8 | 3.5 – 8.9 |
vse-windows-nvidia-cuda-12.6.7z |
3.12 | 3.0.0 | CUDA 12.6 | 5.0 – 9.0 |
NVIDIA provides a list of supported compute capabilities for each GPU model. You can refer to the following link: CUDA GPUs to check which CUDA version is compatible with your GPU.
NVIDIA 50 series graphics cards require CUDA 12.8.0 or above, but Paddle 3.0.0 does not support it yet, so it is recommended to use the DirectML universal version.
Recognition Mode Selection:
| Mode Name | GPU | OCR Model Size | Subtitle Detection Engine | Notes |
|---|---|---|---|---|
| Fast | Yes/No | Mini | VideoSubFinder | |
| Auto | Yes | Large | VideoSubFinder | Recommended |
| Auto | No | Mini | VideoSubFinder | Recommended |
| Precise | Yes/No | Large | VSE | Very slow |
The subtitle detection engine for both Windows/Linux environments is VideoSubFinder.
- Graphic User Interface (GUI):

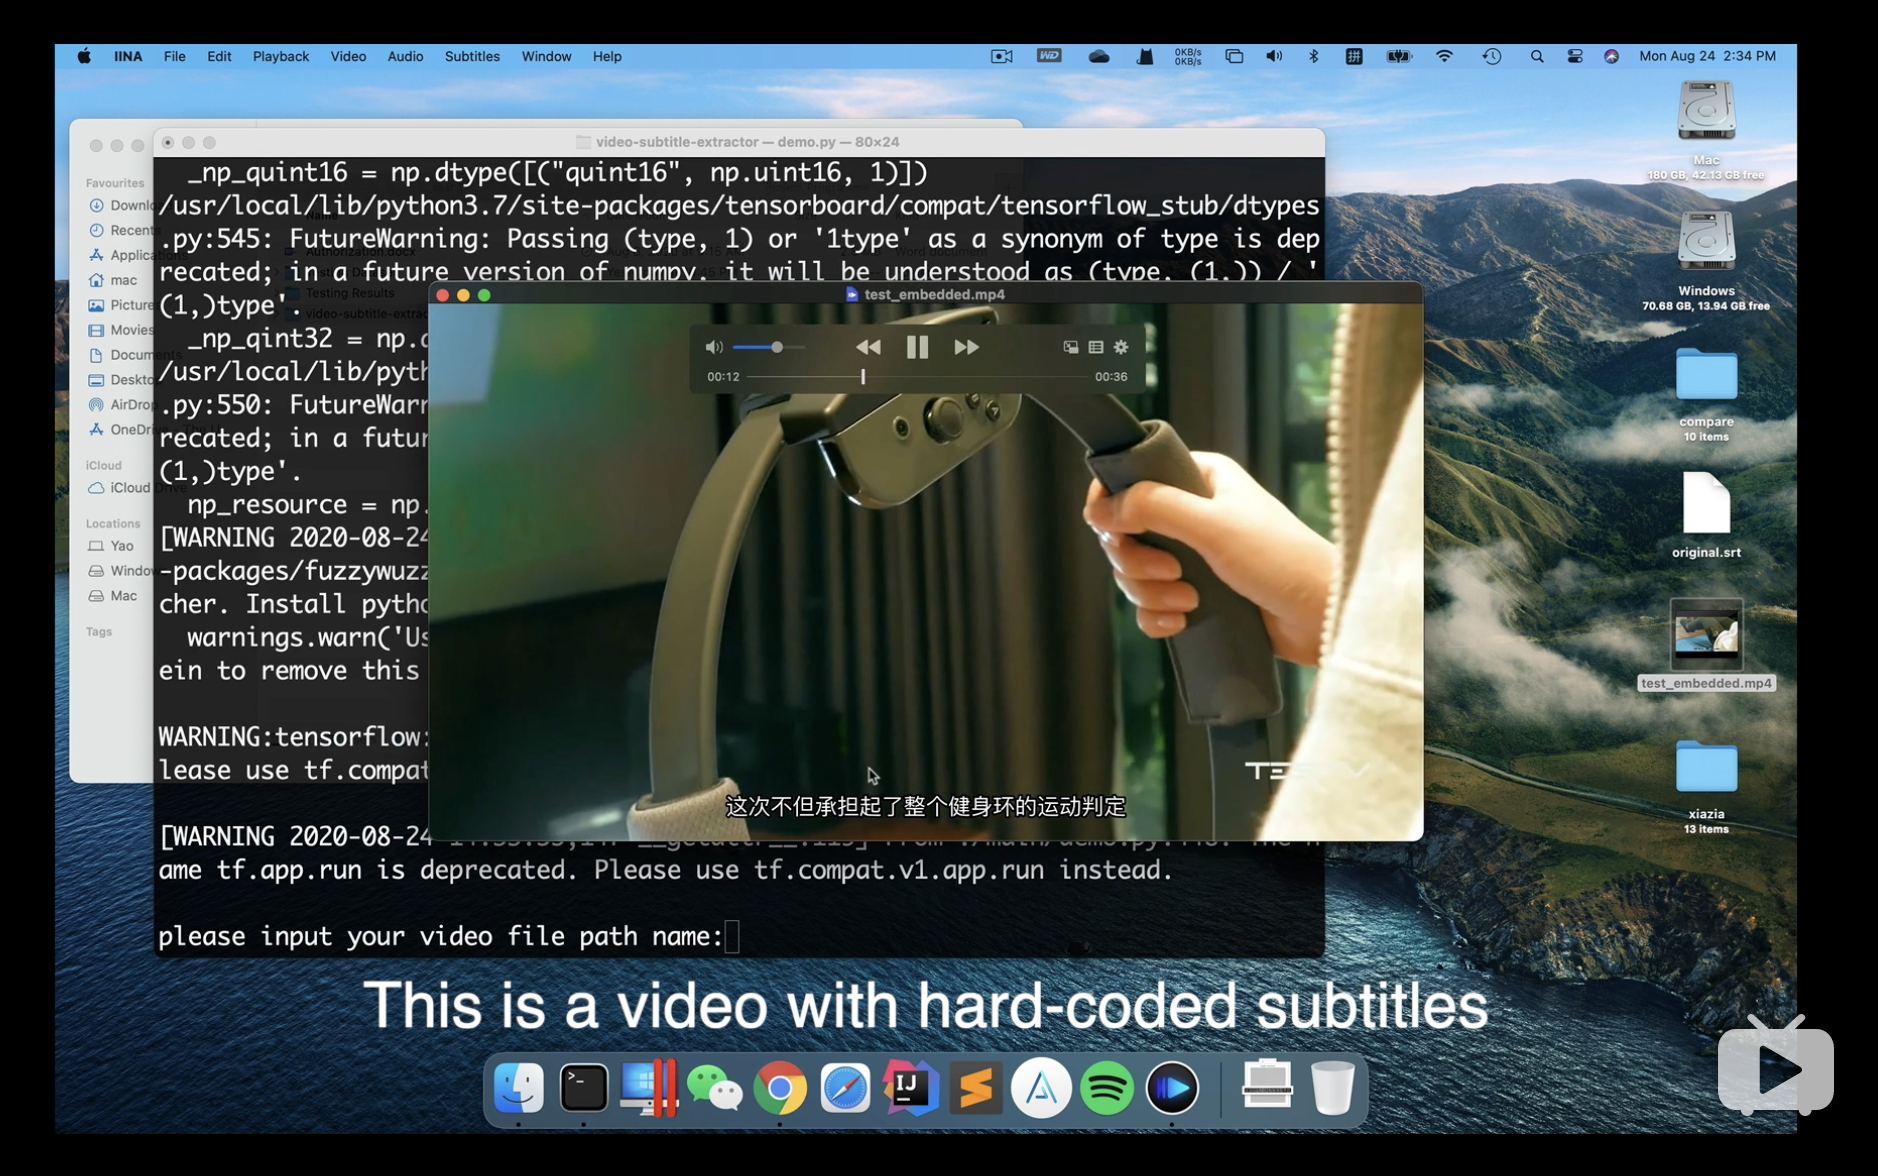
- Command Line Interface (CLI):
- Google Colab Notebook with free GPU:

PS: can only run CLI version on Google Colab
Please ensure that you have installed Python 3.12+.
- Windows users can go to the Python official website to download and install Python.
- MacOS users can install using Homebrew:
brew install python@3.12
- Linux users can install via the package manager, such as on Ubuntu/Debian:
sudo apt update && sudo apt install python3.12 python3.12-venv python3.12-dev
It is recommended to use a virtual environment to manage project dependencies to avoid conflicts with the system environment.
(1) Create and activate the virtual environment:
python -m venv videoEnv- Windows:
videoEnv\\Scripts\\activate- MacOS/Linux:
source videoEnv/bin/activateChange to the directory where your source code is located:
cd <source_code_directory>For example, if your source code is in the
toolsfolder on the D drive and the folder name isvideo-subtitle-extractor, use:cd D:/tools/video-subtitle-extractor-main
This project supports four runtime modes: CUDA (NVIDIA GPU acceleration), CPU (no GPU), DirectML (AMD, Intel, and other GPUs/APUs), and ONNX.
Make sure your NVIDIA GPU driver supports the selected CUDA version.
-
Recommended CUDA 11.8, corresponding to cuDNN 8.6.0.
-
Install CUDA:
- Windows: Download CUDA 11.8
- Linux:
wget https://developer.download.nvidia.com/compute/cuda/11.8.0/local_installers/cuda_11.8.0_520.61.05_linux.run
sudo sh cuda_11.8.0_520.61.05_linux.run
- CUDA is not supported on MacOS.
-
Install cuDNN (CUDA 11.8 corresponds to cuDNN 8.6.0):
- Windows cuDNN 8.6.0 Download
- Linux cuDNN 8.6.0 Download
- Follow the installation guide in the NVIDIA official documentation.
-
Install PaddlePaddle GPU version (CUDA 11.8):
pip install paddlepaddle-gpu==3.0.0 -i https://www.paddlepaddle.org.cn/packages/stable/cu118/
pip install -r requirements.txt
- Suitable for Windows devices with AMD/NVIDIA/Intel GPUs.
- Install ONNX Runtime DirectML version:
pip install paddlepaddle==3.0.0 -i https://www.paddlepaddle.org.cn/packages/stable/cpu/
pip install -r requirements.txt
pip install -r requirements_directml.txt
(3) ONNX (Suitable for macOS, AMD ROCm, and other hardware-accelerated environments; the basic setup is the same as DirectML, not tested!)
- If using this method, DO NOT REPORT ISSUES.
- Suitable for Linux or macOS devices with AMD/Metal GPUs/Apple Silicon GPUs.
- Install ONNX Runtime DirectML version:
pip install paddlepaddle==3.0.0 -i https://www.paddlepaddle.org.cn/packages/stable/cpu/
pip install -r requirements.txt

# Read documentation https://onnxruntime.ai/docs/execution-providers/
# Choose the appropriate execution backend based on your device, modify the dependencies in requirements_directml.txt accordingly.

# Example:
# requirements_coreml.txt
#   paddle2onnx==1.3.1
#   onnxruntime-coreml==1.13.1

pip install -r requirements_coreml.txt
- Suitable for systems without GPU or those that do not wish to use GPU.
- Install the CPU version of PaddlePaddle:
pip install paddlepaddle==3.0.0 -i https://www.paddlepaddle.org.cn/packages/stable/cpu/
pip install -r requirements.txt
- Run the graphical user interface version (GUI):
python gui.py- Run the command-line interface version (CLI):
python ./backend/main.pySolution: If you are using a nvidia ampere architecture graphic card such as RTX 3050/3060/3070/3080, please use the latest PaddlePaddle version and CUDA 11.6 with cuDNN 8.2.1. Otherwise, check your which cuda and cudnn works with your GPU and then install them.
    _lgeos = CDLL(os.path.join(sys.prefix, 'Library', 'bin', 'geos_c.dll'))
  File "C:\Users\Flavi\anaconda3\envs\subEnv\lib\ctypes\__init__.py", line 364, in __init__
    self._handle = _dlopen(self._name, mode)
OSError: [WinError 126] The specified module could not be found。
Solution:
- Uninstall Shapely
pip uninstall Shapely -y- Reinstall Shapely via conda (make sure you have anaconda or miniconda installed)
conda install Shapely Using Nuitka version 0.6.19, copy all the files of site-packages under the Lib folder of the conda virtual environment to the dependencies folder, and comment all codes relevant to subprocess of image.py under the paddle library dataset, and use the following packaging command:
python -m nuitka --standalone --mingw64 --include-data-dir=D:\vse\backend=backend --include-data-dir=D:\vse\dependencies=dependencies --nofollow-imports --windows-icon-from-ico=D:\vse\design\vse.ico --plugin-enable=tk-inter,multiprocessing --output-dir=out .\gui.pyMake a single .exe file, (pip install zstandard can compress the file):
python -m nuitka --standalone --windows-disable-console --mingw64 --lto no --include-data-dir=D:\vse\backend=backend --include-data-dir=D:\vse\dependencies=dependencies --nofollow-imports --windows-icon-from-ico=D:\vse\design\vse.ico --plugin-enable=tk-inter,multiprocessing --output-dir=out --onefile .\gui.pyThe IDE this project used is supported by Jetbrains