本地图片隐私打码工具 — 自动检测并遮盖敏感信息,100% 离线处理。


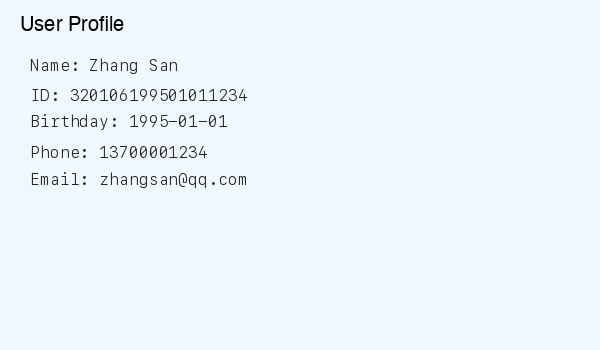
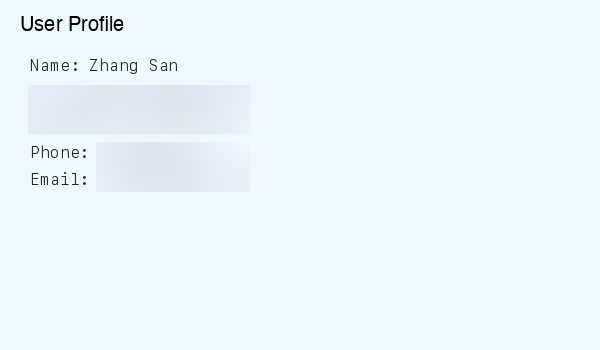
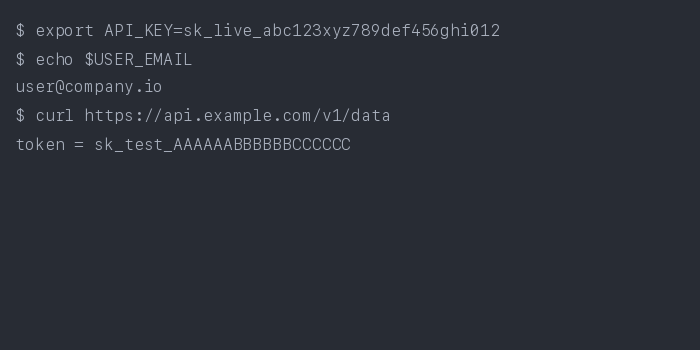
你的图片不会离开本机。 privacy-mask 在截图发送给 AI 服务之前自动拦截,检测并遮盖手机号、身份证、API 密钥等 40+ 种敏感信息。
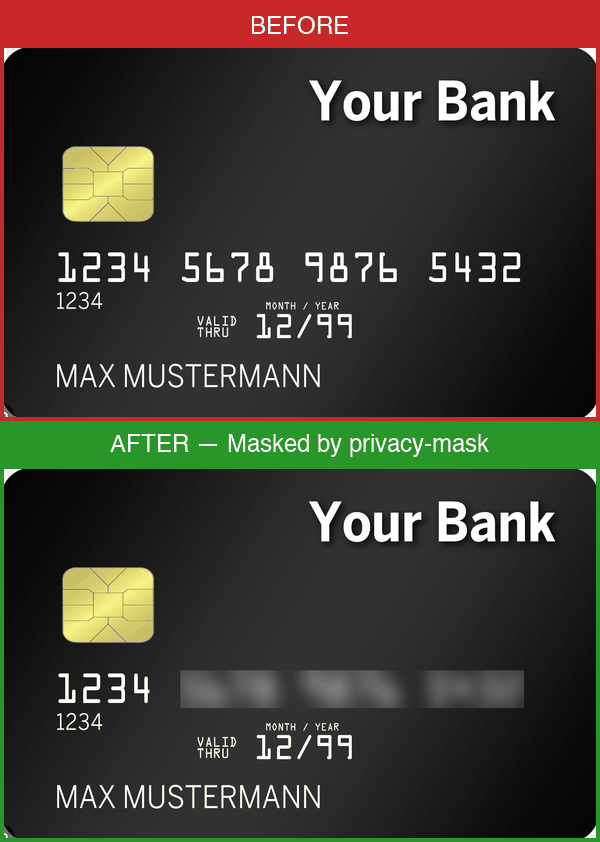
| 原图 | 打码后 |
|---|---|
 |
 |
 |
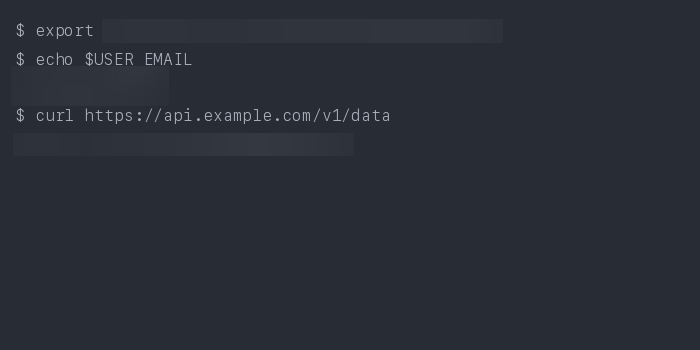 |
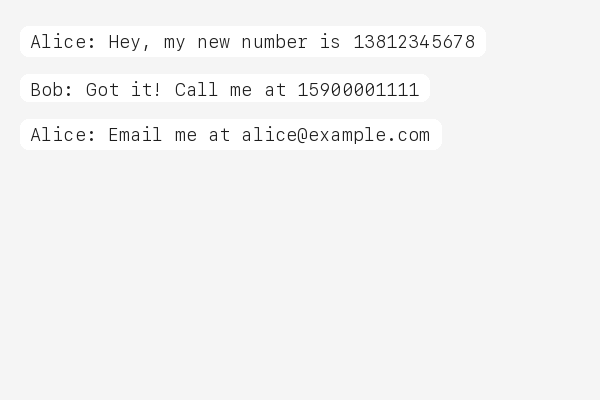 |
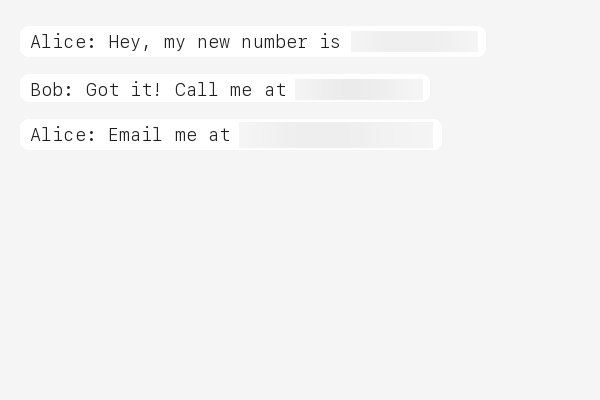 |
给 AI 助手发截图时,你可能不小心暴露了:
- 身份信息 — 身份证号、护照号、社保号
- 手机号和邮箱 — 你自己的或用户的
- API 密钥和令牌 — AWS、GitHub、Stripe、数据库凭证
- 金融数据 — 银行卡号、IBAN 代码
云端脱敏工具需要上传你的图片——这本身就违背了隐私保护的初衷。privacy-mask 在图片离开你的电脑之前就完成打码,是真正保护隐私的唯一方案。
这对合规也很重要:GDPR、HIPAA 等法规要求在数据源头就进行保护。
# 安装
pip install privacy-mask

# 打码截图
privacy-mask mask screenshot.png

# 一次性设置:自动打码所有发给 AI 的图片
privacy-mask install
运行 privacy-mask install 后,每次你给 AI 编程助手发送图片都会自动打码。
# 开关控制
privacy-mask off       # 临时关闭打码
privacy-mask on        # 重新开启
privacy-mask status # 查看当前状态privacy-mask 遵循 agentskills.io SKILL.md 标准,兼容 20+ 本地 AI 编程工具:
| 平台 | 使用方式 |
|---|---|
| Claude Code | pip install privacy-mask && privacy-mask install 或 /plugin marketplace add fullstackcrew-alpha/privacy-mask 然后 /plugin install privacy-mask@privacy-mask |
| Cursor | SKILL.md 自动识别 |
| VS Code Copilot | SKILL.md 自动识别 |
| Gemini CLI | SKILL.md 自动识别 |
| OpenHands | 通过 shell 调用 CLI |
| Goose | SKILL.md 自动识别 |
| Roo Code | SKILL.md 自动识别 |
| aider | 通过 shell 调用 CLI |
| Cline | SKILL.md 自动识别 |
| Windsurf | SKILL.md 自动识别 |
| OpenClaw | clawhub install privacy-mask 或 SKILL.md 自动识别 |
注意: privacy-mask 仅适用于本地 AI 工具。网页版 AI(ChatGPT Web、Gemini Web)会先将图片上传到云端,本地打码无法帮助。本工具专为运行在你电脑上的 AI 工具设计。
在 Claude Code 中发送图片时看到此错误,表示 privacy-mask hook 处理超时。这是已知问题——NER 引擎首次运行需要加载 GLiNER 模型(约 170MB)。尽管显示错误,图片通常仍然成功遮蔽。
解决方法:增加 hook 超时时间,编辑 ~/.claude/settings.json:
{
  "hooks": {
    "UserPromptSubmit": [
      {
        "matcher": "",
        "hooks": [
          {
            "type": "command",
            "command": "bash ~/.claude/hooks/privacy-mask.sh",
            "timeout": 60000
          }
        ]
      }
    ]
  }
}
默认超时 30000ms(30 秒),NER 引擎建议设为 60000ms(60 秒)。如果只用 regex 引擎,30000ms 即可。
替代方案:切换到 regex 引擎(处理速度 2-5 秒 vs NER 的 20-30 秒):
{
  "detection": { "engine": "regex" }
}47 条正则规则,覆盖 15+ 国家:
| 类别 | 规则 |
|---|---|
| 证件 | 中国身份证和护照、港澳台身份证、美国 SSN、英国 NINO、加拿大 SIN、印度 Aadhaar 和 PAN、韩国 RRN、新加坡 NRIC、马来西亚 IC |
| 电话 | 中国手机和座机、美国电话、国际号码(+前缀) |
| 金融 | 银行卡(银联/Visa/MC)、运通卡、IBAN、SWIFT/BIC |
| 开发者密钥 | AWS 访问密钥、GitHub 令牌、Slack 令牌、Google API 密钥、Stripe 密钥、JWT、数据库连接串、通用 API 密钥、SSH/PEM 私钥 |
| 加密货币 | 比特币地址(传统 + bech32)、以太坊地址 |
| 其他 | 邮箱、生日、IPv4/IPv6、MAC 地址、UUID、中国车牌号、护照 MRZ、URL 认证令牌、微信/QQ 号 |

-
OCR — 双引擎:Tesseract + RapidOCR 提取文字和位置框。多策略预处理(灰度化、二值化、对比度增强),基于置信度融合,最大化识别准确率。
-
检测 — 47 条预编译正则规则扫描 OCR 结果。相邻位置框上的重叠检测会自动合并。
-
打码 — 匹配区域默认使用模糊处理,也可选纯色填充。输出保存为新文件或覆盖原文件。
# 基本用法:打码 → screenshot_masked.png
privacy-mask mask screenshot.png

# 覆盖原文件
privacy-mask mask screenshot.png --in-place

# 仅检测,不打码
privacy-mask mask screenshot.png --dry-run

# 黑色填充代替模糊
privacy-mask mask screenshot.png --method fill

# 选择 OCR 引擎(tesseract、rapidocr 或 combined)
privacy-mask mask screenshot.png --engine tesseract

# 自定义配置
privacy-mask mask screenshot.png --config my_rules.json

# 指定输出路径
privacy-mask mask screenshot.png -o /tmp/safe.png
输出为 JSON 格式:
{
  "status": "success",
  "input": "screenshot.png",
  "output": "screenshot_masked.png",
  "detections": [
    {"label": "PHONE_CN", "text": "***", "bbox": [10, 20, 100, 30]},
    {"label": "EMAIL", "text": "***", "bbox": [10, 50, 200, 30]}
  ],
  "summary": "Masked 2 regions: 1 PHONE_CN, 1 EMAIL"
}规则定义在 config.json 中,可以传入自定义配置:
privacy-mask mask image.png --config my_config.json每条规则包含 name、pattern(正则表达式)和可选的 flags。示例:
{
  "rules": [
    {
      "name": "MY_CUSTOM_ID",
      "pattern": "CUSTOM-\\d{8}",
      "flags": ["IGNORECASE"]
    }
  ]
}查看内置 config.json 了解全部 47 条规则。
- Python 3.10+
- Tesseract OCR
- macOS:
brew install tesseract - Ubuntu:
sudo apt install tesseract-ocr - Windows: 下载安装包
- macOS:
欢迎贡献!详见 CONTRIBUTING.md。
MIT