A Node.js based City of Heroes server control panel. Offers automatic manifest generation for launchers, user management, and character views.
- Character Profiles pulled directly from server data
- User management
- Admin dashboard
- Multi-server support
- Node.js 22 (https://nodejs.org/dist/v22.21.1/node-v22.21.1-x64.msi)
- npm 9+
- SQL Server
-
Download Node.js LTS from https://nodejs.org/dist/v22.21.1/node-v22.21.1-x64.msi and install.
-
Download the latest release: https://github.com/CaitlynMainer/CityVault/releases
-
Install dependencies:
npm install
-
Start the application:
npm start
-
Follow on screen configuration wizard.
-
Visit the site at:
https://YourDomainThe first request will try to issue you SSL Certificates, so it may take a few seconds to respond.
This is your main config file. The admin section on the website can also be used to modify the config.
To enable email verification and password reset functionality, configure the email section in your data/config.json or use the web-based config editor (/admin/config).
Example structure:
"email": {
  "provider": "mailsend", // or "smtp"
  "fromEmail": "noreply@yourdomain.com",
  "mailersend": {
    "apiKey": "your-mailsend-api-key"
  },
  "smtp": {
    "host": "smtp.example.com",
    "port": "587",
    "auth": {
      "user": "smtp-user",
      "pass": "smtp-password"
    }
  }
}- Set to
"mailsend"to use MailerSend. (https://mailersend.com) - Set to
"smtp"to use a custom SMTP provider.
- The email address that will appear as the sender for verification and password reset emails.
apiKey: Your MailerSend API key.
host: SMTP server address.port: SMTP port (typically"587"for TLS).auth.user: SMTP username.auth.pass: SMTP password.
Changes to config.json can also be made through the web admin panel under Configuration.
/admin/: Access site config editor, update manager, server list, and news dashboard.- Only users with
role: adminin the database will see admin links.
To enable users to download and launch the game client from your server, follow these steps:
-
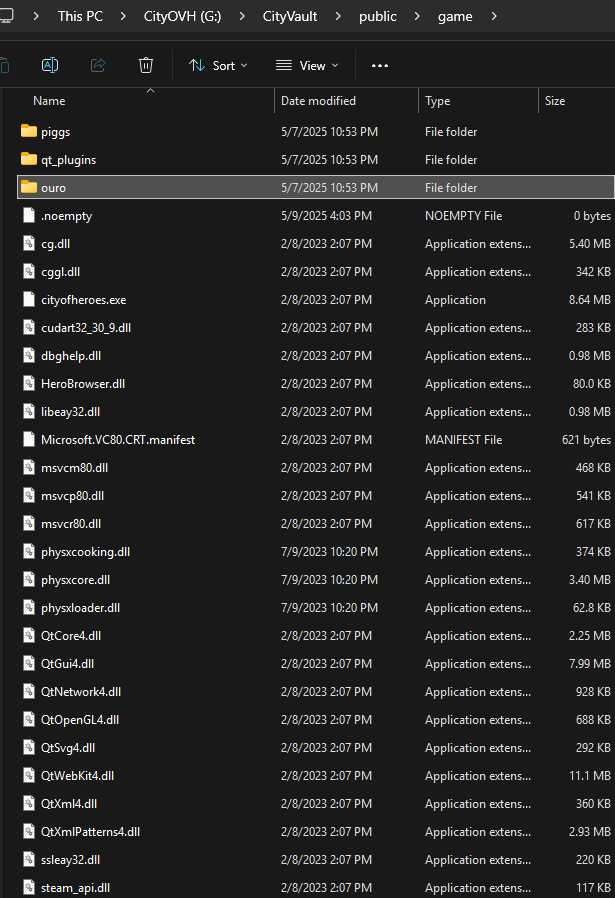
Directory: Place the entire unzipped game client into the
/public/gamedirectory of your project.- Example: If your game client folder is named
CityOfHeroes, move all its contents (not the folder itself) into/public/game.
- Example: If your game client folder is named
-
Note: Ensure that all necessary files, including executables and data folders, are present in
/public/game.
-
Access the Admin Panel: Navigate to
/admin/manifestin your web browser. -
Set Server Details:
-
Name: Enter the name of your server (e.g., "My CoH Server").
-
Website Link: Provide the URL to your server's website or homepage.
-
-
Add a Profile:
-
Click on the "Add Profile" button.
-
Profile Name: Enter a name for this profile. This name will appear in the game launcher.
-
Executable Name: Specify the name of the game's executable file (e.g.,
CityOfHeroes.exe,OuroDev.exe, etc.). -
Launch Parameters: Set the parameters used to launch the game. For a default OuroDev server, use:
-patchdir ouro -auth YOUR.SERVER.IPReplace
YOUR.SERVER.IPwith your server's actual IP address or domain name.
-
-
Save Changes: After entering all the details, ensure you save the configuration.
-
Multiple Profiles: You can add multiple profiles if you host different versions or configurations of the game.
-
Testing: After setting up, test the download and launch process to ensure everything works as expected.
-
Security: Ensure that the
/public/gamedirectory is accessible to users but secured against unauthorized modifications.
- Tailwind CSS, EJS templates, Node.js backend
- Update notifications auto-fetched from GitHub