
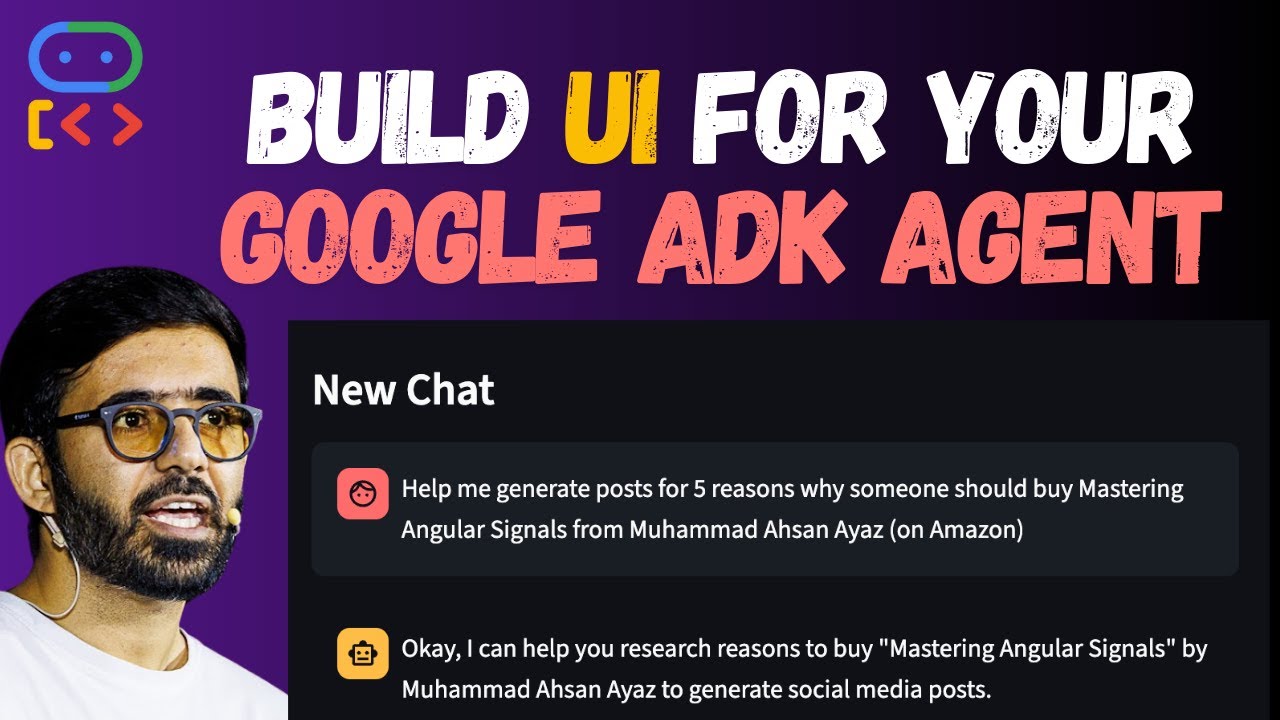
A turnkey, open-source Streamlit chatbot interface designed for seamless integration with agents deployed on Google Cloud's Vertex AI Agent Engine. This project empowers developers to effortlessly connect their custom agents, deploy them, and share them with the world.
- Rapid Deployment: Go from a deployed Vertex AI agent to a shareable web application in minutes.
- Streamlit Powered: Built on the popular and easy-to-use Streamlit framework for a smooth user experience.
- Customizable: Easily extend and customize the chatbot's appearance and functionality.
- Secure Authentication: Straightforward setup for Google Cloud authentication using service accounts.
- Cloud Agnostic Deployment: Deploy with ease to Streamlit Cloud or any other preferred platform.
To see how your agent performs right now, use our hosted version here: adk-nexus.dev.iomechs.com. A modal will prompt for your agent's credentials.
Follow these instructions to get a local copy of the chatbot up and running.
- Python 3.9 or higher
- A deployed agent on Vertex AI Agent Engine
To configure your application, you'll need to create a secrets.toml file within a .streamlit directory.
First, copy the example secrets file:
cp .streamlit/secrets.example.toml .streamlit/secrets.tomlNext, open .streamlit/secrets.toml and populate it with your specific Google Cloud and agent information:
# .streamlit/secrets.toml

# --- Required Configuration ---
RESOURCE_ID = "your-agent-engine-resource-id"
LOCATION = "your-gcp-region"

# --- Optional Configuration ---
CHATBOT_NAME = "your-chatbot-name" # Defaults to "ADK Chatbot"To securely connect to your Vertex AI agent, you need to create a Google Cloud service account.
- Navigate to Service Accounts: In the Google Cloud Console, go to IAM & Admin → Service Accounts for your project.
- Create Service Account: Click on + CREATE SERVICE ACCOUNT.
- Details: Give your service account a descriptive name (e.g., "ADK Chatbot Service Account").
- Permissions: Grant the "Vertex AI User" role to this service account.
- Create Key:
- Find your newly created service account in the list.
- Click the three-dot menu on the right and select Manage keys.
- Click on ADD KEY → Create new key.
- Choose JSON as the key type and click Create. A JSON key file will be downloaded to your computer.
- Convert and Add to Secrets:
- Open the downloaded JSON file.
- You will need to convert the content of this JSON file into a TOML-compatible format for Streamlit. You can use an online converter for this.
- Paste the resulting TOML content into your
.streamlit/secrets.tomlfile under the[gcp_service_account]section, ensuring there are no line breaks in the private key.
Your completed secrets.toml should look like this:
# .streamlit/secrets.toml

RESOURCE_ID = "your-agent-engine-resource-id"
LOCATION = "your-gcp-region"
CHATBOT_NAME = "your-chatbot-name" # Optional, defaults to "ADK Chatbot"

[gcp_service_account]
type = "service_account"
project_id = "xxx"
private_key_id = "xxx"
...It is recommended to use a virtual environment to manage project dependencies.
python -m venv .venv
source .venv/bin/activatepip install -r requirements.txtstreamlit run app.pyYour chatbot should now be running locally!
- Push to GitHub: Ensure your code, including the
requirements.txtfile, is pushed to a GitHub repository. - New App on Streamlit Cloud: Go to Streamlit Cloud and click on New app.
- Connect Your Repo: Select your GitHub repository and the correct branch.
- Configure App: Set the "Main file path" to
app.py. - Add Secrets: In the "Advanced settings," copy the entire content of your local
secrets.tomlfile and paste it into the "Secrets" section. - Deploy: Click Deploy. Streamlit Cloud will handle the rest, and your chatbot will be live at a shareable URL.
Contributions are what make the open-source community such an amazing place to learn, inspire, and create. Any contributions you make are greatly appreciated.
If you have a suggestion that would make this better, please fork the repo and create a pull request. You can also simply open an issue with the tag "enhancement".
- Fork the Project
- Create your Feature Branch (
git checkout -b feature/AmazingFeature) - Commit your Changes (
git commit -m 'Add some AmazingFeature') - Push to the Branch (
git push origin feature/AmazingFeature) - Open a Pull Request
This open-source project is proudly maintained by IOMechs. We specialize in creating intelligent automation and AI-powered solutions to drive business efficiency and innovation.
For inquiries about AI Automation or custom AI-Powered Solutions, please reach out to us at [email protected].
MIT License
Copyright © 2025 IOMechs
Permission is hereby granted, free of charge, to any person obtaining a copy of this software and associated documentation files (the "Software"), to deal in the Software without restriction, including without limitation the rights to use, copy, modify, merge, publish, distribute, sublicense, and/or sell copies of the Software, and to permit persons to whom the Software is furnished to do so, subject to the following conditions:
The above copyright notice and this permission notice shall be included in all copies or substantial portions of the Software.
THE SOFTWARE IS PROVIDED "AS IS", WITHOUT WARRANTY OF ANY KIND, EXPRESS OR IMPLIED, INCLUDING BUT NOT LIMITED TO THE WARRANTIES OF MERCHANTABILITY, FITNESS FOR A PARTICULAR PURPOSE AND NONINFRINGEMENT. IN NO EVENT SHALL THE AUTHORS OR COPYRIGHT HOLDERS BE LIABLE FOR ANY CLAIM, DAMAGES OR OTHER LIABILITY, WHETHER IN AN ACTION OF CONTRACT, TORT OR OTHERWISE, ARISING FROM, OUT OF OR IN CONNECTION WITH THE SOFTWARE OR THE USE OR OTHER DEALINGS IN THE SOFTWARE.