This document describes the encryption service App developed at ITESM as a web application for encrypting, decrypting, and anonymizing FIWARE data models.
FIWARE is a curated framework of open source platform components to accelerate the development of Smart solutions. The FIWARE platform provides a rather simple yet powerful set of APIs (Application Programming Interfaces) that ease the development of Smart Applications in multiple vertical sectors.
The main and only mandatory component of any "Powered by FIWARE" platform or solution is the FIWARE Orion Context Broker Generic Enabler, which brings a cornerstone function in any smart solution: the need to manage context information in a highly decentralized and large-scale manner, enabling to perform updates and bring access to context.
FIWARE data models have been harmonized to enable data portability for different applications including, but not limited, to Smart Cities. They are intended to be used together with FIWARE NGSI version 2.
The Web application allows the encryption, decryption, and anonimization of FIWARE data models that reside in a local JSON file.
The encryption service can be installed on any Operative System.
The following software must be previously installed in the server which will hold the encryption application.
The application requires an active Gmail account. The use of other email accounts will cause the malfunction of the service.
- Clone or download this repository
- Open a terminal in the location of the docker-compose.yml file

- Start the docker compose with
sudo docker-compose upor withsudo docker-compose up -d. The first command shows the status of the container in the foreground while the second command put the process in the background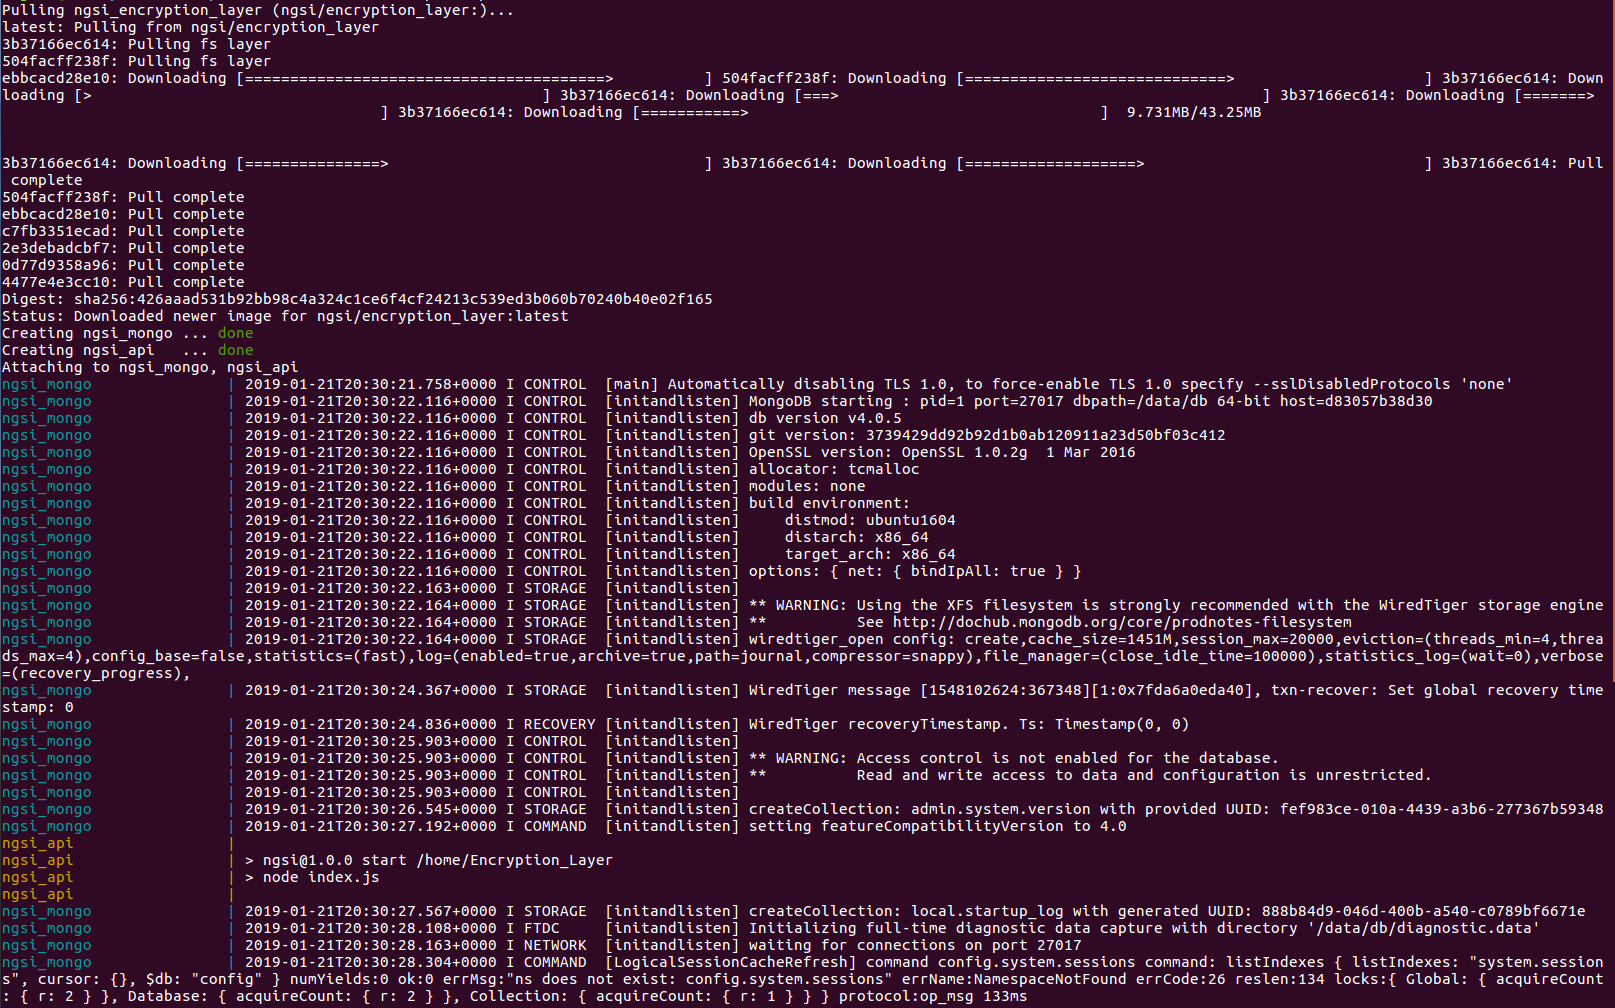

- Check docker containers status:
docker ps
- Two containers are required by the application, one for the ngsi_api and one for mongoDB. To verify that the containers are up and running:
docker logs CONTAINER_ID
- If the container shows an error, restart the container:
sudo docker-compose restart

- Stop the application:
sudo docker-compose down
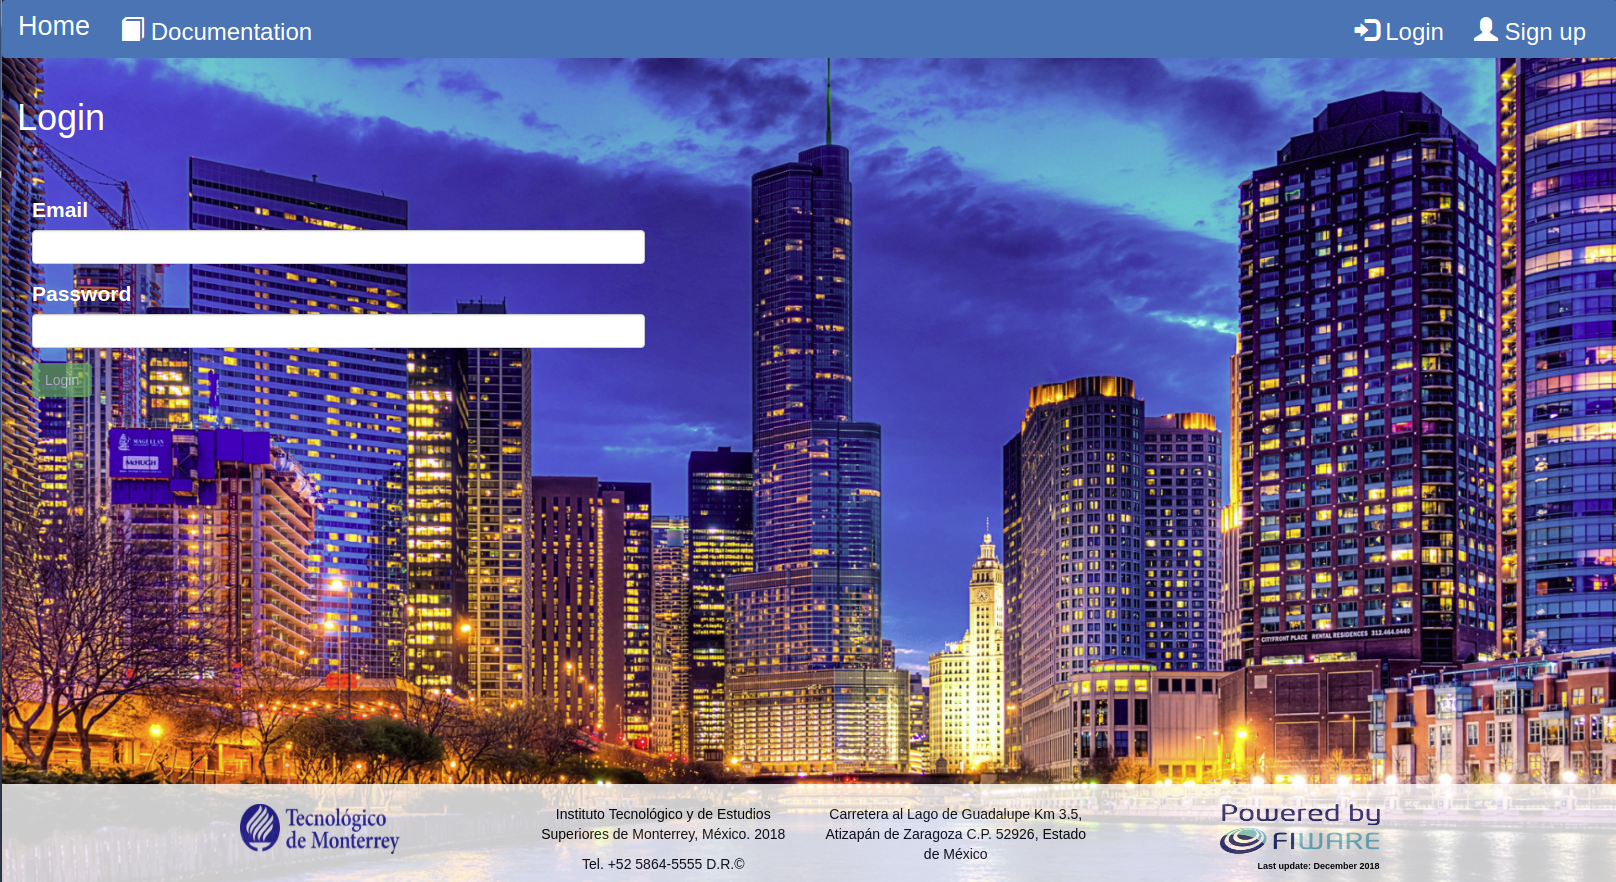
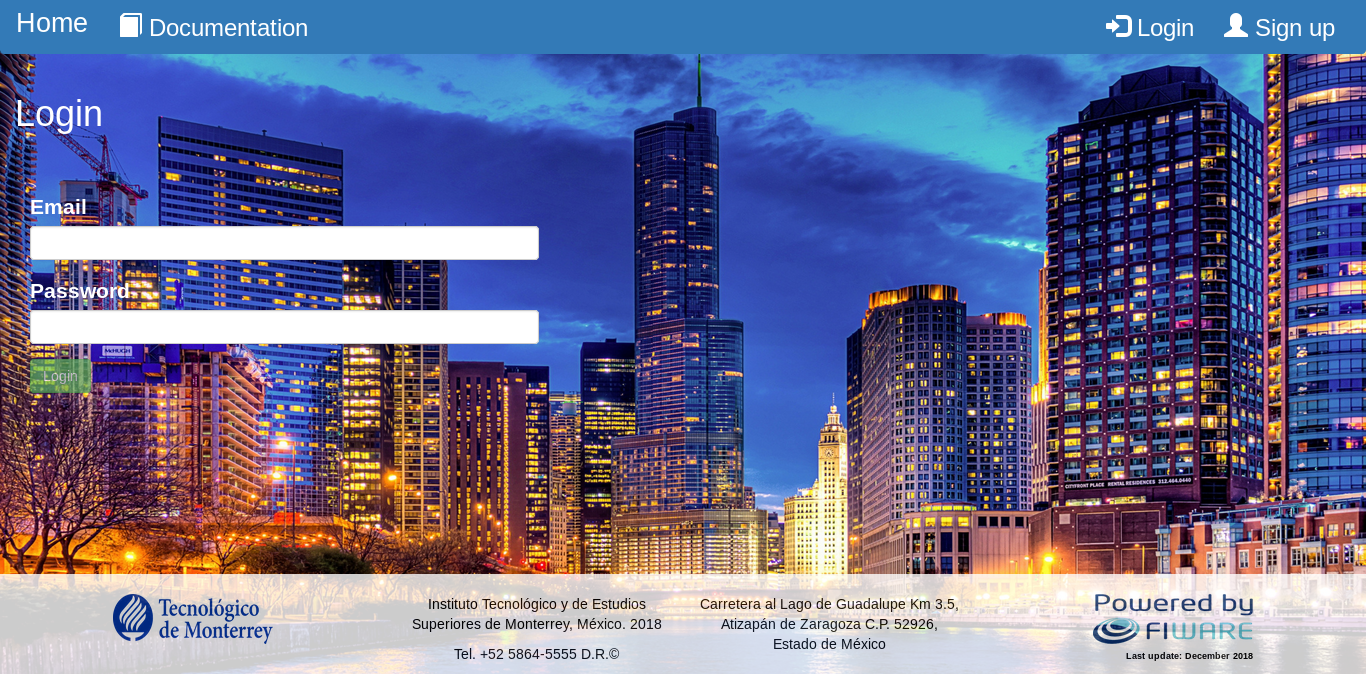
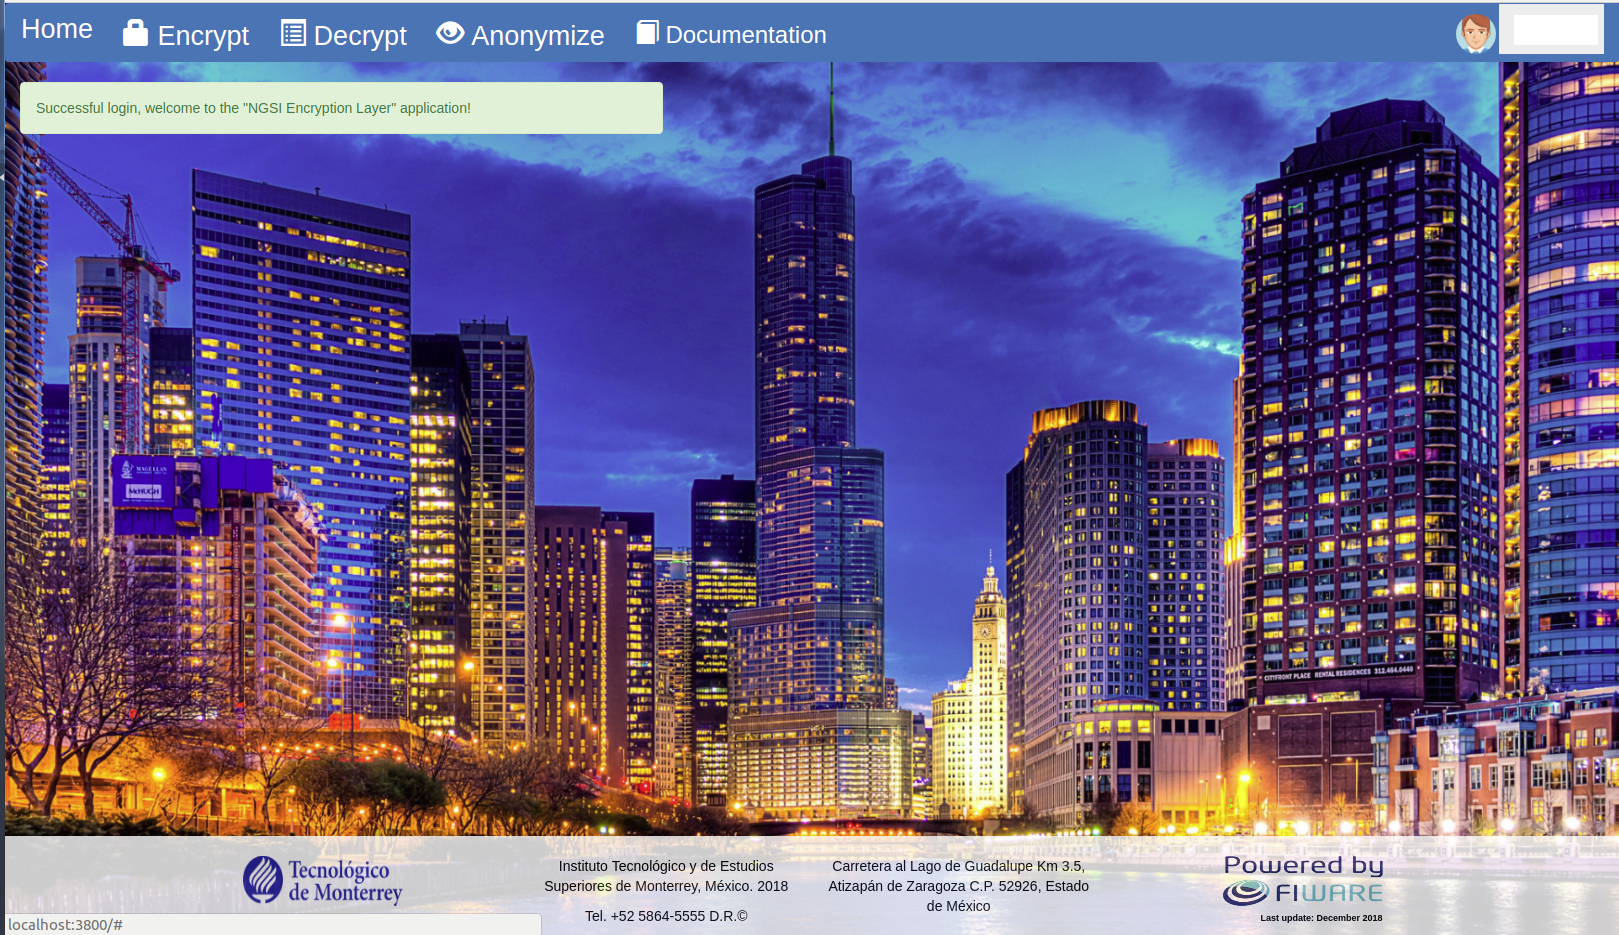
Access the service via the NGSI Encryption Layer Application official website or http://127.0.0.1:3800 / http://localhost:3800 if the application was installed locally
The correct functionality of the application is achieved by using Firefox, Chrome, and Opera web browsers. The application is not optimized for mobile devices.
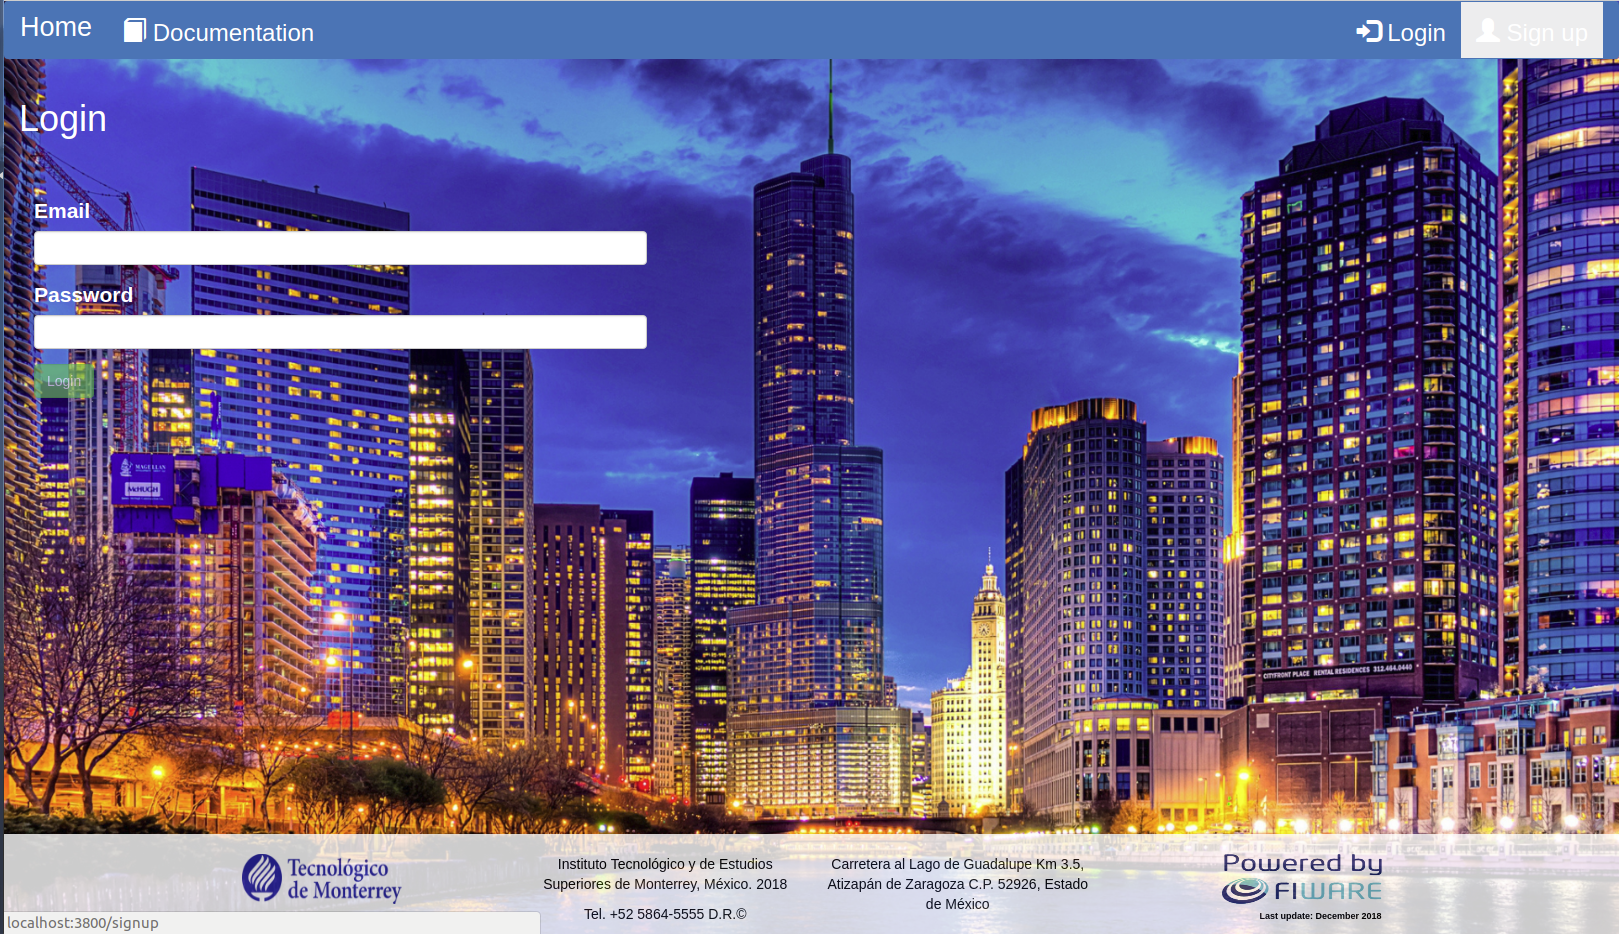
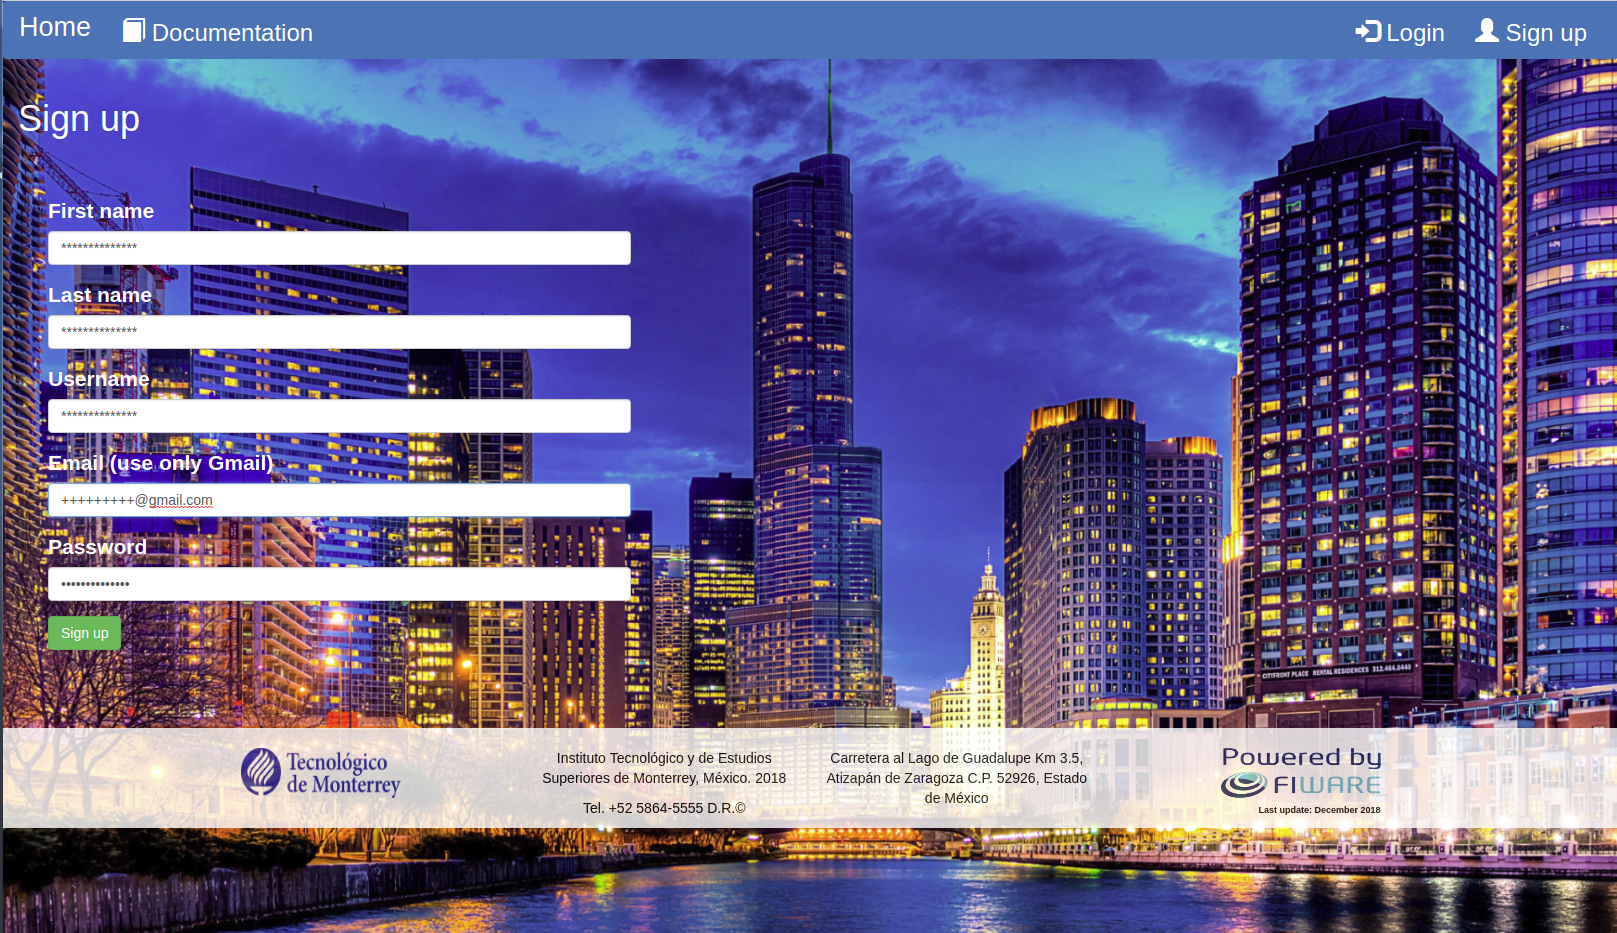
- In the main page of the application, select the "Sign up" button at the right-top side of the web page
- In the "Sign up" page, fill up the "First name", "Last name", "User name", "Email", and "Password" fields
- Click the "Sign up" button at the left-bottom side of the web page
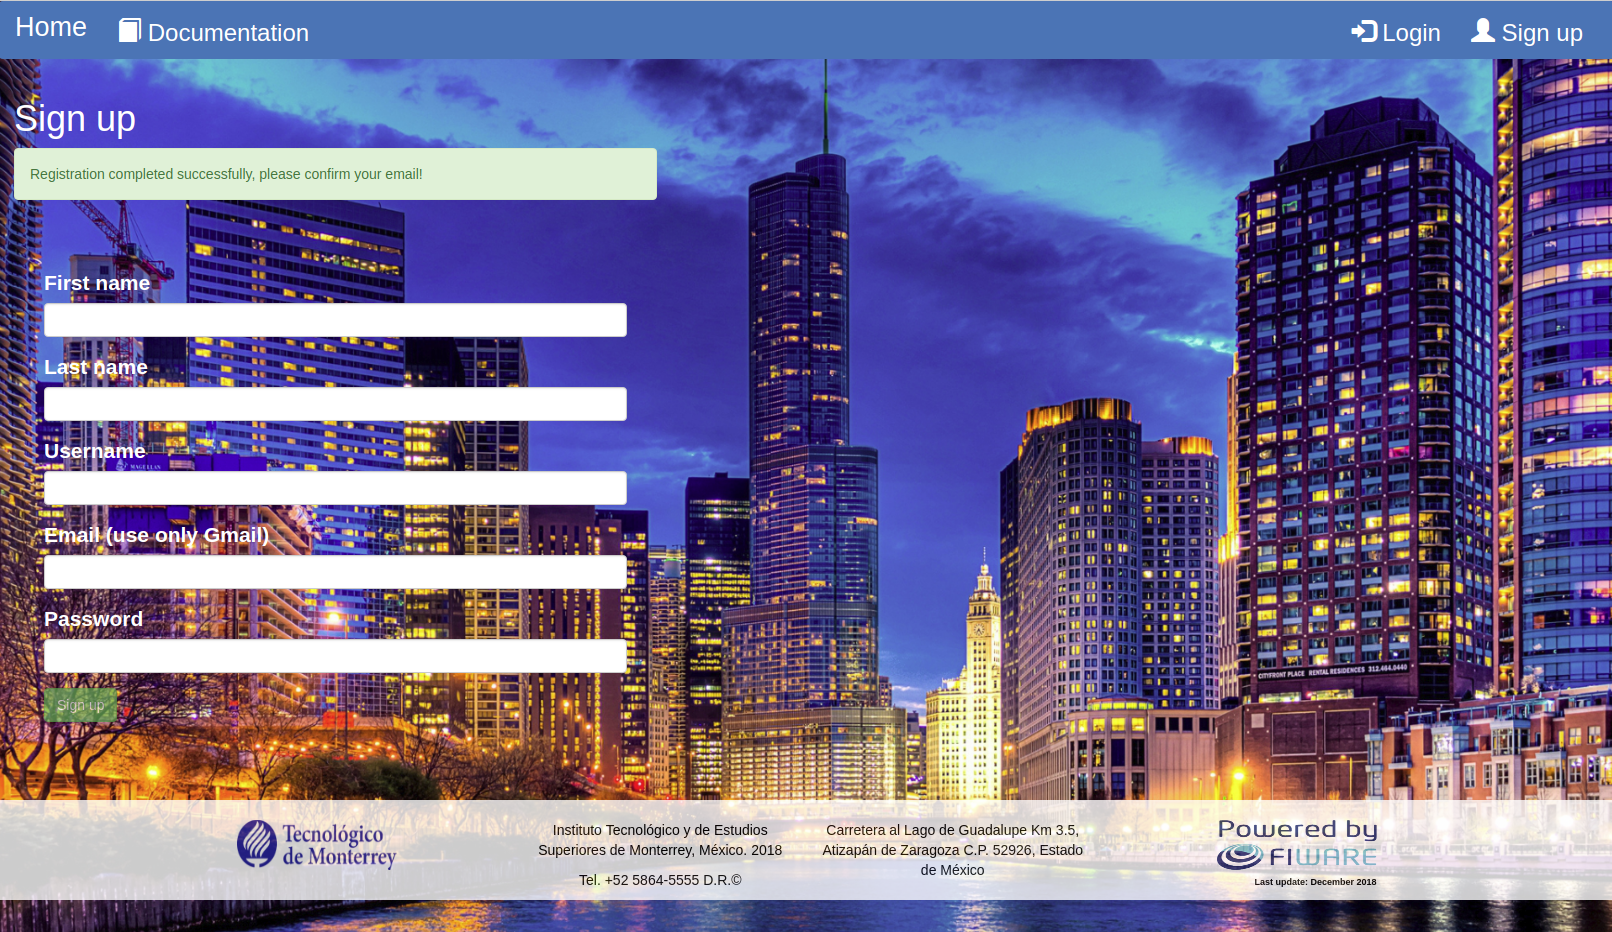
- A message will be displayed asking to confirm the provided Gmail account. To perform this process, go to the Gmail account provided and click the confirmation URL contained into the email

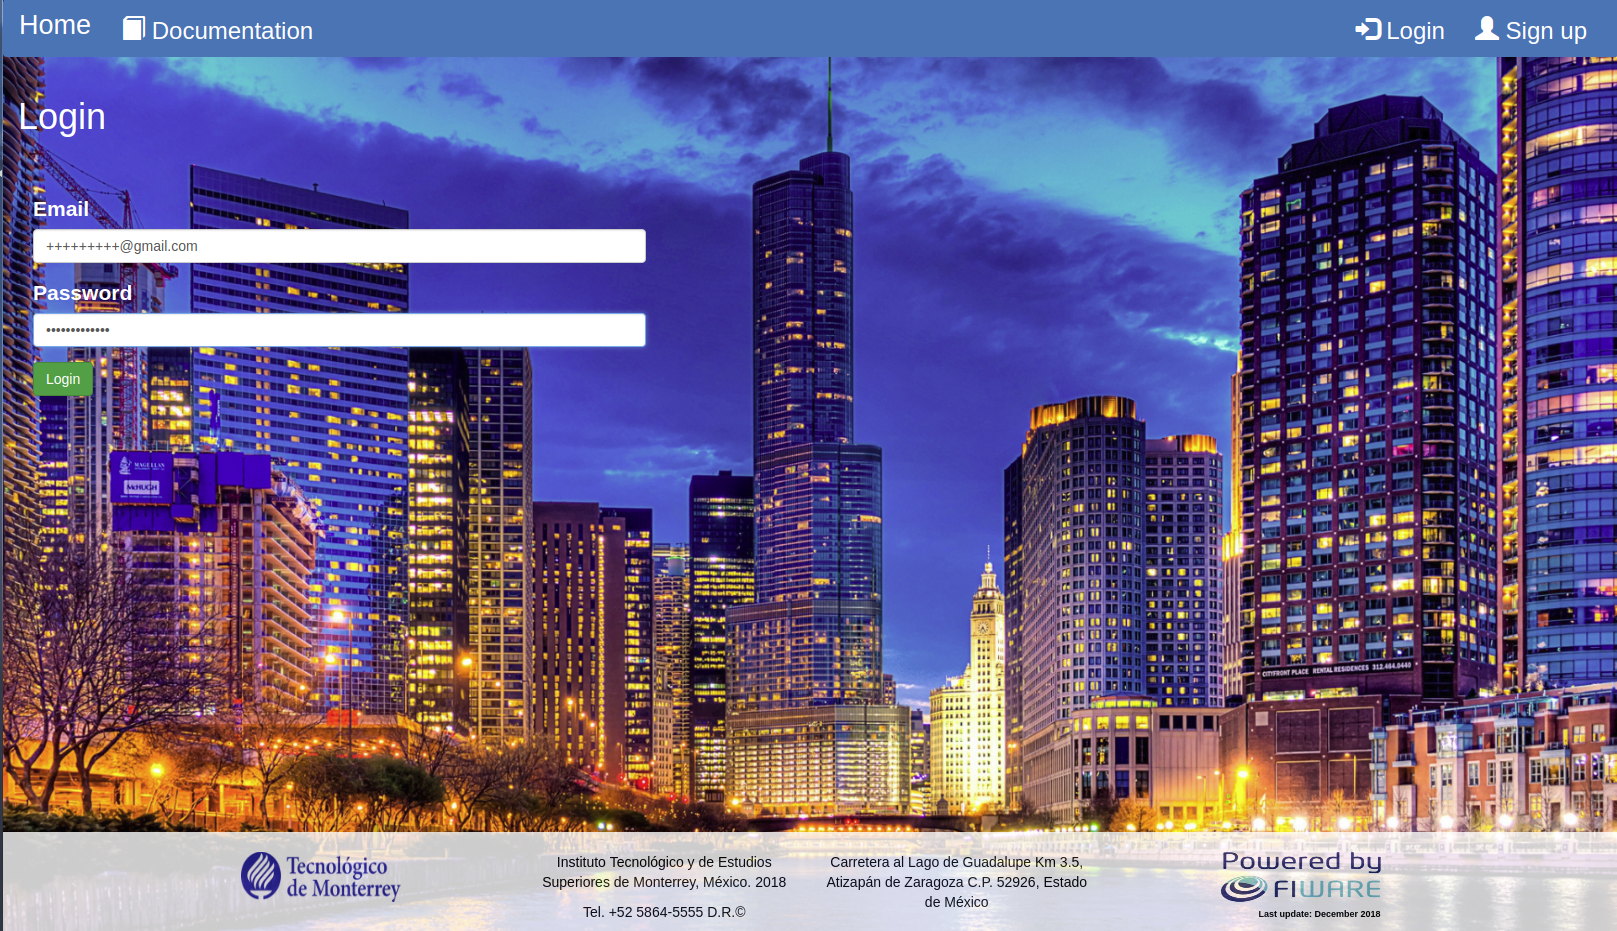
- In the main page of the application, fill up the "Email" and "Password" fields with the corresponding credentials
- Click the "Login" button at the left-bottom side of the web page
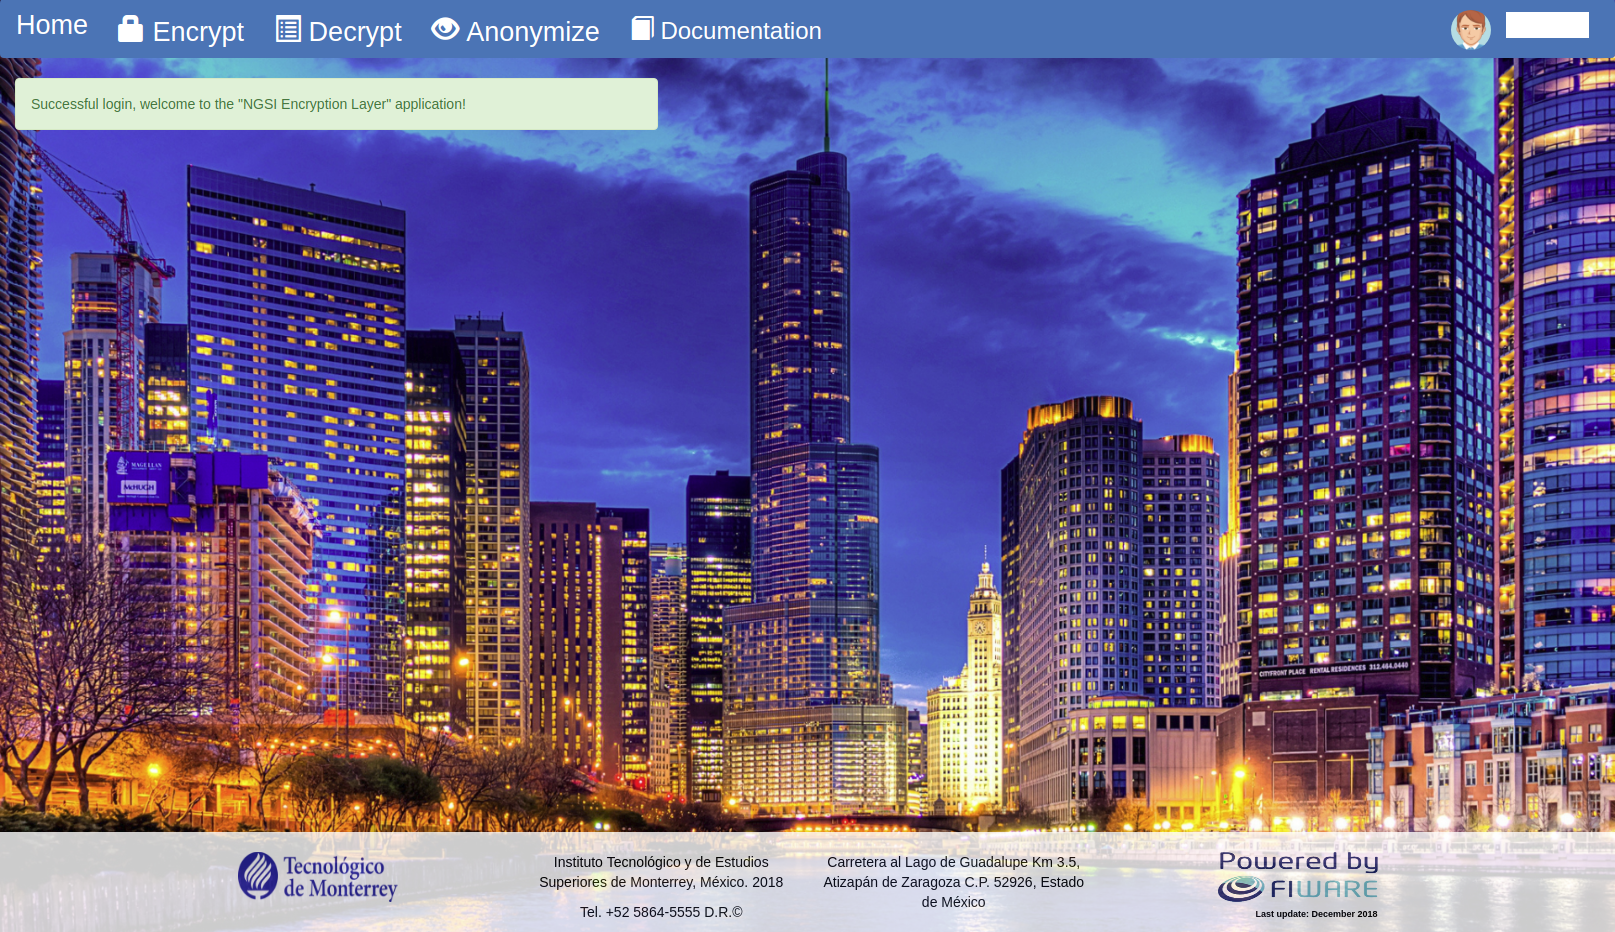
- A web page with access to the user profile, as well as to the encryption, decryption, and anonymization algorithms is displayed
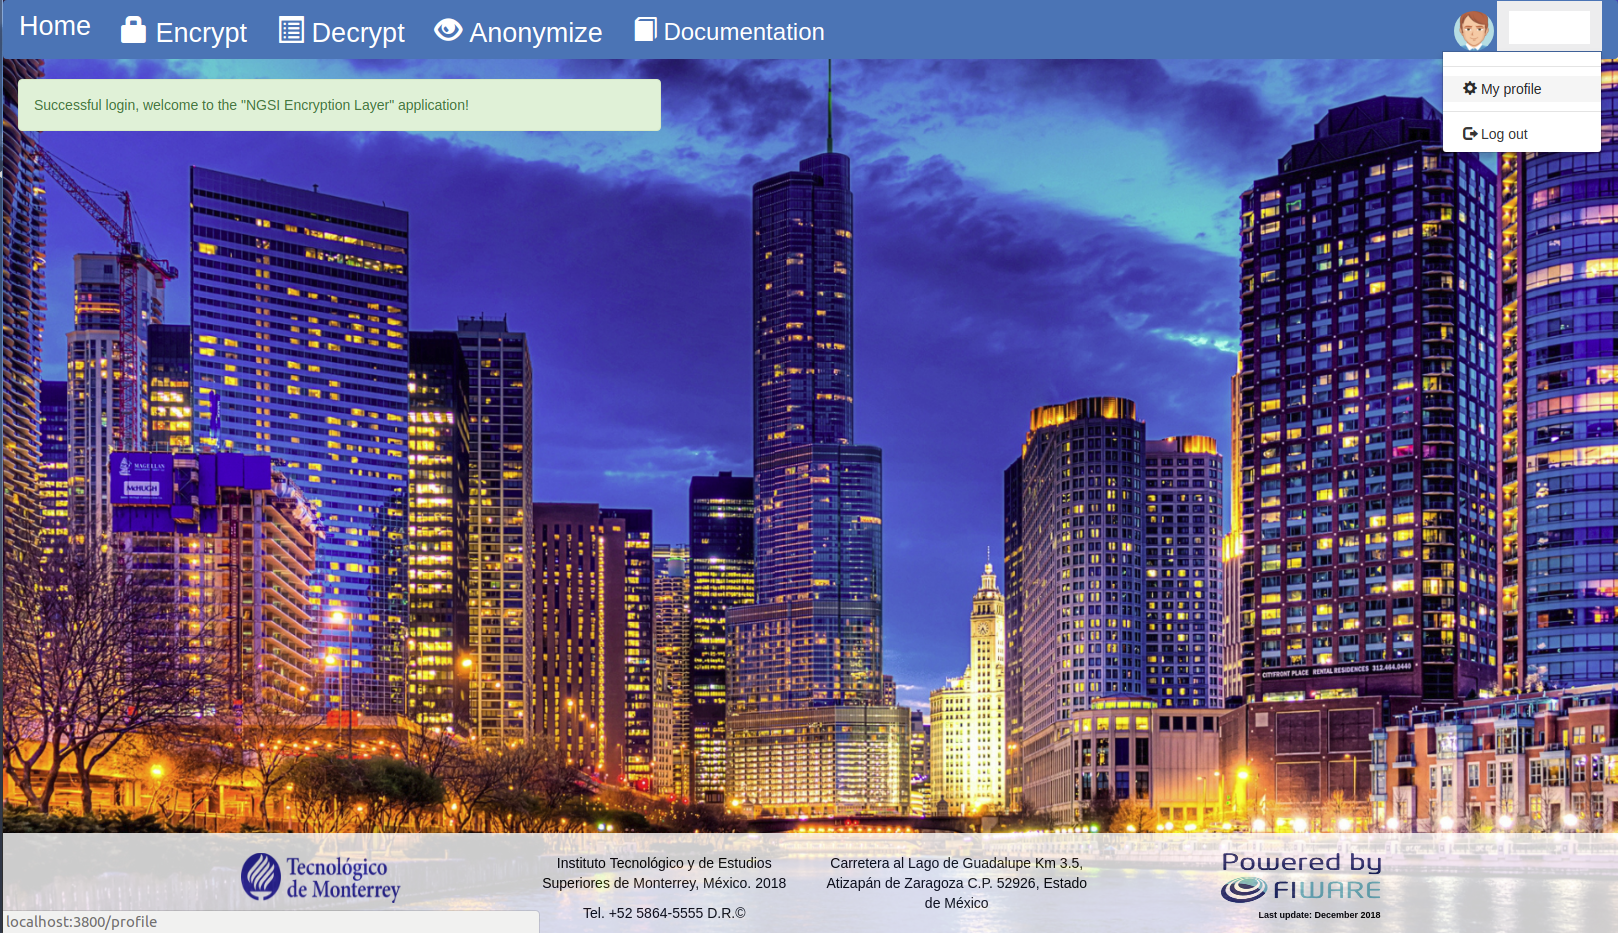
- Follow up the login process
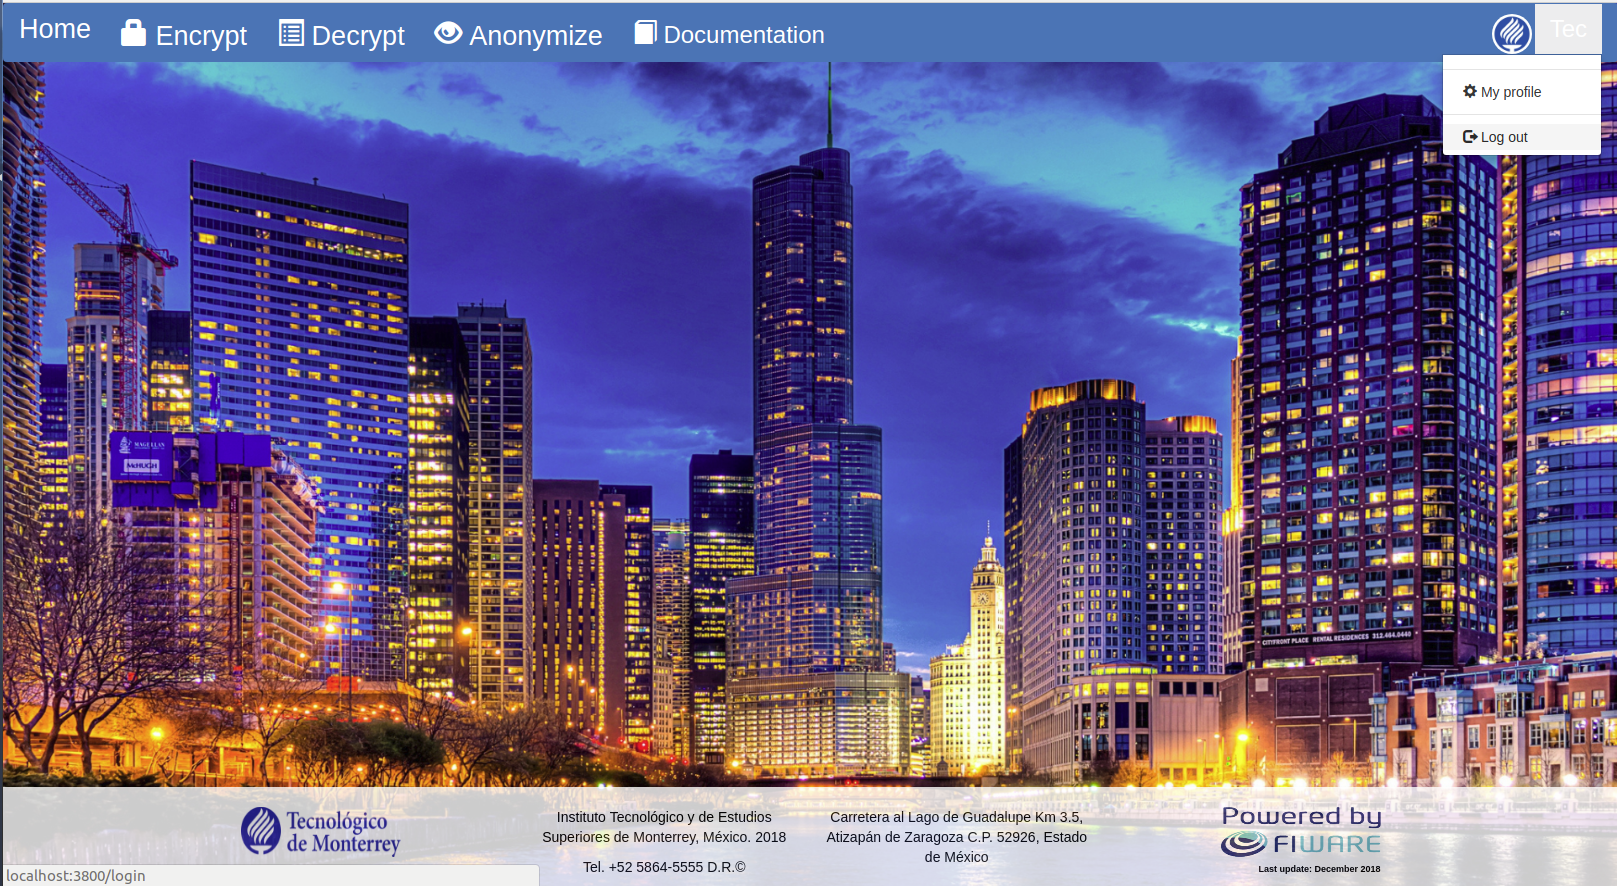
- In th main page, click the button with the username at the right-top side of the web page
- Click the "My profile" button
- A web page that encompasses the username, email, and profile picture is displayed
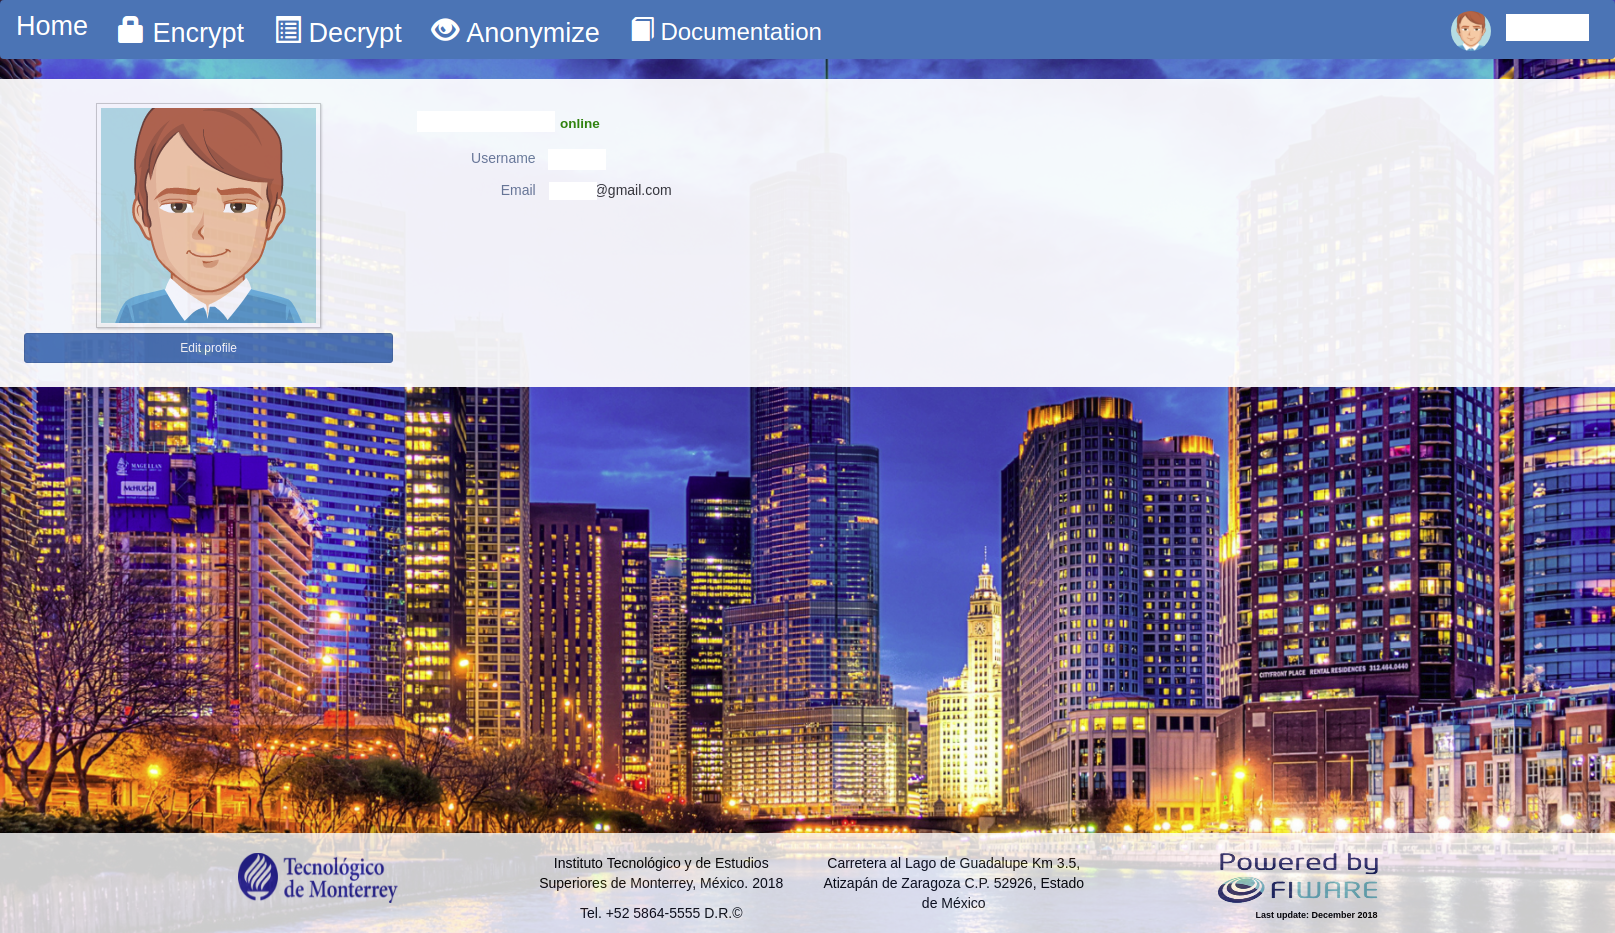
- Click the "Edit profile" button at the left-bottom side of the web page

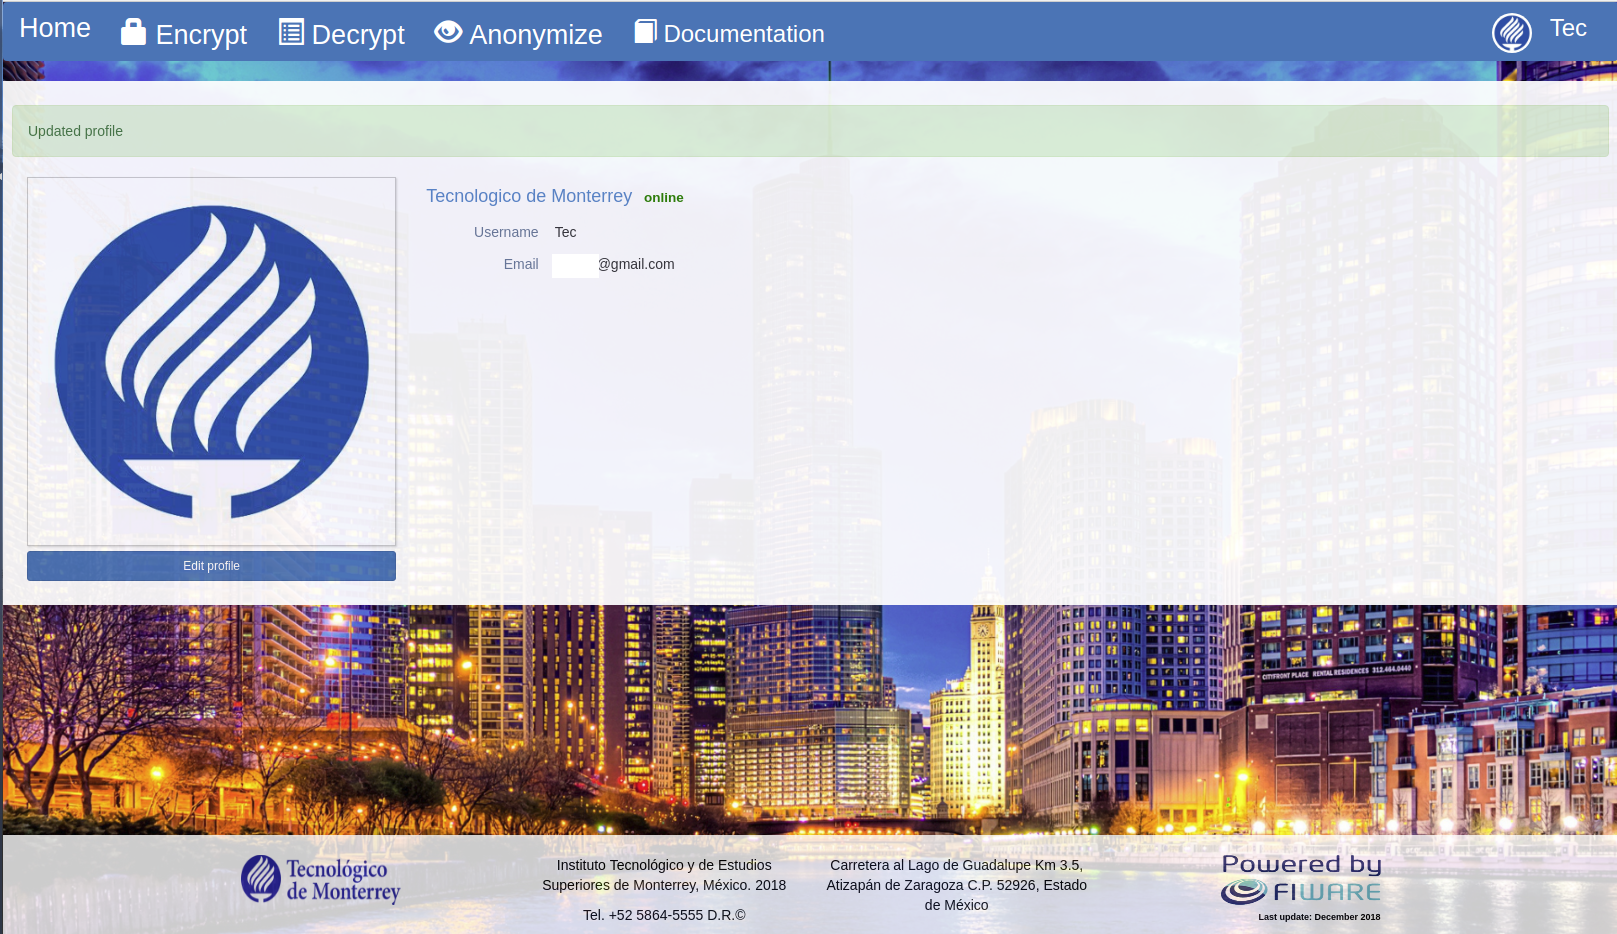
- A page that enables to update the "First name", "Last name", "Username", and "Email" fields, as well as the profile picture, is displayed

- Click the "Update" button to apply the modifications
- Follow up the login process
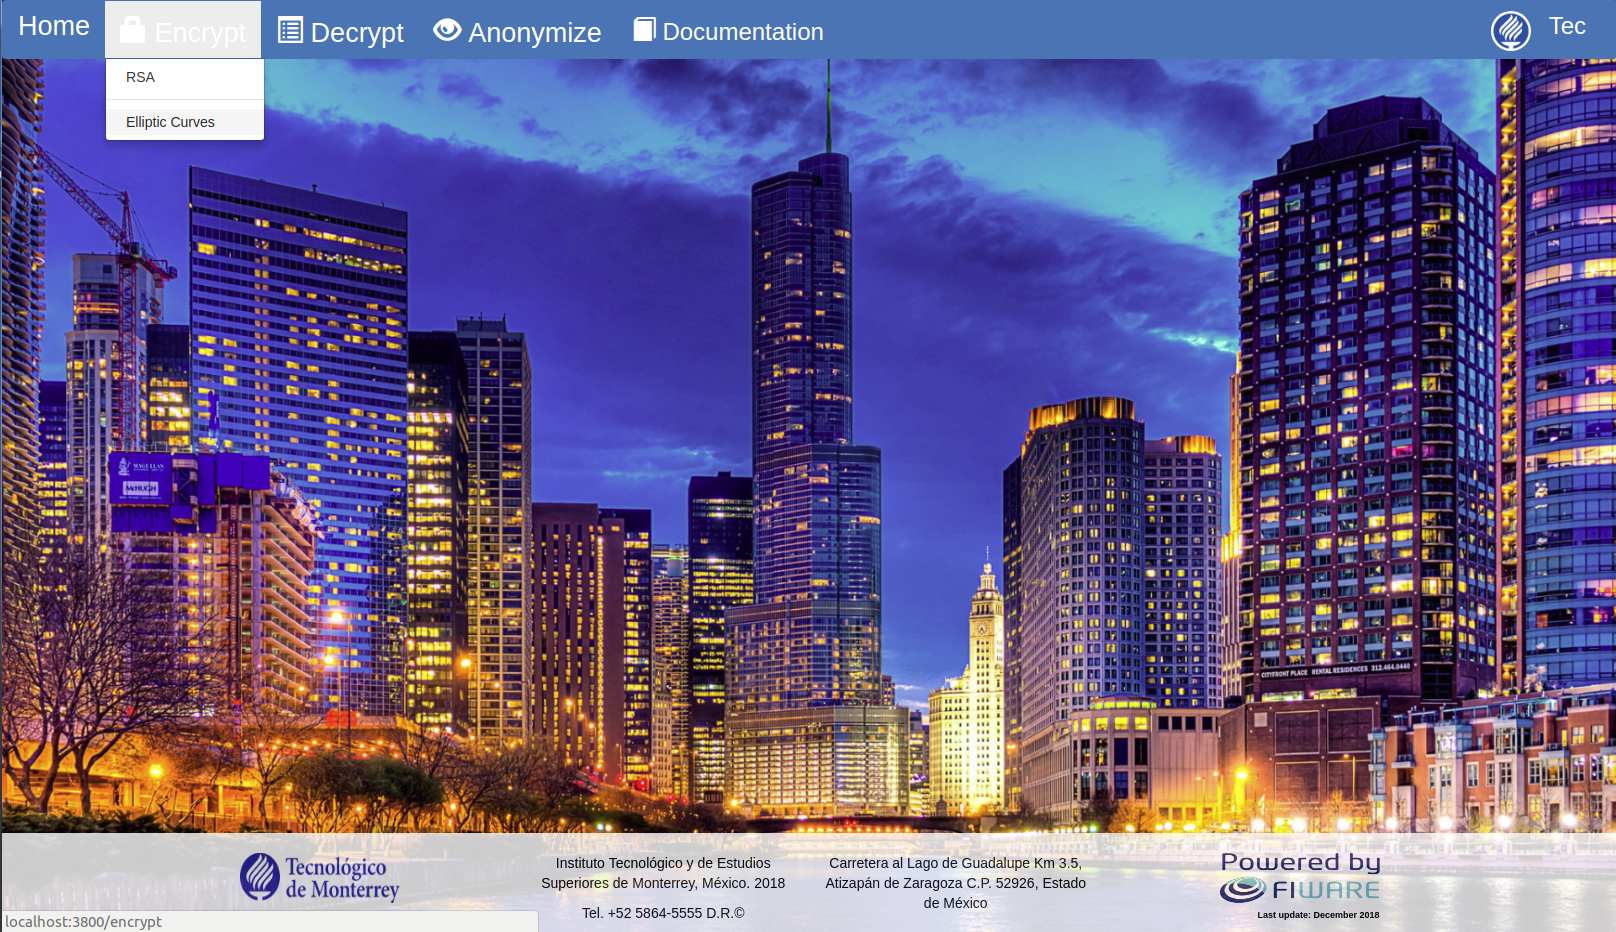
- In the main page, click the "Encrypt" button at the left-top side of the web page
- Select an encryption algorithm
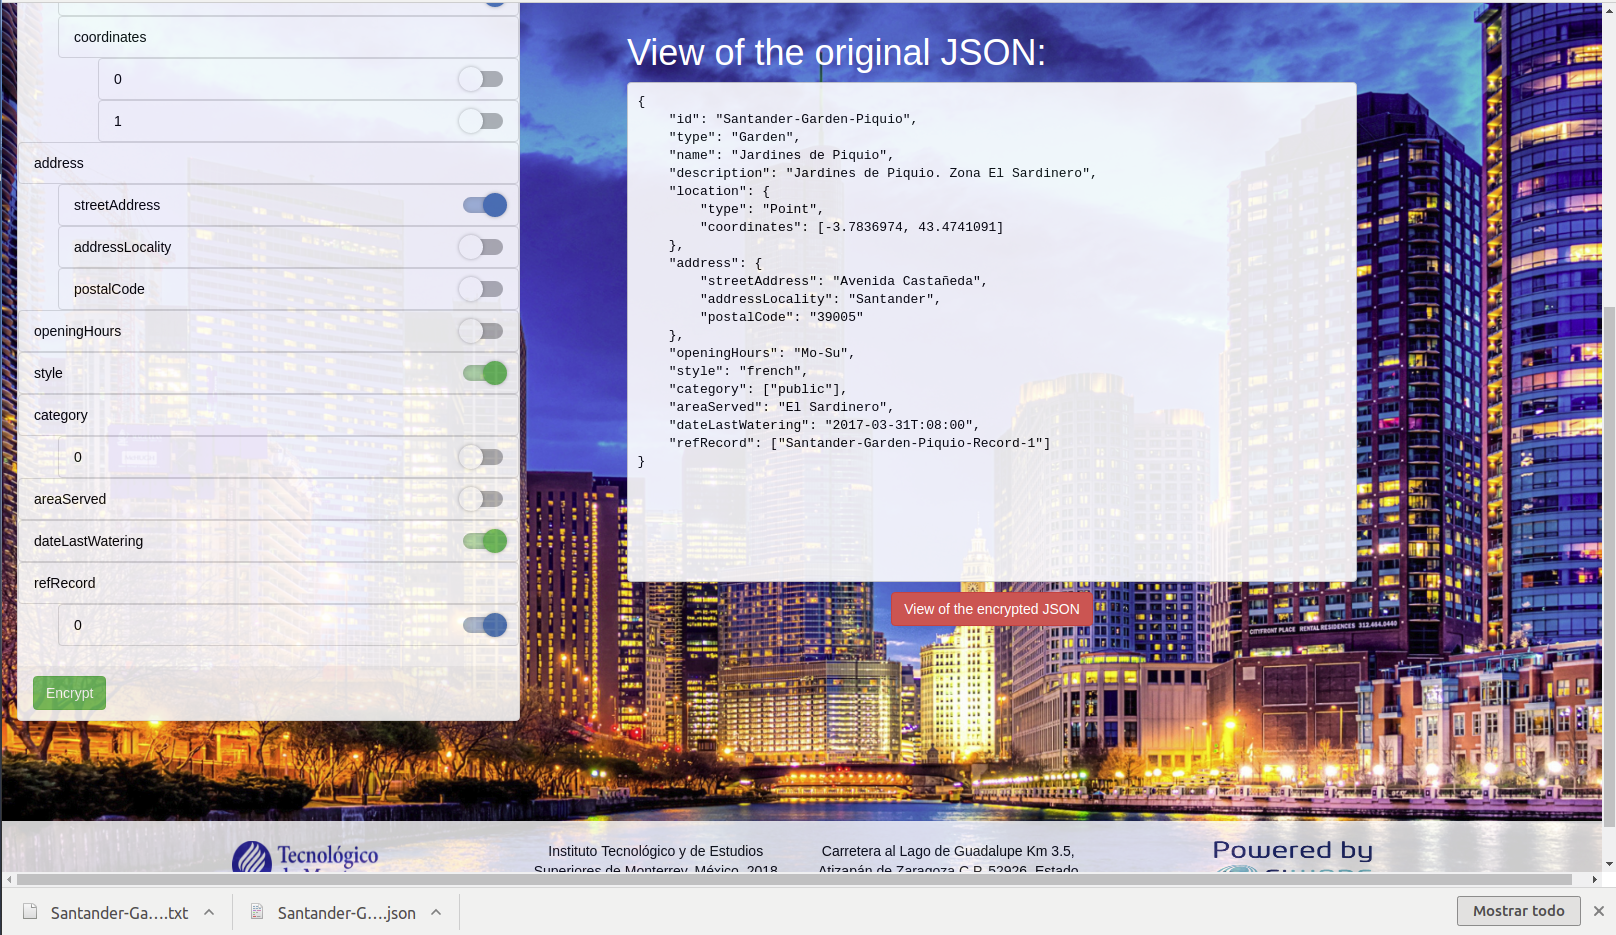
- A web page with the selected algorithm is displayed
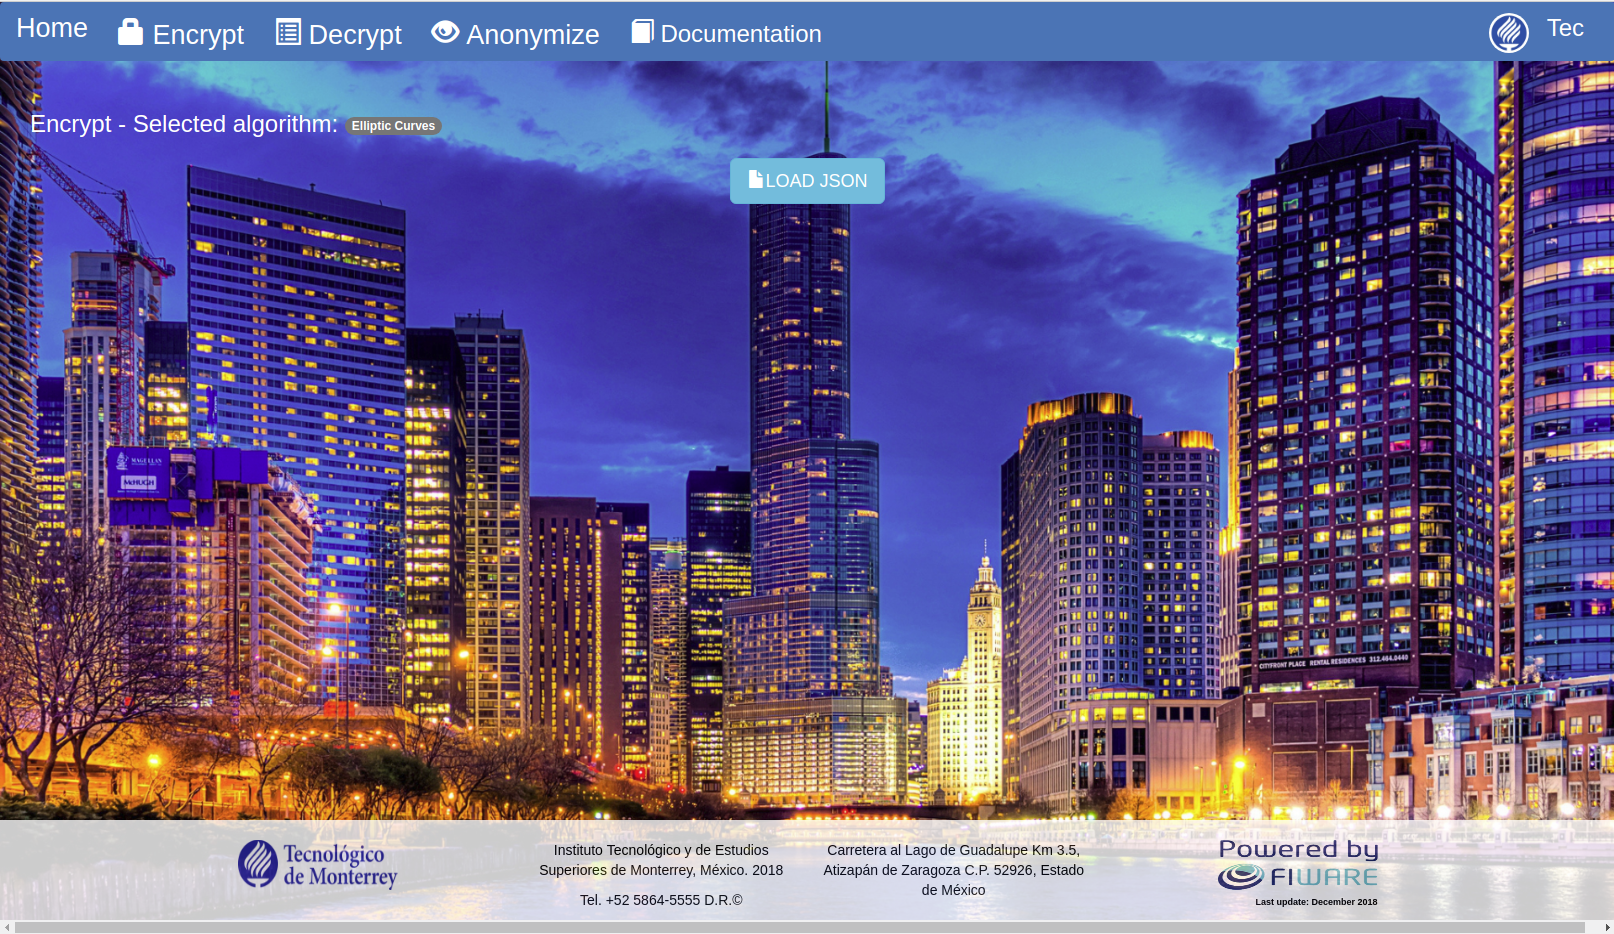
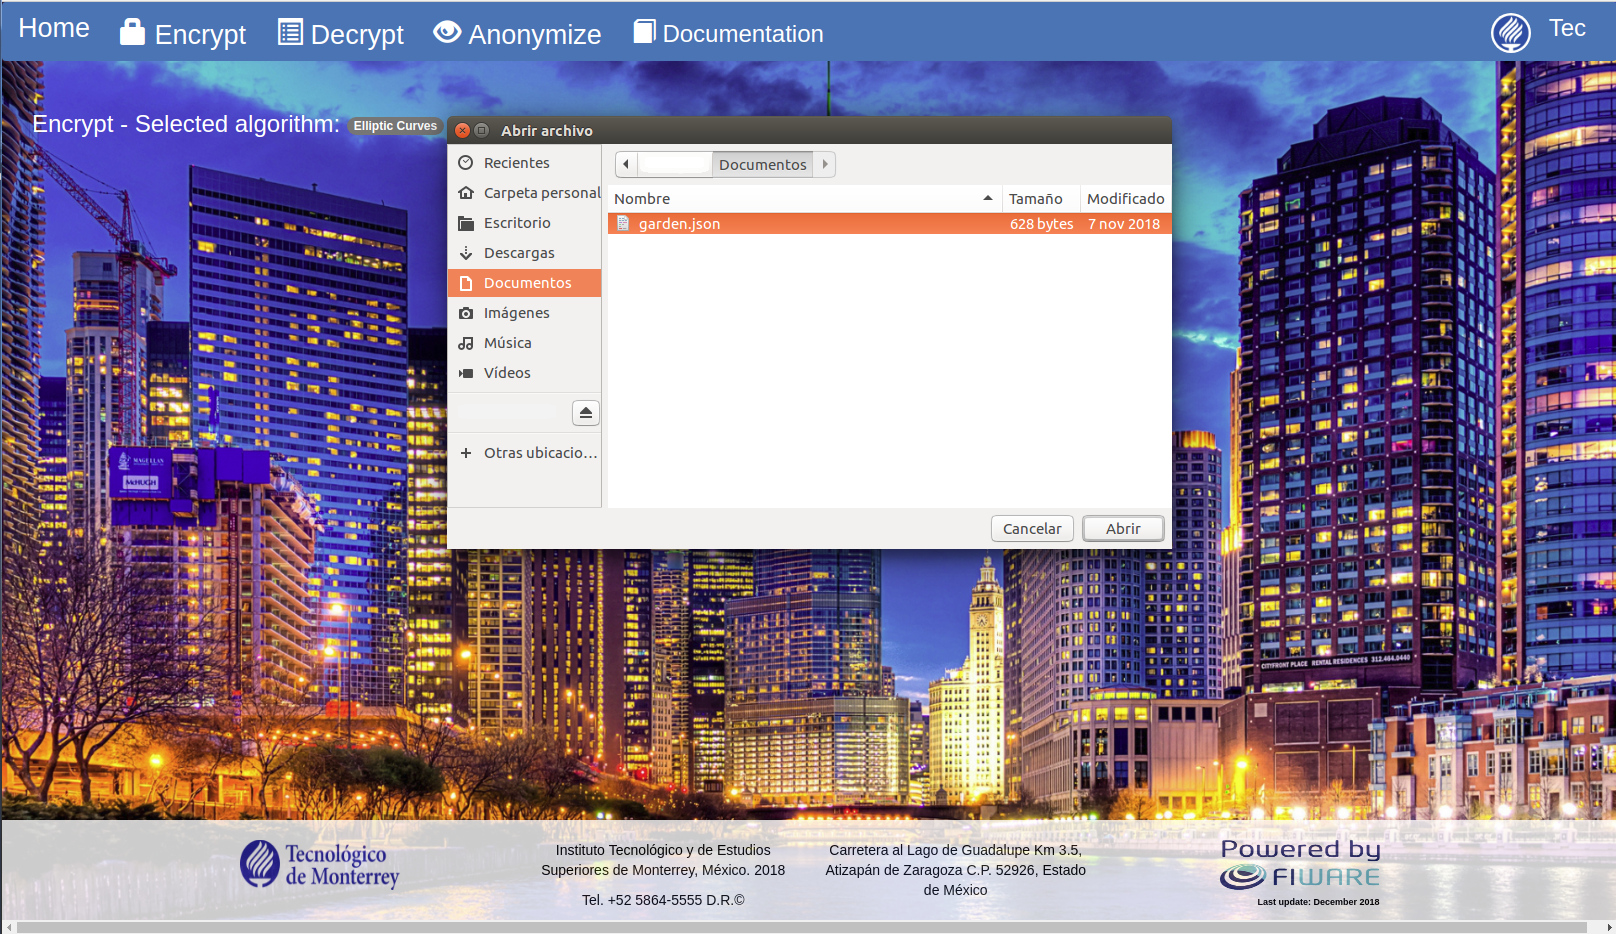
- Click the "Load JSON" button to load a JSON file stored in the local computer
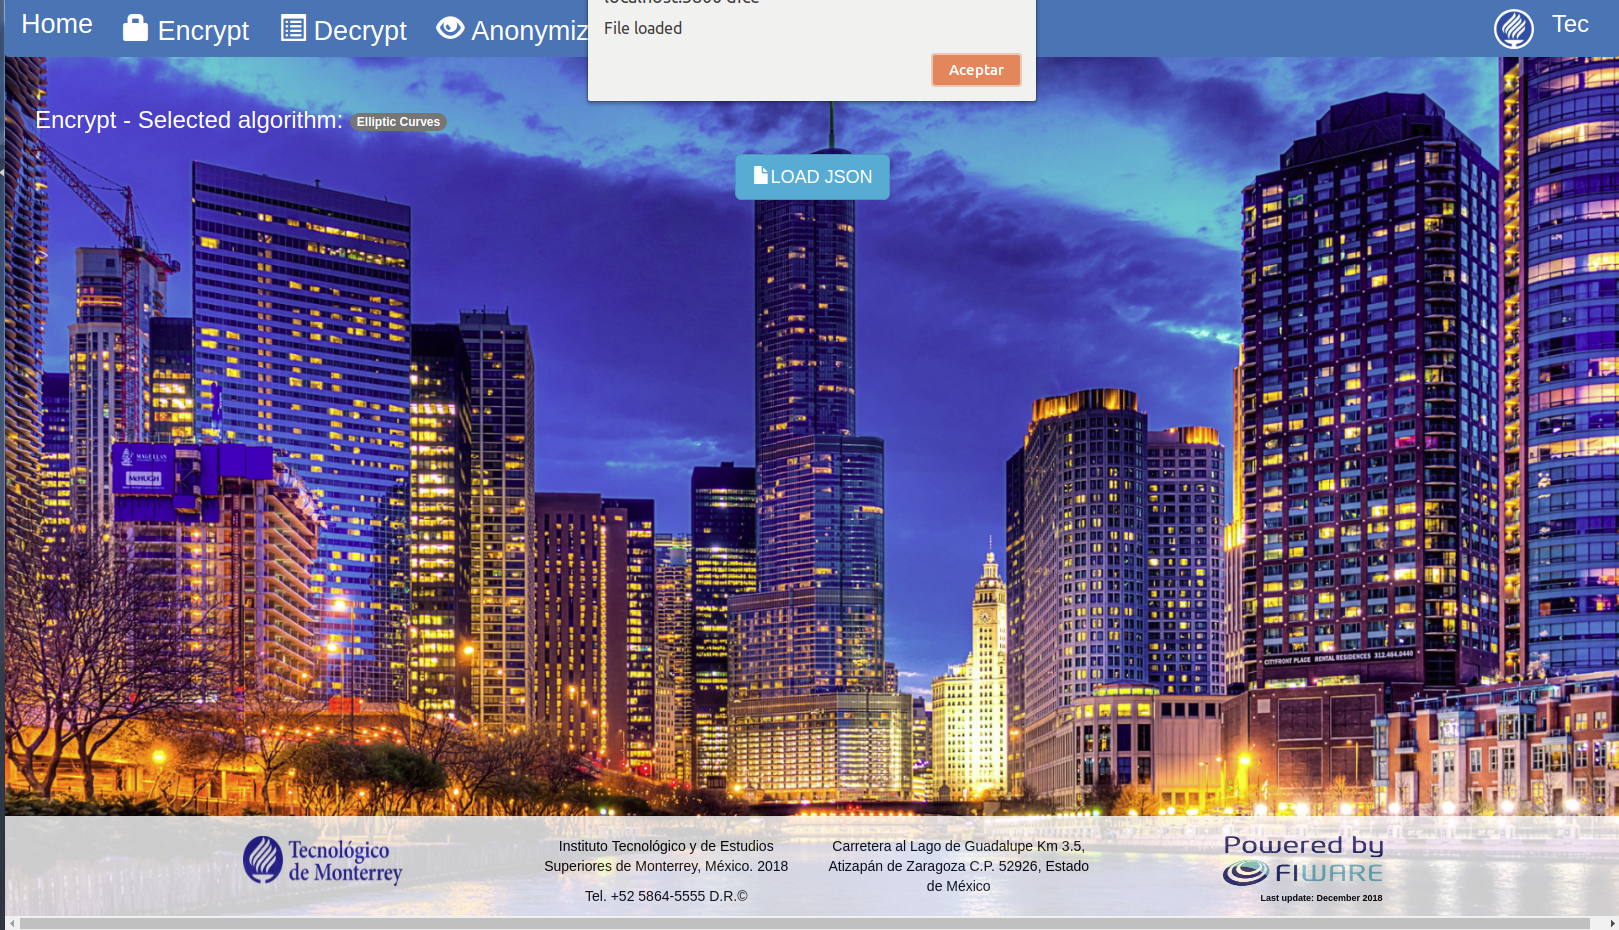
- Select a JSON file that encompasses a FIWARE data model format
- A confirmation message is displayed
- Select the attributes that want to be encrypted at the left side of the web page

- Click the "Encrypt" button at the left-bottom of the web page
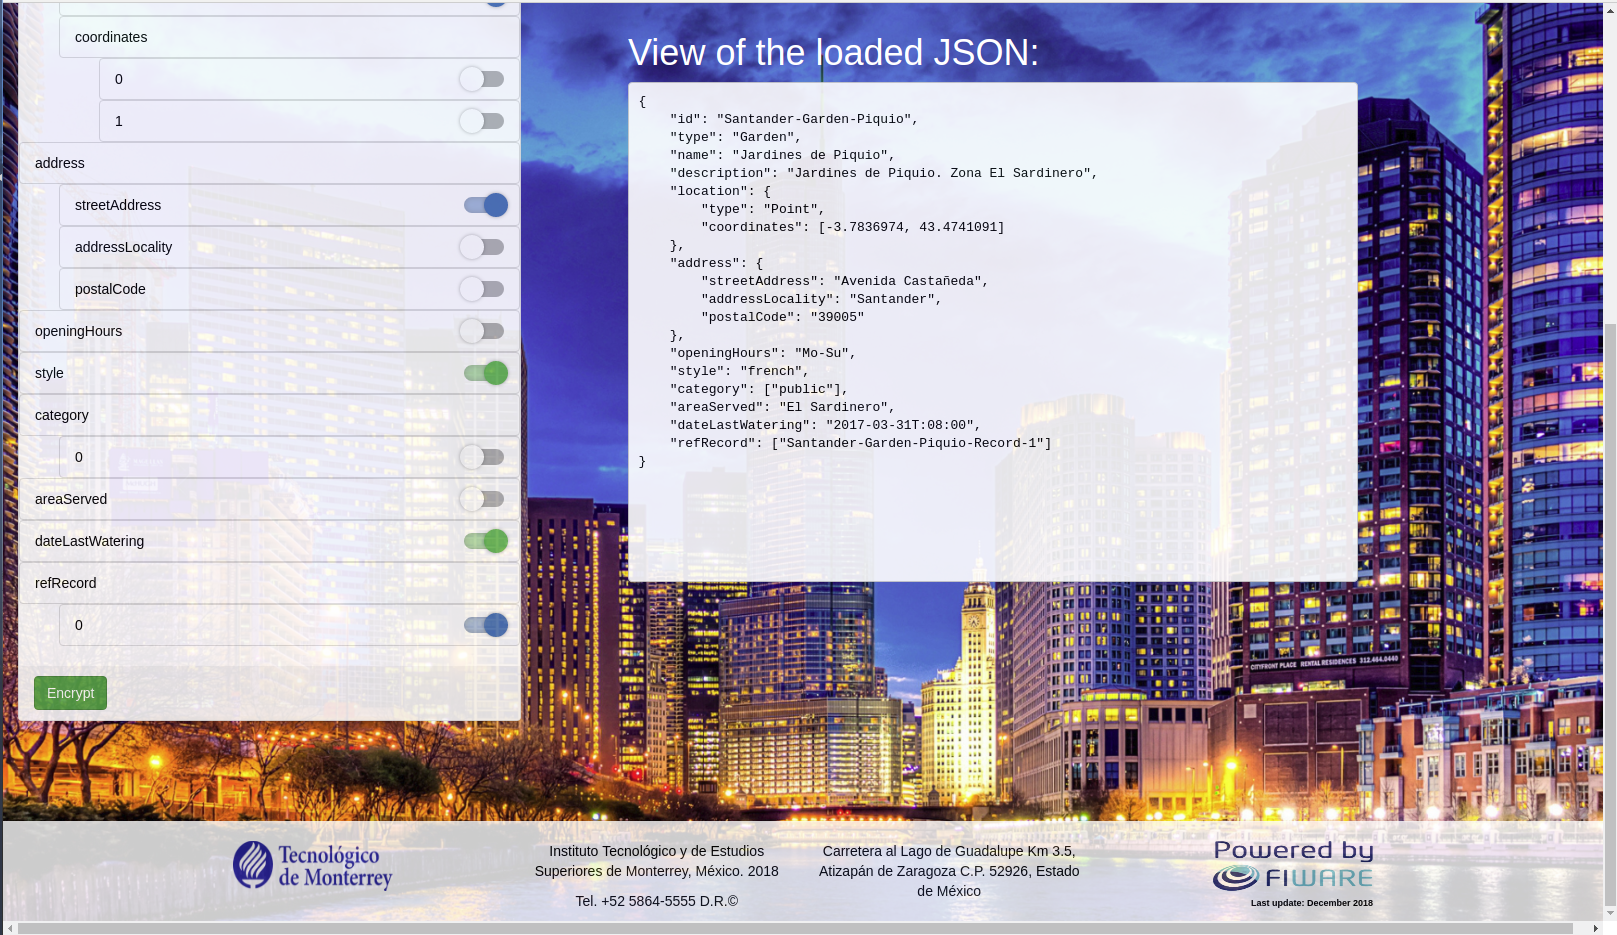
- The encrypted file is displayed on the right side of the web page
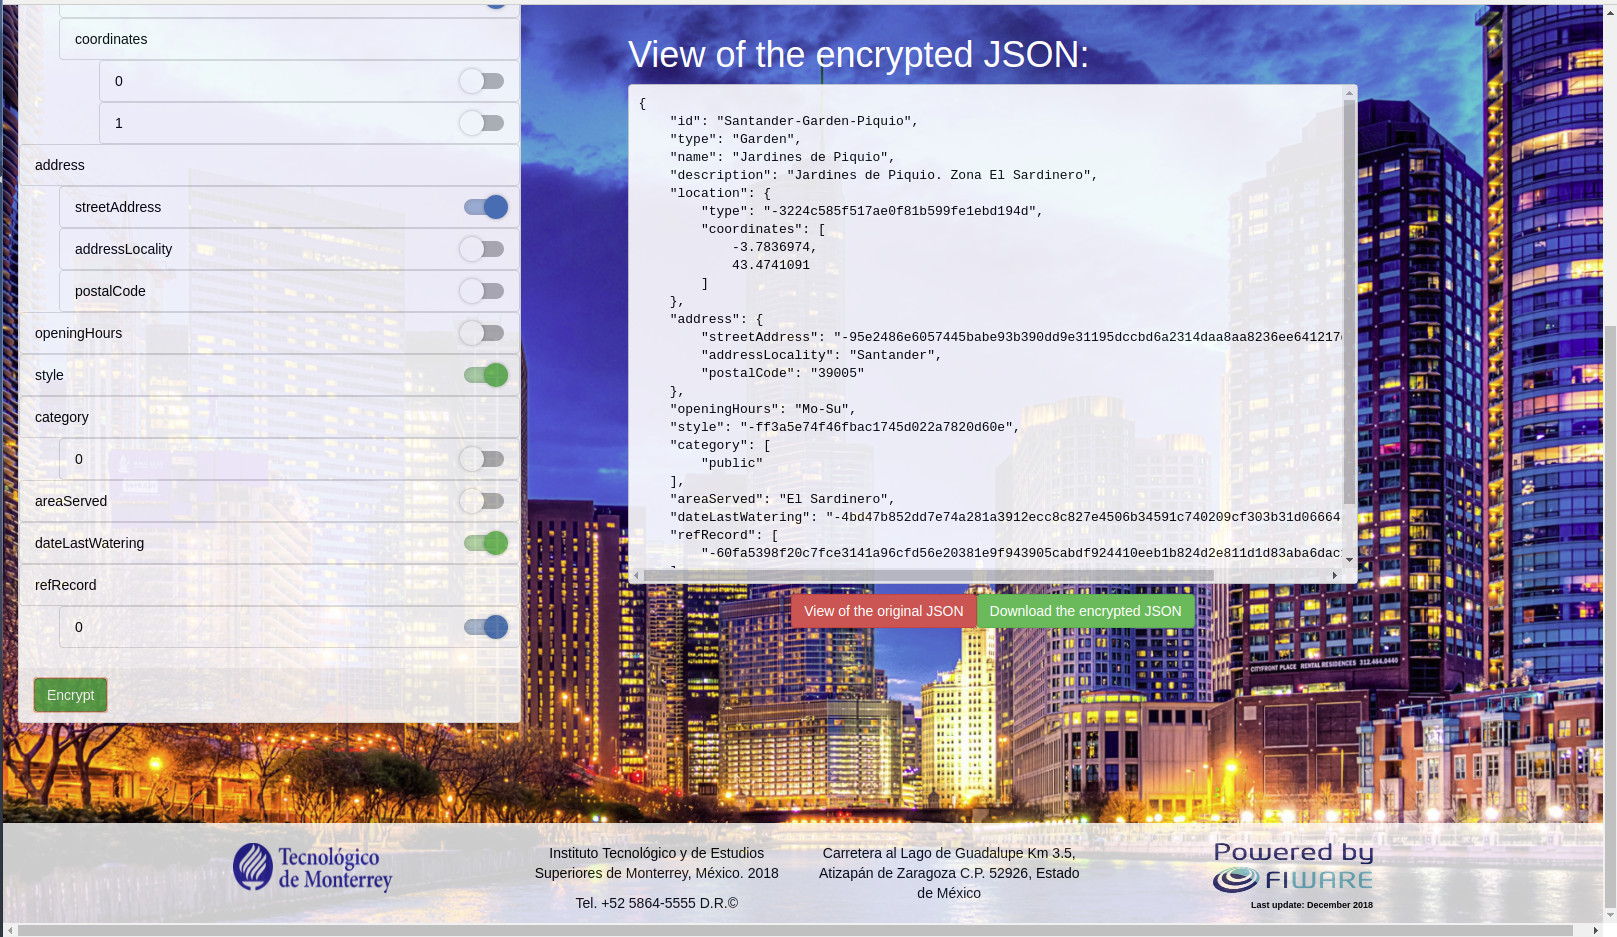
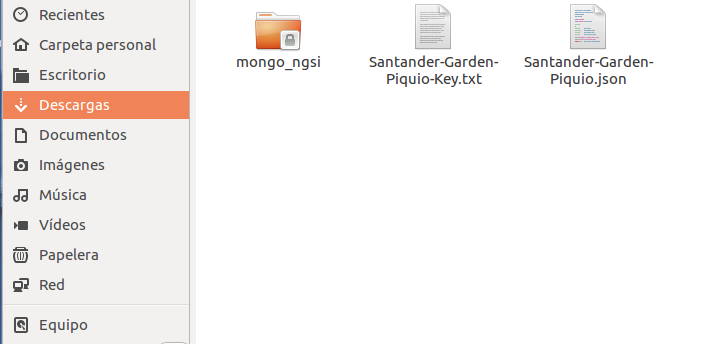
- Click the "Download the encrypted JSON" button to locally save both the encrypted file and the Key file
- Click the "View of the original JSON" to visualize the uploaded JSON file
- Follow up the login process
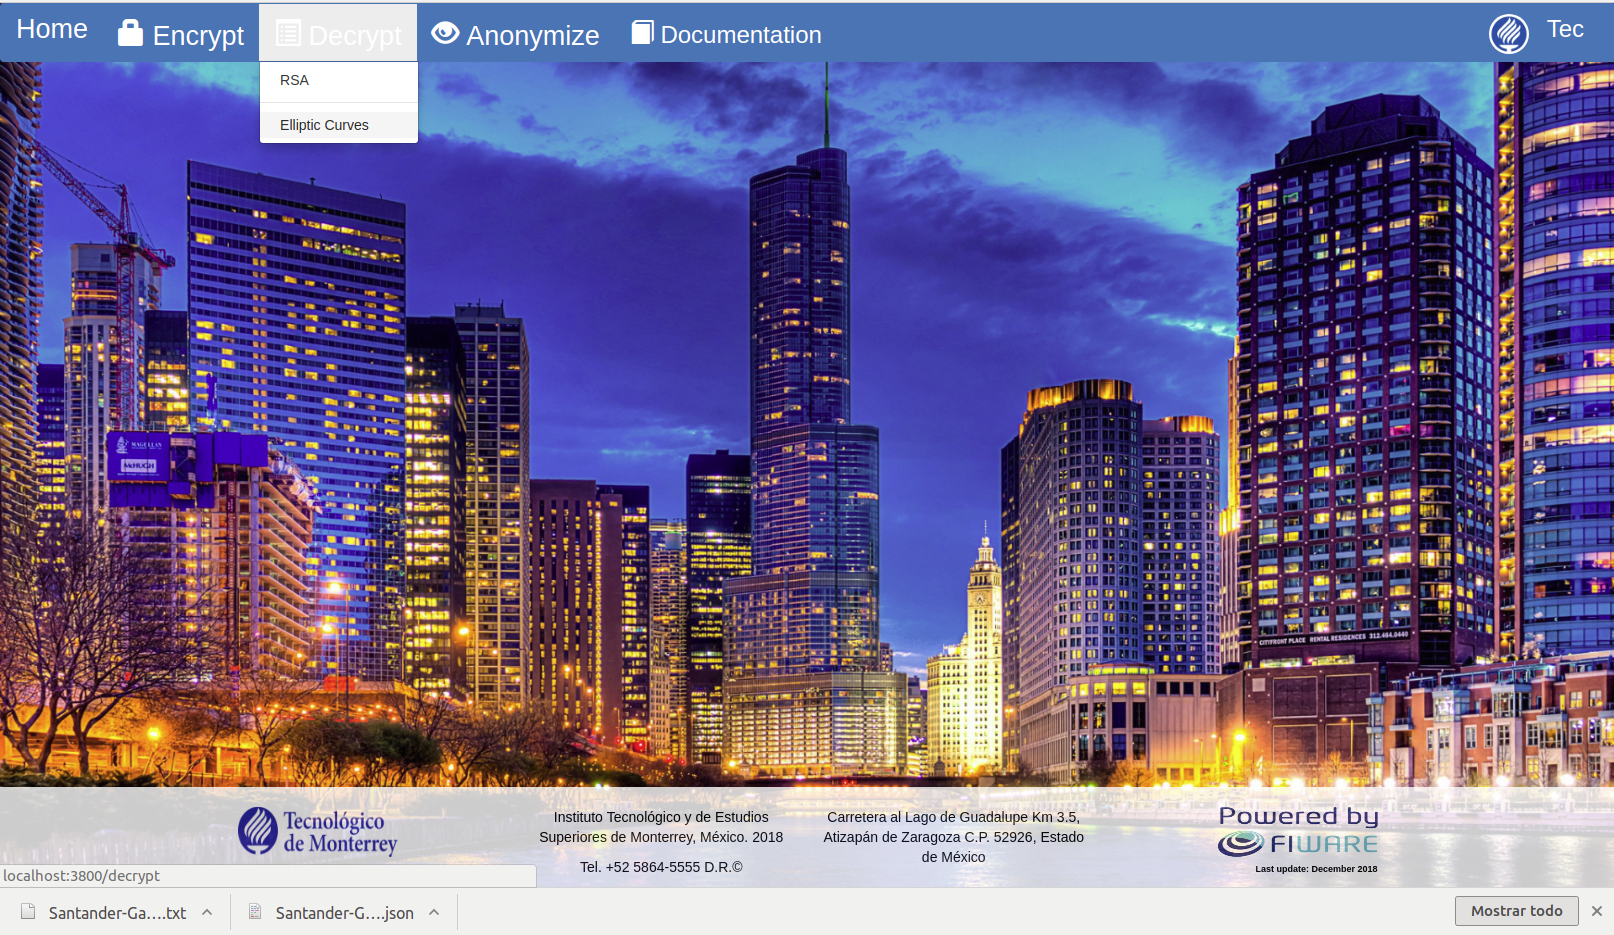
- In the main page, click the "Decrypt" button at the left-top side of the web page
- Select a decryption algorithm
- A web page with the selected algorithm is displayed
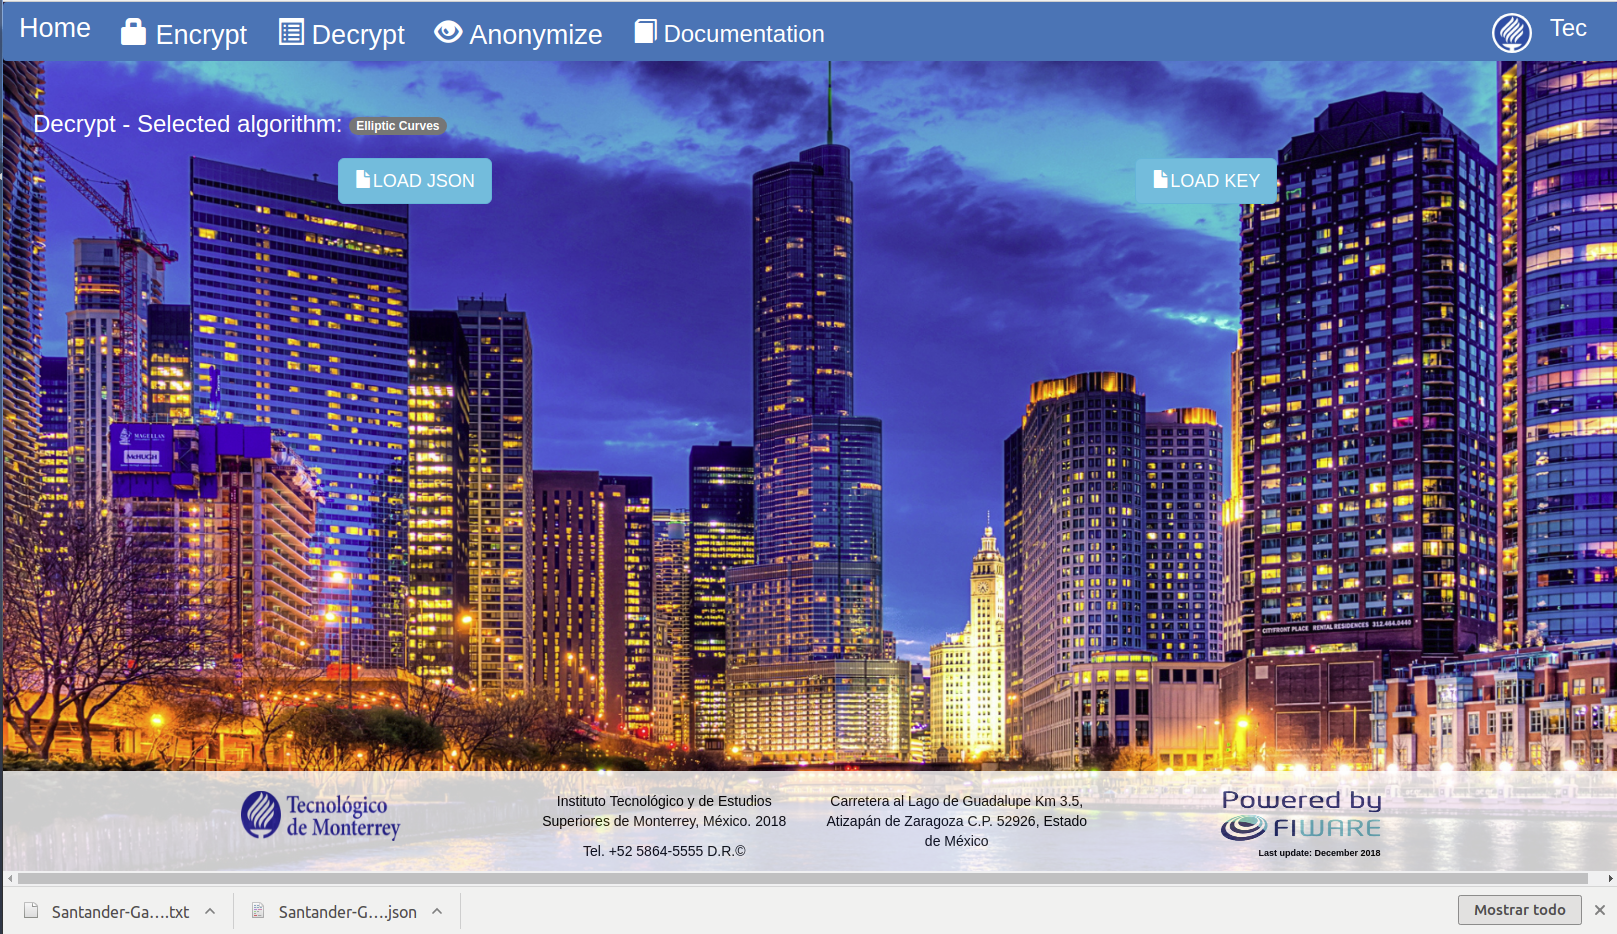
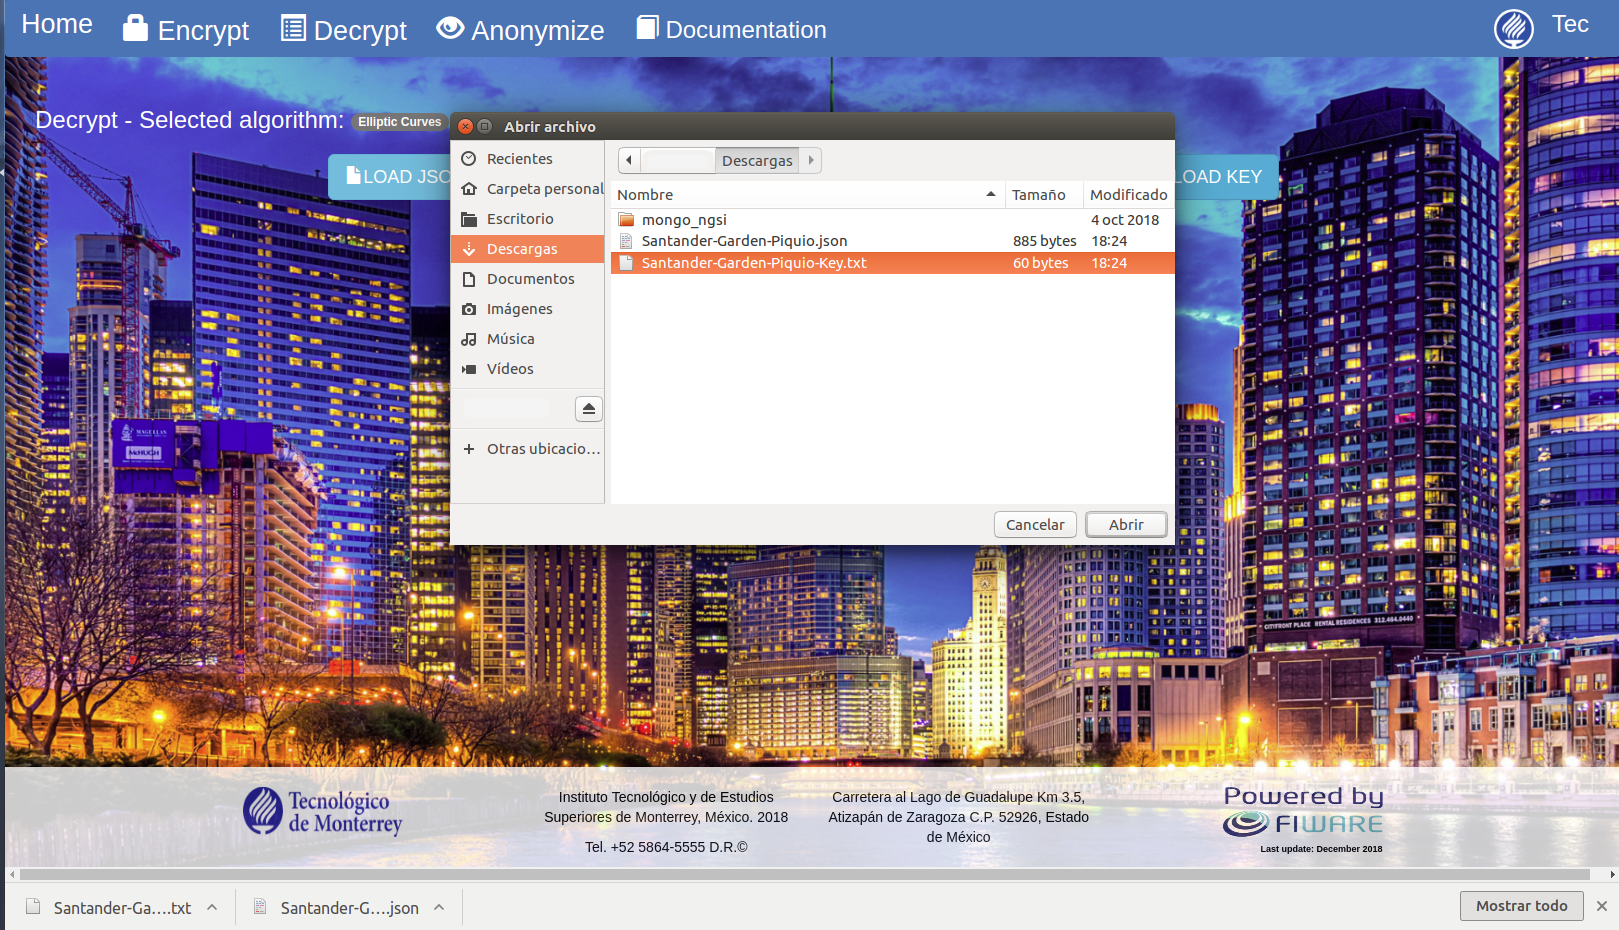
- Click the "Load JSON" button to load a JSON file stored in the local computer
- Select a JSON file that encompasses a FIWARE data model format and that was encrypted with the selected algorithm

- A confirmation message is displayed

- Click the "Load Key" button to load a file with the keys to decrypt the JSON file provided
- Select a TXT file that comprises the keys to decrypt the selected JSON file
- A confirmation message is displayed

- Select the atributes that want to be decrypted at the left side of the web page
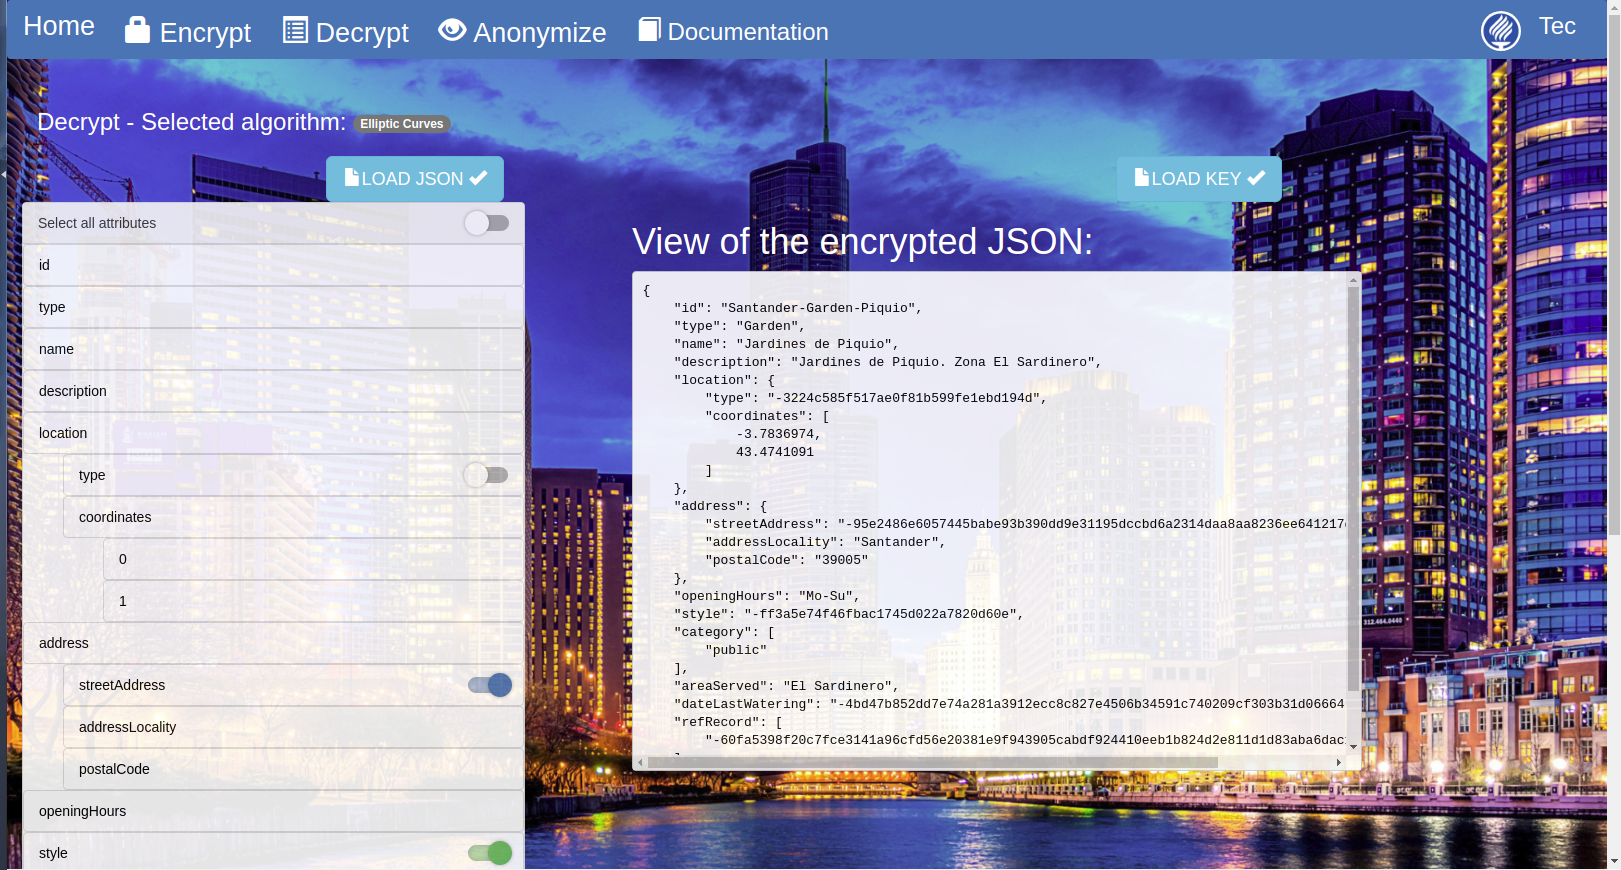
- Click the "Decrypt" button at the left-bottom of the web page

- The decrypted file is displayed on the right side of the web page
- Click the "Download the decrypted JSON" button to locally save the decrypted file
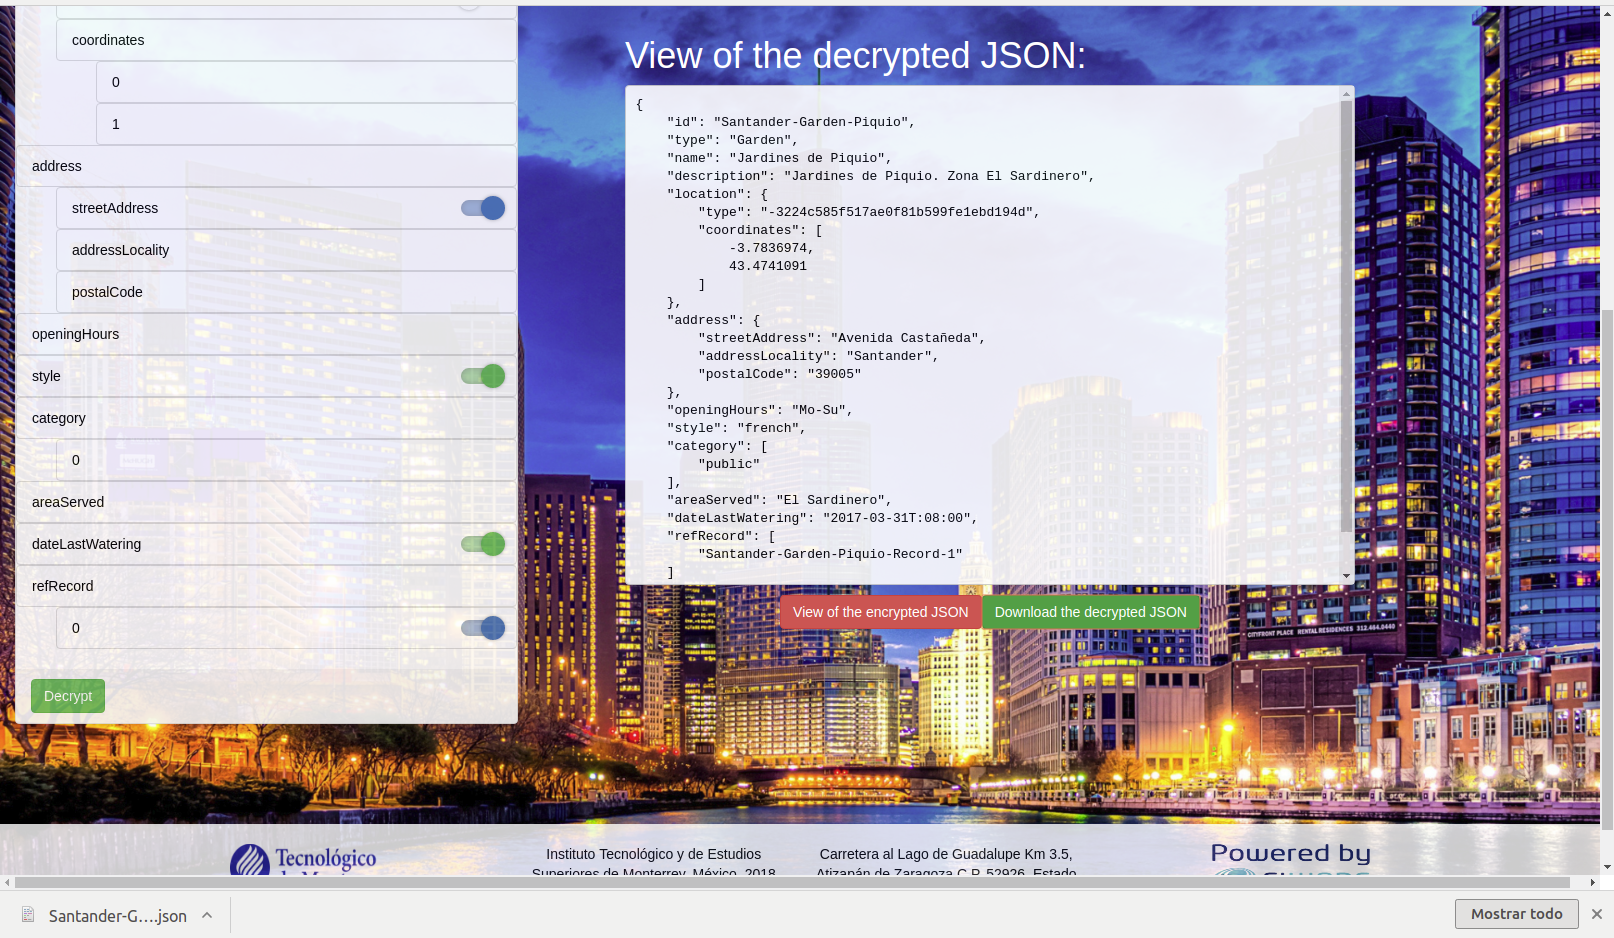
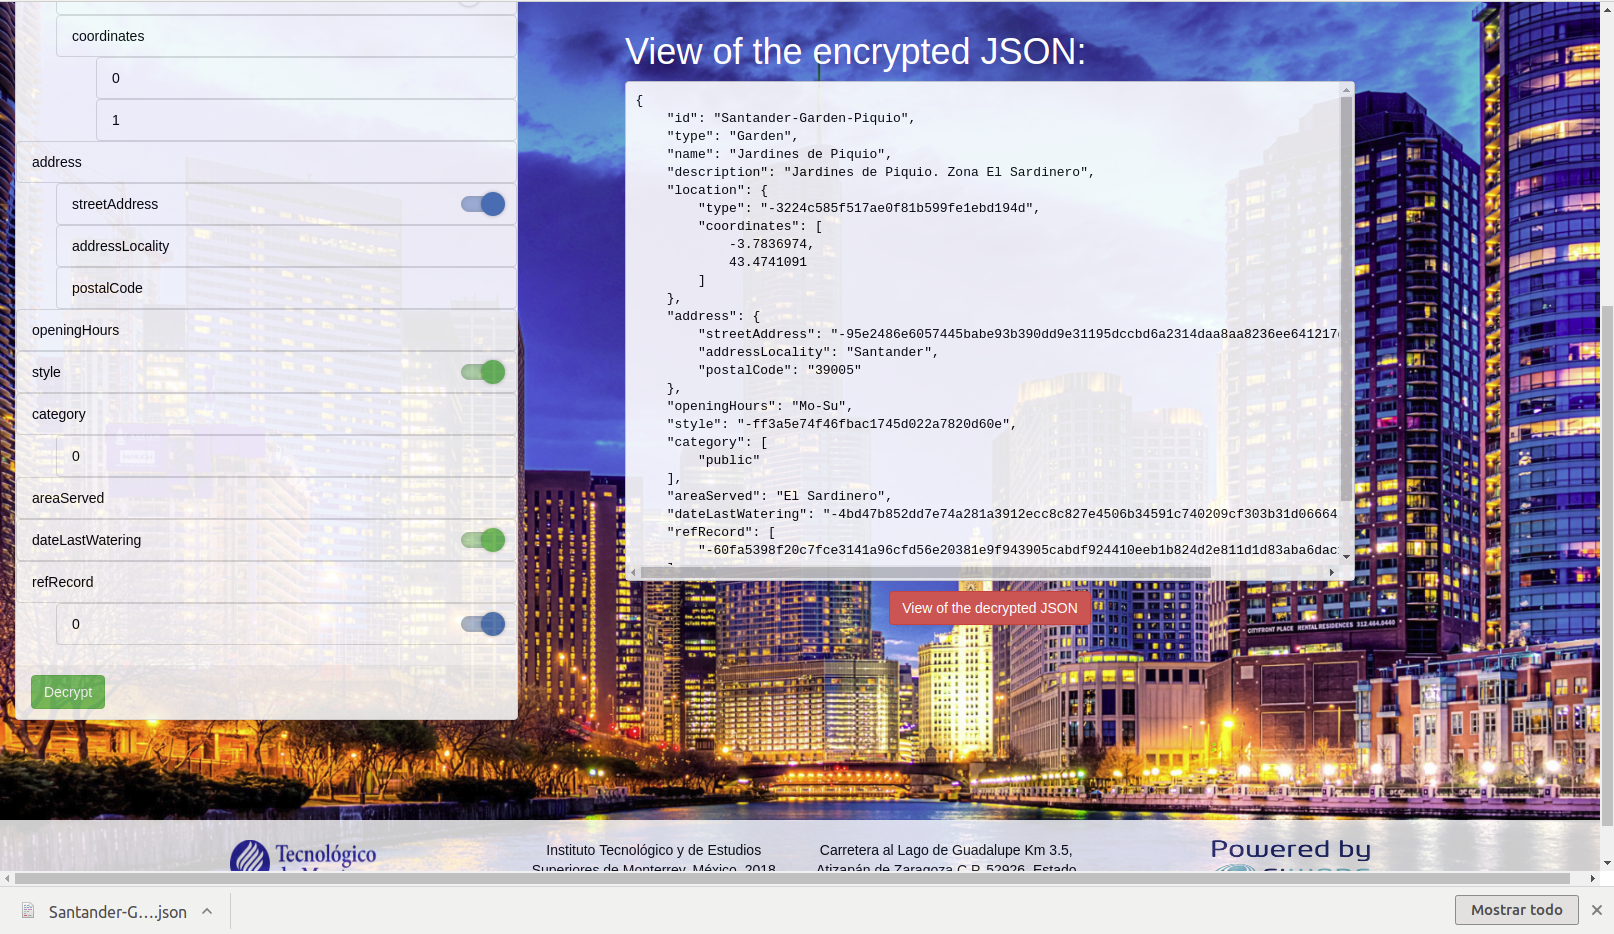
- Click the "View of the encrypted JSON" to visualize the uploaded encrypted JSON file
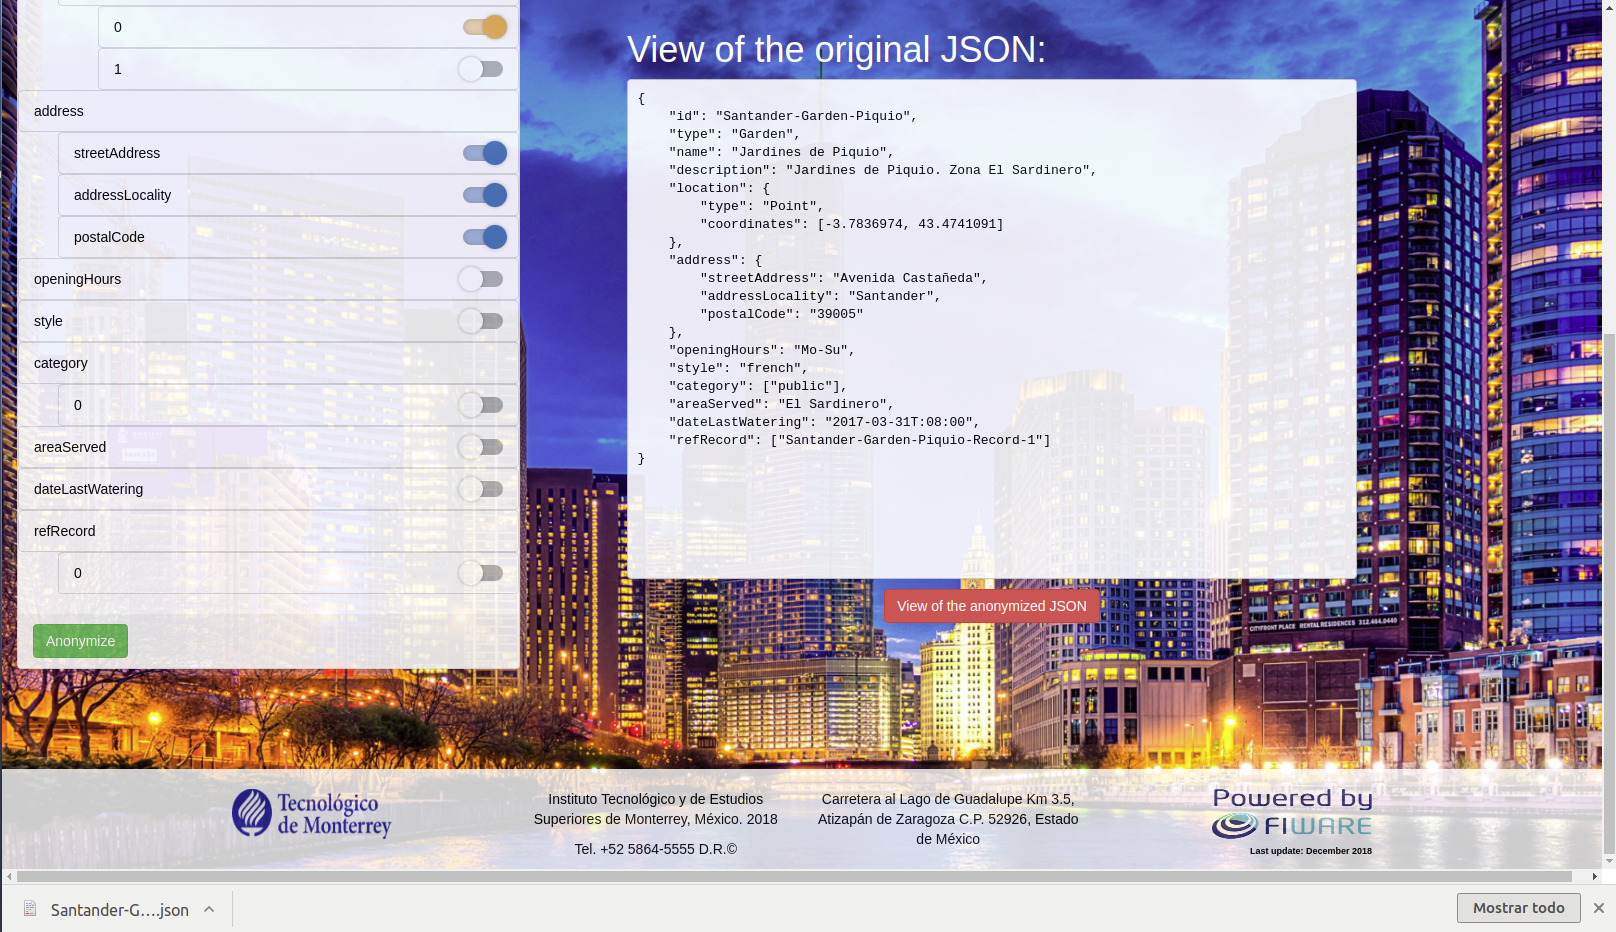
- Follow up the login process
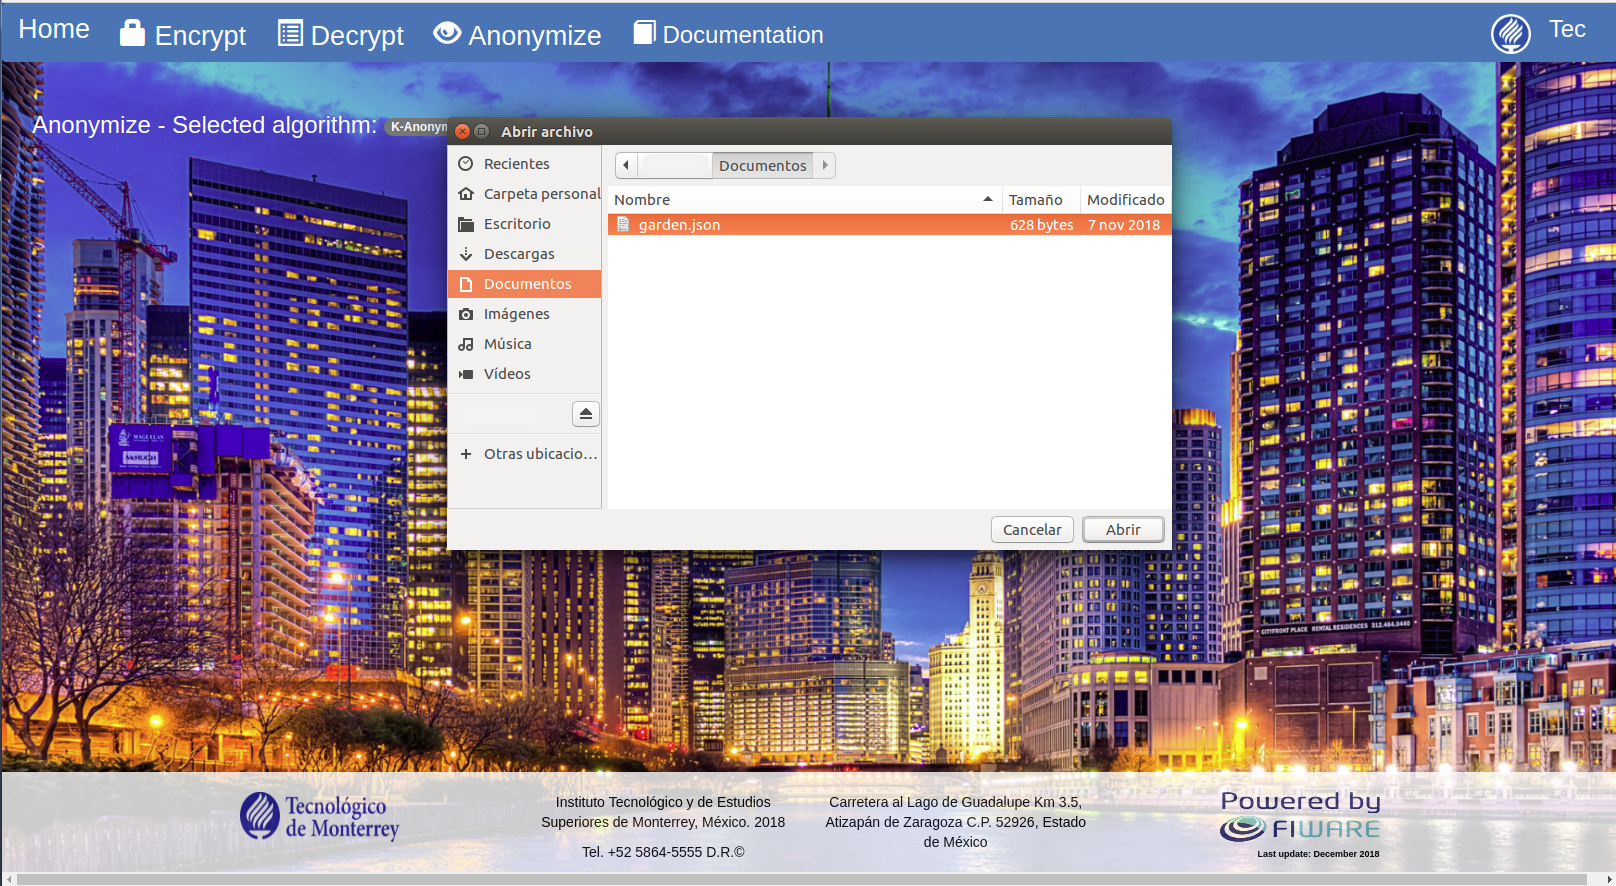
- In the main page, click the "Anonymize" button at the left-top side of the web page
- Select an anonymization algorithm
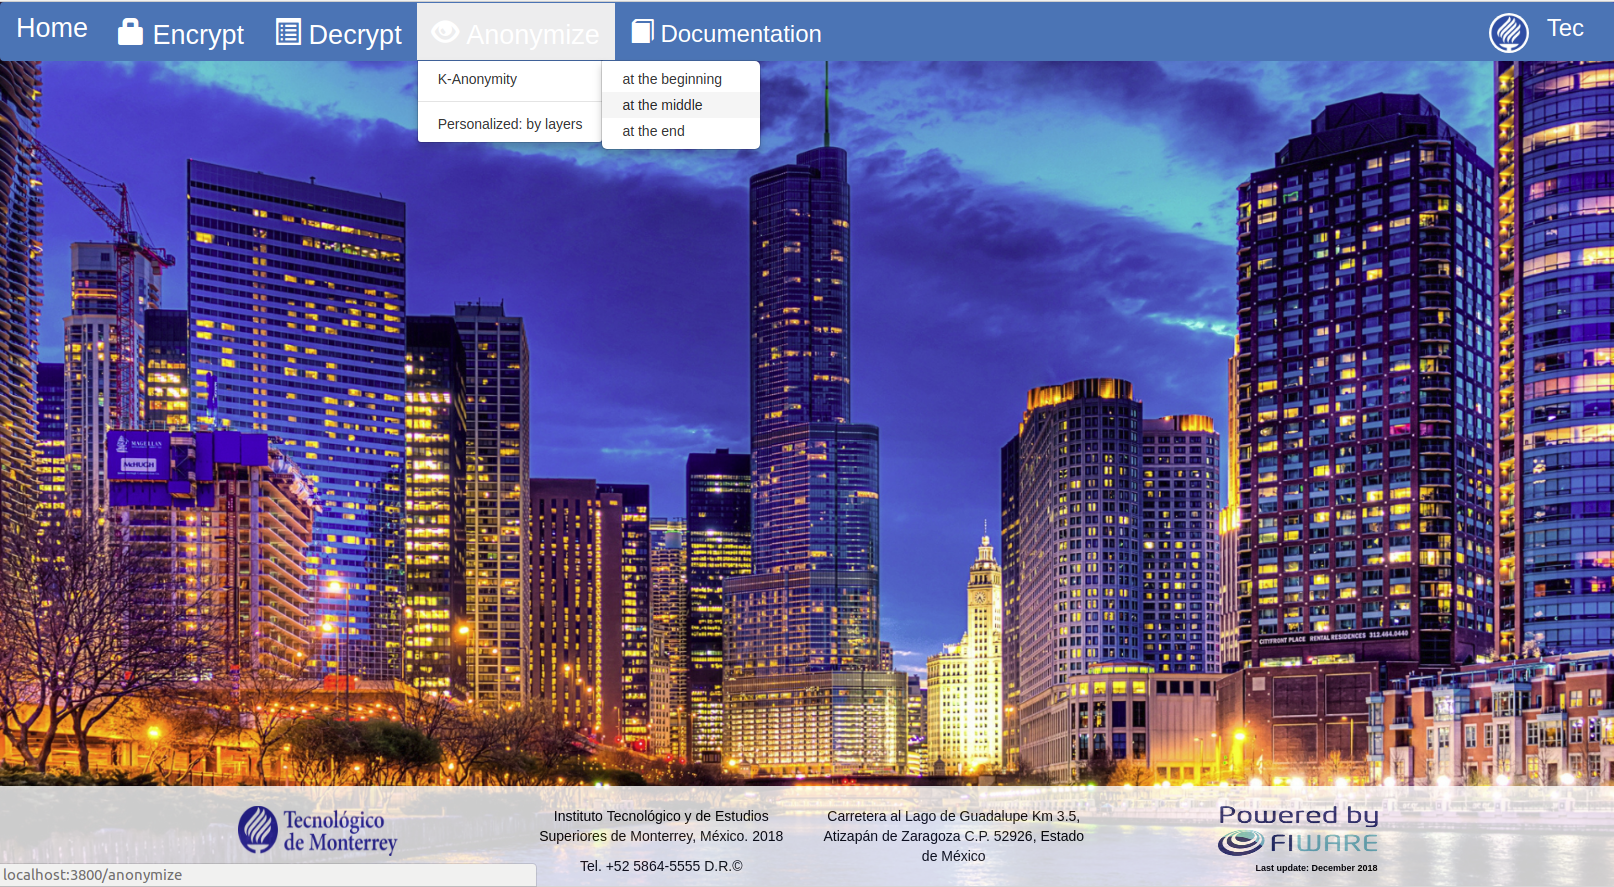
- A web page with the selected algorithm is displayed
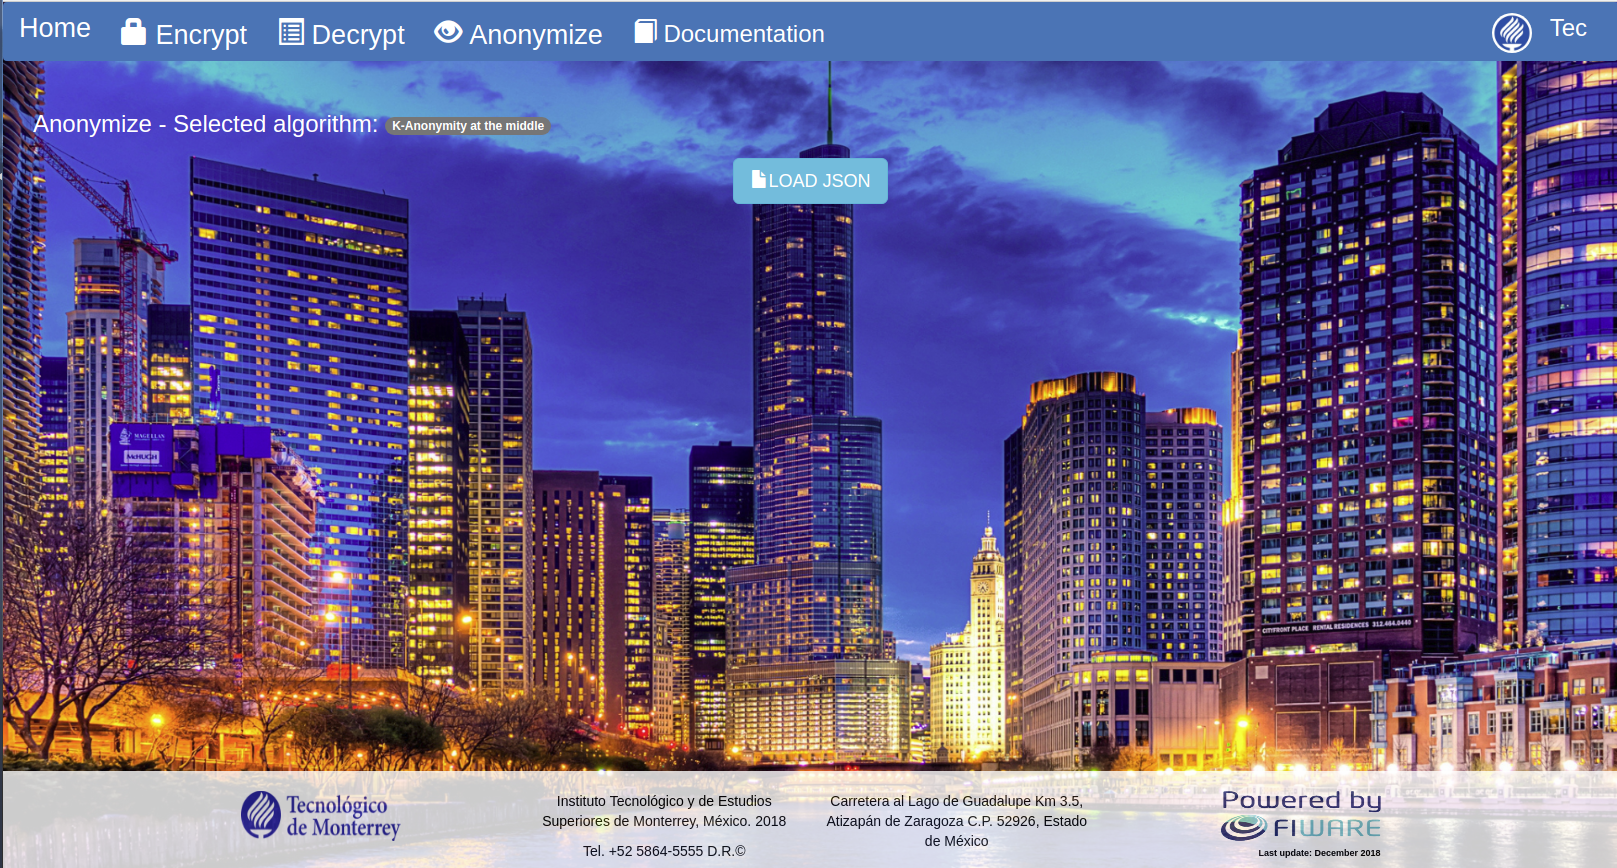
- Click the "Load JSON" button to load a JSON file stored in the local computer
- Select a JSON file that encompasses a FIWARE data model format
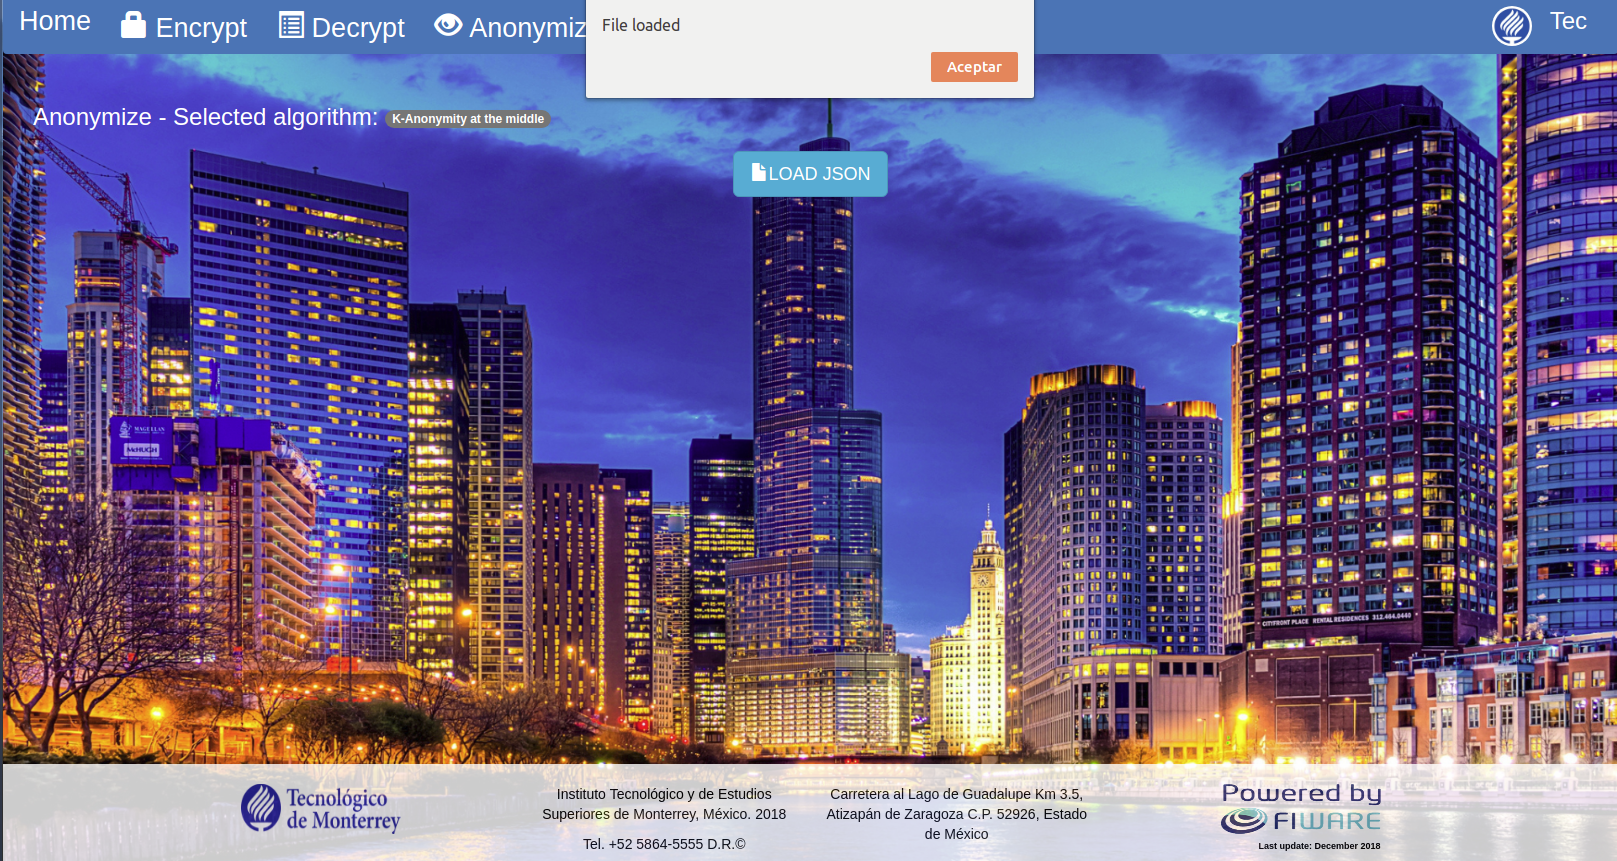
- A confirmation message is displayed
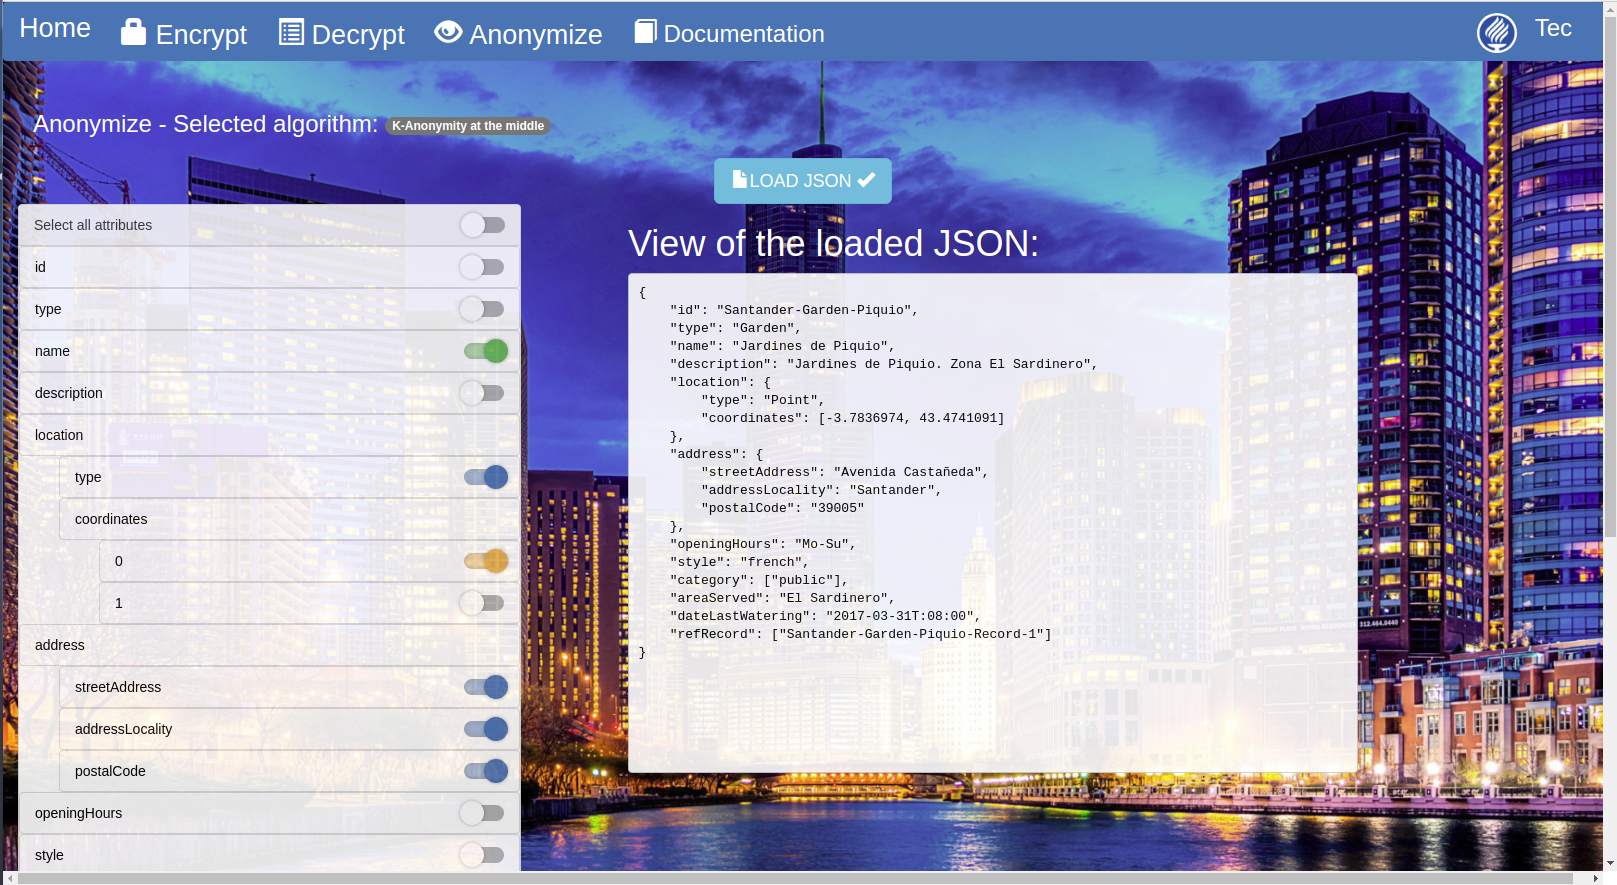
- Select the attributes that want to be anonymized at the left side of the web page
- Click the "Anonymize" button at the left-bottom of the web page

- The anonymized file is displayed on the right side of the web page
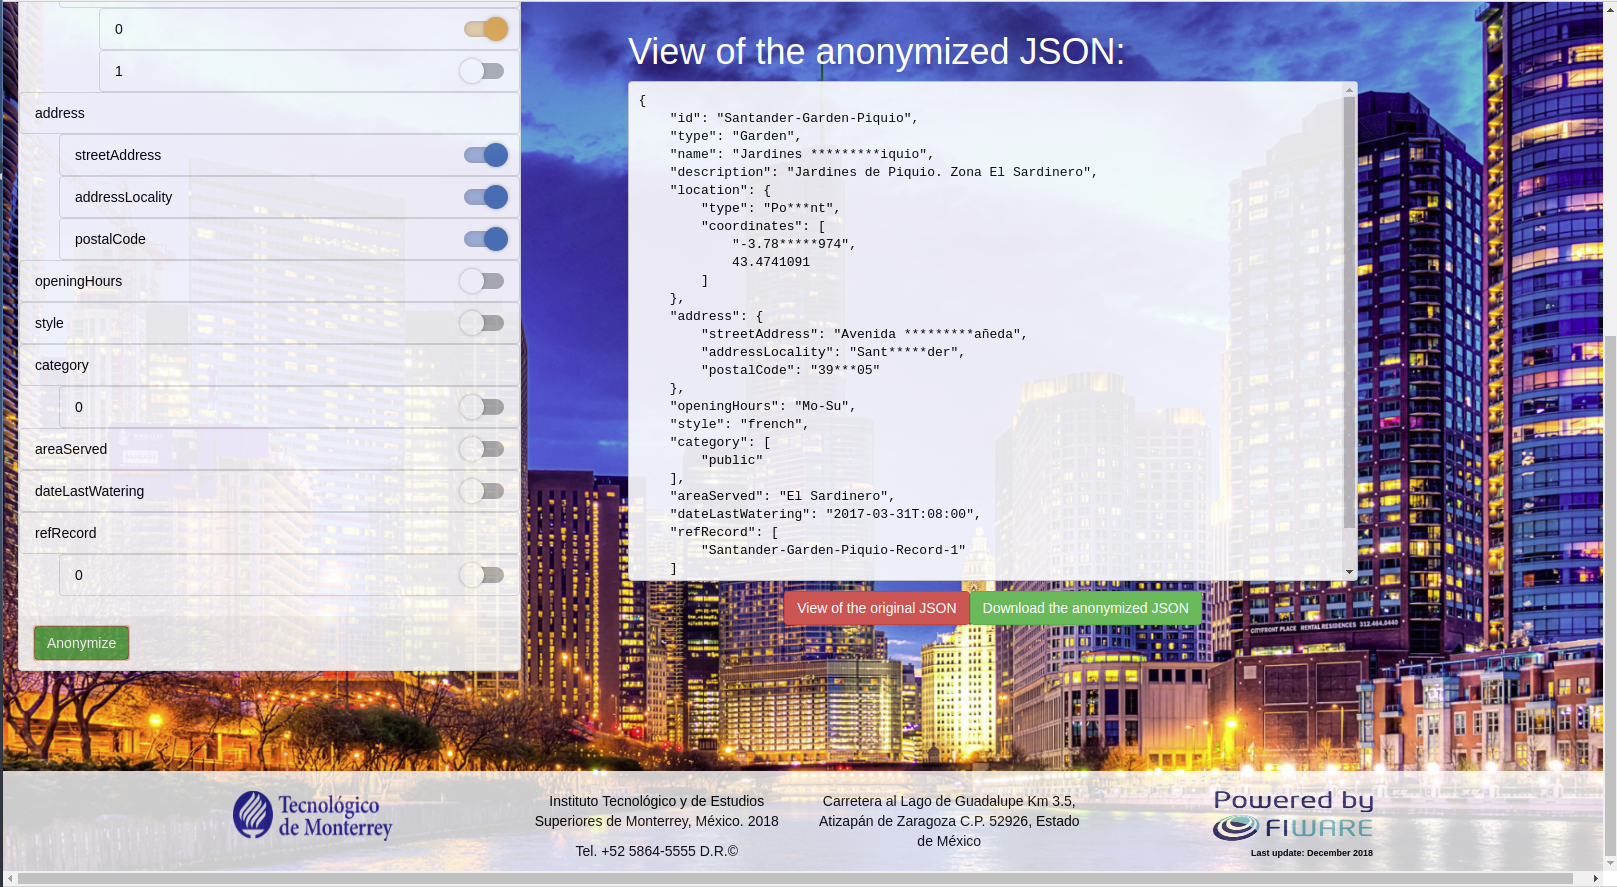
- Click the "Download the anonymized JSON" button to locally save the anonymized file
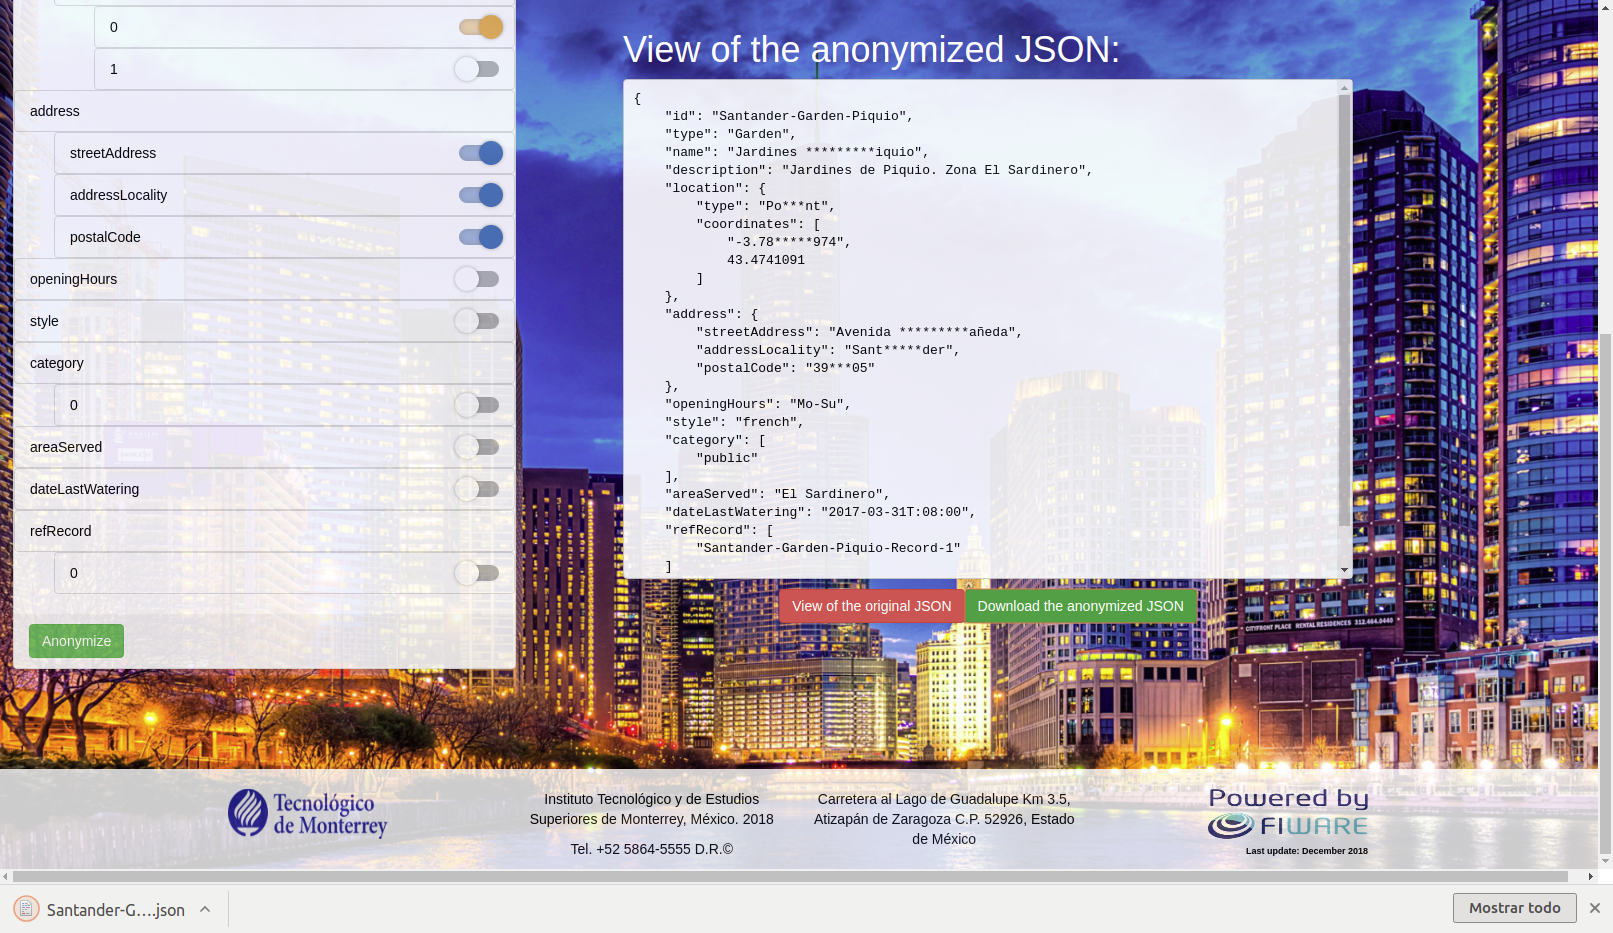
- Click the "View of the original JSON" to visualize the uploaded JSON file
- In the main page, click the "Documentation" button at the top side of the web page
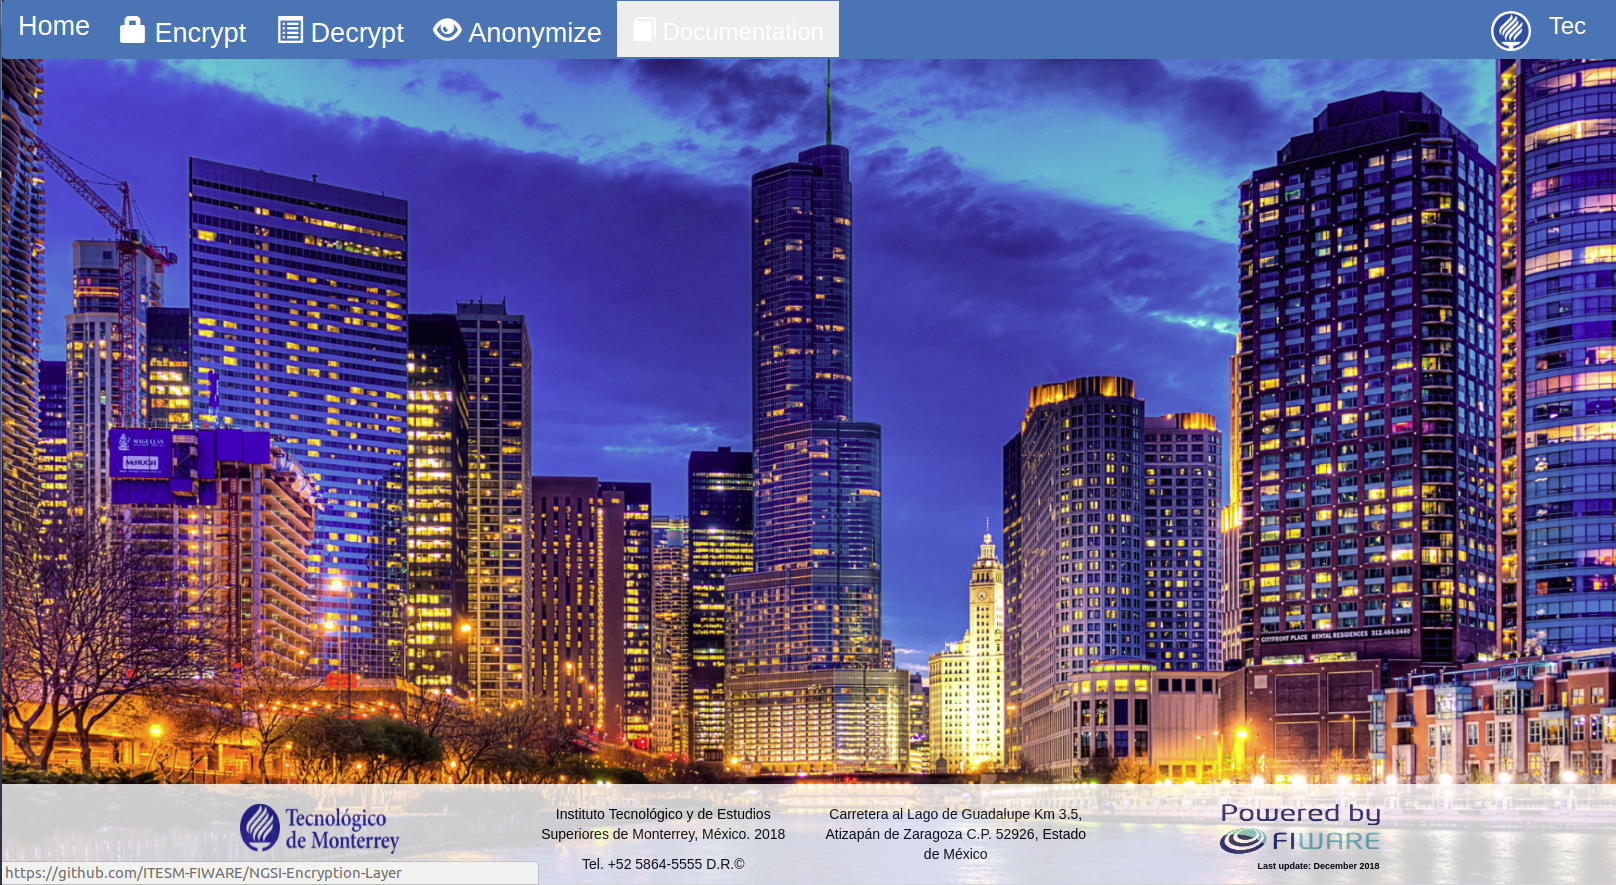
- The documentation is displayed at the official web site of the application
- Follow up the login process
- In the main page, click the button with the username at the right-top side of the web page
- Click the "Log out" button
- The "Login" window is displayed