



Kiosk app for live preview and testing MIPI CSI camera modules on Raspberry Pi.


Camera modules based on these sensors are available at kurokesu.com
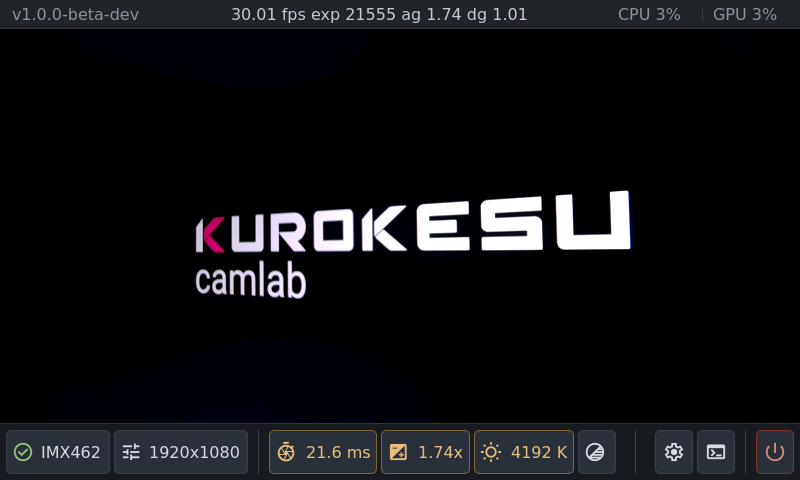
camlab runs on Raspberry Pi 5 or CM5. Any RAM size works, 2 GB is enough.
Flash Raspberry Pi OS
- Select your Raspberry Pi device: Raspberry Pi 5
- Choose operating system: Raspberry Pi OS (other) --> Raspberry Pi OS Lite (64-bit)
- OS customization: set hostname, username and password. Enable SSH to install remotely. Configure Wi-Fi unless using Ethernet
Note
SSH is optional. With a keyboard every step also works from the console.
Connect and boot:
- Connect your camera module to either CSI port (CM5 needs extra steps, see CM5 IO board)
- Attach HDMI display (1920×1080 recommended, other resolutions untested) or a DSI touch panel (see Touch display)
- Connect keyboard and/or mouse
- Connect Ethernet, unless Wi-Fi was configured in Imager (install needs internet)
- Insert SD card and power on your Pi
Warning
Connect or swap camera modules only when Pi is powered off and unplugged.
Note
App needs a display and one input device.
- Log in on the console or over SSH (
ssh <username>@<hostname>), update OS and reboot:
sudo apt update && sudo apt full-upgrade -y
sudo reboot- Enable Kurokesu apt archive:
curl -fsSLO https://apt.kurokesu.com/setup.sh
sudo sh setup.sh --update- Install camlab and set up kiosk:
# skip desktop extras that picamera2 recommends
sudo apt install --no-install-recommends camlab-rpi
sudo camlab-setup
Note
Installing from apt is what makes in-app updates work. A copy unpacked by hand gets none.
- Start camlab when install finishes:
camlabctl startApp starts with sensor defaults (AR0234 on a free CSI port) and no live image, sensor overlay loads on next boot.
-
Open Select sensor --> pick your camera and CSI port --> Apply & Shutdown
-
Once Pi powers off, power it back on. App starts automatically on boot, choices persist across reboots
Note
First power-on auto-reboots once to init read-only root.
By default camlab-setup:
- Enables Kurokesu apt archive
- Installs Kurokesu libcamera fork
- Installs Kurokesu sensor drivers
- Keeps one kernel, so drivers build once
- Enables kiosk service
- Locks root read-only on next reboot
Optional flags:
--no-readonlykeep root filesystem writable, for development.--display <overlay>enable a DSI touch panel on CM5 (see Touch display).
Install flow matches Pi 5, with these differences:
- On eMMC variants, flash OS to eMMC using usbboot. CM5 Lite boots from SD card as on Pi 5
- Fit both J6 jumpers (route I2C to
CAM/DISP1) - Default wiring: camera on
CAM/DISP0(cam0in Select sensor), optional touch panel onCAM/DISP1. Swap them with--display vc4-kms-dsi-7inch,dsi0
A DSI touch panel serves as both display and input device. Supported panels:
- Waveshare 43H 800×480 (overlay
vc4-kms-dsi-7inch)
Setup:
- Pi 5: plug and play, firmware loads overlay and Select sensor shows touch display as auto-detected
- CM5: pick it in Select sensor dialog together with the sensor, one Apply & Shutdown covers both
- CM5 without HDMI: install with
--display vc4-kms-dsi-7inch, reboot and continue sensor selection on touch display
Development and debugging notes - DEVELOPMENT.md.