![]()

Homepage: https://lqdoj.edu.vn
Based on DMOJ.
Supported Programming Languages:
- Assembly (x64)
- AWK
- C
- C++03 / C++11 / C++14 / C++17 / C++20
- Java 11
- Pascal
- Perl
- Python 2 / Python 3
- PyPy 2 / PyPy 3
Features:
- Plagiarism detection via Stanford MOSS
- Contest management with various formats
- User rating and performance tracking
- Real-time chat system
- Multi-language support
- Dark/Light theme
- Organization management
Most of the setup follows the same process as DMOJ installations. You can view the installation guide of DMOJ here: https://docs.dmoj.ca/#/site/installation.
The main difference is instead of git clone https://github.com/DMOJ/site.git, you clone this repository: git clone https://github.com/LQDJudge/online-judge.git.
Step 1: Install required libraries
$here means sudo. For example, the first line means runsudo apt update
$ apt update
$ apt install git gcc g++ make python3-dev python3-pip libxml2-dev libxslt1-dev zlib1g-dev gettext curl redis-server pkg-config
$ curl -sL https://deb.nodesource.com/setup_18.x | sudo -E bash -
$ apt install nodejs
$ npm install -g sass postcss-cli postcss autoprefixer
Step 2: Set up database
- The server currently uses
MariaDB ≥ 10.5, but you can also useMySQLif there are conflicts - If after running the commands below your
MariaDBversion is old (< 10.5), you can Google how to install the latestMariaDB(10.5 or 10.6) - You can check your
MariaDBversion by typingsudo mysql(Ctrl + C to quit)
$ apt update
$ apt install mariadb-server libmysqlclient-dev
Step 3: Create database tables
- You can change the table name and password
$ sudo mysql
mariadb> CREATE DATABASE dmoj DEFAULT CHARACTER SET utf8mb4 DEFAULT COLLATE utf8mb4_general_ci;
mariadb> GRANT ALL PRIVILEGES ON dmoj.* TO 'dmoj'@'localhost' IDENTIFIED BY '<password>';
mariadb> exit
$ mariadb-tzinfo-to-sql /usr/share/zoneinfo | sudo mariadb -u root mysql
Step 4: Set up virtual environment and pull code
- If
pip3 install mysqlclientfails, try runningpip3 install mysqlclient==2.1.1
$ python3 -m venv dmojsite
$ . dmojsite/bin/activate

$ git clone https://github.com/LQDJudge/online-judge.git
$ cd online-judge
$ git submodule init
$ git submodule update
$ pip3 install -r requirements.txt
$ pip3 install mysqlclient
$ pre-commit install
Step 5: Create local_settings.py
This is the file for customizing Django settings. Create the file at online-judge/dmoj/local_settings.py
- Sample file:
online-judge/dmoj/sample_local_settings.py - If you changed the database table name or password, update the corresponding information in
Databases - After completion, run
python3 manage.py checkto verify
Step 6: Compile CSS and translations
- Commands 1 and 2 should be run after each change to CSS or JS files (HTML files don't require this)
- Commands 3 and 4 should be run after each change to translation files
- Note: After running these commands, the folder corresponding to
STATIC_ROOTinlocal_settings.pymust be created. If it hasn't been created, you need to create that folder before running the first two commands.
$ ./make_style.sh
$ python3 manage.py collectstatic
$ python3 manage.py compilemessages
$ python3 manage.py compilejsi18n
Step 7: Add data to database
$ python3 manage.py migrate
$ python3 manage.py loaddata navbar
$ python3 manage.py loaddata language_small
$ python3 manage.py loaddata demo
Step 8: Run the site
At this point, the basic setup is complete (without judge, websocket, celery). You can access it at localhost:8000
python3 manage.py runserver 0.0.0.0:8000-
(WSL) You can download the Terminal application from the Windows Store
-
(WSL) Each time you open Ubuntu, you need to run the following command to start MariaDB:
sudo service mysql restart(similar for other services like memcached, celery) -
After installation, you only need to activate the virtual environment and run the runserver command:
. dmojsite/bin/activate python3 manage.py runserver -
For nginx, after configuring according to the DMOJ guide, you need to add the following location to use the profile image feature. Replace
path/to/ojwith the path where you cloned the source code:location /profile_images/ { root /path/to/oj; } -
Development workflow:
- After changing code, Django will automatically rebuild, you just need to press F5
- Some styles are in .scss files. You need to recompile CSS to see changes.
You can save these aliases for faster development:
mtrans: to generate translation when you add a string in codetrans: compile translation (after you've translated to Vietnamese)cr: change to OJ folderpr: run serversm: restart services (mainly for WSL)sd: activate virtual envcss: compile CSS files
alias mtrans='python3 manage.py makemessages -l vi && python3 manage.py makedmojmessages -l vi --no-mark-obsolete'
alias pr='python3 manage.py runserver'
alias sd='source ~/LQDOJ/dmojsite/bin/activate'
alias sm='sudo service mysql restart && sudo service redis-server start && sudo service memcached start'
alias trans='python3 manage.py compilemessages -l vi && python3 manage.py compilejsi18n -l vi'
alias cr='cd ~/LQDOJ/online-judge'
alias css='./make_style.sh && python3 manage.py collectstatic --noinput'Used for in-memory caching:
$ sudo apt install memcachedUsed for live updates (like chat):
- Create file
online-judge/websocket/config.js
module.exports = {
    get_host: '127.0.0.1',
    get_port: 15100,
    post_host: '127.0.0.1',
    post_port: 15101,
    http_host: '127.0.0.1',
    http_port: 15102,
    long_poll_timeout: 29000,
};- Install libraries
$ npm install qu ws simplesets
$ pip3 install websocket-client- Start (in a separate tab)
$ node websocket/daemon.jsUsed for background tasks like batch rejudging:
celery -A dmoj_celery workerInstall in a separate folder outside the site:
$ apt install python3-dev python3-pip build-essential libseccomp-dev
$ git clone https://github.com/LQDJudge/judge-server.git
$ cd judge-server
$ sudo pip3 install -e .- Create a
judge.ymlfile outside the judge-server folder (sample file: https://github.com/DMOJ/docs/blob/master/sample_files/judge_conf.yml) - Add judge to site via UI: Admin → Judge → Add Judge → enter id and key (only need to add once) or use command
python3 manage.py addjudge <id> <key> - Run Bridge (connection between judge and site) in a separate tab in the online-judge folder:
$ python3 manage.py runbridged- Start Judge (in a separate tab):
$ dmoj -c judge.yml localhost- Note: Each time you want to run judges later, open 1 tab for bridge and n tabs for judges. Each judge needs a different yml file (containing different authentication)
-
Missing
local_settings.py: You need to copy thelocal_settings.pyin order to pass the check. -
Missing problem folder in
local_settings.py: You need to create a folder to contain all problem packages and configure inlocal_settings.py. -
Missing static folder in
local_settings.py: Similar to problem folder, make sure to configureSTATIC_FILESinsidelocal_settings.py. -
Missing configure file for judges: Each judge must have a separate configure file. To create this file, you can run
python dmojauto-conf. Check out all sample files here: https://github.com/DMOJ/docs/blob/master/sample_files. -
Missing timezone data for SQL: If you're using Ubuntu and following DMOJ's installation guide for the server, and you get the error mentioned in #45, then you can follow this method to fix:
# You may have to do this if you haven't set root password for MySQL, replace mypass with your password
# SET PASSWORD FOR 'root'@'localhost' = PASSWORD('mypass');
# FLUSH PRIVILEGES;
mysql_tzinfo_to_sql /usr/share/zoneinfo | mysql -D mysql -u root -p
mysql -u root -p -e "flush tables;" mysql
-
Missing chat secret key: You must generate a Fernet key, and assign a variable in
local_settings.pylike this:CHAT_SECRET_KEY = "81HqDtbqAywKSOumSxxxxxxxxxxxxxxxxx="
After finishing all installation steps, every time you want to run a local server, follow these steps:
-
Activate virtual environment:
source dmojsite/bin/activate -
Run server:
python3 manage.py runserver 0.0.0.0:8000
-
Create a bridge (open in a different terminal if using the same machine)
python3 manage.py runbridged
-
Create a judge (another terminal)
dmoj 0.0.0.0 -p 9999 -c <path to yml configure file>
Here we assume you use the default port
9999for bridge insettings.py. You can create multiple judges, each should be in a separate terminal.
-
Run celery worker (server's queue, may be necessary for some functions)
celery -A dmoj_celery worker
-
Run live event server (for real-time updates like in production)
node websocket/daemon.js
-
To use subdomain for each organization: Go to admin page → navigation bar → sites, add domain name (e.g.,
localhost:8000). Then addUSE_SUBDOMAIN = Truetolocal_settings.py.
Most steps are similar to standard Django tutorials. Here are two common operations:
- If you add any new phrases in the code:
python3 manage.py makemessages - Go to
locale/vi - Modify
.pofile python3 manage.py compilemessagespython3 manage.py compilejsi18n
- Change
.css/.scssfiles inresourcesfolder ./make_style.sh && python3 manage.py collectstatic- Sometimes you need to press
Ctrl + F5to see the new user interface in browser
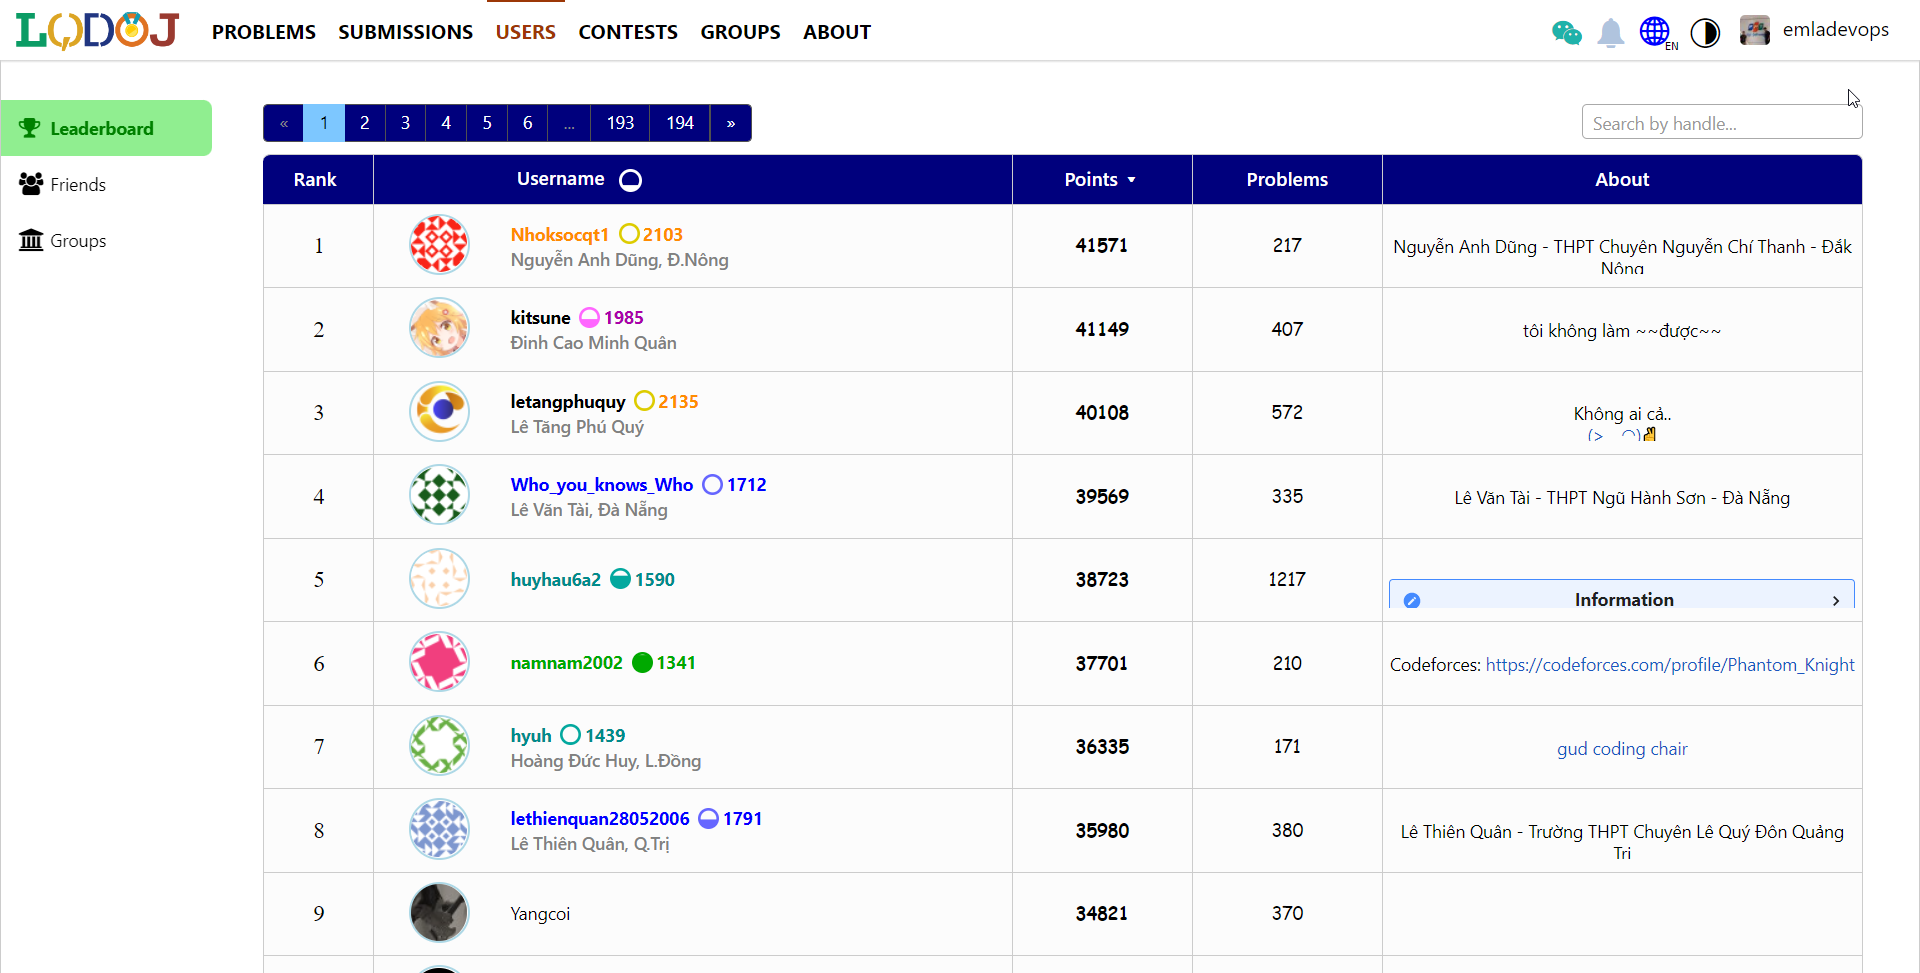
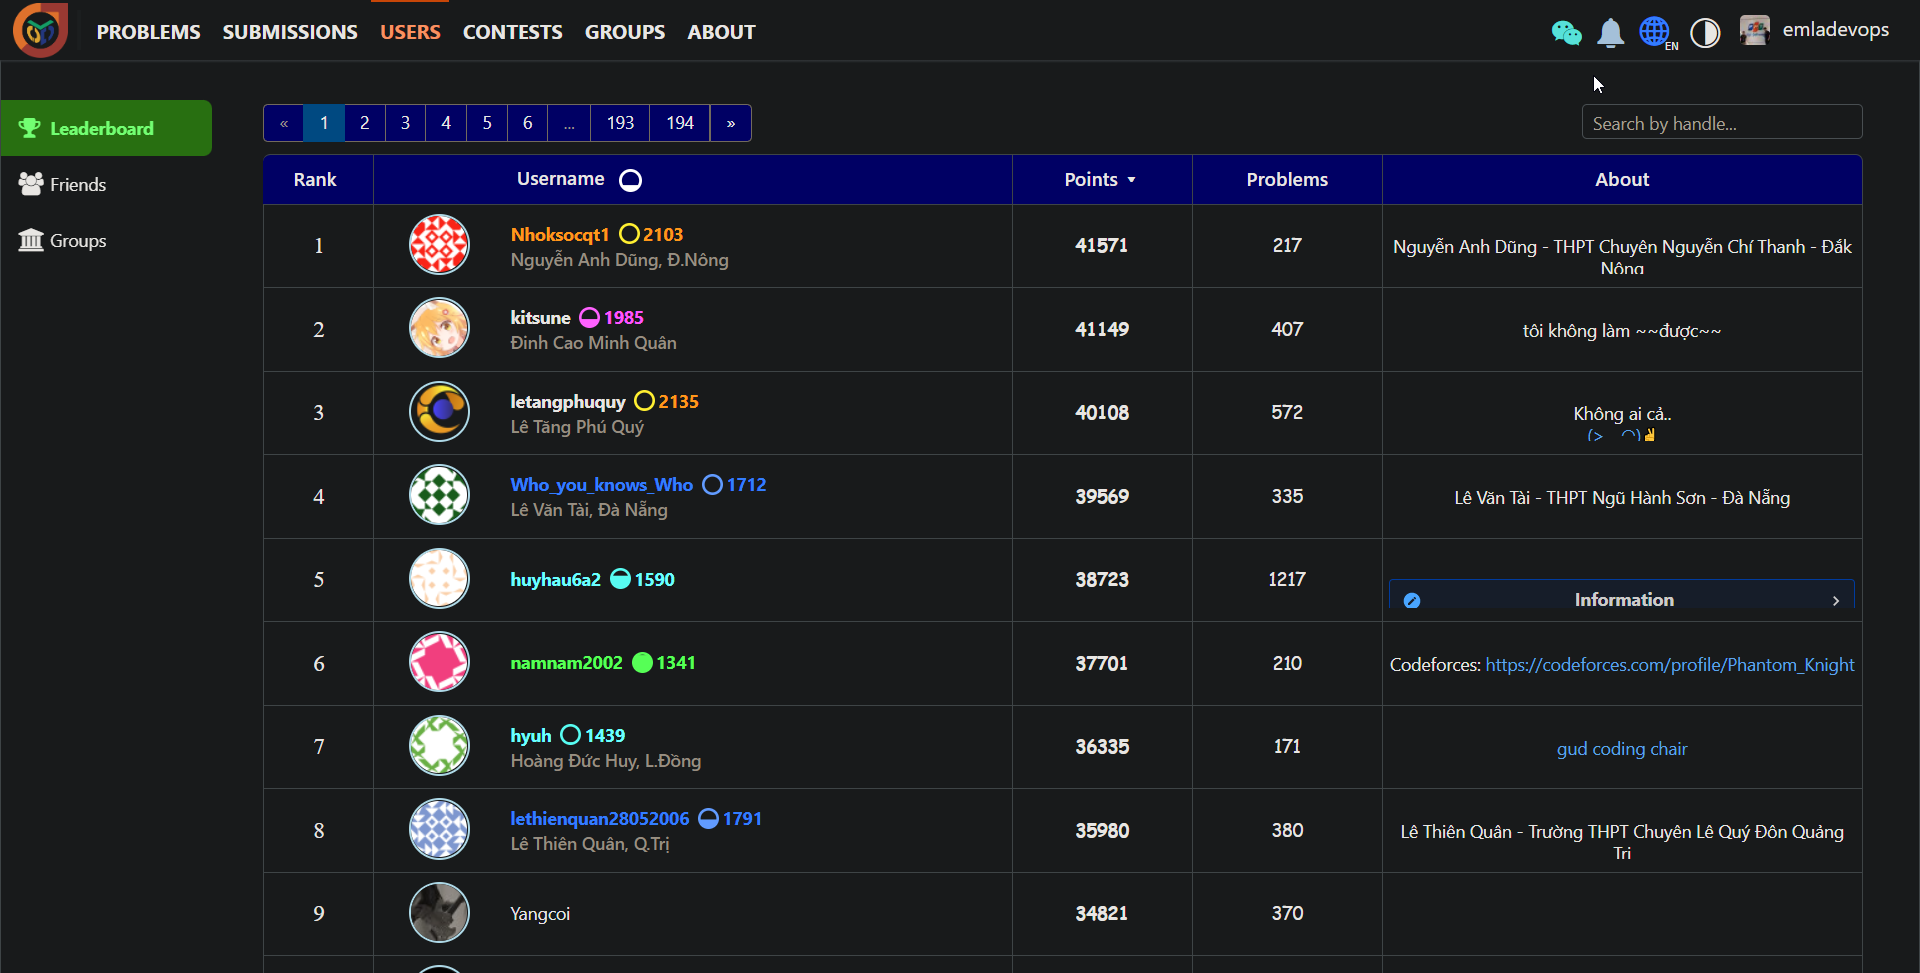
Leaderboard with information about contest rating, performance points and real name of all users.
Admin dashboard helps you easily manage problems, users, contests and blog posts.

You can write problems' statements in Markdown with LaTeX figures and formulas supported.

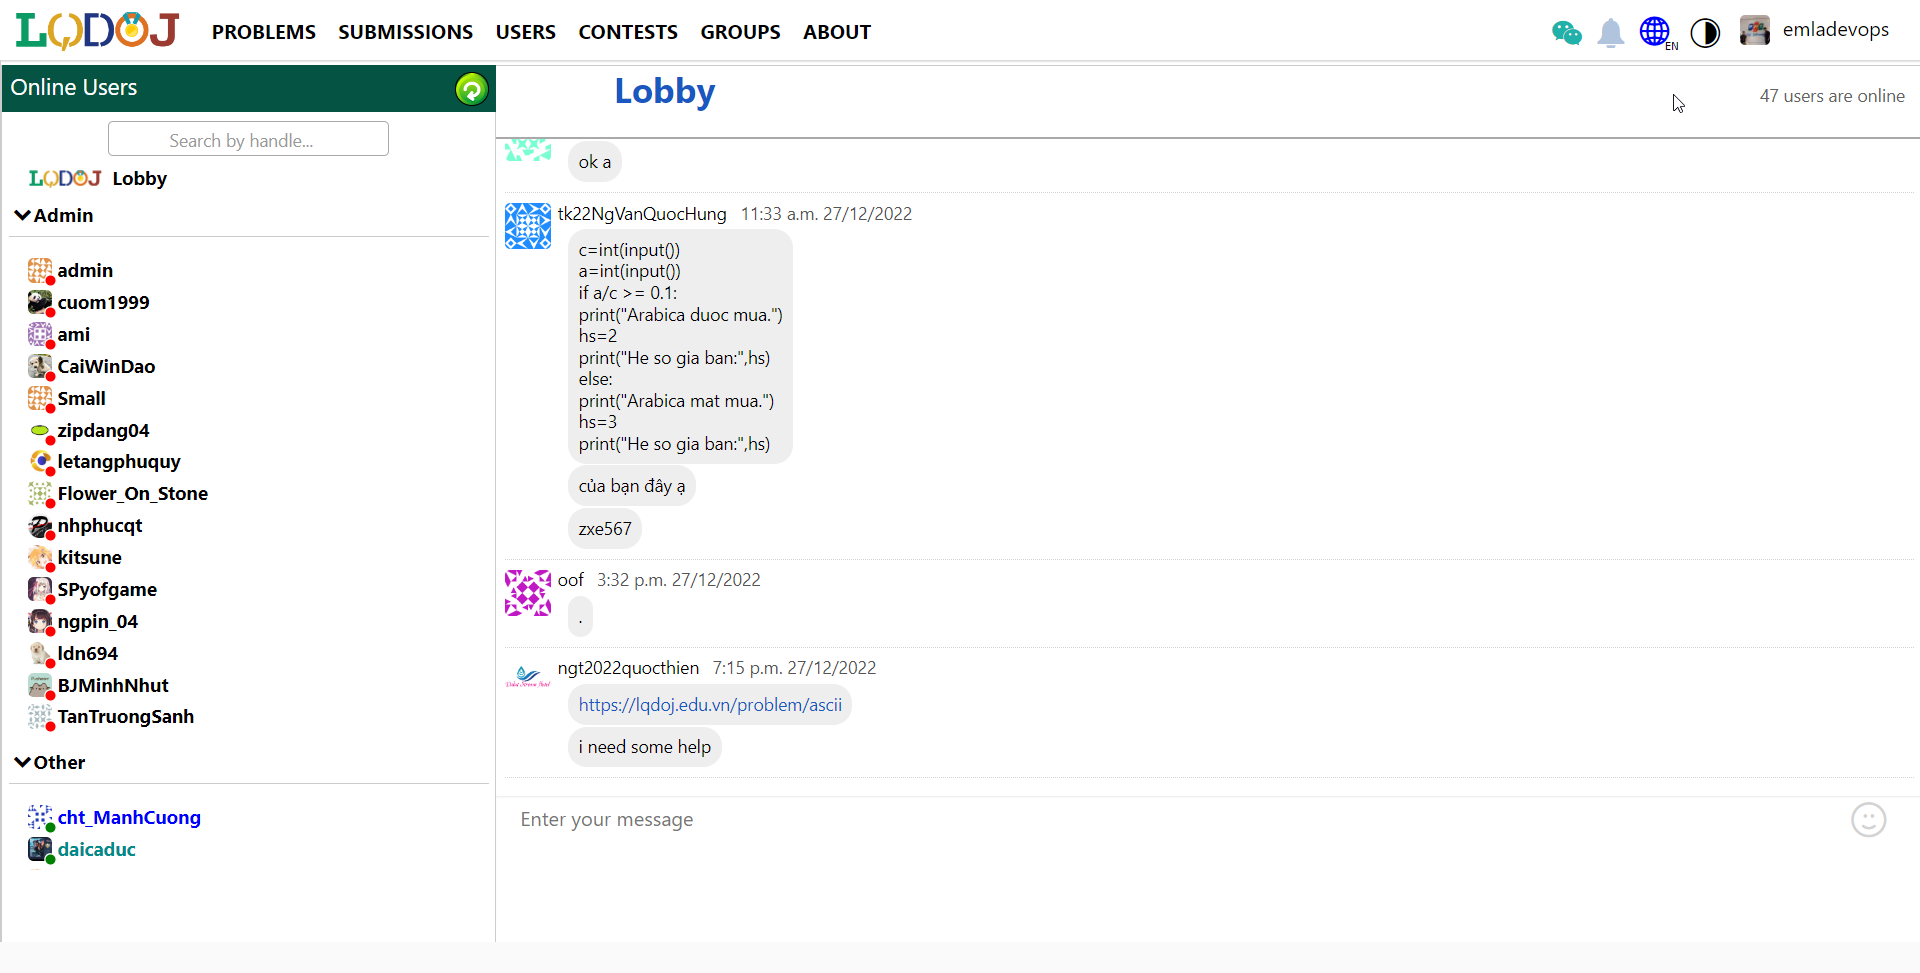
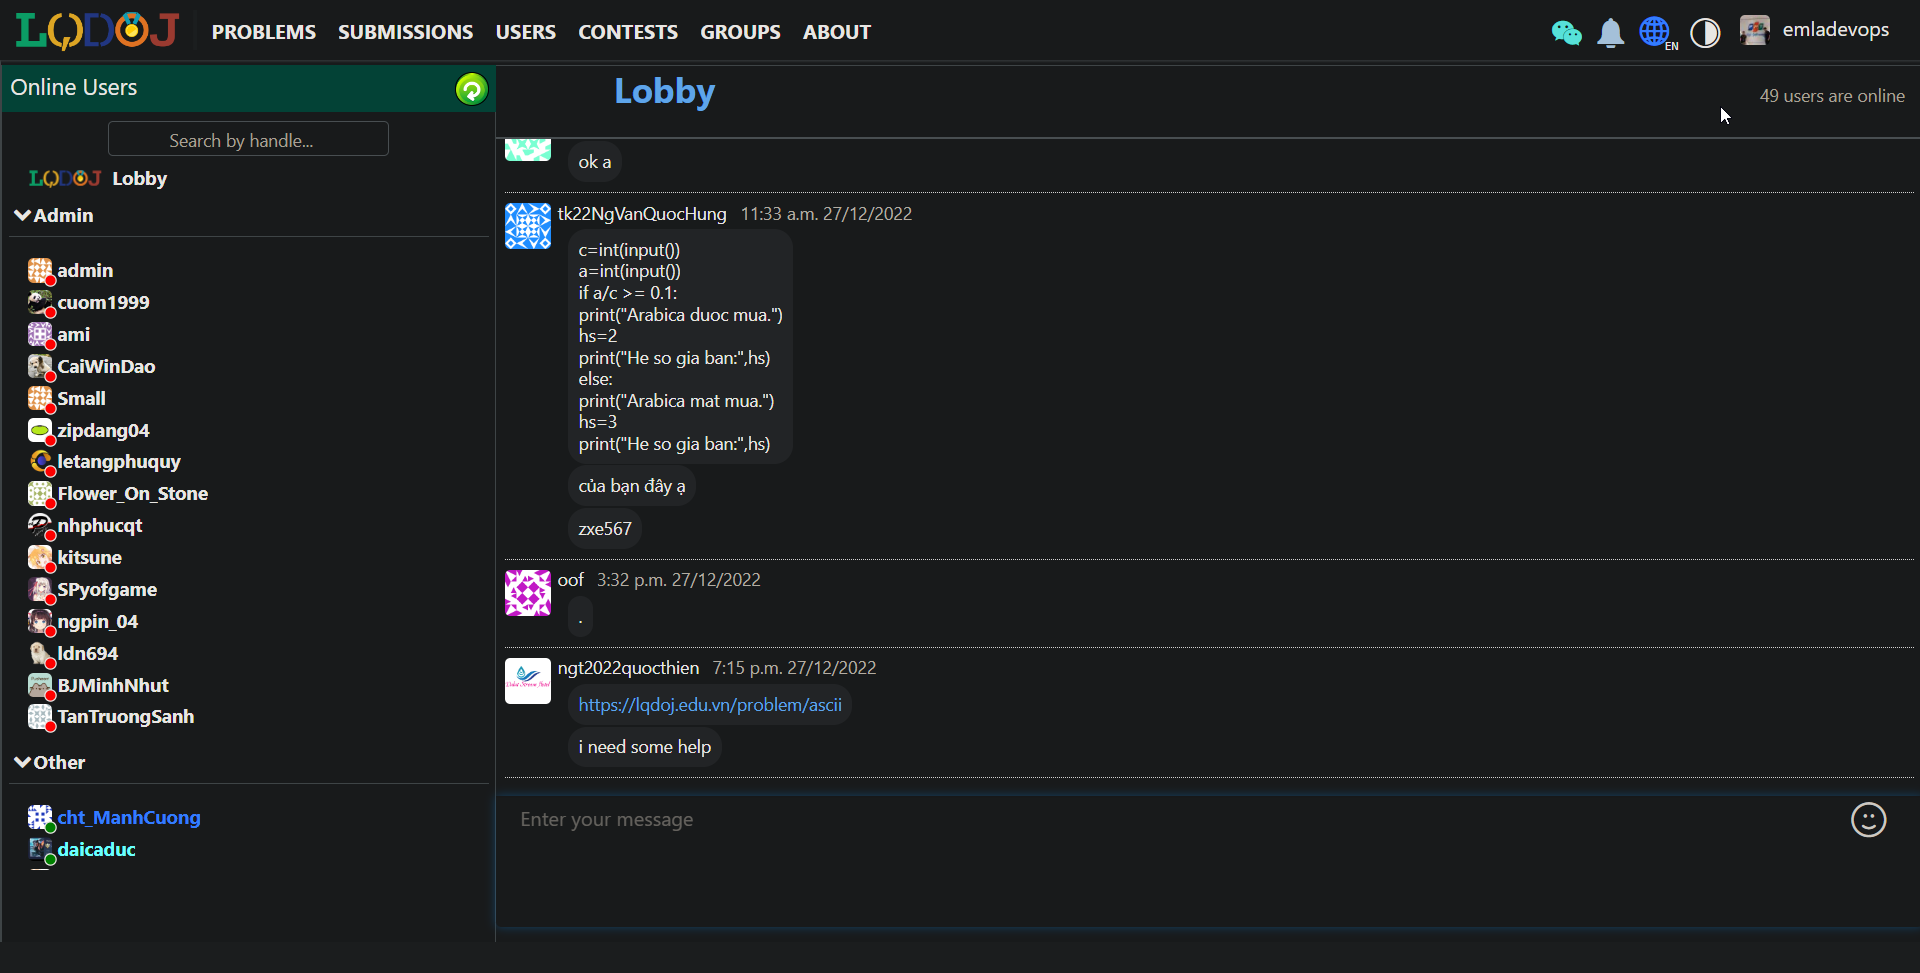
Users can communicate with each other and can see who's online.
Nhấp để xem hướng dẫn bằng Tiếng Việt
Trang chủ: https://lqdoj.edu.vn
Dựa trên DMOJ.
Ngôn ngữ lập trình được hỗ trợ:
- Assembly (x64)
- AWK
- C
- C++03 / C++11 / C++14 / C++17 / C++20
- Java 11
- Pascal
- Perl
- Python 2 / Python 3
- PyPy 2 / PyPy 3
Tính năng:
- Phát hiện đạo văn qua Stanford MOSS
- Quản lý cuộc thi với nhiều định dạng khác nhau
- Theo dõi rating và hiệu suất người dùng
- Hệ thống chat thời gian thực
- Hỗ trợ đa ngôn ngữ
- Giao diện sáng/tối
- Quản lý tổ chức
Hầu hết các bước cài đặt giống với DMOJ. Bạn có thể xem hướng dẫn cài đặt DMOJ tại: https://docs.dmoj.ca/#/site/installation.
Điểm khác biệt chính là thay vì git clone https://github.com/DMOJ/site.git, bạn clone repository này: git clone https://github.com/LQDJudge/online-judge.git.
Bước 1: Cài các thư viện cần thiết
$ở đây nghĩa là sudo. Ví dụ dòng đầu nghĩa là chạy lệnhsudo apt update
$ apt update
$ apt install git gcc g++ make python3-dev python3-pip libxml2-dev libxslt1-dev zlib1g-dev gettext curl redis-server pkg-config
$ curl -sL https://deb.nodesource.com/setup_18.x | sudo -E bash -
$ apt install nodejs
$ npm install -g sass postcss-cli postcss autoprefixer
Bước 2: Tạo cơ sở dữ liệu
- Server đang dùng
MariaDB ≥ 10.5, các bạn cũng có thể dùngMySQLnếu bị conflict - Nếu sau khi chạy lệnh dưới mà version
MariaDBbị cũ (< 10.5) thì có thể tra Google cách càiMariaDBmới nhất (10.5 hoặc 10.6) - Các bạn có thể thấy version
MariaDBbằng cách gõ lệnhsudo mysql(Ctrl + C để quit)
$ apt update
$ apt install mariadb-server libmysqlclient-dev
Bước 3: Tạo bảng trong cơ sở dữ liệu
- Các bạn có thể thay tên bảng và mật khẩu
$ sudo mysql
mariadb> CREATE DATABASE dmoj DEFAULT CHARACTER SET utf8mb4 DEFAULT COLLATE utf8mb4_general_ci;
mariadb> GRANT ALL PRIVILEGES ON dmoj.* TO 'dmoj'@'localhost' IDENTIFIED BY '<password>';
mariadb> exit
$ mariadb-tzinfo-to-sql /usr/share/zoneinfo | sudo mariadb -u root mysql
Bước 4: Cài đặt môi trường ảo (virtual env) và pull code
- Nếu
pip3 install mysqlclientbị lỗi thì thử chạypip3 install mysqlclient==2.1.1
$ python3 -m venv dmojsite
$ . dmojsite/bin/activate

$ git clone https://github.com/LQDJudge/online-judge.git
$ cd online-judge
$ git submodule init
$ git submodule update
$ pip3 install -r requirements.txt
$ pip3 install mysqlclient
$ pre-commit install
Bước 5: Tạo local_settings.py
Đây là file để custom setting cho Django. Các bạn tạo file vào online-judge/dmoj/local_settings.py
- File mẫu:
online-judge/dmoj/sample_local_settings.py - Nếu bạn đổi tên hoặc mật khẩu bảng cơ sở dữ liệu thì thay đổi thông tin tương ứng trong
Databases - Sau khi xong, chạy lệnh
python3 manage.py checkđể kiểm tra
Bước 6: Compile CSS và bản dịch
- Lệnh 1 và 2 gọi sau mỗi lần thay đổi file CSS hoặc file JS (file HTML thì không cần)
- Lệnh 3 và 4 gọi sau mỗi lần thay đổi file dịch
- Note: Sau khi chạy lệnh này, thư mục tương ứng với
STATIC_ROOTtronglocal_settings.pyphải được tạo. Nếu chưa được tạo thì cần tạo thư mục đó trước khi chạy 2 lệnh đầu.
$ ./make_style.sh
$ python3 manage.py collectstatic
$ python3 manage.py compilemessages
$ python3 manage.py compilejsi18n
Bước 7: Thêm dữ liệu vào cơ sở dữ liệu
$ python3 manage.py migrate
$ python3 manage.py loaddata navbar
$ python3 manage.py loaddata language_small
$ python3 manage.py loaddata demo
Bước 8: Chạy trang web
Đến đây thì cơ bản đã hoàn thành (chưa có judge, websocket, celery). Các bạn có thể truy cập tại localhost:8000
python3 manage.py runserver 0.0.0.0:8000-
(WSL) Có thể tải ứng dụng Terminal trong Windows Store
-
(WSL) Mỗi lần mở Ubuntu, các bạn cần chạy lệnh sau để MariaDB khởi động:
sudo service mysql restart(tương tự cho một số service khác như memcached, celery) -
Sau khi cài đặt, các bạn chỉ cần activate virtual env và chạy lệnh runserver:
. dmojsite/bin/activate python3 manage.py runserver -
Đối với nginx, sau khi config xong theo guide của DMOJ, bạn cần thêm location như sau để sử dụng được tính năng profile image, thay thế
path/to/ojthành đường dẫn nơi bạn đã clone source code:location /profile_images/ { root /path/to/oj; } -
Quy trình phát triển:
- Sau khi thay đổi code thì Django tự build lại, các bạn chỉ cần F5
- Một số style nằm trong các file .scss. Các bạn cần recompile CSS thì mới thấy được thay đổi.
Các bạn có thể lưu các alias này để sau này dùng cho nhanh:
alias mtrans='python3 manage.py makemessages -l vi && python3 manage.py makedmojmessages -l vi --no-mark-obsolete'
alias pr='python3 manage.py runserver'
alias sd='source ~/LQDOJ/dmojsite/bin/activate'
alias sm='sudo service mysql restart && sudo service redis-server start && sudo service memcached start'
alias trans='python3 manage.py compilemessages -l vi && python3 manage.py compilejsi18n -l vi'
alias cr='cd ~/LQDOJ/online-judge'
alias css='./make_style.sh && python3 manage.py collectstatic --noinput'Dùng cho in-memory cache:
$ sudo apt install memcachedDùng để live update (như chat):
- Tạo file
online-judge/websocket/config.js
module.exports = {
    get_host: '127.0.0.1',
    get_port: 15100,
    post_host: '127.0.0.1',
    post_port: 15101,
    http_host: '127.0.0.1',
    http_port: 15102,
    long_poll_timeout: 29000,
};- Cài các thư viện
$ npm install qu ws simplesets
$ pip3 install websocket-client- Khởi động (trong 1 tab riêng)
$ node websocket/daemon.jsDùng cho một số task như batch rejudge:
celery -A dmoj_celery workerCài đặt ở 1 thư mục riêng bên ngoài site:
$ apt install python3-dev python3-pip build-essential libseccomp-dev
$ git clone https://github.com/LQDJudge/judge-server.git
$ cd judge-server
$ sudo pip3 install -e .- Tạo một file
judge.ymlở bên ngoài thư mục judge-server (file mẫu: https://github.com/DMOJ/docs/blob/master/sample_files/judge_conf.yml) - Thêm judge vào site bằng UI: Admin → Judge → Thêm Judge → nhập id và key (chỉ cần thêm 1 lần) hoặc dùng lệnh
python3 manage.py addjudge <id> <key> - Chạy Bridge (cầu nối giữa judge và site) trong 1 tab riêng trong thư mục online-judge:
$ python3 manage.py runbridged- Khởi động Judge (trong 1 tab riêng):
$ dmoj -c judge.yml localhost- Lưu ý: Mỗi lần sau này muốn chạy judge thì mở 1 tab cho bridge và n tab cho judge. Mỗi judge cần 1 file yml khác nhau (chứa authentication khác nhau)