Plant Wise is an eCommerce web application built for plant lovers who want a smooth and intuitive online shopping experience. Whether you're a seasoned gardener or just starting your indoor jungle, Plant Wise makes discovering, purchasing, and managing plant products simple and enjoyable.
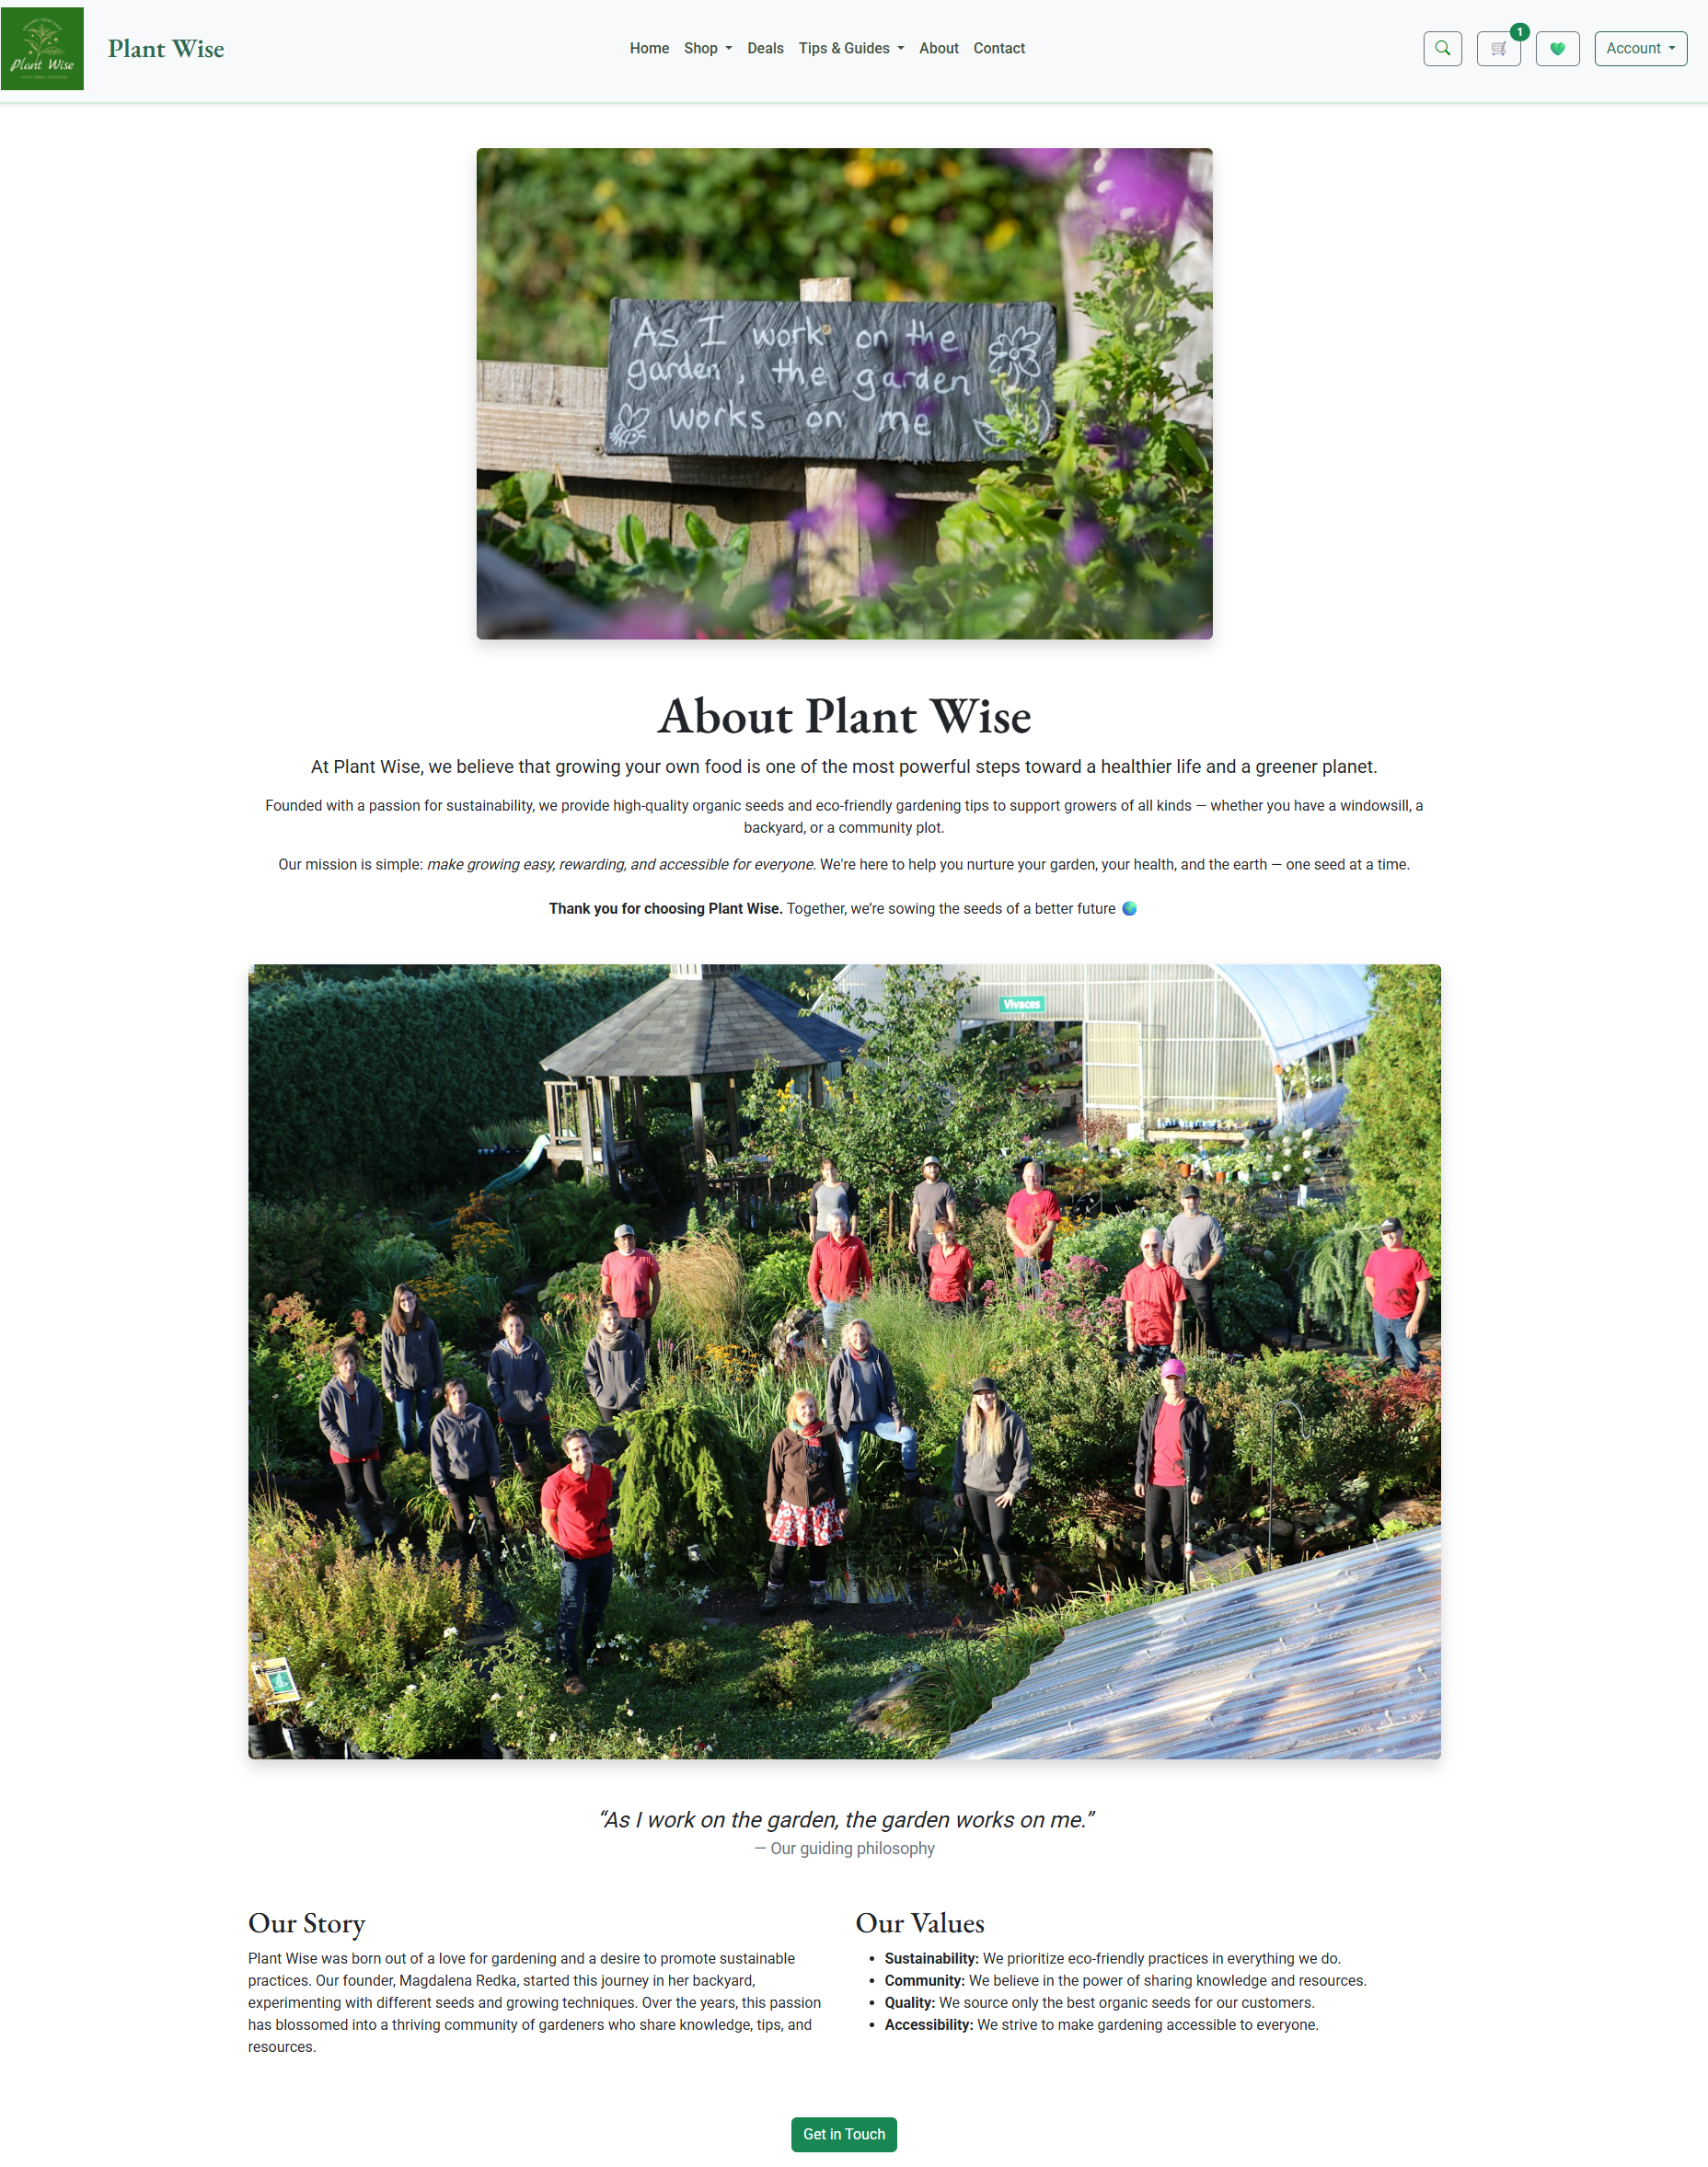
This website is designed for organic vegetables and herbs enthusiasts. Whether you're growing basil on a windowsill or planning a full backyard garden, this site supports your passion for fresh, healthy food. Especially those interested in natural pest control, companion planting, and sustainable growing methods using flowers and herbs to protect crops.
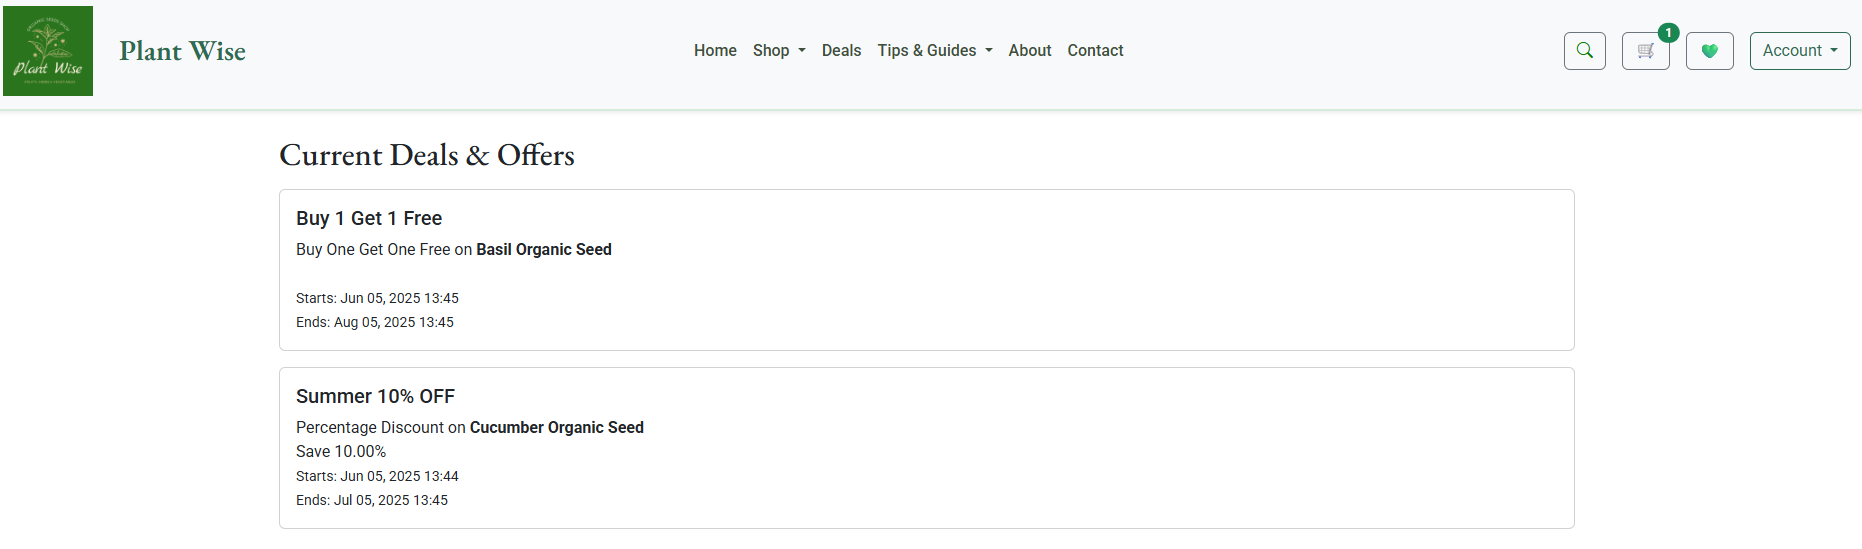
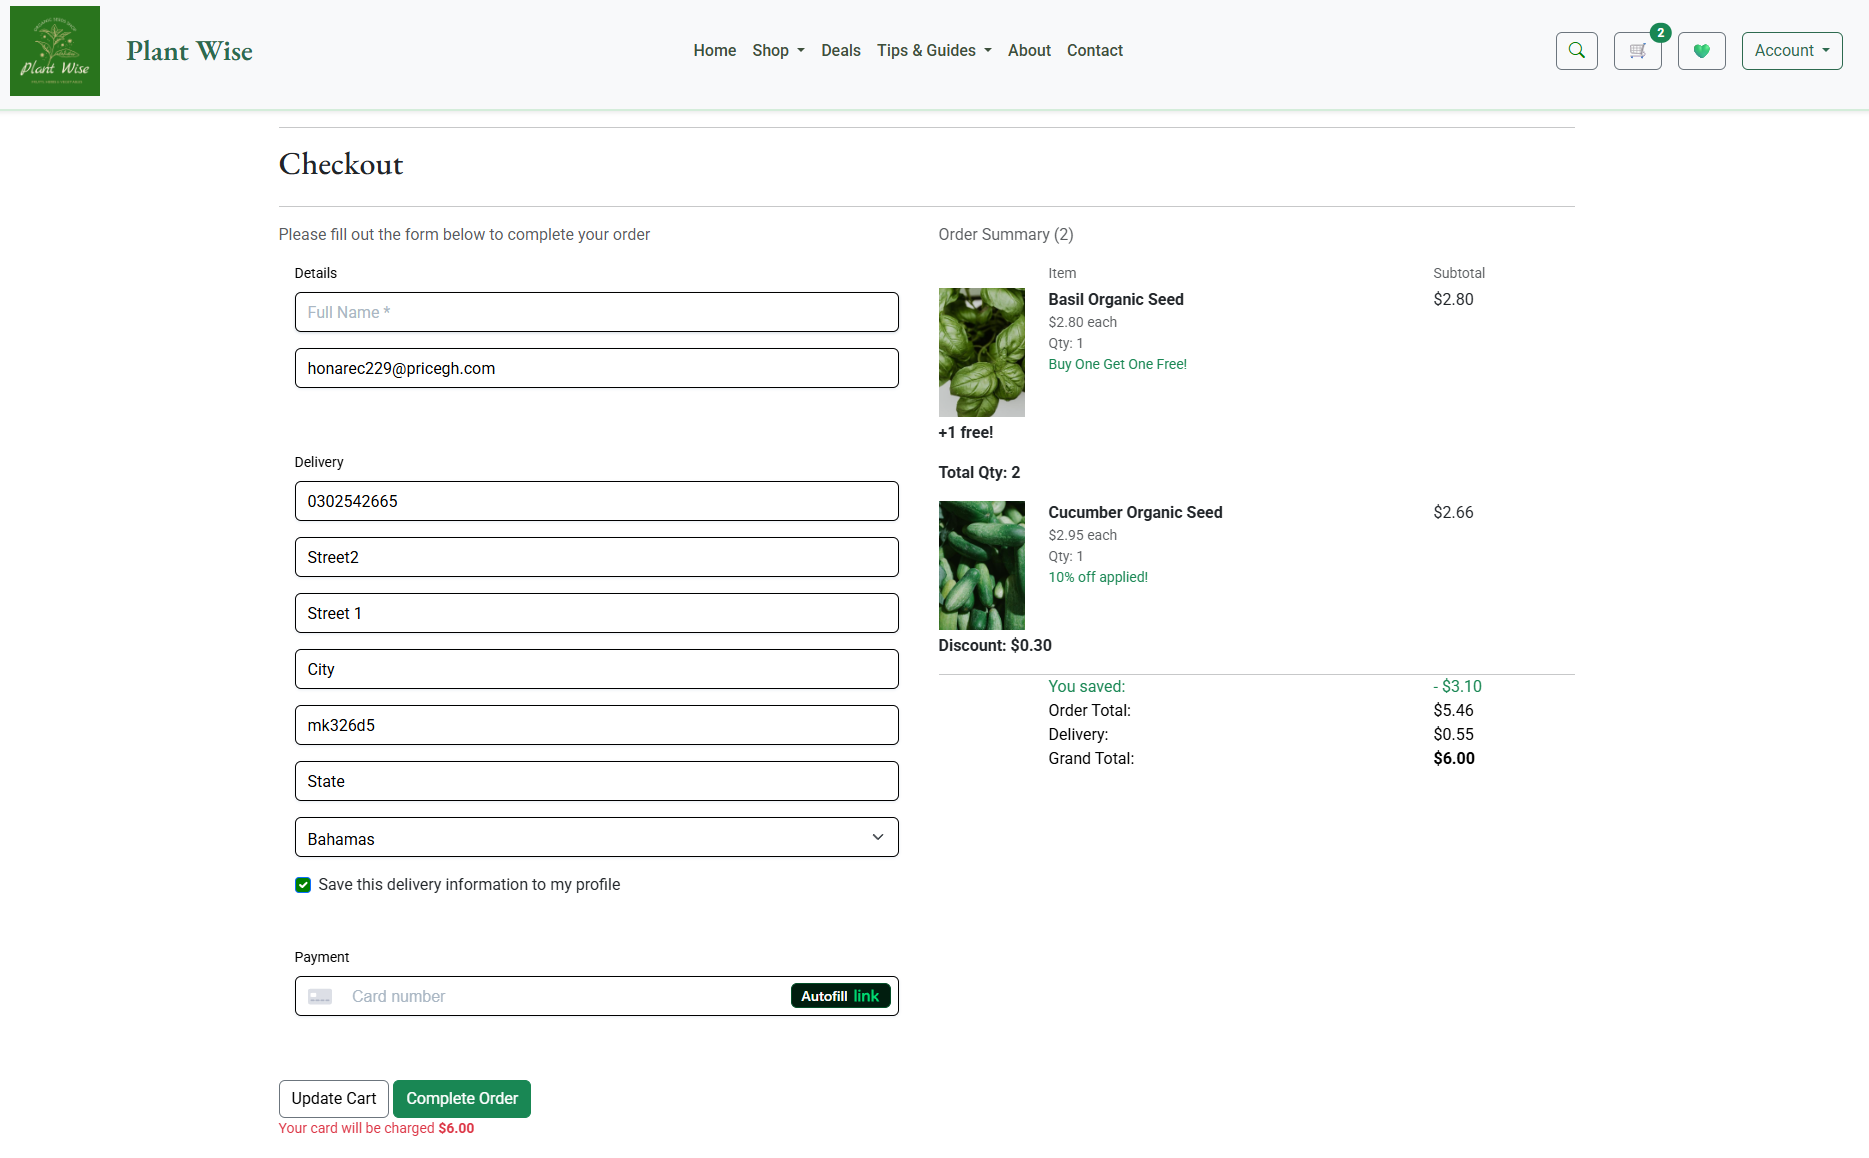
The platform features dynamic product listings, seasonal deals (including Buy One Get One Free and discounts), secure checkout, and user account management – all designed with both user experience and business functionality in mind.
Plant Wise was built using Agile approach, allowing me to stay flexible and deliver features in incremental steps. I followed Agile principles to manage tasks and ensure continuous improvement throughout development.
To keep track of tasks and progress, I used a Kanban board to visually organize work, monitor the flow of tasks, and ensure that each feature was delivered efficiently.
I created GitHub Project to help me manage tasks by moving them trough various stages from To Do, to In Progress, and finally to Done.
The Kanban board was split into two distinct views to improve clarity and collaboration:
- User Stories View
- Focused on high level features and functionality from the end user perspective.
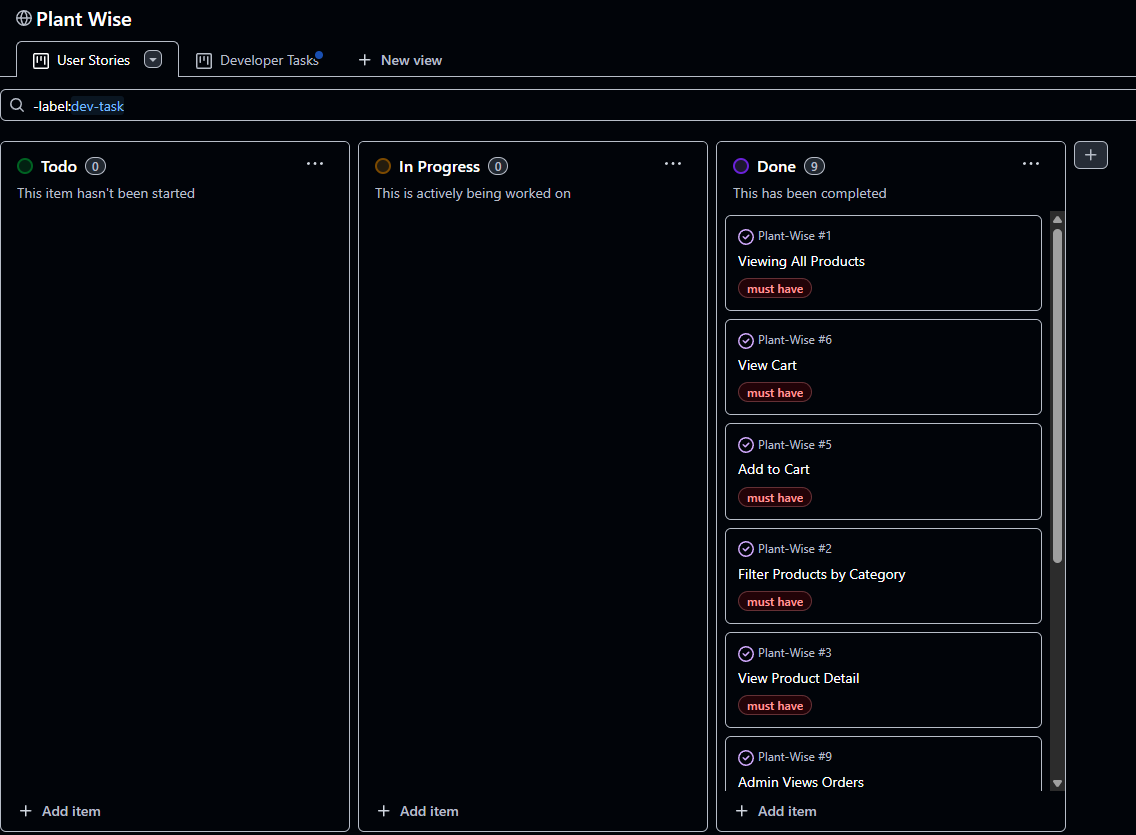
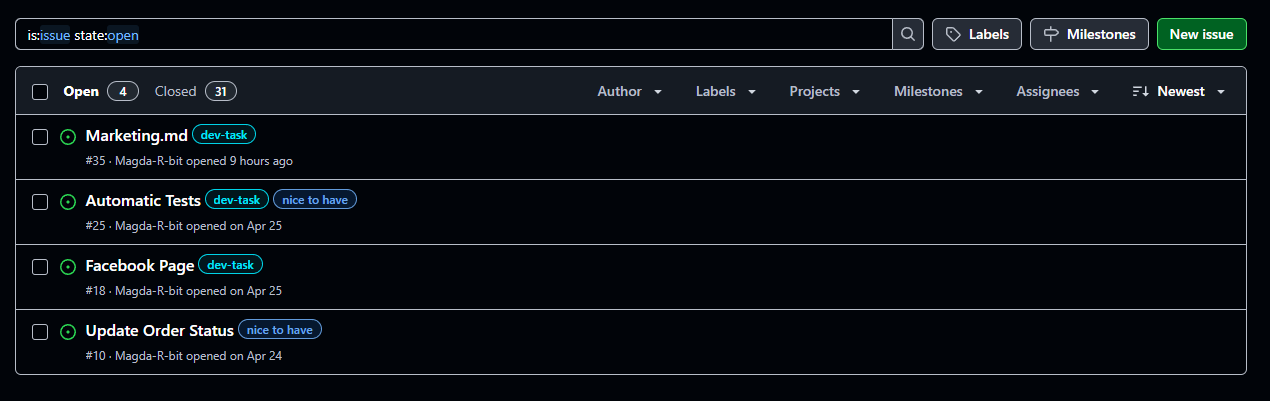
- Developer Tasks View
- Broke down each user story into smaller, actionable development tasks. This helped in maintaining a clear separation between business objectives and technical implementation, while supporting better planning and prioritization.

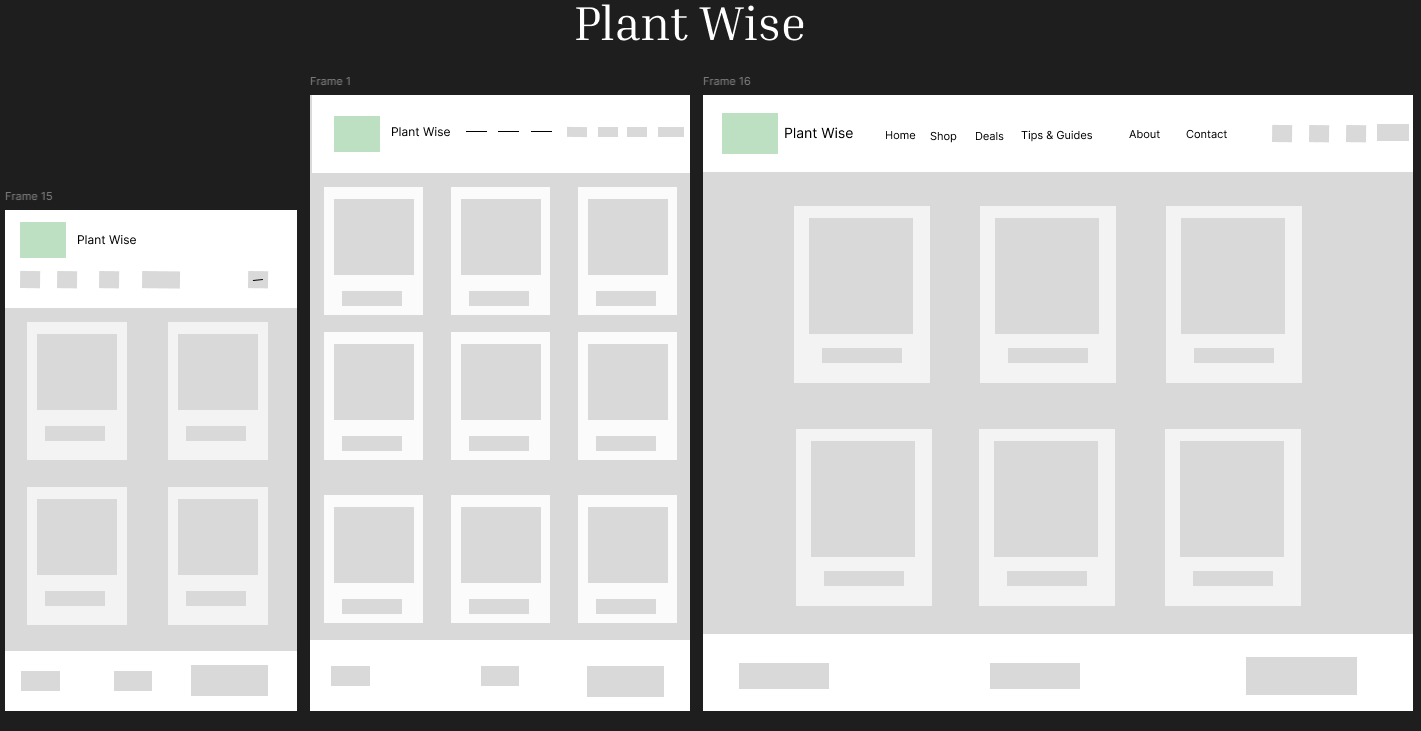
- Figma (Used to create Wireframes)
- Graphviz (ERD Generated using django-extensions and Graphviz to visualize the relationships between the models and improve the understanding of the database structure)
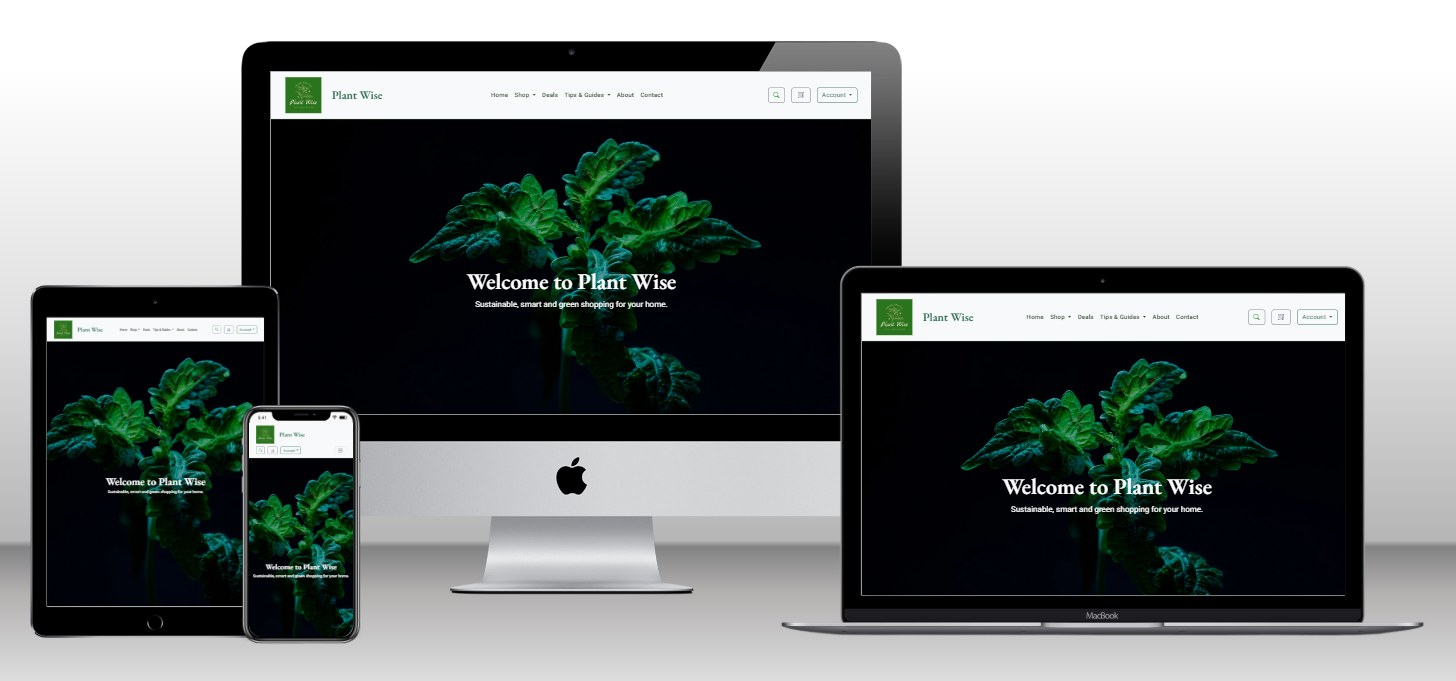
The primary colours chosen for this website are green: #198754 and #2d6a4f, for its association with nature, healthy green vegetables.
Green is often associated with relaxation and harmony, which aligns perfectly with the theme of wellness and healthy organic food.


The navbar and Footer uses Bootstrap's bg-light class, which applies a soft light-gray background (#f8f9fa) for a clean and minimalistic look.

For SEO & Marketing research please refer to SEO and Marketing
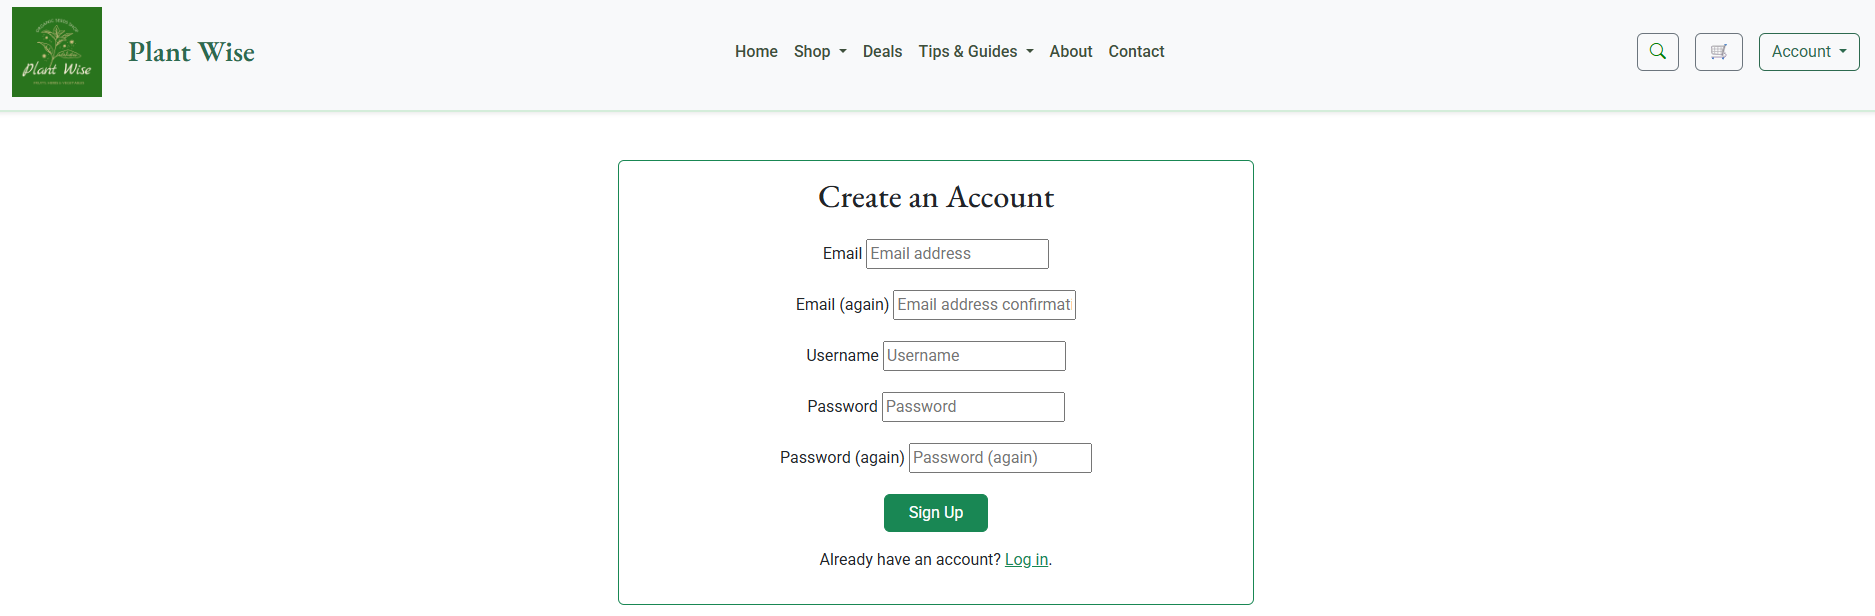
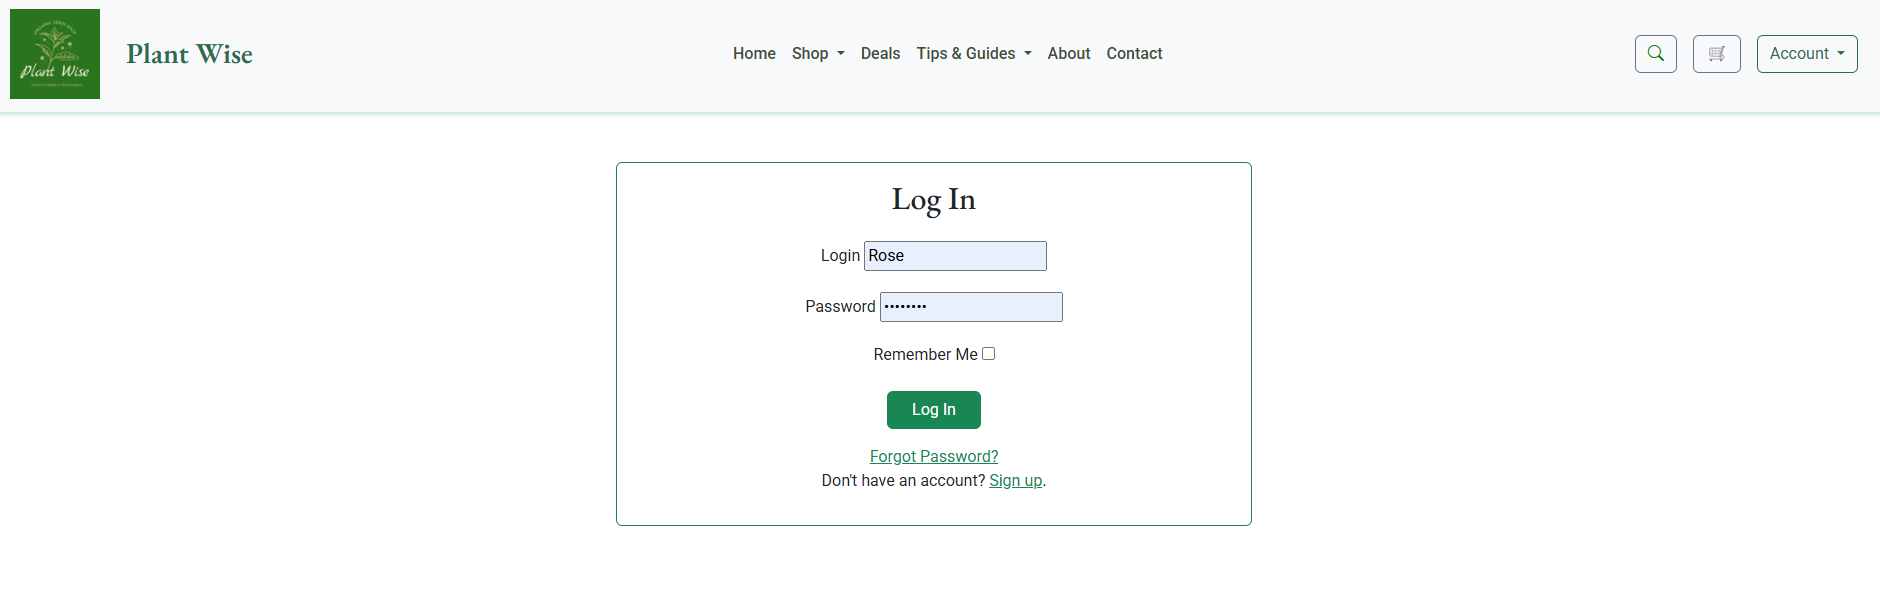
- User authentication with Django Allauth (signup, login, logout).
- Responsive UI with Bootstrap 5.
- CRUD Functionality:
- Tips and Guides – Users can create, view, update their tips. Admin can add or delete the guides.
- Shop – Admins can manage products in the shop.
- Wish List – Users can add, edit, and delete items from the Wish List.
- Cart - adding, removing products, and updating cart.
- Responsive Navbar with burger dropdown manu
- Navigation options depend on user authentication

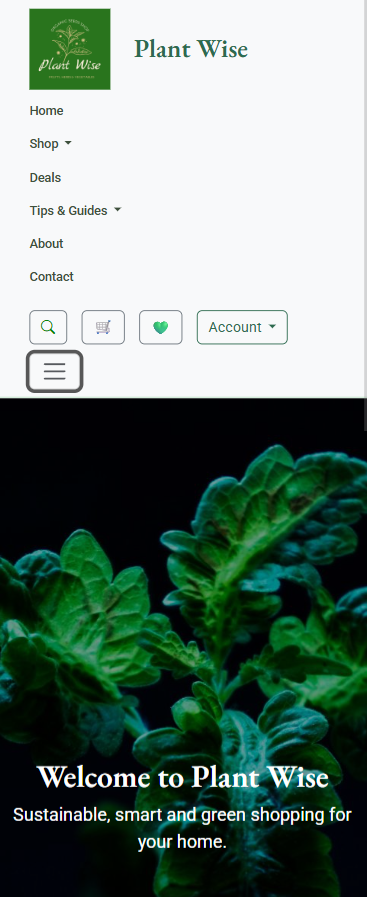
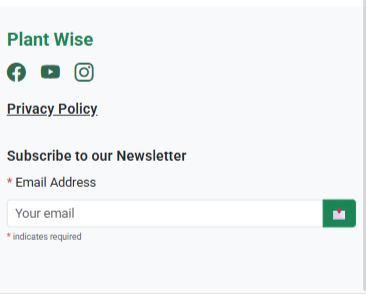
- Responsive Footer with social media links and address

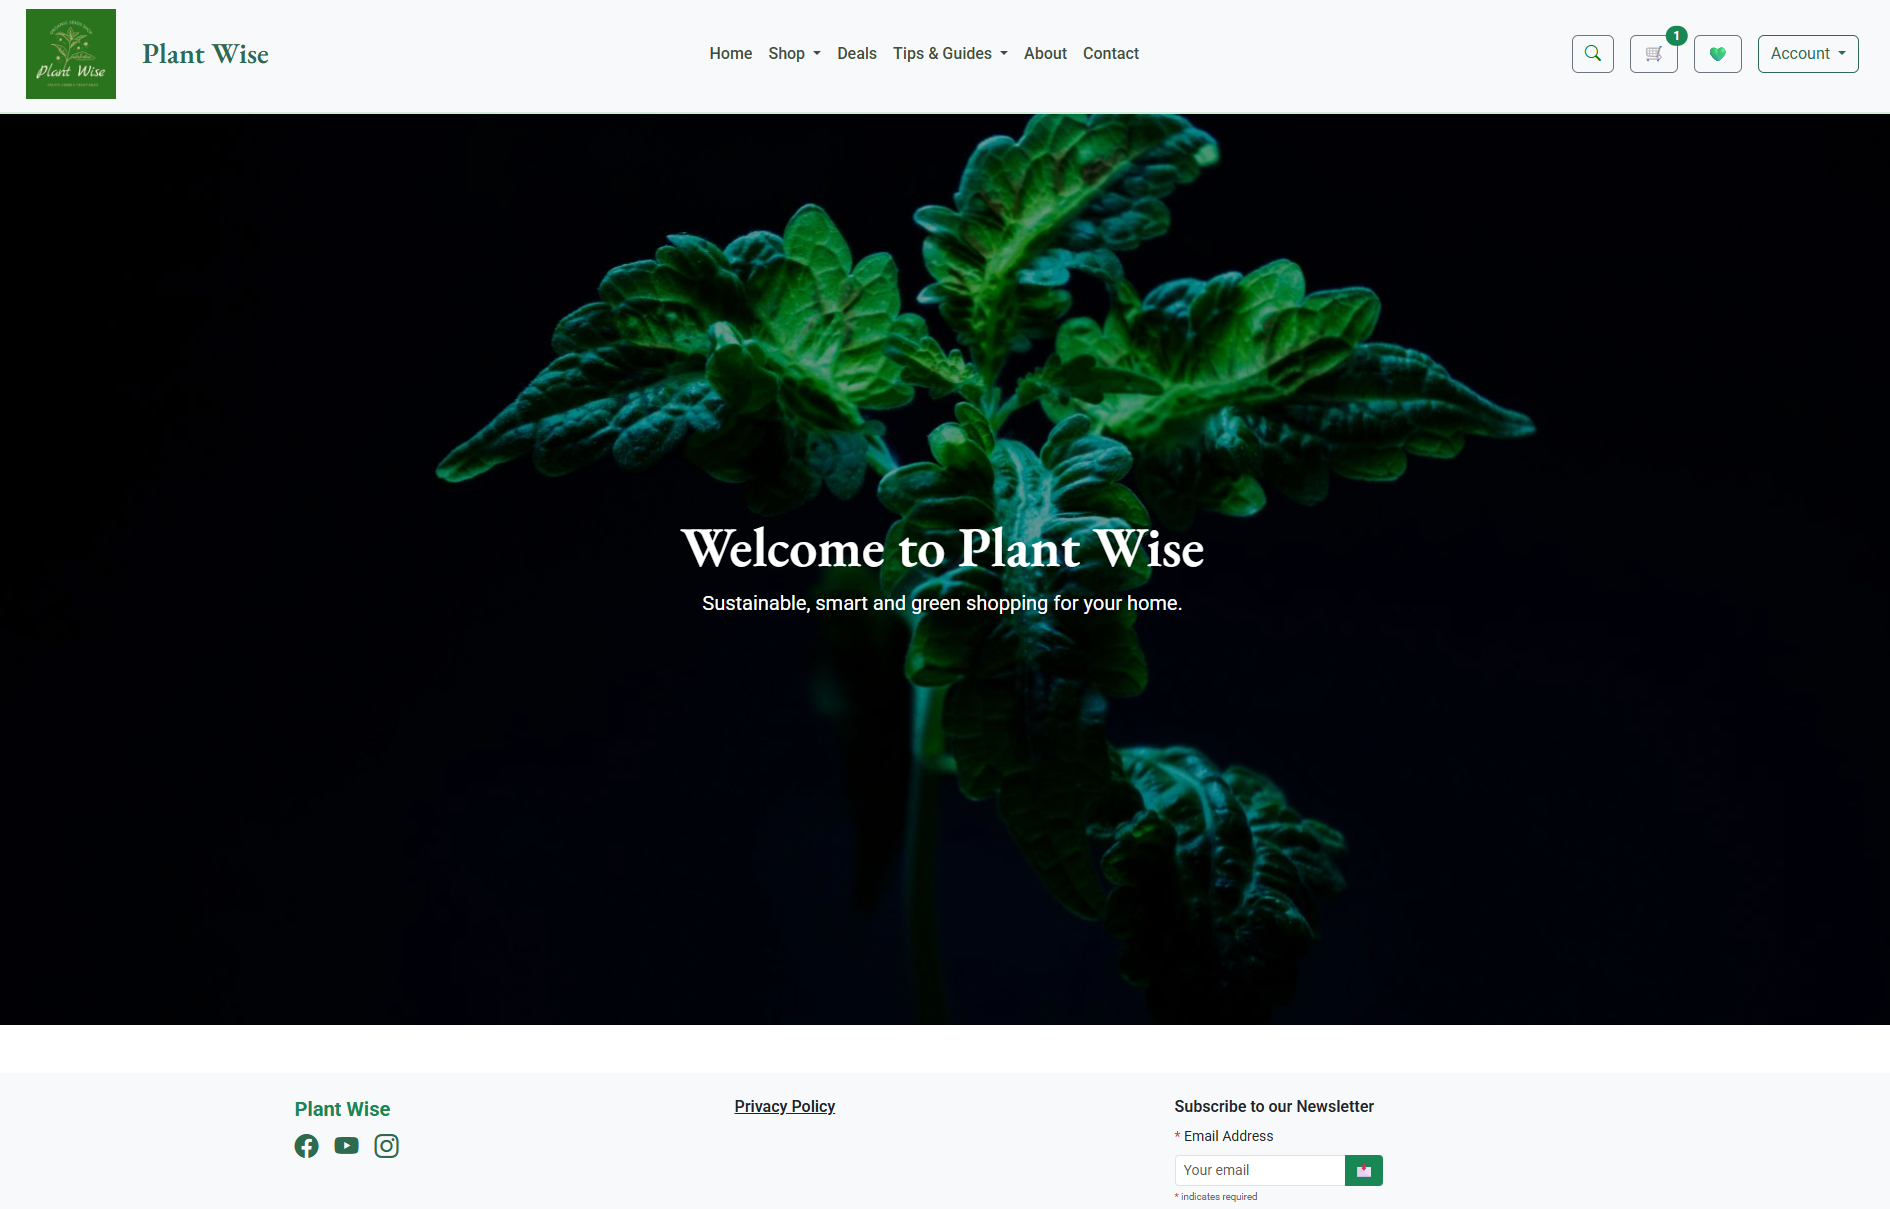
User can go to the shop by scrolling on the image and clicking the arrow. This feature was designed to improve usability and guide users directly into the shopping expirience with minimal effort.
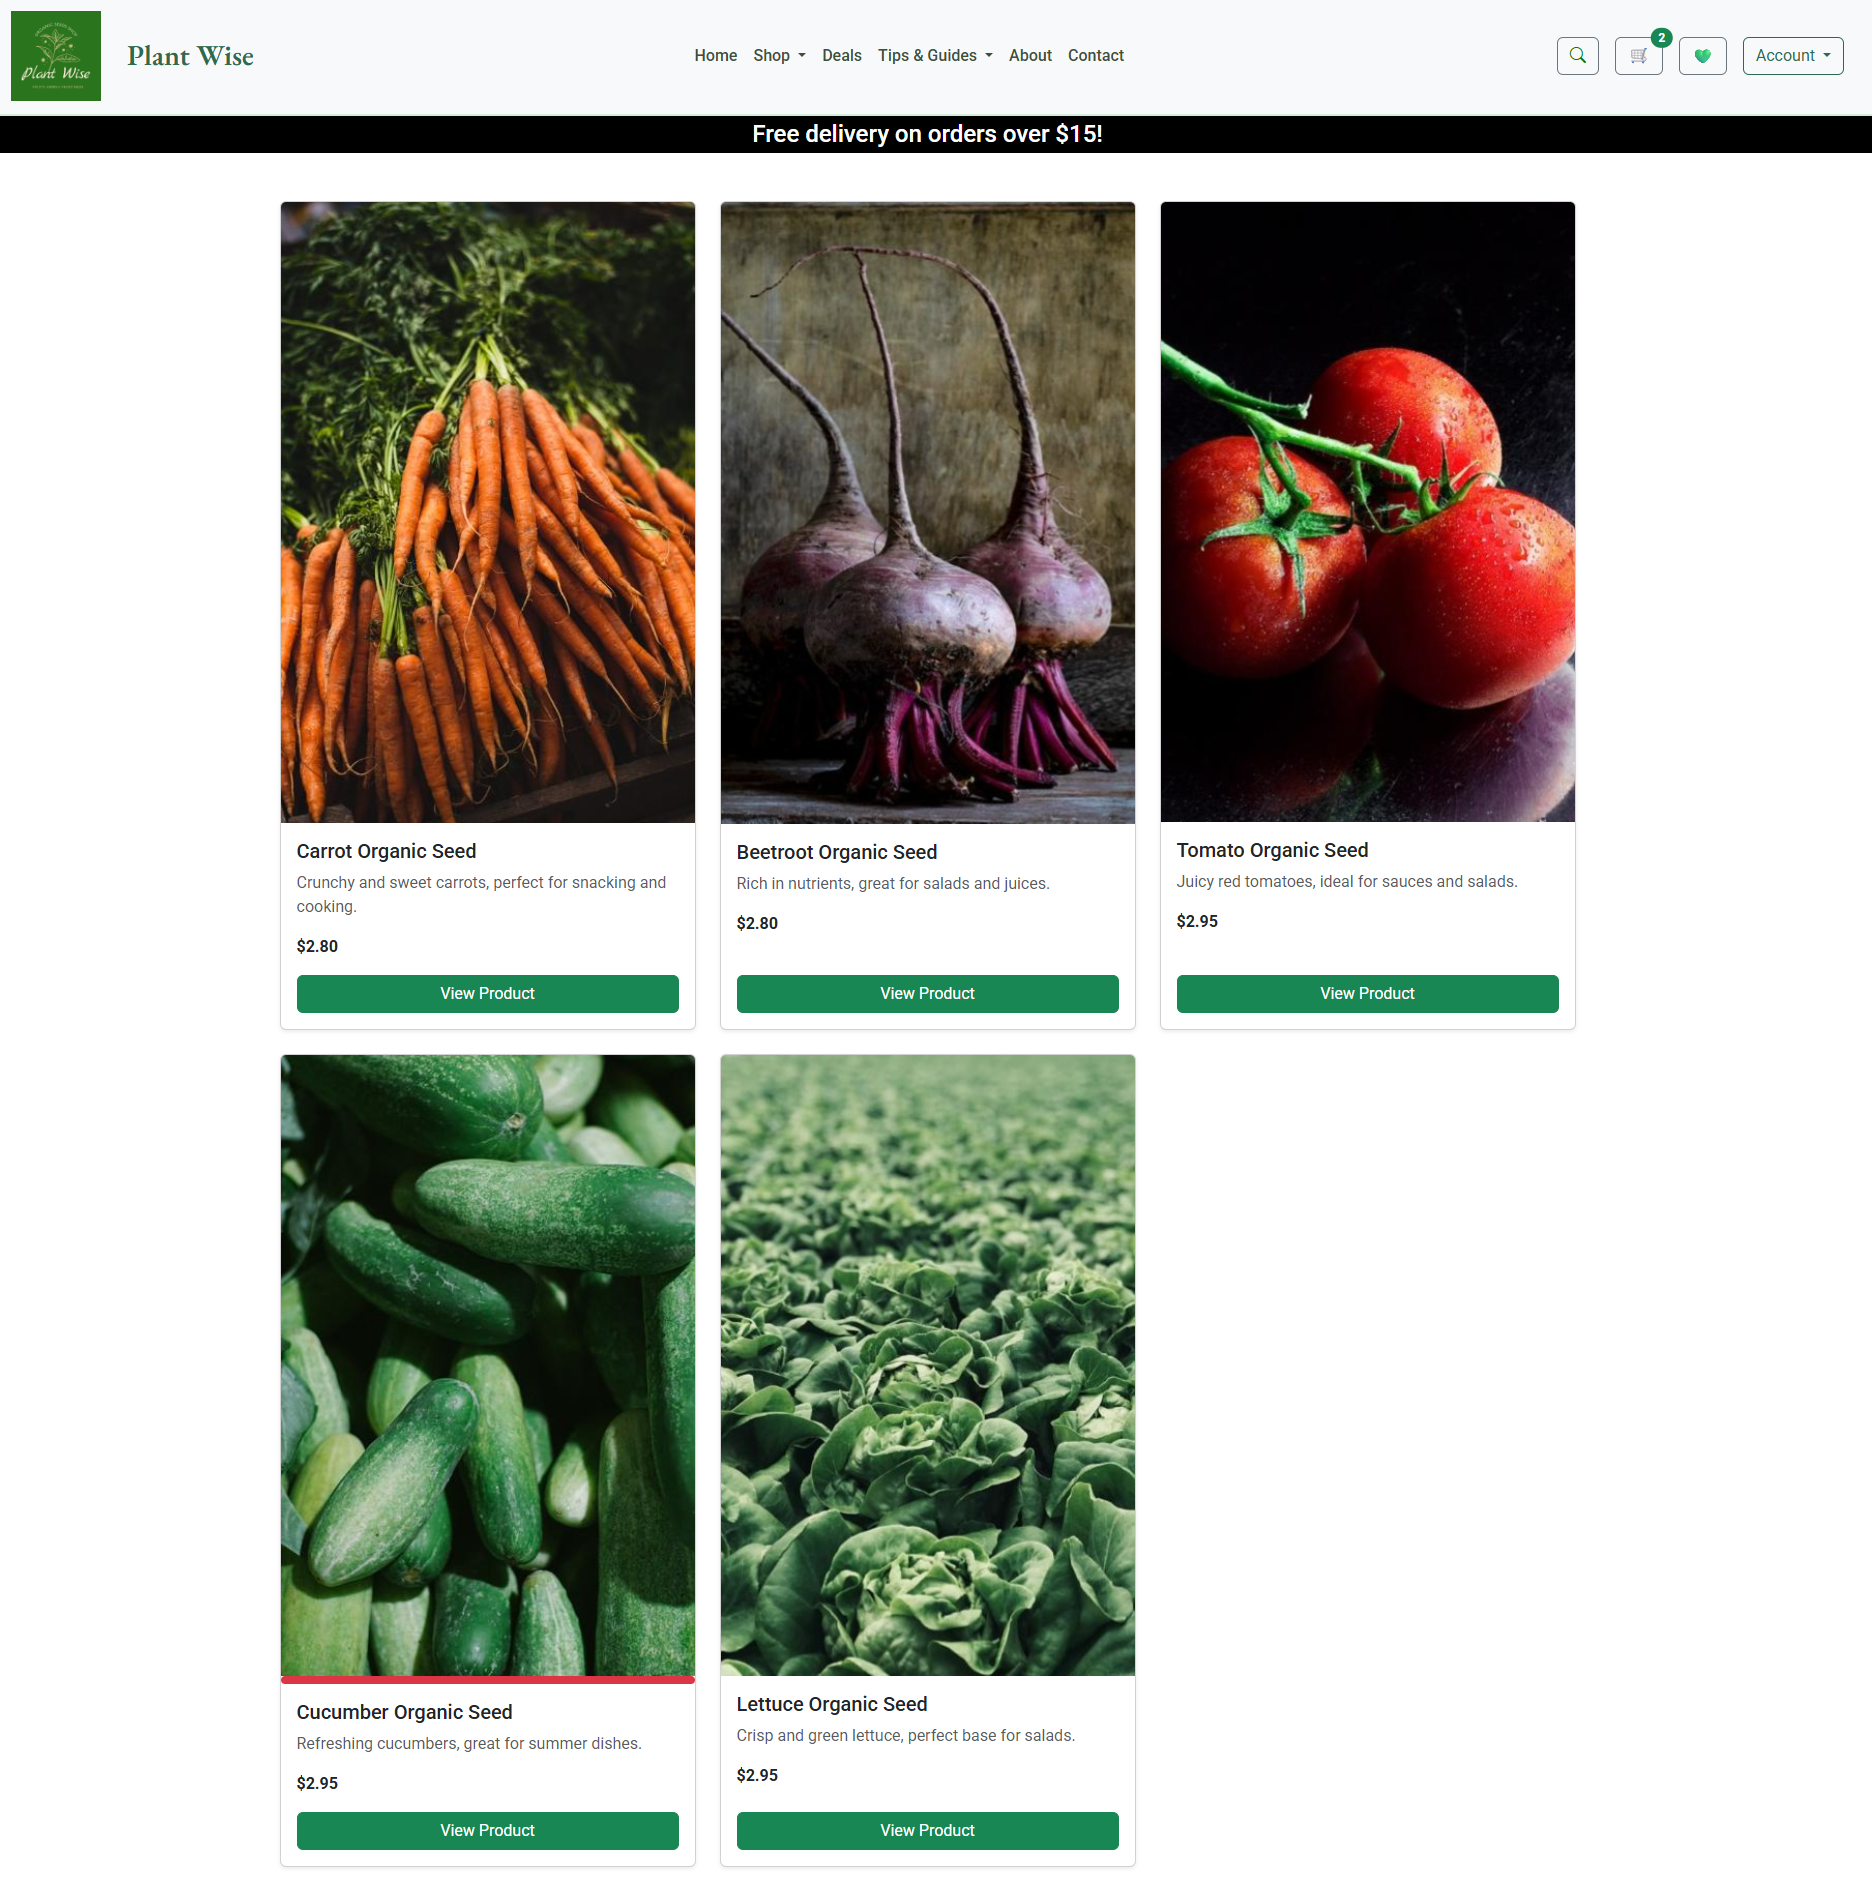
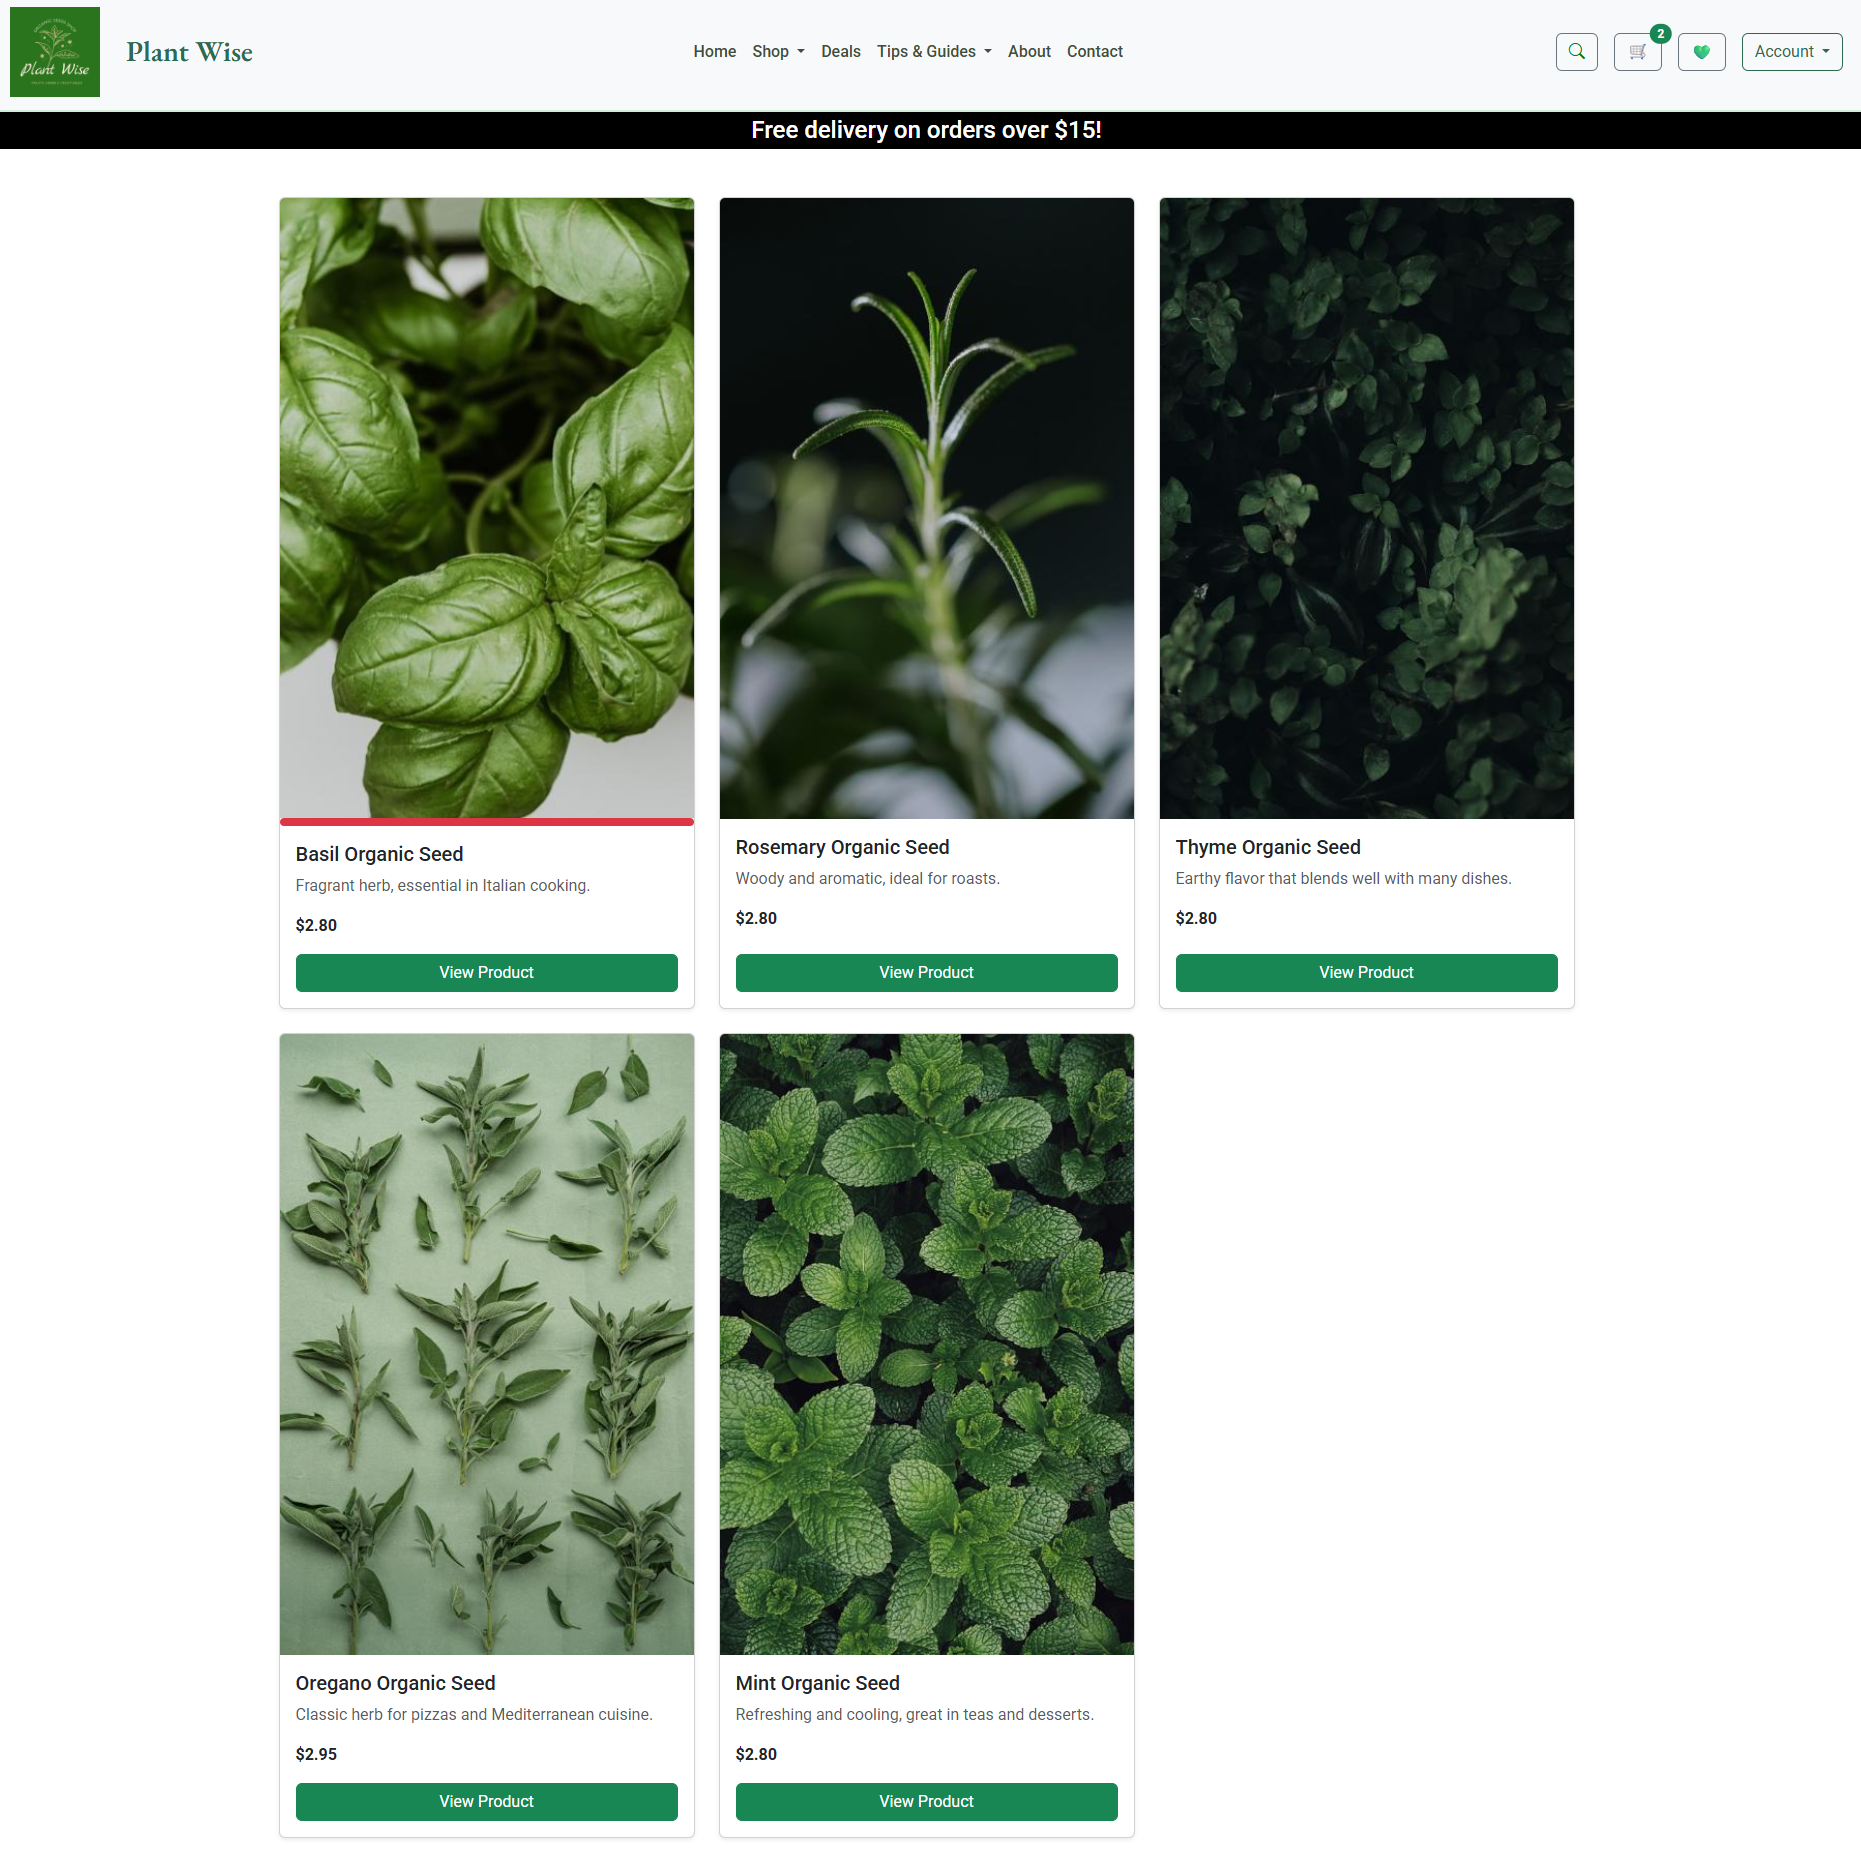
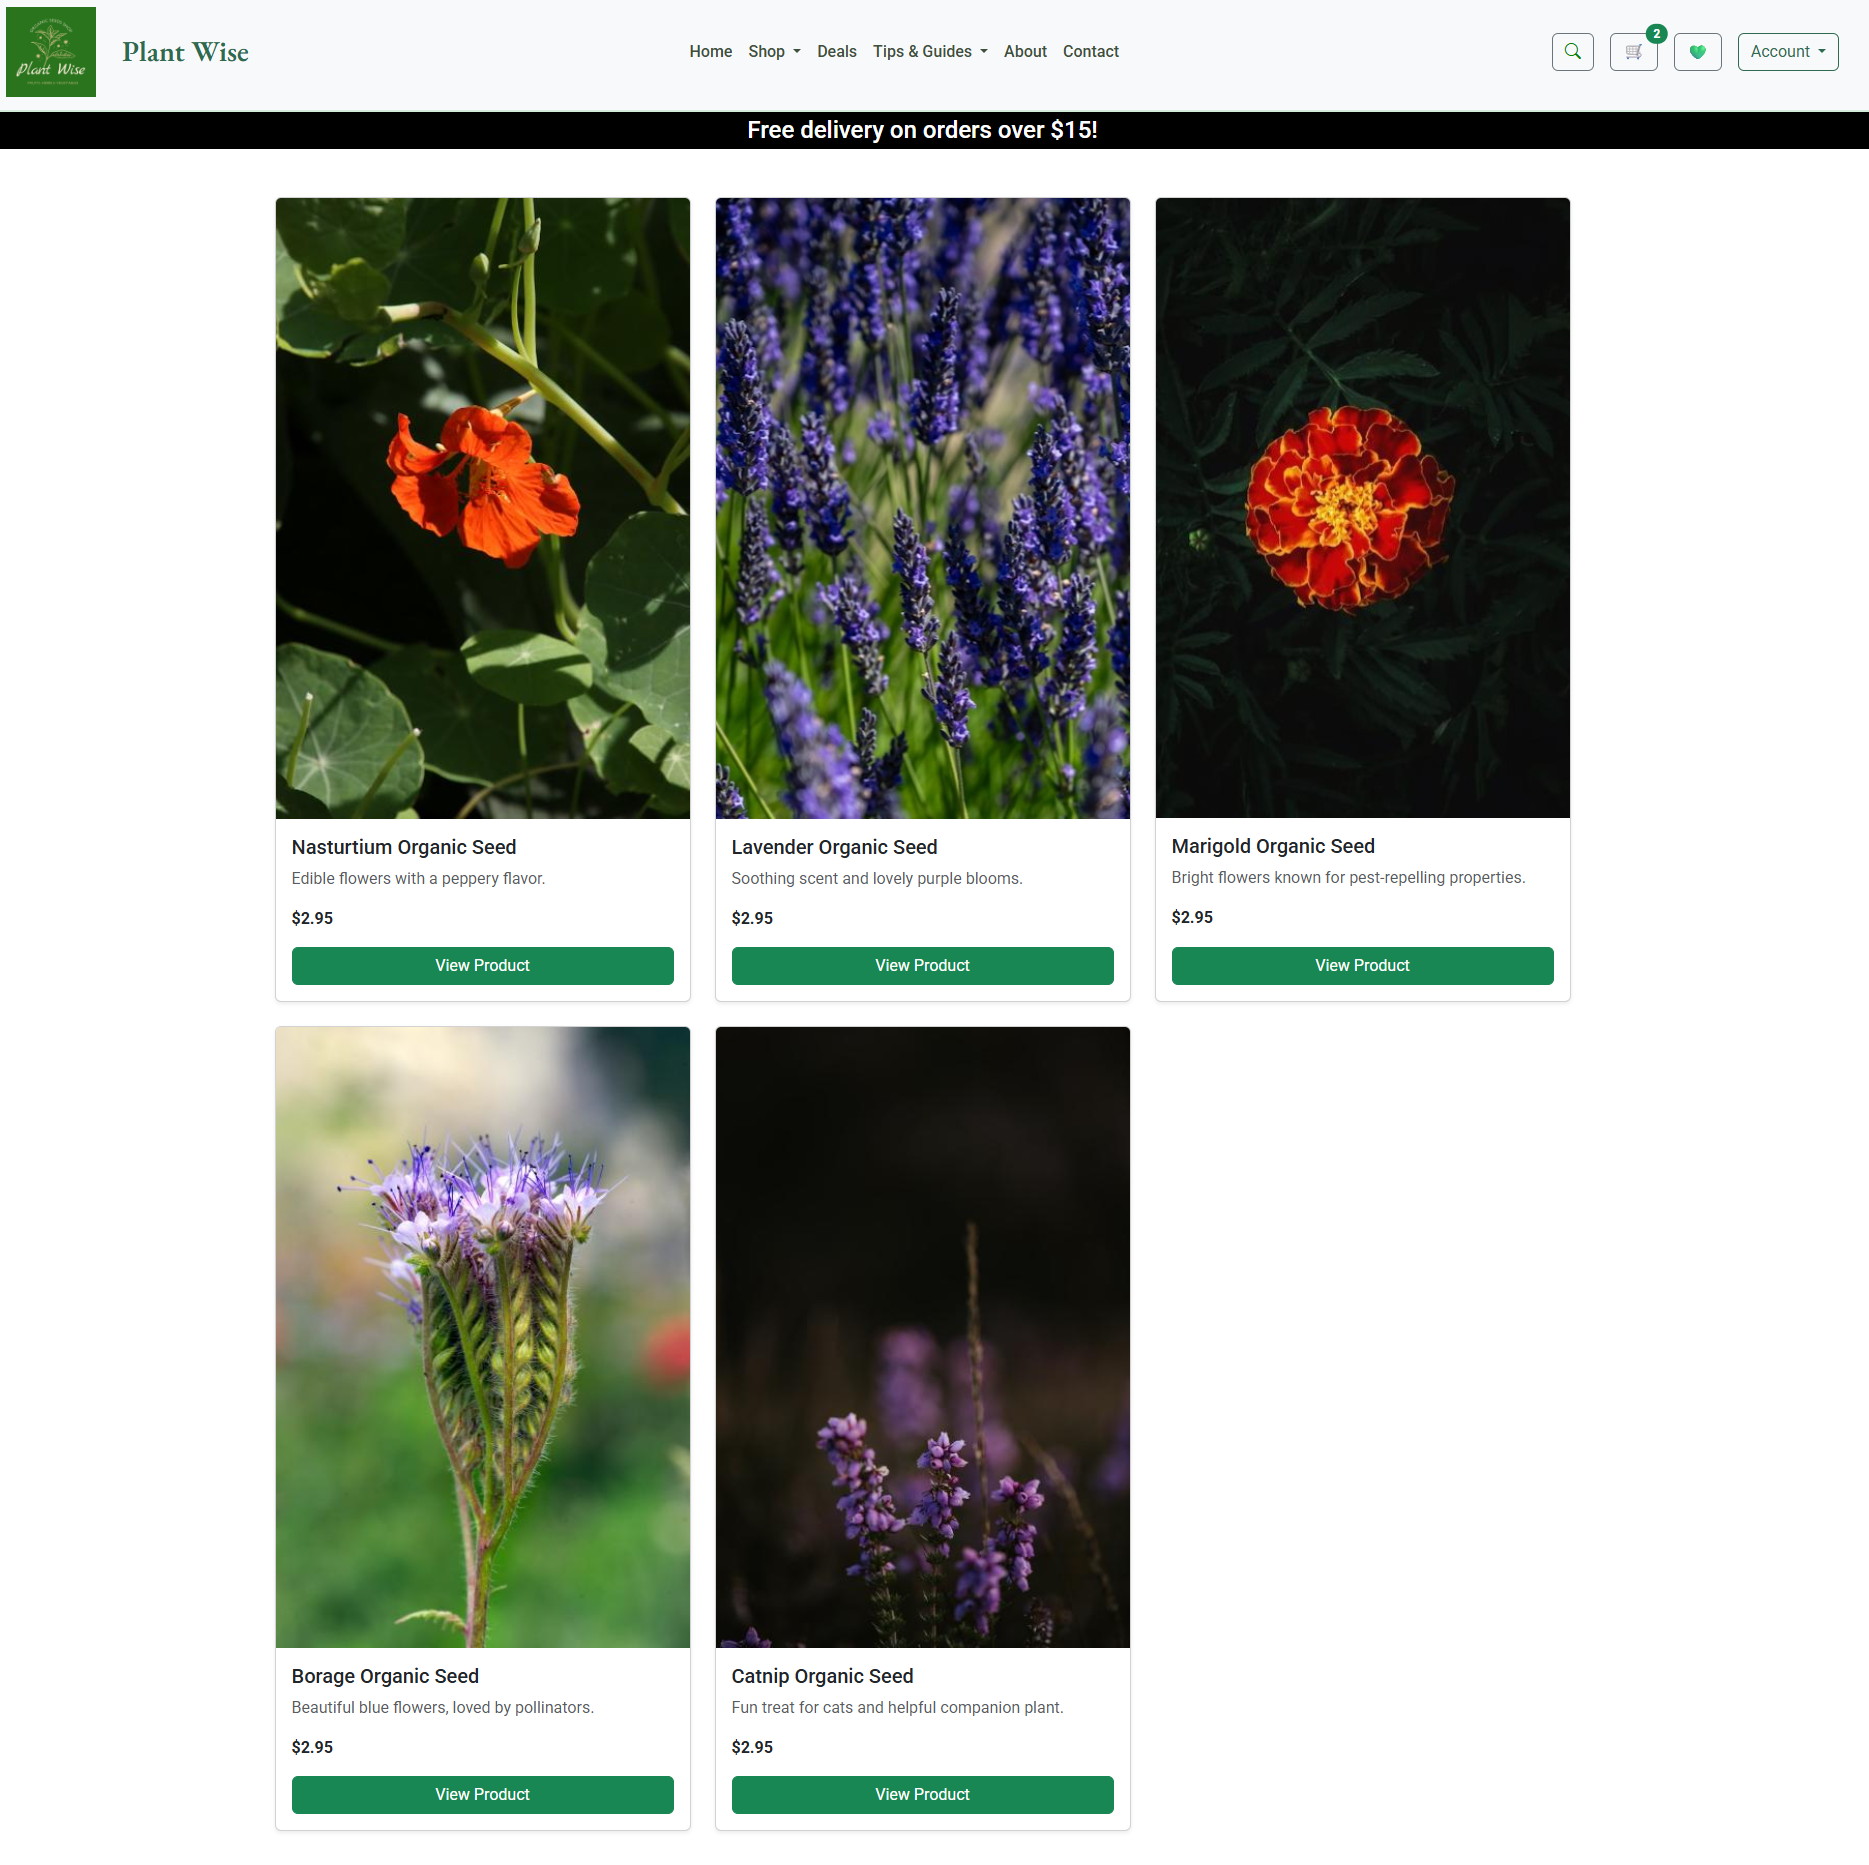
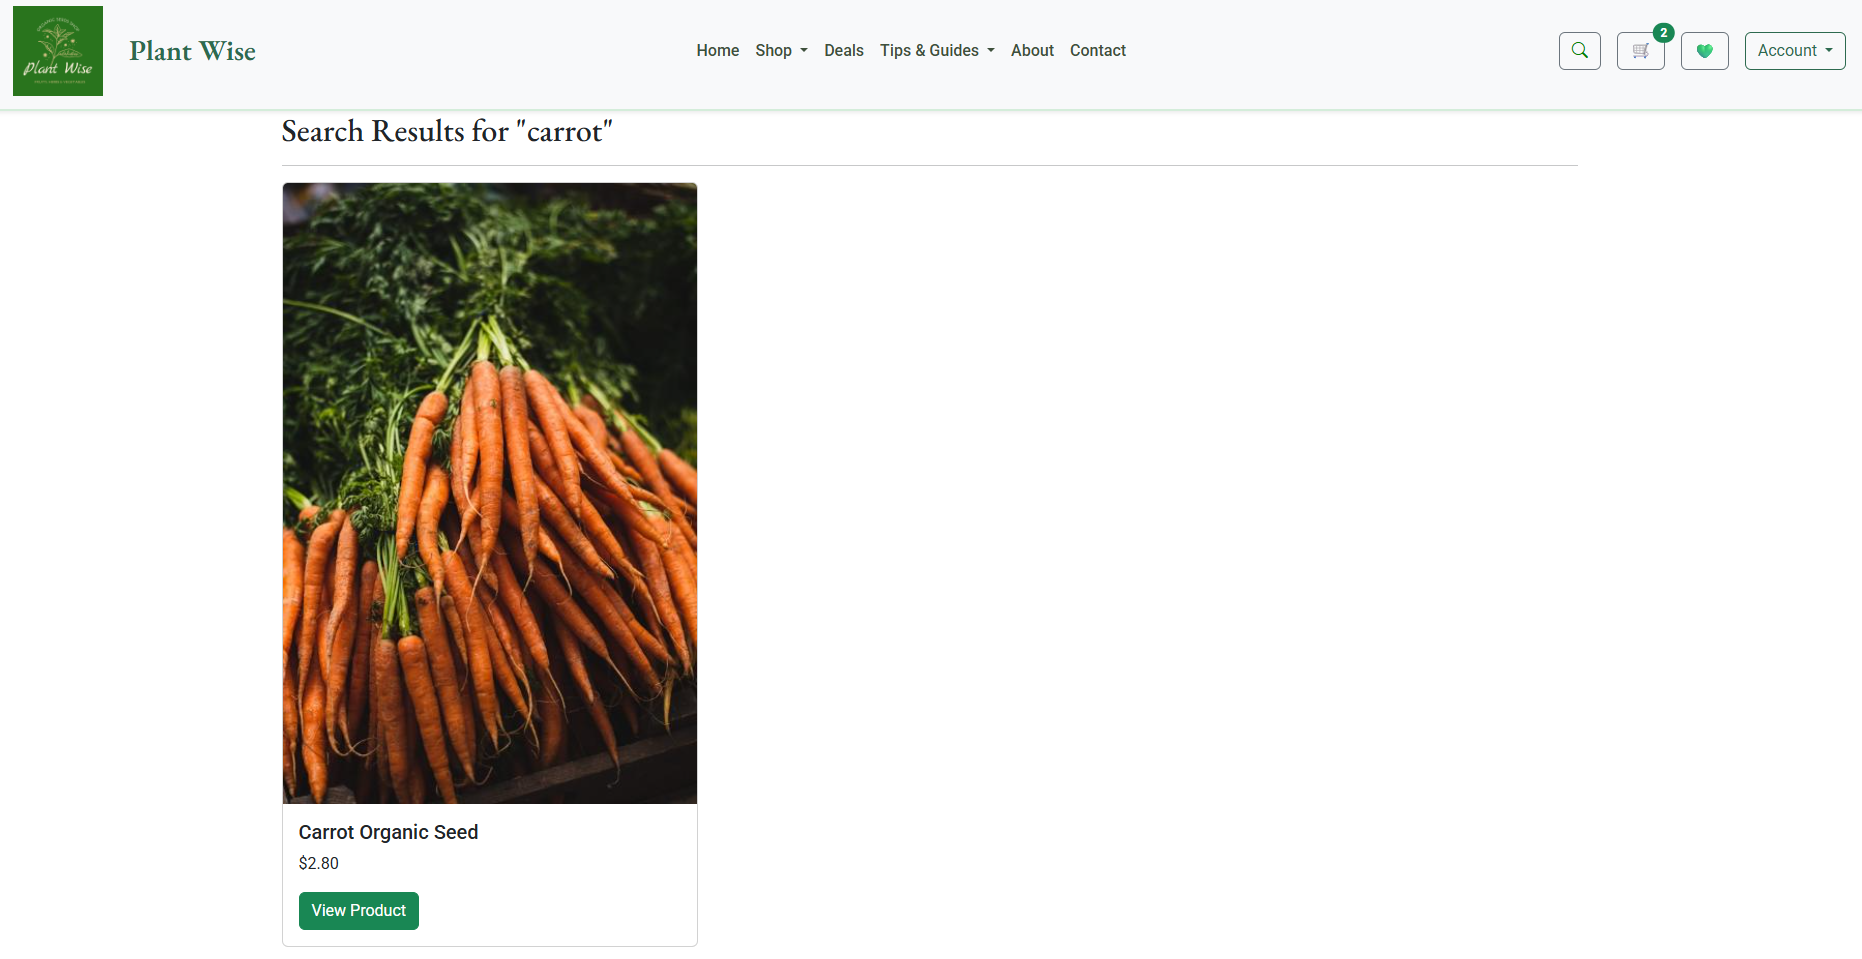
The Shop offers a nice selection of products, categorized into 3 categories: Vegetables, Herbs and Flowers. Users can browse all products or filter by category via the dropdown in the navigation bar.
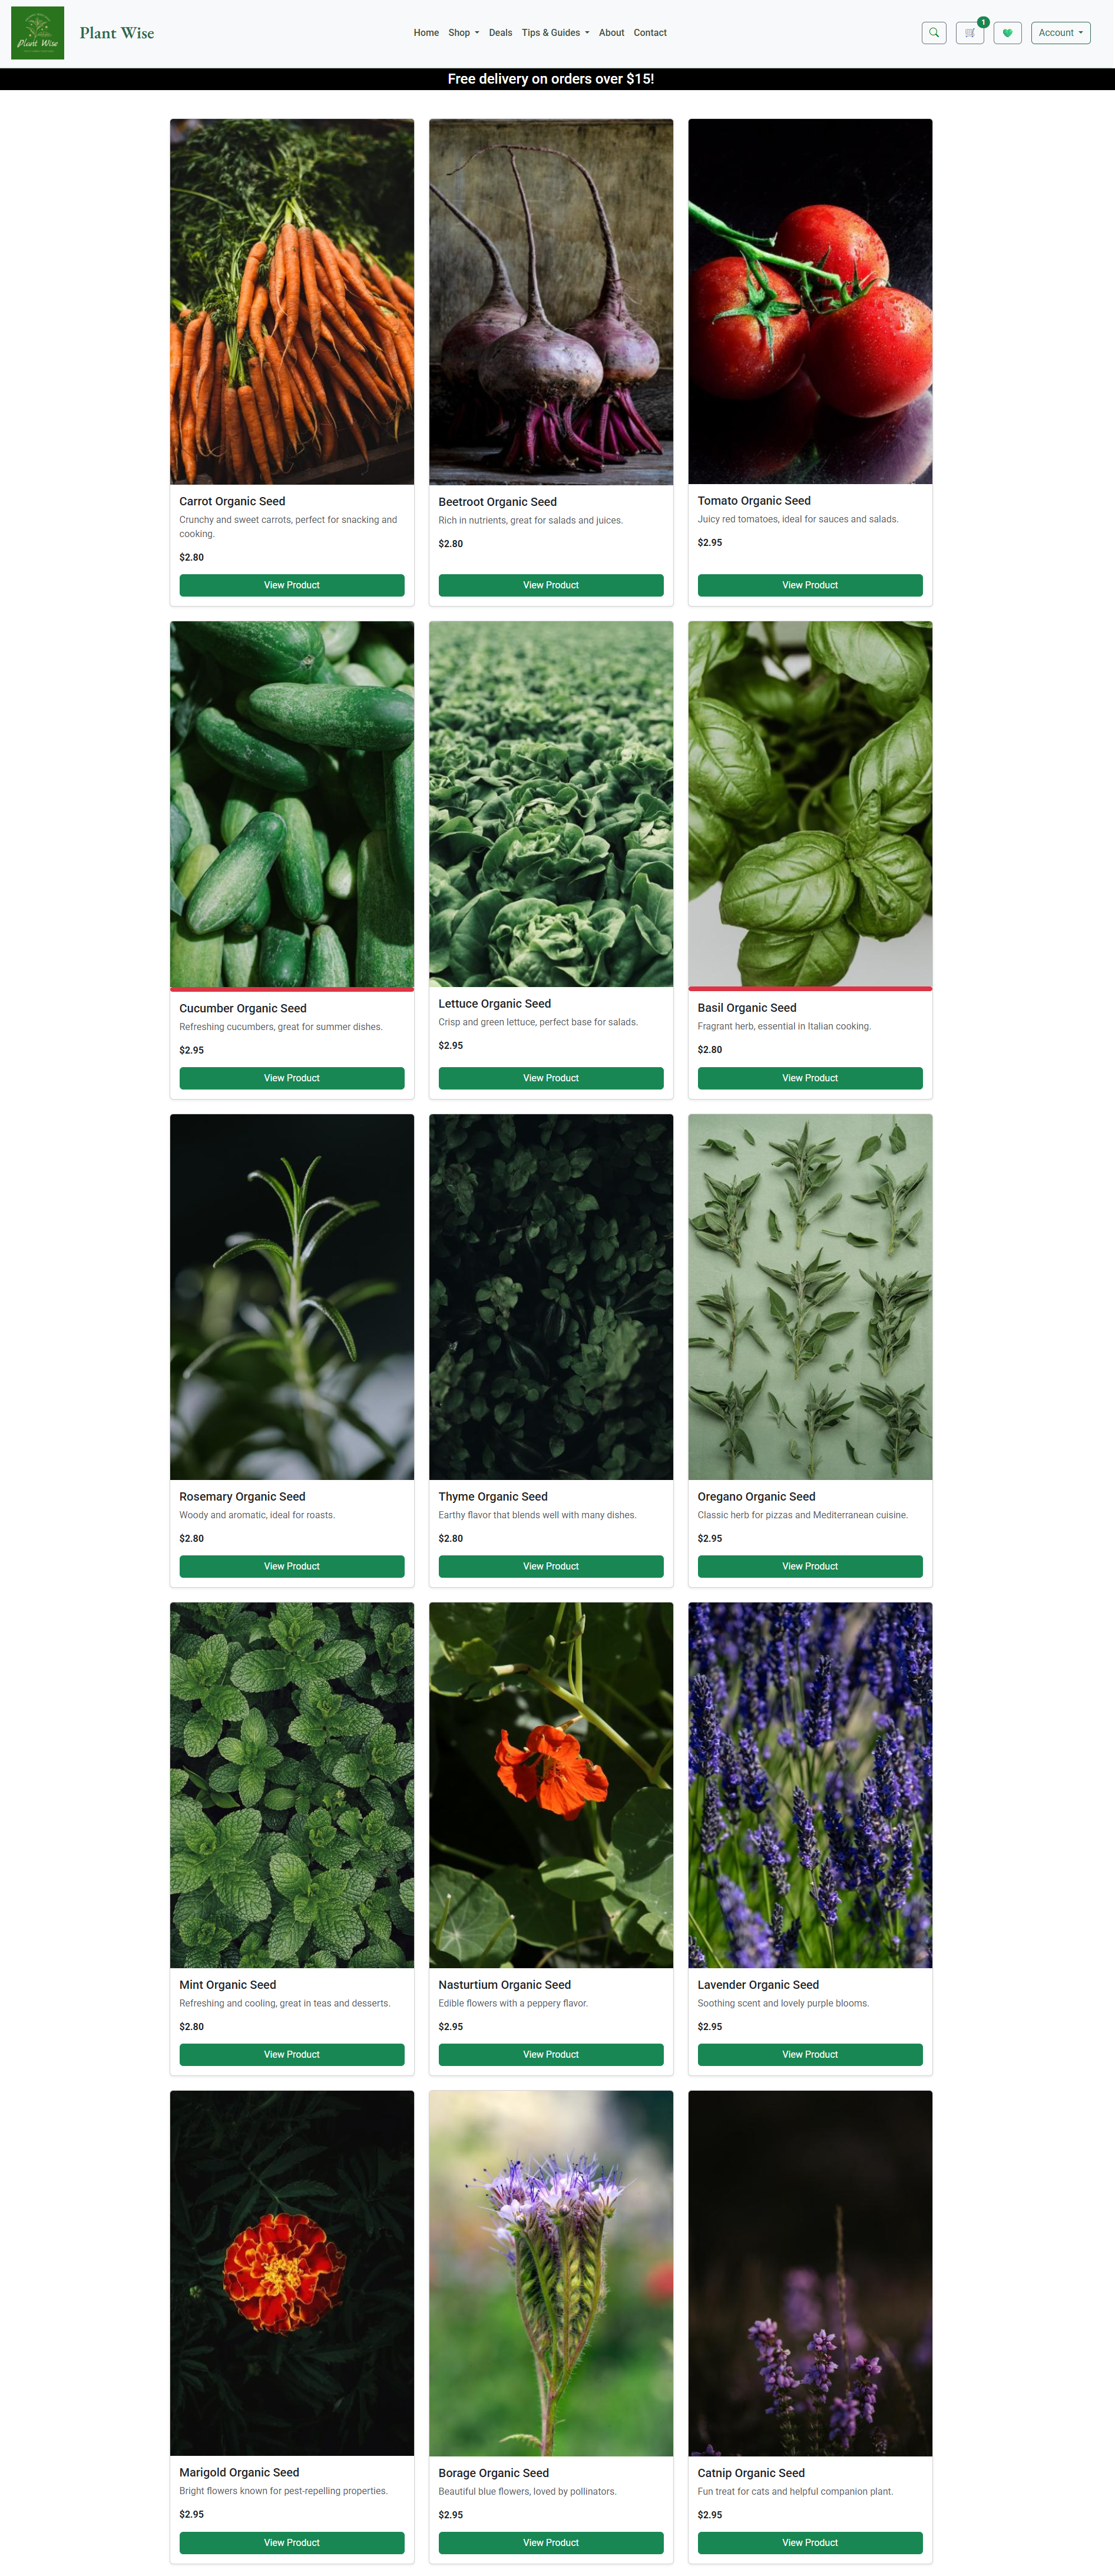
Each product has a dedicated detail page featuring a product image, description, price and add to cart functionality.
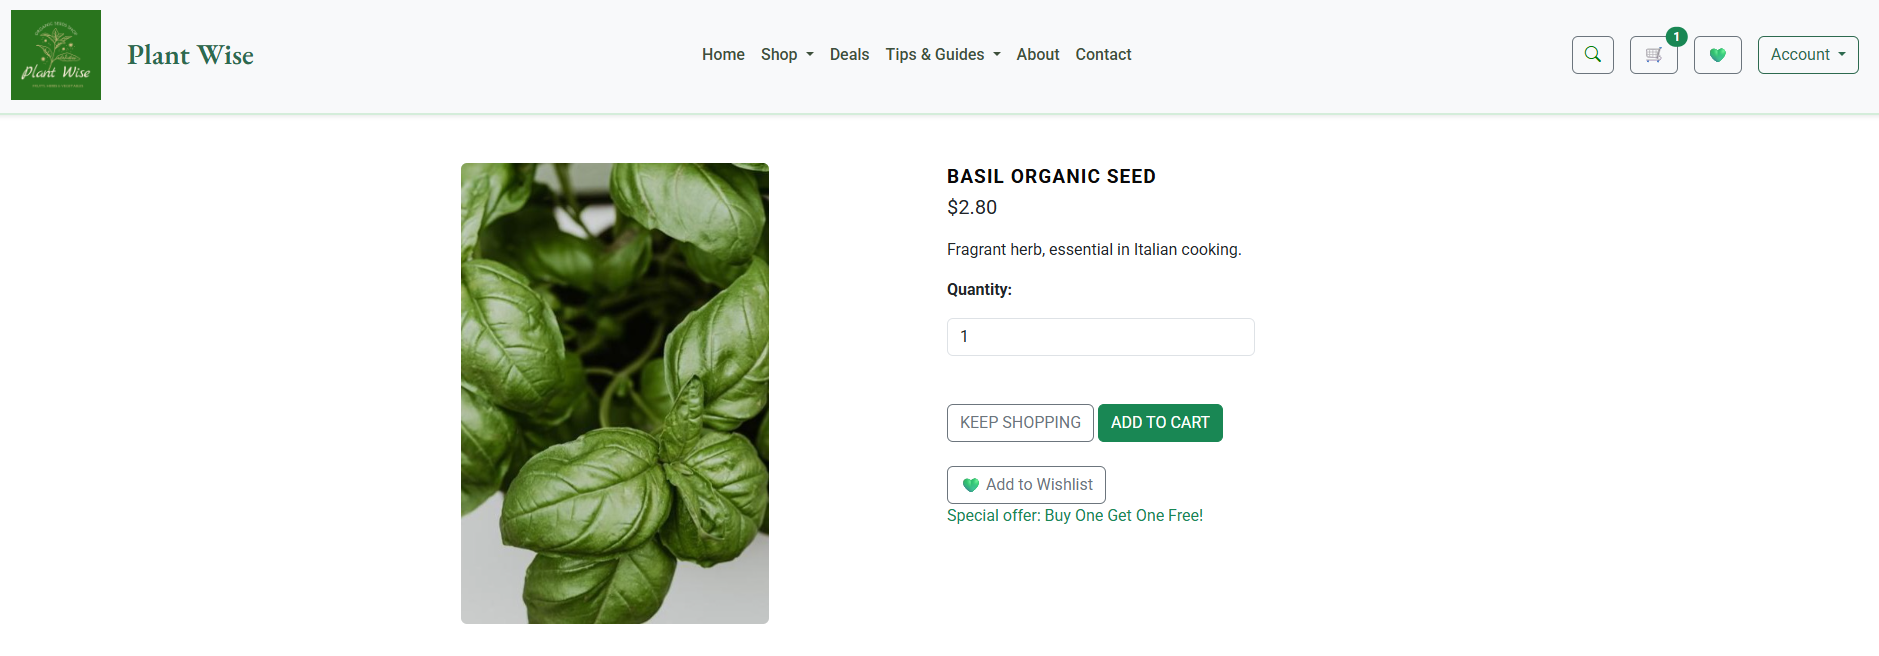
A separate Deals section showcases discounted or promotional products. This gives users quick access to special offers and encourages return visits.
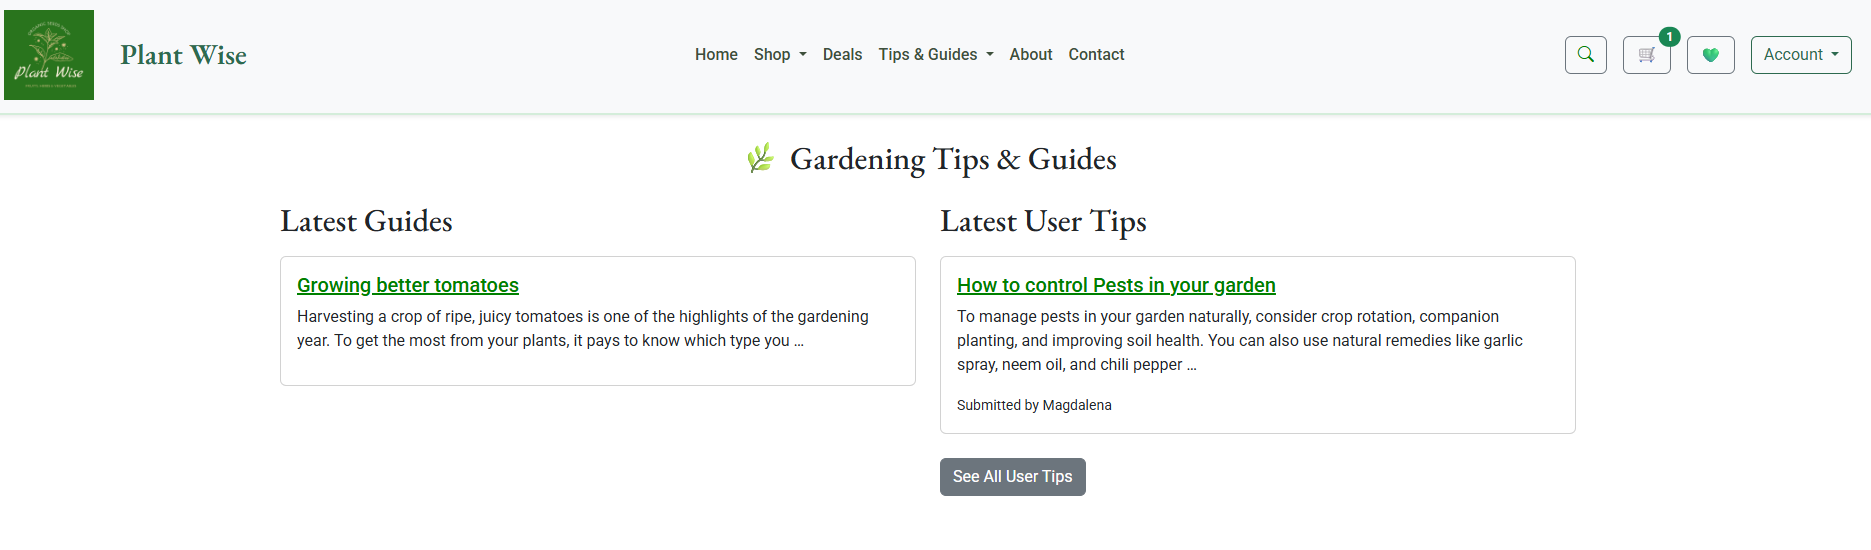
The Tips & Guides section is split into two areas:
- Guides – Curated articles providing advice on gardening, planting, and sustainability.
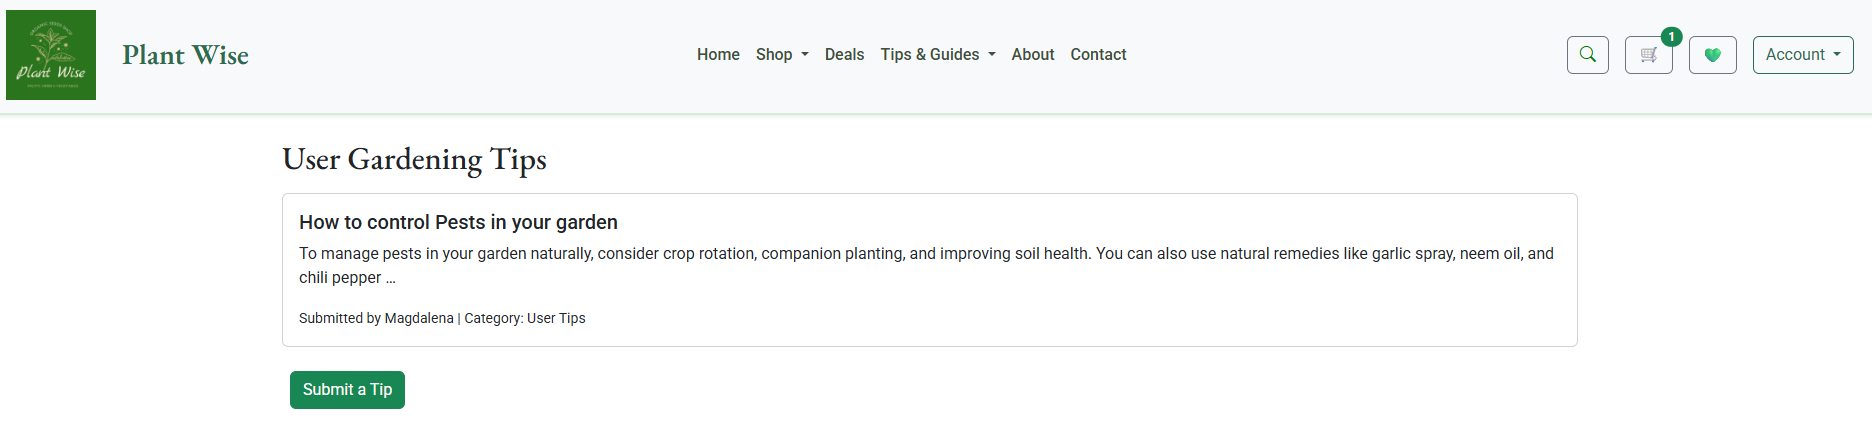
- User Tips – Community contributed tips to share knowledge and experience.
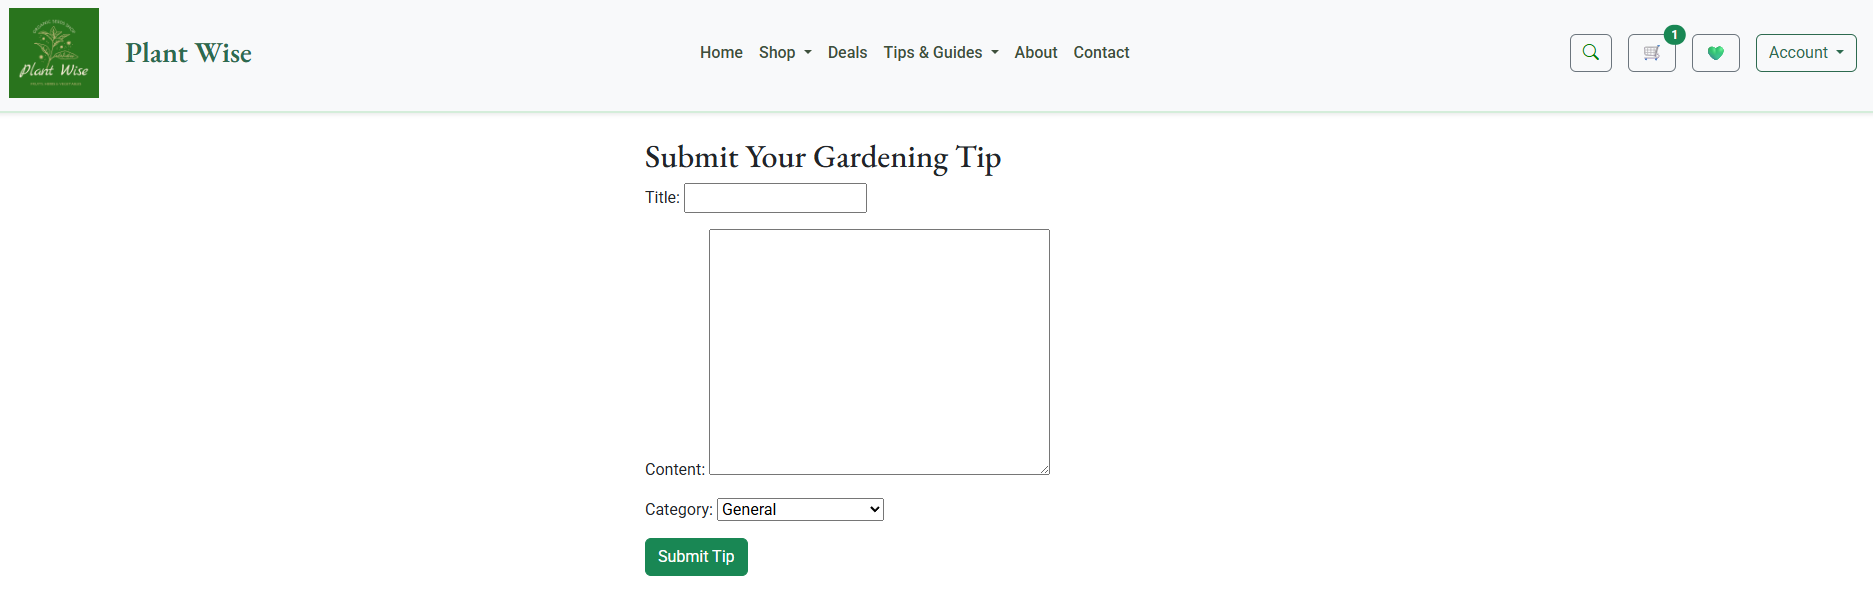
Authenticated users can submit their own tips, creating a collaborative and helpful space.

The cart icon in the navbar shows a live item count badge, improving visibility. On the Cart page, users can adjust product quantities, remove items, view total pricing with all deals applied and how much saved on this deal. Automatically calculated subtotal and total. The cart includes clear information about delivery charges. Users are shown how much more they need to spend to qualify for free delivery, encouraging upselling and larger orders.

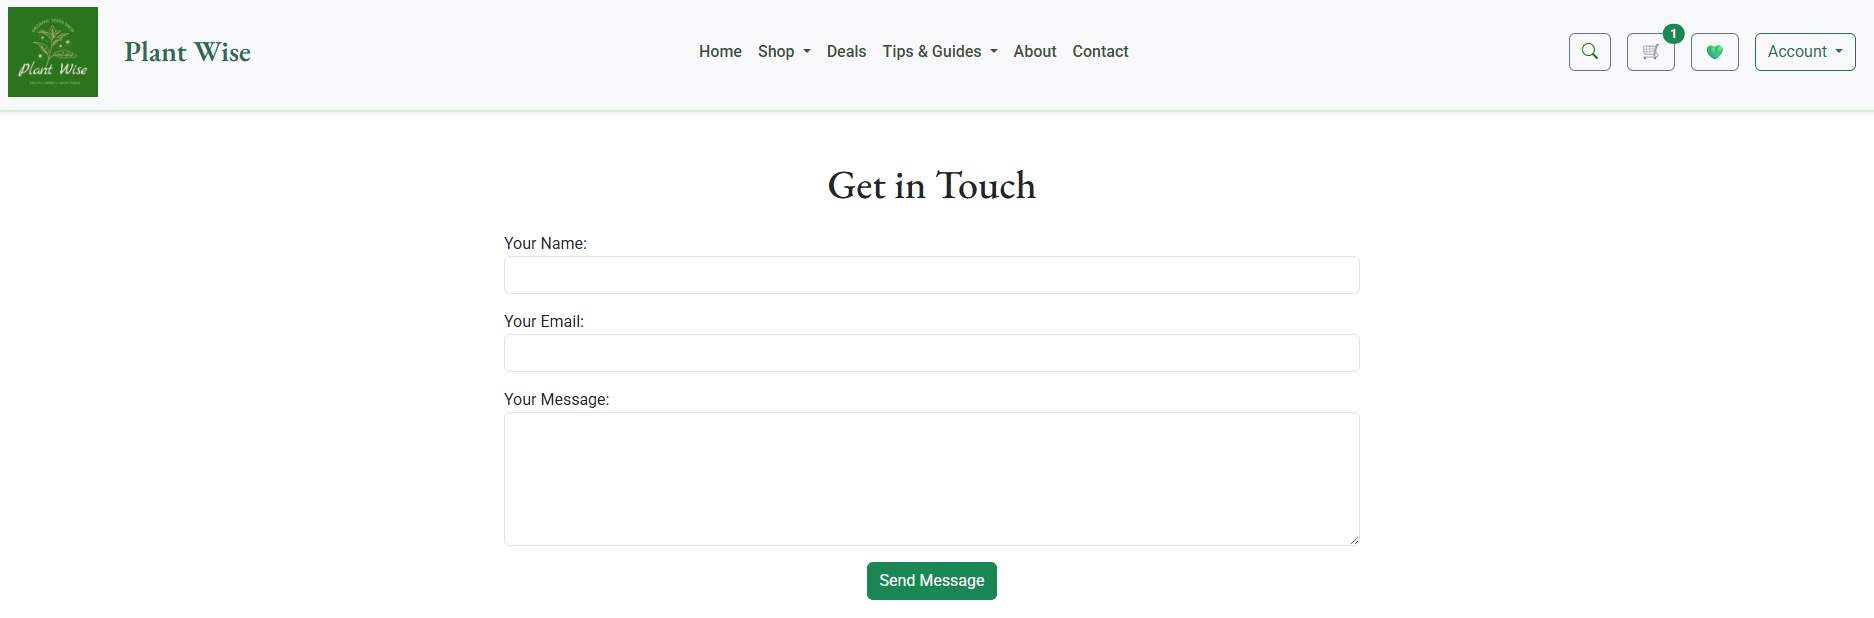
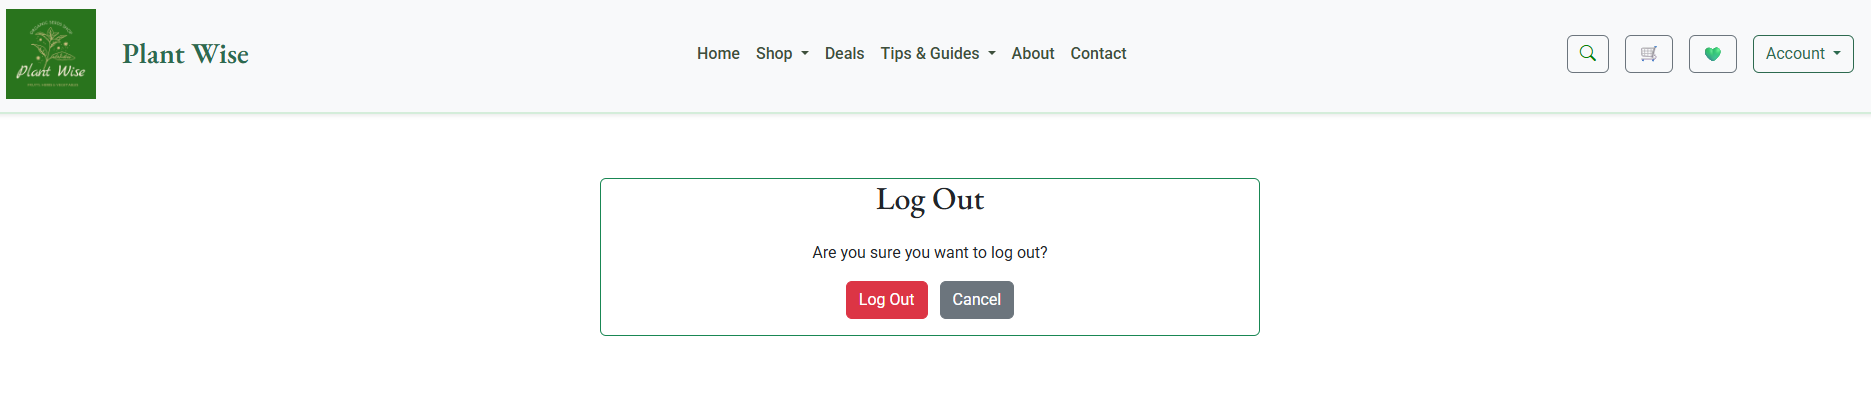
Checkout is simple and secure, collecting necessary shipping details. Feedback is provided on order completion to confirm successful purchase.
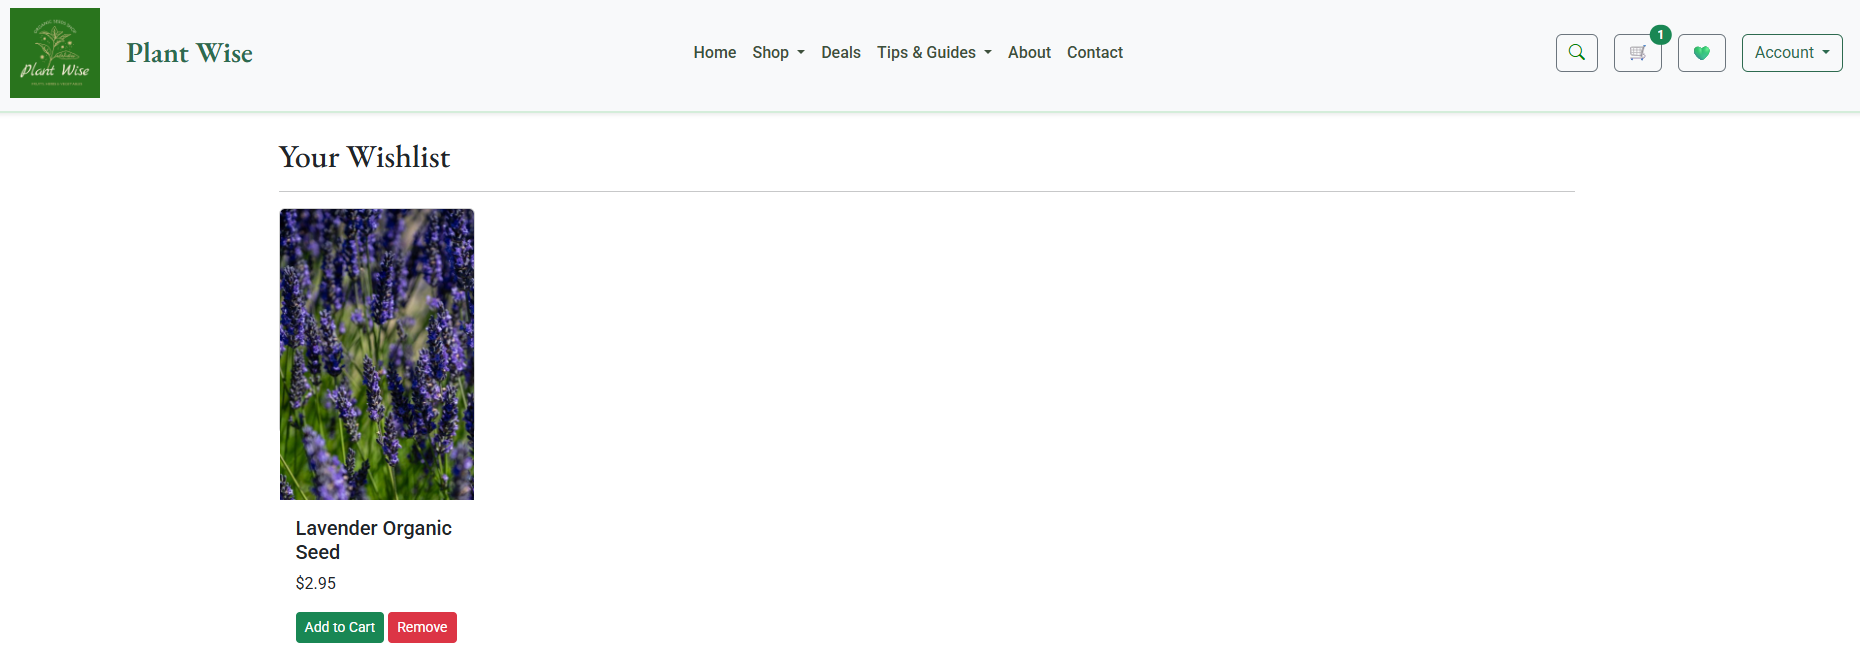
Logged-in users can add items to a personal wishlist. This allows users to save favorite products for later, encouraging return visits and improving engagement.
Wishlist access is always available from the navbar.

- Add more Categories.
- Create Order Update.
- HTML (Used to structure the content and pages of the application. HTML templates are used to display dynamic data in the frontend)
- CSS (Used for styling the application)
- Bootstrap 5 (Used for styling, layout, and modals)
- Gunicorn (Python HTTP server for WSGI applications)
- django-allauth (User authentication)
- django-crispy-forms (Control the rendering behaviour of Django forms)
- crispy-bootstrap5 (Support for crispy forms)
- django-resized (Optimizes image resizing)
- django-extensions (Provides additional management commands, including graph_models for generating Entity Relationship Diagrams (ERD))
- GitHub ( Repository hosting service used for version control)
- Heroku (Cloud platform where project was deployed)
- AWS (Amazon Cloud storage for images and static files)
- Visual Studio Code (VS Code) (Main code editor used for writing and testing this project)
- Gitpod (Online development environment for coding and testing)
-
Testing for layout and functionality completed on the below browser:
- Chrome ✅
- Edge ✅
- FireFox ✅
- DuckDuckGo ✅
-
For more manual tests please refer to Manual Testing
Home Page
Shop
About
Cart
Checkout
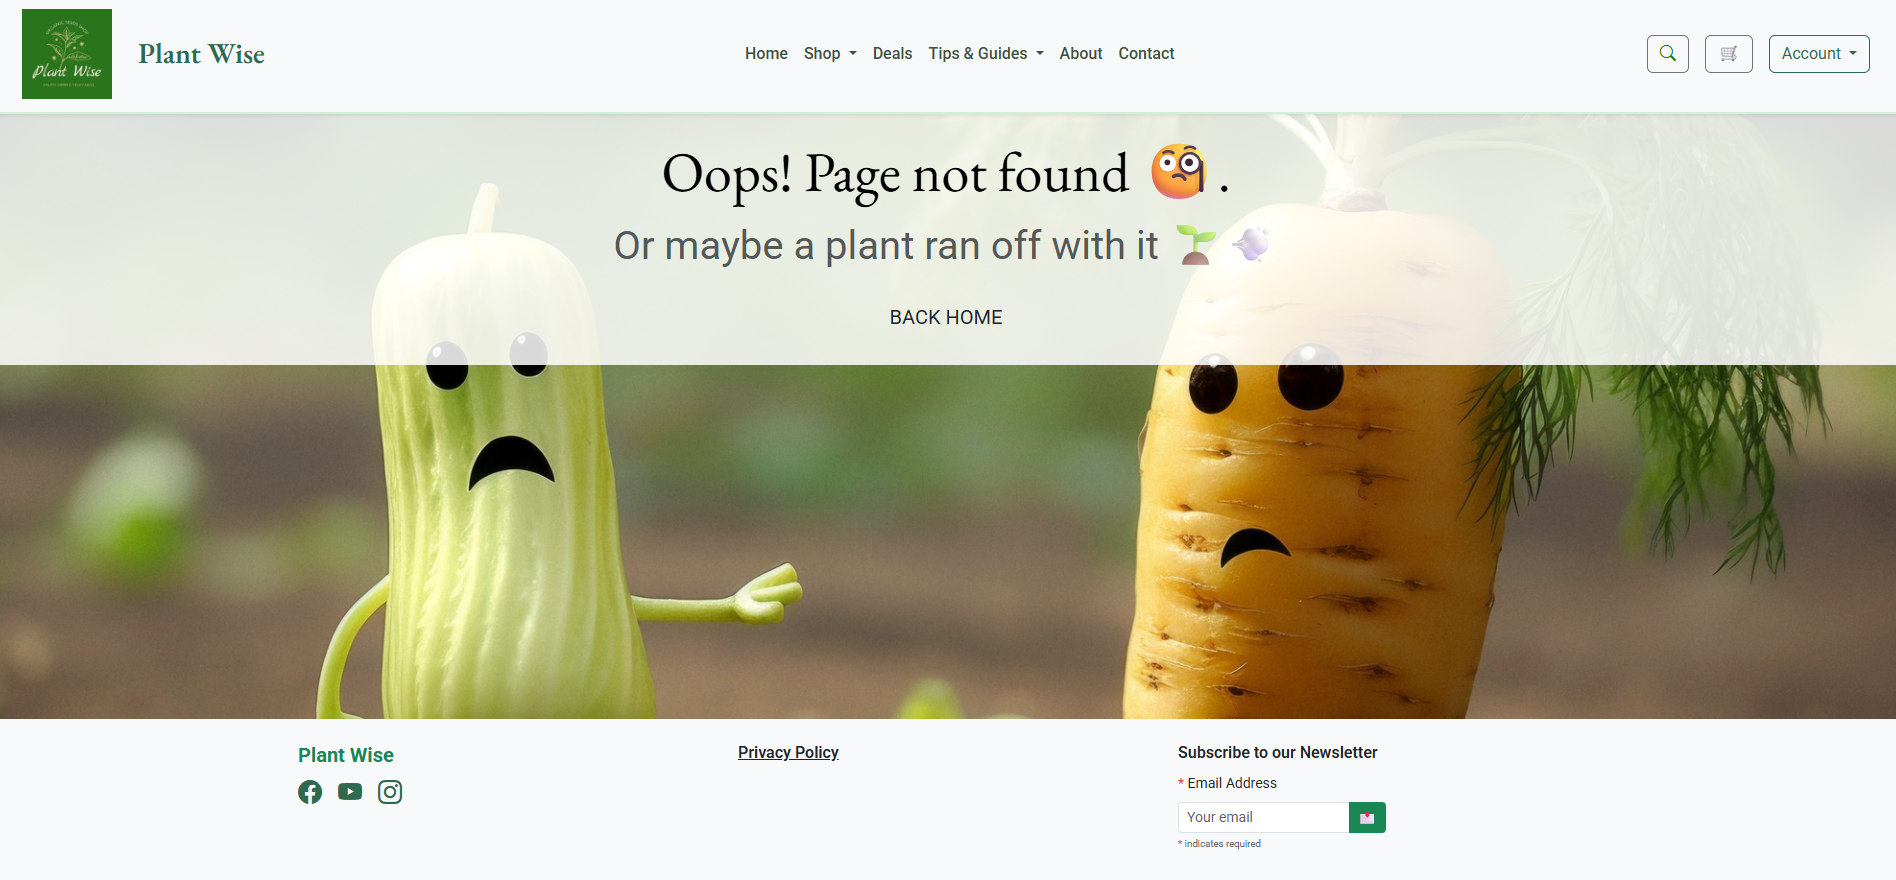
404.html
To maintain clean, readable, and PEP8 compliant code throughout the project:
- Flake8 was used as a Python linter to check for potencial errors and enforce coding standards.
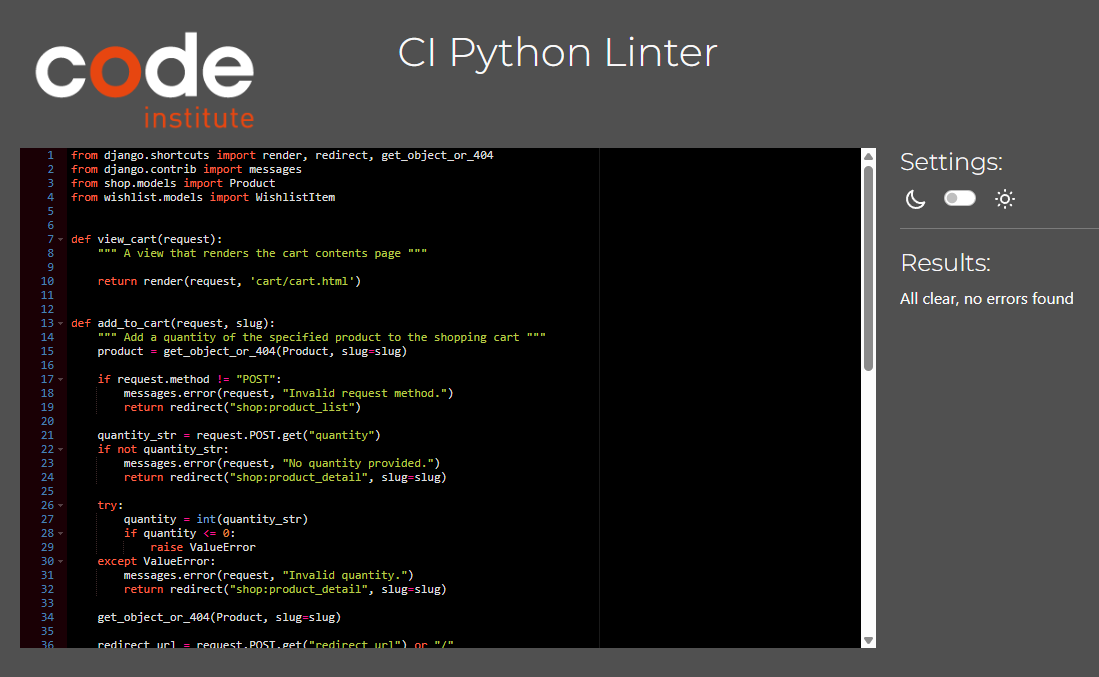
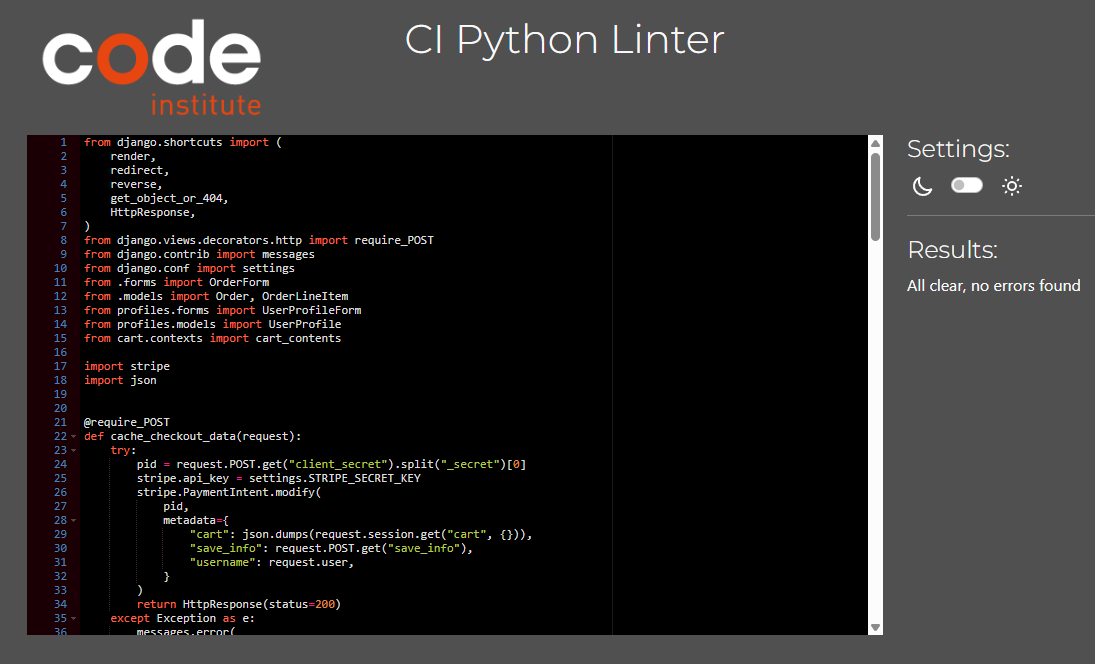
Special attention was given to views.py files for shop, cart and checkout apps to ensure high quality code, so double checked these files with CI Python Linter

Mobile

Due to external libraries and technologies like Bootstrap, JQuery and Stripe, performance gets only yellow score.
Desktop

-
OrderLineItem() got an unexpected keyword argument: 'lineitem_price'
- Issue: The model had a field lineitem_total, but the view was passing lineitem_price.
- Fix: Renamed the keyword argument in the view to match the model field: lineitem_total=item["line_price"]
-
All Deals Displaying as a Buy One Get One Free
- Issue:The variable free_items was referenced before assignment if no deal was applied.
- Fix: Ensured free_items = 0 was always defined at the start of the loop to avoid conditional initialization errors.
-
Deals Not Displaying in Checkout Summary
- Issue: Cart items with deals (discounts or BOGO) weren't showing correct deal information during checkout.
- Fix: Refactored cart_context.py to attach deal info to each item. Adjusted the checkout view and checkout_success.html to properly render item.deal, item.discount, and item.free_items.
-
Static Files did not upload to the S3 Bucket
- Issue: Static Files did not upload to the S3 Bucket due to use of latest version of Django, which requires adjustment to the AWS setup in settings.py.
- Fix: Configured "USE_AWS" in settings.py for STORAGES section.
- No unfixed bugs.
- The project was developed using the Visual Studio Code, the Gitpod editor, and was pushed to GitHub in the remote repository Plant-Wise.
- Git commands were used to push the code to the repository.
-
Create AWS account and go to AWS Management Console in the My Account dropdown
-
Find and access S3 and create a new bucket:
Under Object Ownership, check "ACLs enabled"
Uncheck "Block all public access" and acknowledge
-
Configur bucket settings:
Under Properties, enable Static Website Hosting
Under Permissions, copy the following code into CORS section:
[ { "AllowedHeaders": [ "Authorization" ], "AllowedMethods": [ "GET" ], "AllowedOrigins": [ "*" ], "ExposeHeaders": [] } ]
Under Bucket policy, go to Policy generator.
Bucket Type = S3 Bucket Policy
Principal = *
Actions = GetObject
Paste in ARN from bucket settings tab.
Click Add Statement, then Generate Policy.
Copy policy in paste into bucket policy editor. Also add
/*onto the end of the resource key.Click Save.
Under Access control list (ACL), check "List" checkbox for "Everyone (public access)"
-
Create user to access bucket with IAM
In IAM, got to User Groups.
There create a group for a user, create an access policy giving the group access to the S3 bucket and assign the user to the group so it can use the policy to access all files.
-
Connect Django to S3
Install packages "boto3" and "django-storages" and add
'storages'to INSTALLED_APPS in settings.pyConfigure settings.py accordingly, including necessary AWS variables.
Add new config vars in Heroku app settings, including user credentials from AWS.
Create
custom_storages.pyfile. -
Upload static files and media files to S3
From Stripe account, under Developers > API keys copy Public Key and Secret Key and set as config vars in Heroku app settings.
Create new Webhook endpoint for deployed site and enable all events.
- The project was deployed to Heroku with the following steps:
- Create an account and log in to Heroku
- Go to the dashboard, click New, then Create new app
- Navigate to Settings
- Go to Config Vars, click Reveal Config Vars, and add the KEY, and the VALUE for Database, Cloudinary and Secret Key. Click add
- Go to VS Code project settings and allow Heroku as a host (ALLOWED_HOSTS = ['app-name.herokuapp.com', 'localhost'])
- Navigate to the Deploy tab at the top
- Click GitHub, then Connect to GitHub
- Search for the repository you want to deploy and click connect
- Select Enable Automatic Deploys or Deploy Branch
- Go to the https://github.com/Magda-R-bit/Plant-Wise reposotory on GitHub
- Click on the Code button located above the project files
- Select HTTPS and copy the repository link
- Open your work environment, type git clone and paste the copied Git URL and press Enter
- The project is now created as a local clone
- Log into GitHub and click on repository to download (Plant-Wise)
- Click the Fork button in the top right-hand corner
- Click Create Fork
- The repository is now in your chosen account and can be cloned or changed
- Special Thanks:
- Spencer Barriball- For your mentorship. Your insights and advices were crucial to the success of this project
- ChatGPT-4 - For creating Tips description and debugging
- Slack Community - For helping me solving issues with settings
- w3schools
- stackoverflow
- Boutique Ado Walkthrough Project
- Dee Mc
- Very Academy - Wish List
- codepiep - Deals
- Kay-ddggxh README Structure
- Antonio Melé: "Django 5 By Example"