06_Agents
In this lab we will explore how we can add & configure agent:
- Add a node to your controller Jenkins master via SSH agent.
- Ensure that at any point in time only 1 job can be executed on this slave.
- Create a Jenkins Job that should read print the name of the Agent on which that job is executing.
- Ensure that if Jenkins's job would be run between 9 am-6 pm then only it should be executed on the newly added node, else on the master node.
- Add another EC2 agent that should create a server when a Jenkins job needs to be executed.
You need to do the following in the slave machines before adding it to the master.
- Java should be installed on your slave machine.
- Create a <team_name> user and a password using the following command on Jenkins slave
sudo adduser <team_name> --shell /bin/bash- Login to the slave server as a <team_name> user
mkdir ~/.ssh && cd ~/.ssh- Create an ssh key pair using the following command. Press enter for all the defaults when prompted.
ssh-keygen- Add the public to the authorized_keys file using the following command.
cat ~/.ssh/id_rsa.pub > ~/.ssh/authorized_keys- Now, copy the contents of the private key to the clipboard.
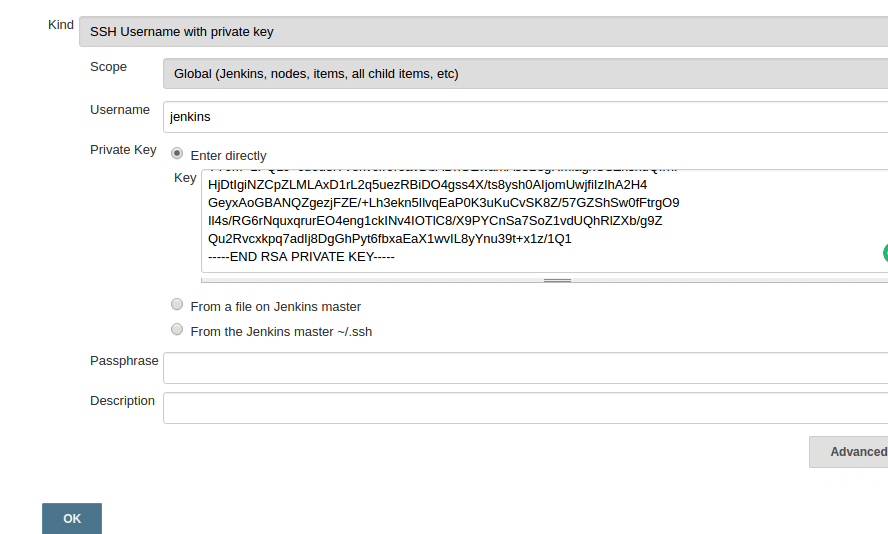
cat ~/.ssh/id_rsa- Go to jenkins dashboard –> credentials –> Global credentials –> add credentials , select and enter all the credentials as shown below and click ok.
-
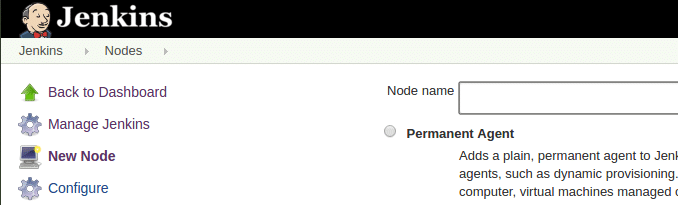
Head over to Jenkins dashboard –> Manage Jenkins –> Manage Nodes
-
Select new node option
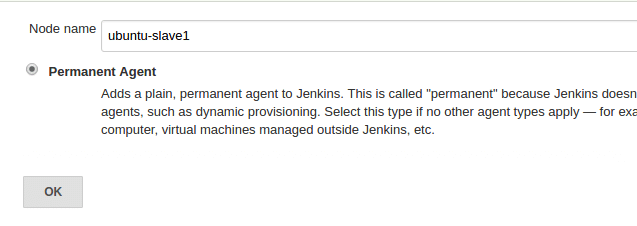
- Give it a name, select the “permanent agent” option, and click ok.
- Enter the details as shown in the image below and save it. Change the values accordingly

- Go to Manage Jenkins > Manage, Nodes and Clouds and select the slave which we have added

-
Click on the Configure button on the left-hand side
-
Check the "# of executors" value should be 1

-
Create a freestyle job with the name "Slave Identifier"
-
Go to Build and add step "Execute Shell"

- Paste this snippet in the "Execute Shell" block
#!/bin/bash
echo "${NODE_NAME}"- Go to Manage Jenkins > Manage, Nodes and Clouds and select the slave which we have added
-
Click on the Configure button on the left-hand side
-
Change the availability settings like this

- We have to install the "ec2" plugin in Jenkins. Go to Manage Jenkins > Manage Plugins and click on the available tab.

-
Search for ec2 and install it without restart
-
Once the installation is done, restart Jenkins by URL
http://your_jenkins_url:8080/restart
-
Add IAM role to Jenkins EC2 instance for access to AWS
-
Import the keypair in the AWS account which we have created above
-
Go to Manage Jenkins > Manage, Nodes and Clouds and click on Configure Clouds > Amazon EC2

-
Create a freestyle job with the name "Dynamic Slave"
-
Go to Build and add step "Execute Shell"
- Paste this snippet in the "Execute Shell" block
#!/bin/bash
echo "${NODE_NAME}"- Restrict Jenkins to new cloud slave of EC2, like this
