EcoVision - Environmental Conservation Platform An educational environmental monitoring platform inspired by Plant-for-the-Planet. Track conservation projects worldwide using interactive satellite maps, real-time environmental data, and make pledges to support reforestation efforts.
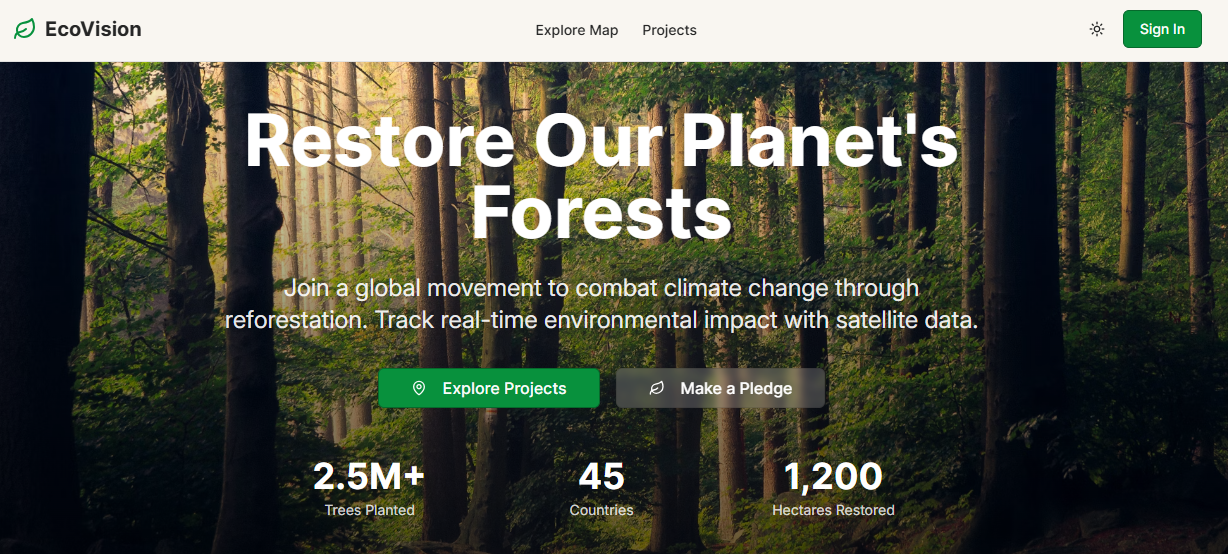
Features# 🌍 EcoVision - Environmental Conservation Platform
An educational environmental monitoring platform inspired by Plant-for-the-Planet.
Track conservation projects worldwide using interactive satellite maps, real-time environmental data, and make pledges to support reforestation efforts.
👉 https://ecovision-gsmp.onrender.com
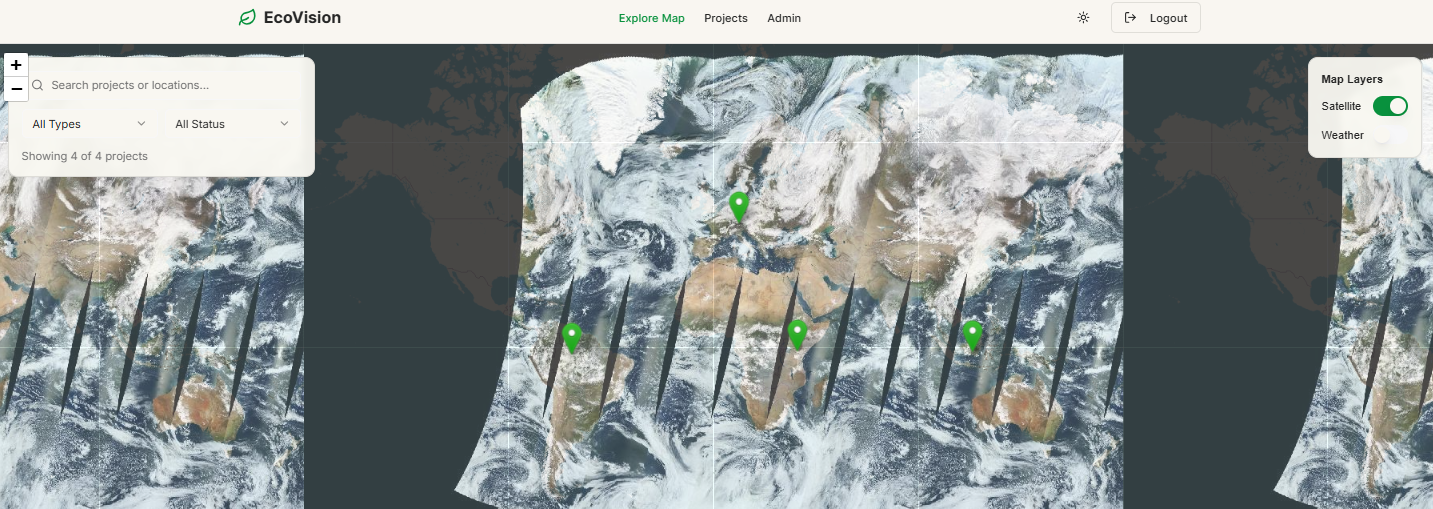
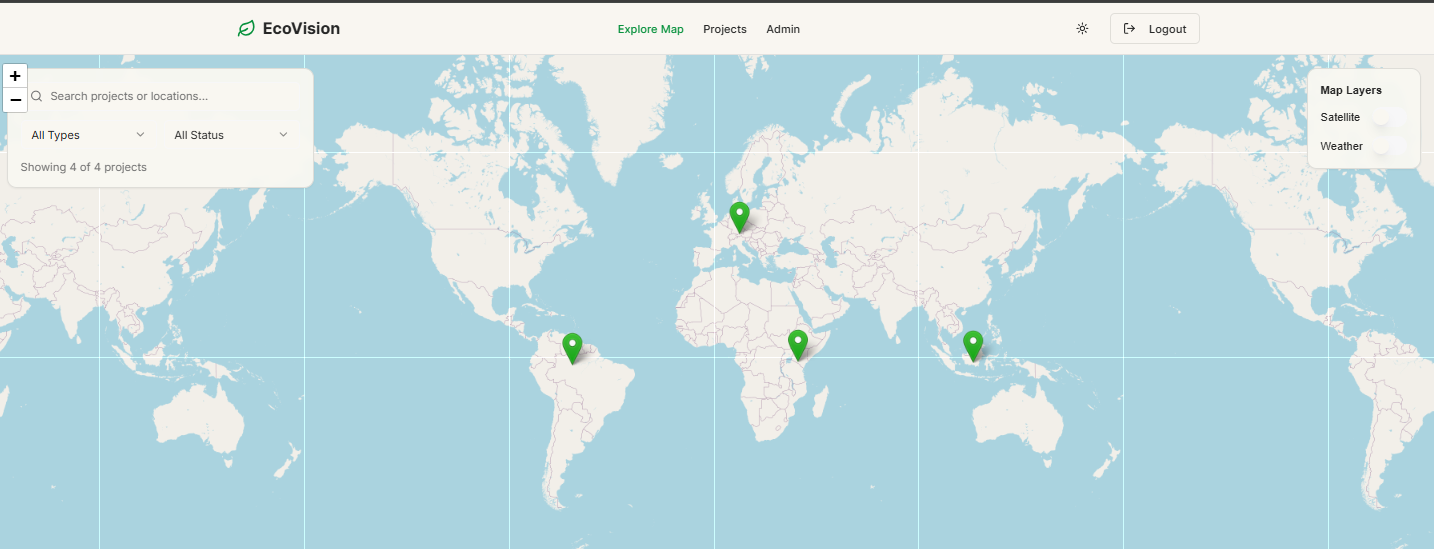
- 🗺️ Interactive Maps – Explore projects with OpenStreetMap, NASA GIBS satellite imagery, and OpenWeatherMap weather overlays
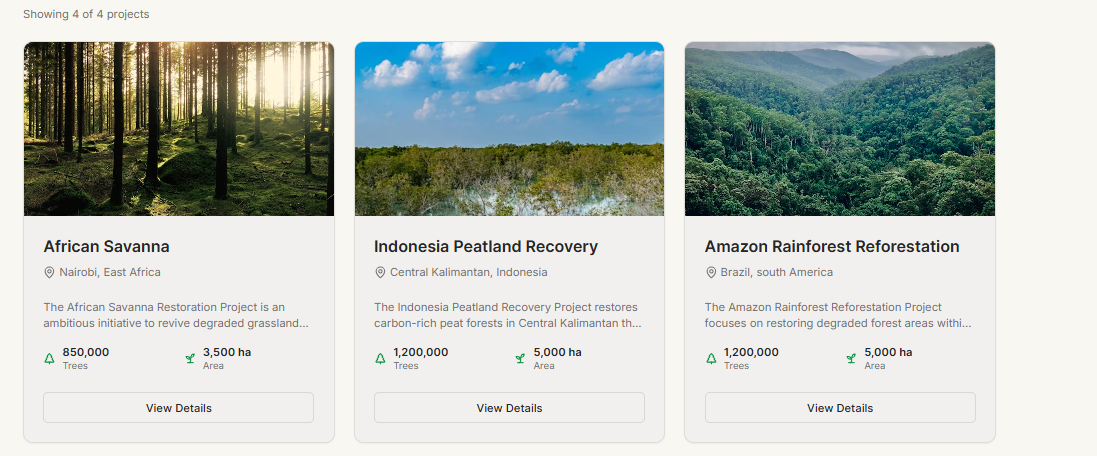
- 🌳 Project Management – Full CRUD admin interface for managing conservation projects
- 💚 Pledge System – Multi-step pledge flow with impact calculations
- 🔐 Authentication – Secure login and registration with Supabase
- 📊 Real-time Data – Track trees planted, area restored, and CO₂ offset
- 🌙 Dark Mode – Full dark mode support throughout the application
- 📱 Responsive – Mobile-friendly design that works on all devices
Frontend: React 18, TypeScript, Tailwind CSS, Shadcn UI
Mapping: Leaflet, React-Leaflet
State Management: TanStack Query (React Query)
Forms: React Hook Form + Zod
Backend: Express.js, Node.js
Database: PostgreSQL (Supabase)
ORM: Drizzle
Copy .env.example → .env and fill in your credentials:
# Database (Supabase)
DATABASE_URL=postgresql://user:password@host:port/database

# Supabase
VITE_SUPABASE_URL=https://your-project.supabase.co
VITE_SUPABASE_ANON_KEY=your-anon-key

# OpenWeatherMap API
VITE_OPENWEATHER_API_KEY=your-openweathermap-api-key

# Copernicus Dataspace
DATASPACE_USERNAME=your-dataspace-email
DATASPACE_PASSWORD=your-dataspace-password

# NASA Earthdata
NASA_EARTHDATA_USERNAME=your-nasa-username
NASA_EARTHDATA_PASSWORD=your-nasa-password

# Session Secret
SESSION_SECRET=your-session-secret-here

🗺️ Interactive Maps - Explore projects with OpenStreetMap, NASA GIBS satellite imagery, and OpenWeatherMap weather overlays
🌳 Project Management - Full CRUD admin interface for managing conservation projects
💚 Pledge System - Multi-step pledge flow with impact calculations
🔐 Authentication - Secure login and registration with Supabase
📊 Real-time Data - Track trees planted, area restored, and CO₂ offset
🌙 Dark Mode - Full dark mode support throughout the application
📱 Responsive - Mobile-friendly design that works on all devices
Tech Stack
Frontend: React 18, TypeScript, Tailwind CSS, Shadcn UI
Mapping: Leaflet, React-Leaflet
State Management: TanStack Query (React Query)
Forms: React Hook Form with Zod validation
Backend: Express.js, Node.js
Database: PostgreSQL (Supabase)
ORM: Drizzle
Environment Variables
Copy .env.example to .env and fill in your credentials:

# Database (Supabase)
DATABASE_URL=postgresql://user:password@host:port/database

# Supabase
VITE_SUPABASE_URL=https://your-project.supabase.co
VITE_SUPABASE_ANON_KEY=your-anon-key

# OpenWeatherMap API
VITE_OPENWEATHER_API_KEY=your-openweathermap-api-key

# Copernicus Dataspace (for satellite imagery)
DATASPACE_USERNAME=your-dataspace-email
DATASPACE_PASSWORD=your-dataspace-password

# NASA Earthdata (for GIBS satellite data)
NASA_EARTHDATA_USERNAME=your-nasa-username
NASA_EARTHDATA_PASSWORD=your-nasa-password

# Session Secret (generate a random string)
SESSION_SECRET=your-session-secret-here
Getting API Keys
Supabase:

Go to Supabase Dashboard
Create a new project
Get your DATABASE_URL from Settings → Database → Connection string (use Transaction pooler)
Get VITE_SUPABASE_URL and VITE_SUPABASE_ANON_KEY from Settings → API
OpenWeatherMap:

Sign up at OpenWeatherMap
Get your API key from your account dashboard
Copernicus Dataspace:

Register at Copernicus Dataspace
Use your registration email and password
NASA Earthdata:

Register at NASA Earthdata
Use your username and password
Installation
Clone the repository

Install dependencies:

npm install
Set up environment variables (see above)

Push database schema:

npx drizzle-kit push
Seed the database with sample projects:

curl -X POST http://localhost:5000/api/seed
Start the development server:

npm run dev
The app will be available at http://localhost:5000

Deployment
Deploying to Vercel
Install Vercel CLI:

npm i -g vercel
Login to Vercel:

vercel login
Deploy:

vercel
Add environment variables in Vercel Dashboard:

Go to your project settings
Navigate to "Environment Variables"
Add all variables from .env.example
Redeploy to apply environment variables:

vercel --prod
Deploying to Netlify
Install Netlify CLI:

npm i -g netlify-cli
Login to Netlify:

netlify login
Initialize your site:

netlify init
Configure build settings:

Build command: npm run build
Publish directory: dist
Add environment variables:

netlify env:set VARIABLE_NAME value
Repeat for all variables in .env.example

Deploy:

netlify deploy --prod
API Endpoints
Projects
GET /api/projects - Get all projects
GET /api/projects/:id - Get project by ID
POST /api/projects - Create new project
PATCH /api/projects/:id - Update project
DELETE /api/projects/:id - Delete project
Pledges
GET /api/pledges - Get all pledges (supports ?userId=x and ?projectId=x)
POST /api/pledges - Create new pledge
Authentication
POST /api/auth/register - Register new user
POST /api/auth/login - Login user
Utilities
POST /api/seed - Seed database with sample projects
Project Structure
.
├── client/                 # Frontend React application
│   ├── src/
│   │   ├── components/    # Reusable UI components
│   │   ├── pages/        # Page components
│   │   ├── lib/          # Utilities and helpers
│   │   └── App.tsx       # Main app component
│   └── index.html
├── server/                # Backend Express application
│   ├── db.ts             # Database connection
│   ├── storage.ts        # Data access layer
│   ├── routes.ts         # API routes
│   └── index.ts          # Server entry point
├── shared/               # Shared code between client and server
│   └── schema.ts         # Database schema and types
└── README.md
Map Layers
OpenStreetMap: Default basemap showing roads, cities, and terrain
Satellite: NASA GIBS MODIS Terra true color satellite imagery
Weather: OpenWeatherMap cloud coverage overlay
Toggle layers using the controls in the top-right corner of the map.

License
This is an educational project created for demonstration purposes only. It is not affiliated with or endorsed by Plant-for-the-Planet.

Acknowledgments
Inspired by Plant-for-the-Planet
Map data from OpenStreetMap contributors
Satellite imagery from NASA GIBS
Weather data from OpenWeatherMap
Conservation images from Unsplash
Note: This is a demonstration project. For production use, additional security measures, error handling, and payment integration would be required.