
AmbiSense is an innovative smart lighting solution that uses radar sensing technology to create responsive ambient lighting experiences. The system detects movement and distance using an LD2410 radar sensor and dynamically controls NeoPixel LED strips in real-time, creating an interactive lighting environment.
The core of AmbiSense is built around an ESP32 microcontroller that interfaces with an LD2410 radar module and NeoPixel LED strips. The system creates a moving light pattern that responds to a person's proximity, with the illuminated section of the LED strip changing based on detected distance.
We also developed a Custom Home Assistant Integration allowing you to integrate and control the AmbiSense from the Home Assistant and also run powerful automations.

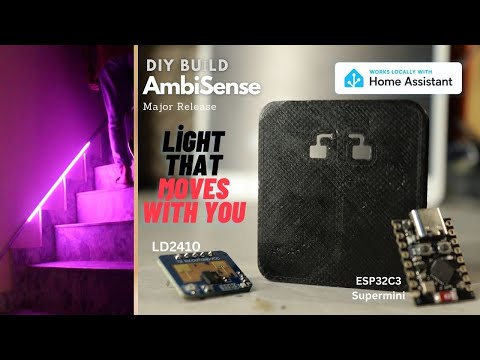
Click the image above to watch the AmbiSense v4.1 Release video
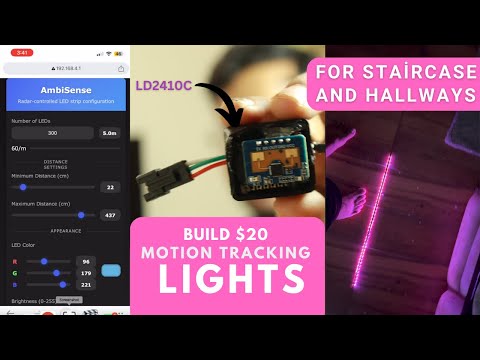
Click the image above to watch the video Guide
Click the image above to watch the demo video
- Version History
- What's New in v5.1
- Key Features
- Hardware Requirements
- Circuit Connections
- Software Setup
- Multi-Sensor Setup Guide
- Web Interface Features
- Physical Controls
- Use Cases
- Technical Details
Released: June 2025
Status: Stable Release
- 🔗 Multi-Sensor ESP-NOW Support: Connect multiple AmbiSense devices for complex layouts
- 📊 Enhanced Diagnostics: Real-time monitoring and troubleshooting tools
- 🛠️ Critical Bug Fixes: Resolved compilation and stability issues
- 🌐 Improved Network Management: Better WiFi handling and connection reliability
- 🎨 Advanced LED Features: Enhanced background mode and directional trails
- v4.1 (April 2024): Added expanded light effects, motion smoothing, Home Assistant compatibility
- v4.0 (Initial Release): Core radar-controlled LED functionality
💡 Upgrade Recommendation: If you're using v4.1 or earlier, upgrading to v5.1 is strongly recommended for bug fixes and new multi-sensor capabilities.
AmbiSense v5.1 introduces support for multiple devices working together using ESP-NOW wireless communication. Perfect for:
- L-shaped Staircases: Place sensors at each turn for seamless lighting transitions
- U-shaped Staircases: Multiple sensors ensure complete coverage without dead zones
- Long Hallways: Distribute LED strips across multiple devices for extended coverage
- Complex Layouts: Handle any architectural configuration with intelligent sensor switching

Example: L-shaped staircase with master and slave sensors working together
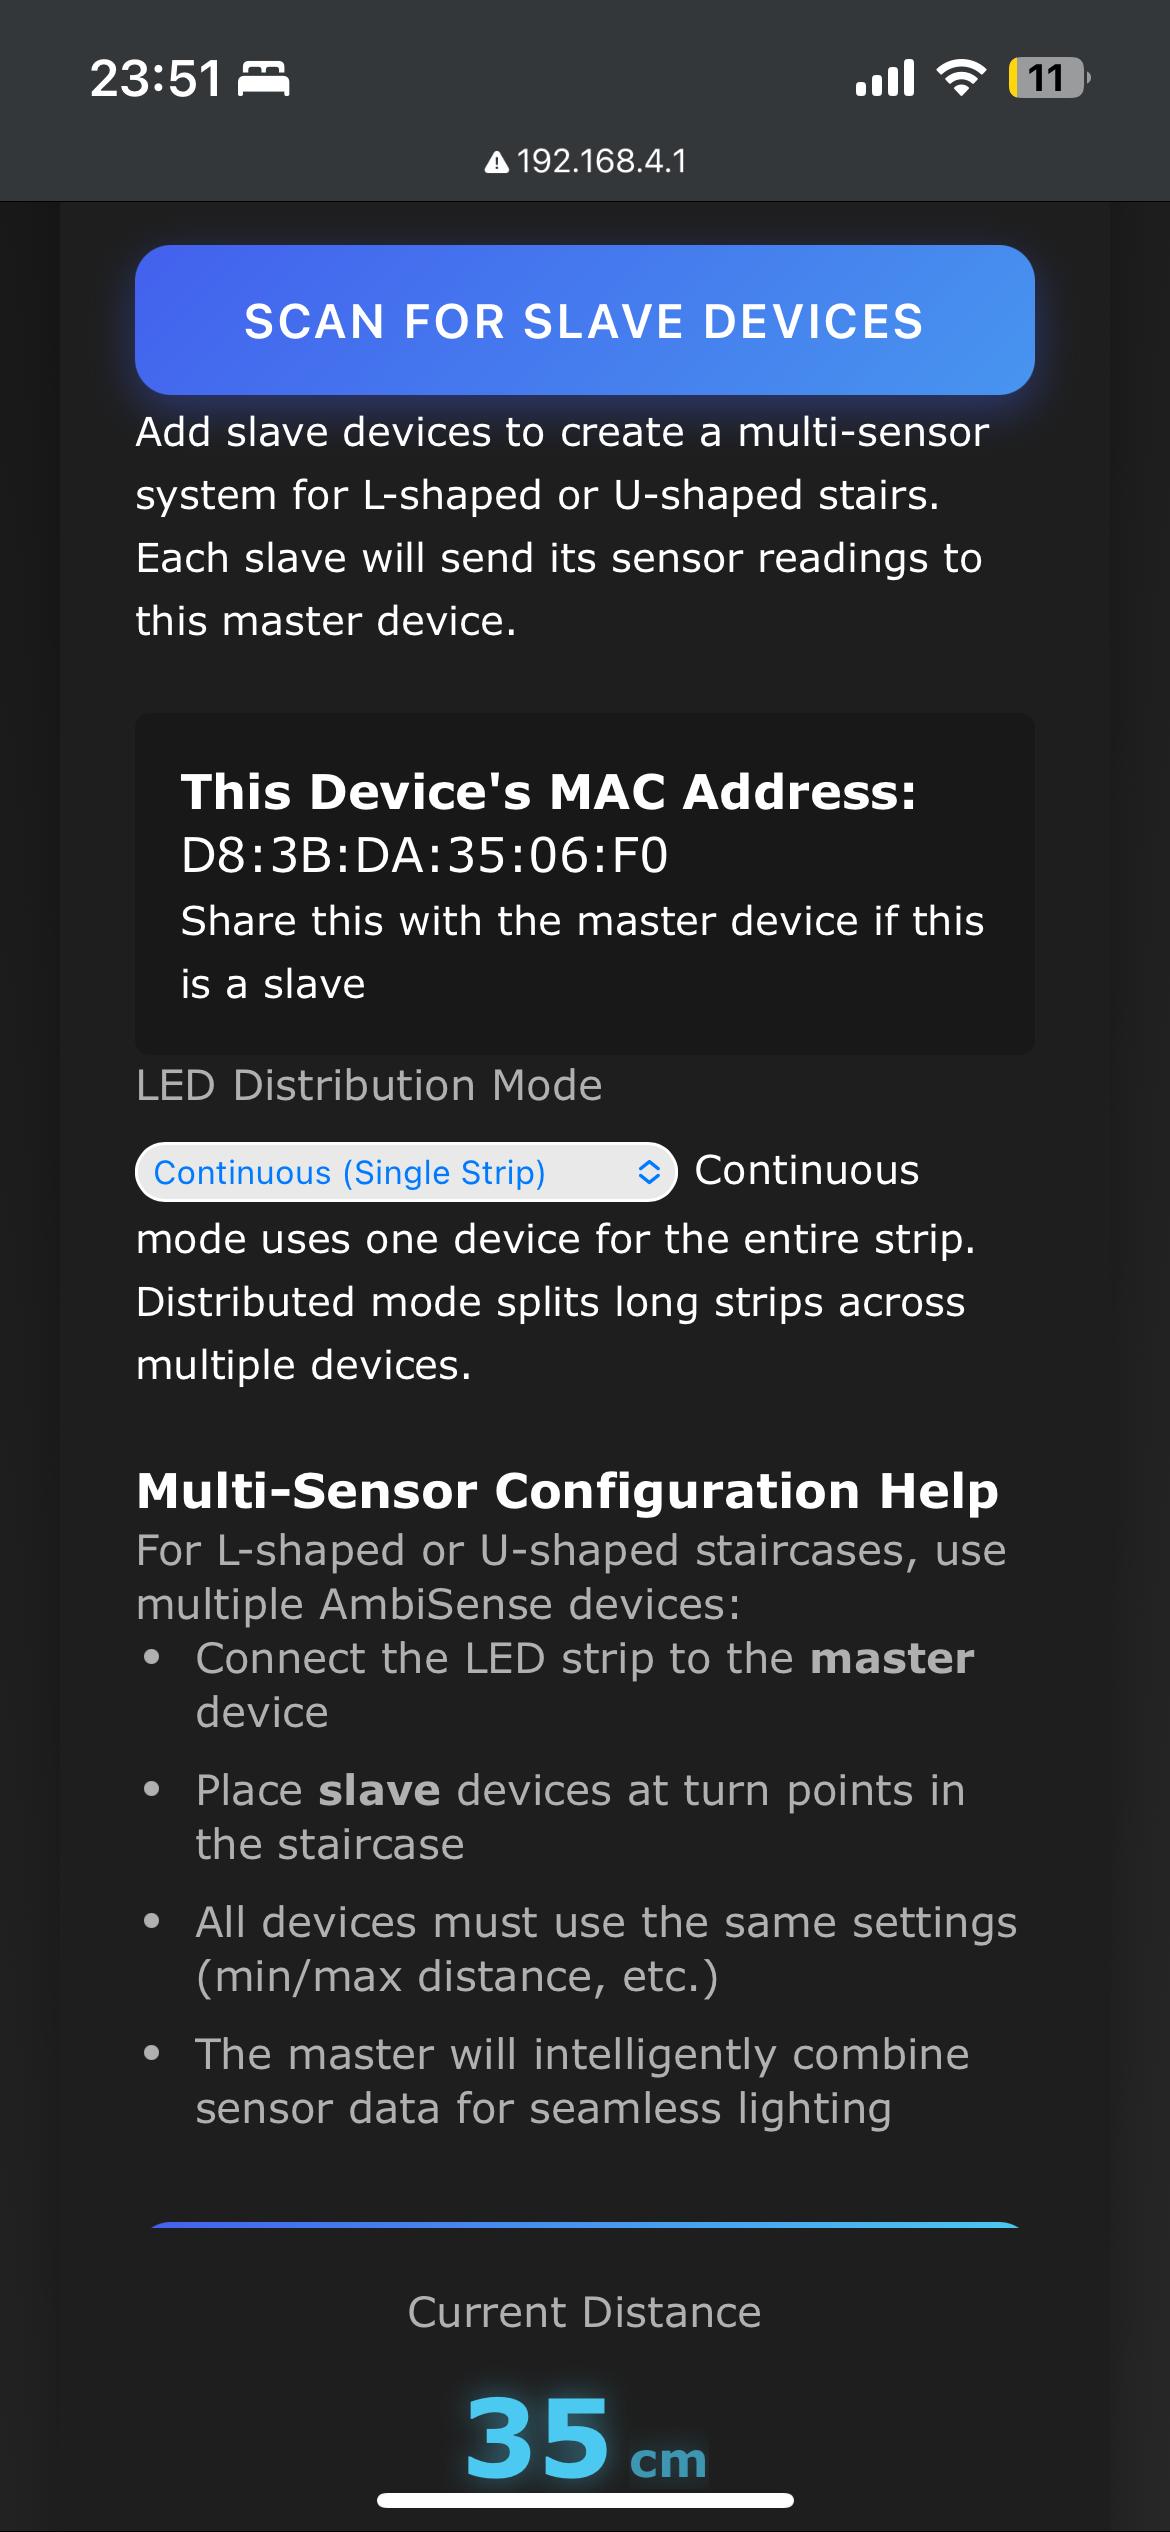
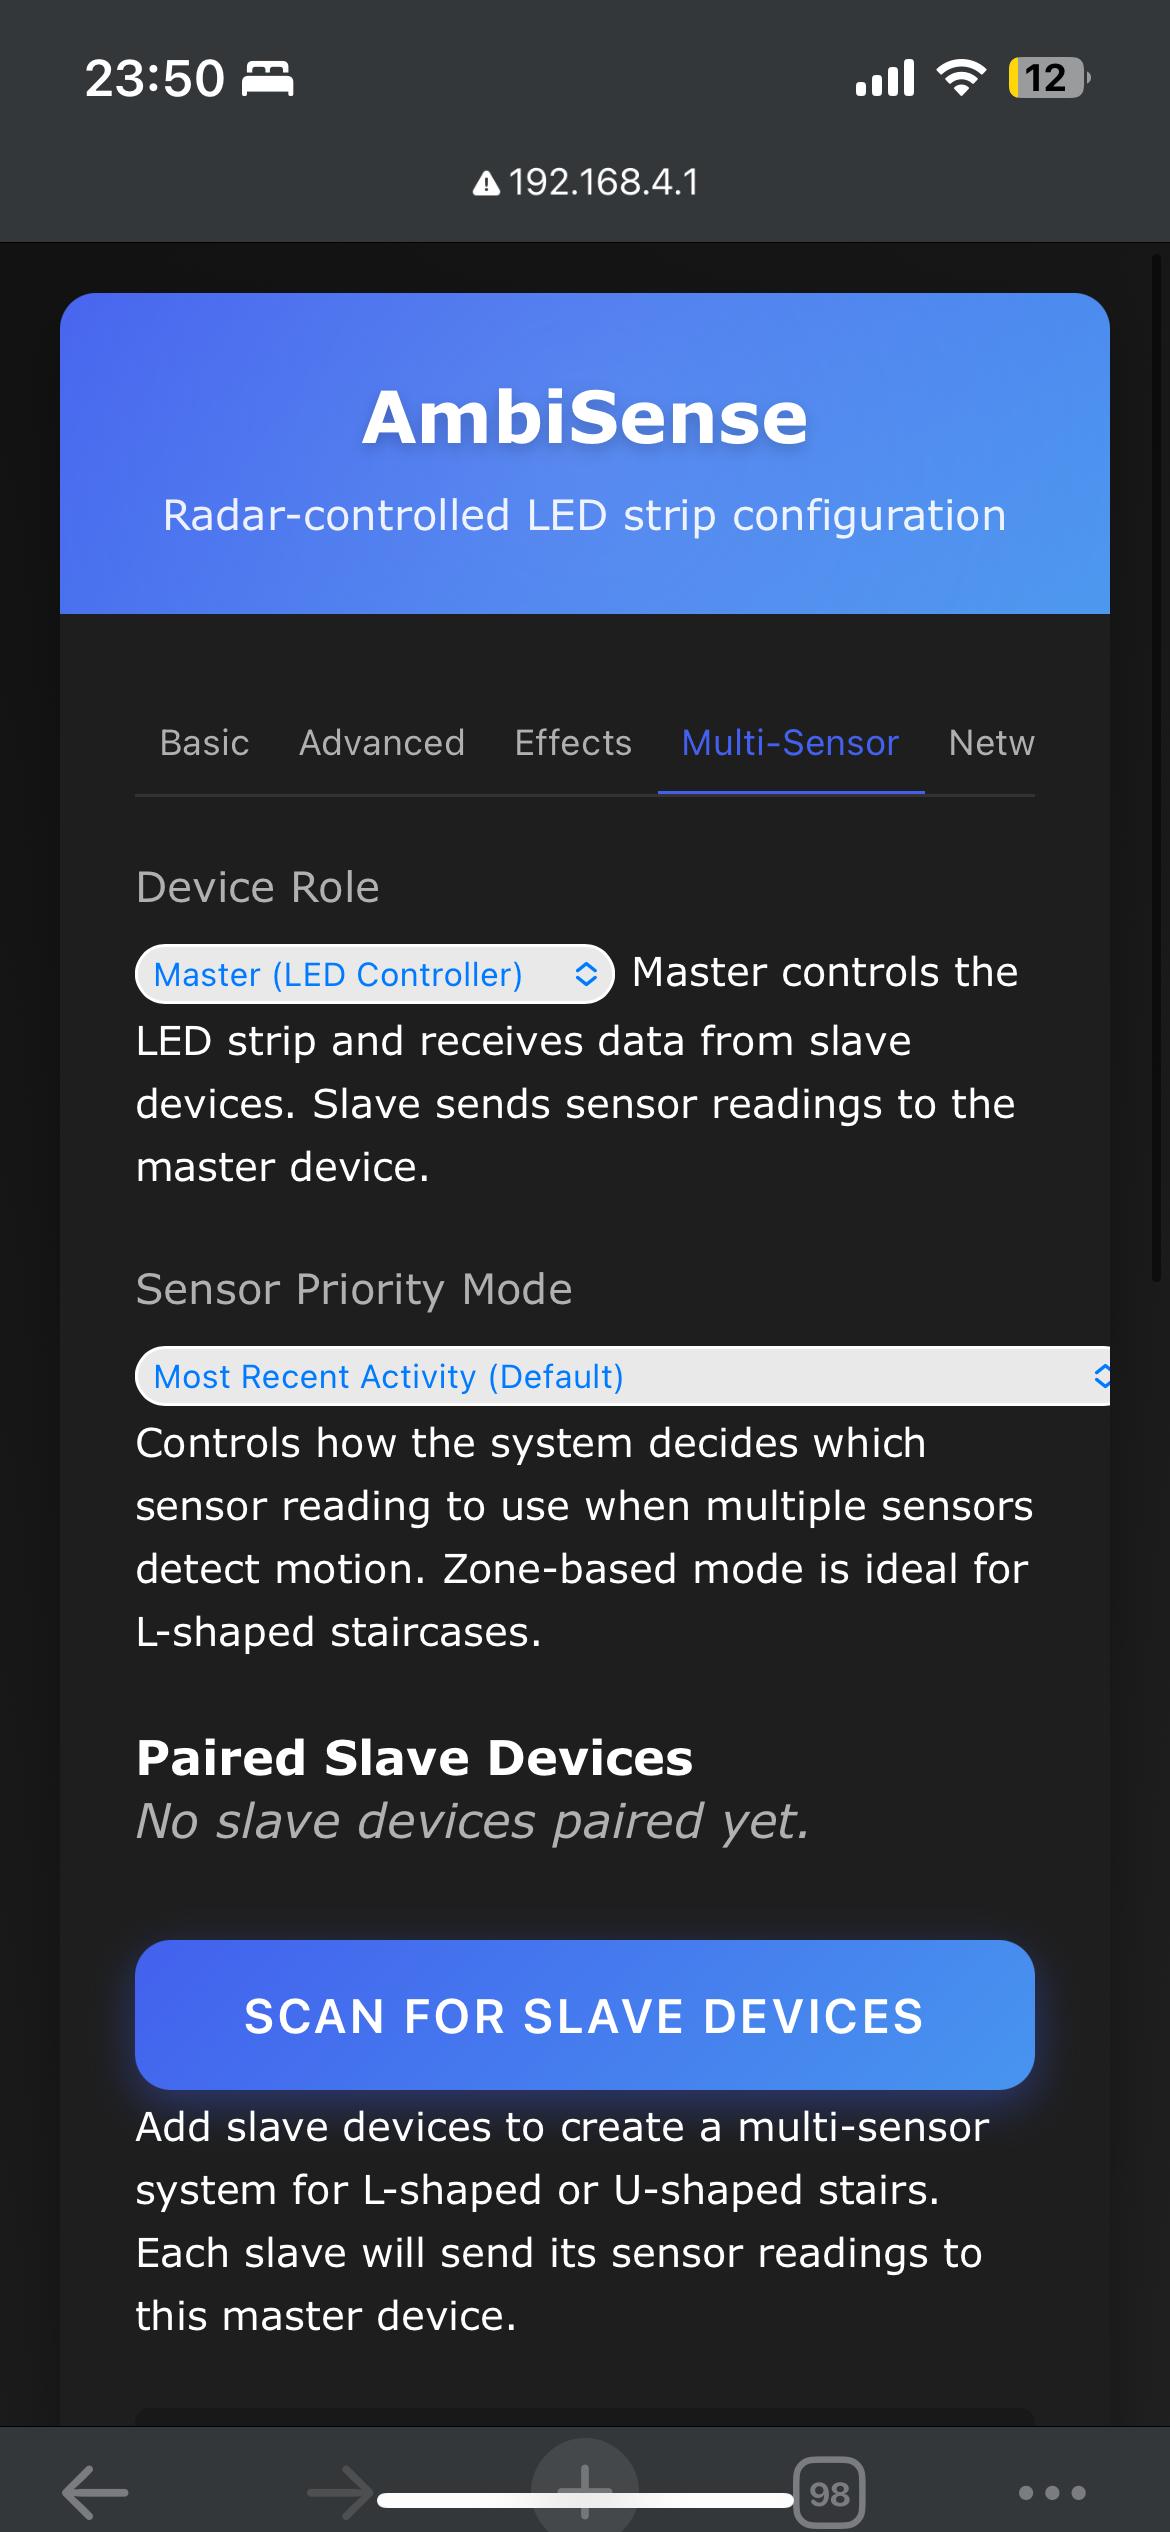
Choose how your multi-sensor system prioritizes readings:
- 🧠 Zone-Based (Recommended): Intelligent switching perfect for L-shaped layouts
- ⏱️ Most Recent: Uses whichever sensor detected motion most recently
- 🔝 Slave First: Prioritizes slave sensors over master for upper-level priority
- 🏠 Master First: Prioritizes master sensor for main-area control
The new Diagnostics Tab provides comprehensive system insights:
- 📡 Real-time Sensor Data: Live readings from all connected devices
- 💚 Connection Health: Monitor ESP-NOW signal strength and packet success rates
- 🧠 System Performance: Track memory usage, uptime, and processing efficiency
- 🗺️ Network Topology: Visual representation of your multi-sensor setup
- 🔧 Troubleshooting Tools: Identify and resolve connectivity issues instantly

Real-time diagnostics showing multi-sensor network status
- ✅ Fixed Compilation Issues: Resolved linker errors that prevented building from source
- 🧠 Better Memory Management: Improved handling of different LED strip configurations
- 📡 ESP-NOW Stability: Enhanced wireless communication reliability
- 💾 EEPROM Validation: Robust settings storage with automatic corruption recovery
- Radar-Based Motion Detection: Uses the LD2410 24GHz radar module for accurate presence and distance sensing without privacy concerns of cameras
- Dynamic LED Control: Creates moving light patterns that respond to user proximity
- 🌈 Multiple Lighting Modes: Choose from 10+ effects including Standard, Rainbow, Color Wave, Breathing, Fire, Theater Chase, and more
- 🎨 Directional Light Trails: Adds trailing effects that follow movement direction with customizable trail length
- 🌙 Background Lighting: Optional ambient background illumination when no motion is detected
- 📍 Center Shift Adjustment: Reposition the active LED zone relative to detected position
- 🔗 Multi-Sensor Networks: Connect up to 5 slave devices to one master for complex layouts
- 📡 ESP-NOW Communication: Low-latency wireless coordination between devices
- 🎛️ Distributed LED Control: Split long LED strips across multiple devices
- 🧠 Intelligent Sensor Fusion: Smart algorithms combine data from multiple sensors
- 📱 Modern Web Interface: Intuitive tab-based configuration with responsive design
- 📊 Real-Time Visualization: Live distance detection and LED response preview
- 🌐 WiFi Network Management:
- Connect to existing networks or create access point
- Scan for available networks with signal strength indicators
- mDNS support for easy device discovery (access via
http://ambisense-[name].local)
- 💾 Persistent Settings: All configurations saved to EEPROM with CRC validation
- 🏡 Home Assistant Ready: Full compatibility with our custom integration
- 📊 Enhanced API: Improved endpoints for external automation systems
- 🔄 Multi-Device Support: Complete support for master-slave configurations
- ESP32 development board (recommended: ESP32-C3 SuperMini)
- LD2410 radar sensor module (24GHz frequency)
- WS2812B (NeoPixel) compatible LED strip
- 5V power supply (adequate for your LED strip length)
- Connecting wires and breadboard/PCB for prototyping
- Additional ESP32 + LD2410 modules (up to 5 slaves per master)
- Individual power supplies for each sensor location
- Strategic placement at turns, landings, or coverage gaps
| ESP32-C3 Pin | LD2410 Pin | Function |
|---|---|---|
| GPIO3 (RX) | TX | Serial Communication |
| GPIO4 (TX) | RX | Serial Communication |
| 5V | VCC | Power Supply |
| GND | GND | Ground |
| ESP32-C3 Pin | WS2812B Pin | Function |
|---|---|---|
| GPIO5 | DIN | Data Signal |
| 5V | VCC | Power Supply |
| GND | GND | Ground |
| Power Supply | ESP32-C3 Pin | Function |
|---|---|---|
| +5V | 5V | Positive Supply |
| GND | GND | Ground |

Complete wiring diagram for single AmbiSense device

Short the A to GND on the Touch Sensor
⚠️ Power Supply Notes:
- For LED strips longer than 30 LEDs, connect 5V power supply directly to WS2812B VCC
- Calculate power needs: ~60mA per LED at full brightness
- Use 5V 2A+ power supply for strips with 50+ LEDs
- Ensure adequate current capacity for your specific LED count
- Download the Code
Or download the ZIP file and extract.
git clone [https://github.com/Techposts/AmbiSense.git](https://github.com/Techposts/AmbiSense.git)
- Install Arduino IDE Libraries
Go to
Sketch > Include Library > Manage LibrariesInstall these libraries:- Adafruit NeoPixel (LED control)
- ArduinoJson (Configuration handling)
- WebServer (ESP32 built-in web server)
- WiFi (ESP32 built-in WiFi)
- LD2410 (Radar sensor communication)
- Configure Arduino IDE
- Board:
Tools > Board > ESP32 > ESP32C3 Dev Module - Flash Size:
4MB - Partition Scheme:
Default 4MB with spiffs - Upload Speed:
921600
- Board:
- Upload and Configure
- Select correct COM port
- Click
Upload - Connect to "AmbiSense" WiFi (password:
12345678) - Navigate to
http://192.168.4.1
- Download Tools
- ESP Flash Download Tool
- Latest AmbiSense Binaries
- Configure Flash Tool
- Chip Type:
ESP32-C3 RISC-V - SPI Speed:
80MHz - SPI Mode:
DIO - Flash Size:
4MB
- Chip Type:
- Add Binary Files with these addresses:
AmbiSense-ESP32C3-v5.1-bootloader.bin → 0x0 AmbiSense-ESP32C3-v5.1-partitions.bin → 0x8000 AmbiSense-ESP32C3-v5.1.bin → 0x10000 - Flash Device
- Select COM port and set baud to
921600 - Click
STARTand wait forFINISH
- Select COM port and set baud to
# Install esptool
pip install esptool

# Flash firmware (replace COM3 with your port)
esptool.exe --chip esp32c3 --port COM3 --baud 921600 \
  --before default_reset --after hard_reset write_flash -z \
  --flash_mode dio --flash_freq 80m --flash_size 4MB \
  0x0 AmbiSense-ESP32C3-v5.1-bootloader.bin \
  0x8000 AmbiSense-ESP32C3-v5.1-partitions.bin \
0x10000 AmbiSense-ESP32C3-v5.1.binConnection Problems:
- Check all devices are on the same WiFi channel
- Verify MAC addresses are entered correctly
- Use Diagnostics tab to monitor connection health
- Ensure devices are within ESP-NOW range (~100m line of sight)
LED Synchronization Issues:
- Verify master device has adequate power supply
- Check LED distribution settings match physical setup
- Monitor packet loss in diagnostics
- Consider reducing number of connected slaves
- LED Count Configuration: Set total number of LEDs (1-2000)
- Distance Range Settings: Customize min/max detection distances
- 🎨 RGB Color Selection: Intuitive color picker with live preview
- 💡 Brightness Control: Global brightness adjustment (0-255)
- 🔄 Quick Reset: Reset distance values to factory defaults
- 🧠 Motion Smoothing: Enable/disable intelligent motion tracking
- 📍 Position Controls: Fine-tune position smoothing and prediction
- 🎯 Center Shift: Adjust LED positioning relative to detected motion
- ✨ Trail Effects: Configure directional light trails
- 🌙 Background Mode: Set ambient lighting when no motion detected
- 🎚️ Control Sensitivity: Adjust motion tracking parameters
- 🌈 Light Mode Selection: Choose from 10+ visual effects:
- Standard (motion tracking)
- Rainbow (flowing spectrum)
- Color Wave (rippling colors)
- Breathing (fade in/out)
- Fire Effect (realistic flames)
- Theater Chase (marquee lights)
- And more!
- ⚡ Effect Speed: Control animation speed (1-100)
- 🔥 Effect Intensity: Adjust effect strength and brightness
- 👑 Device Role Selection: Configure as Master or Slave
- 🔍 Device Discovery: Automatic scanning for nearby AmbiSense devices
- 📡 Network Management: Add/remove slave devices
- 🎯 Priority Mode Selection: Choose sensor prioritization strategy
- 📊 LED Distribution: Configure distributed LED control across devices
- 🩺 Connection Health: Monitor ESP-NOW network status
- 📡 Live Sensor Data: Real-time readings from all connected sensors
- 💚 Connection Status: ESP-NOW health and signal strength monitoring
- 📈 Performance Metrics: Memory usage, packet statistics, system uptime
- 🗺️ Network Topology: Visual representation of your sensor network
- 🔧 Troubleshooting: Tools for identifying and resolving issues
- 📶 WiFi Scanning: Discover and connect to available networks
- 🏷️ Device Naming: Set custom mDNS hostname for easy access
- 📊 Status Monitoring: Real-time connection status and IP information
- 🔄 Network Reset: Reset WiFi settings to factory defaults
AmbiSense includes intuitive physical controls for convenient operation:
- 🔘 Main Control Button (GPIO7)
- Short Press (< 2 seconds): Toggle System ON/OFF
- Instantly enables/disables all lighting effects
- Useful for quick control without web interface access
- Long Press (≥ 10 seconds): Factory WiFi Reset
- Clears all saved WiFi credentials
- Restarts device in Access Point mode
- LED indicator confirms reset completion
- Short Press (< 2 seconds): Toggle System ON/OFF
- 💡 LED Status Indicators
- Solid Blue: System active and functioning normally
- Blinking Blue: Motion detected and tracking
- Red Flash: WiFi reset initiated
- No Light: System disabled or error state
💡 Pro Tip: The physical button provides essential backup control when web interface is inaccessible due to network issues.
Professional enclosure designs for your AmbiSense installation:

Custom 3D printed case housing ESP32 and LD2410 radar module
- 📁 Available Files
- Main Enclosure: Houses ESP32-C3 and LD2410 radar sensor
- Mounting Bracket: Wall/ceiling mount options
- Cable Management: Organized wire routing solutions
- Download STL files: STL Files Folder * 🖨️ Printing Recommendations
- Layer Height: 0.2mm for optimal detail
- Infill: 20% for structural strength
- Support: Required for mounting bracket overhangs
- Material: PLA or PETG for indoor use
- 🚶 Smart Staircases: Automatic illumination following your path up/down stairs
- 🏃 Hallway Lighting: Responsive corridor lighting that activates as you approach
- 🛏️ Bedroom Ambiance: Gentle nighttime navigation lighting
- 🎭 Home Theater: Dynamic bias lighting that responds to viewer movement
- ♿ Accessibility Aid: Assistive lighting for visually impaired navigation
- 🎨 Interactive Art: Installations that respond to viewer proximity and movement
- 🏪 Retail Displays: Eye-catching product showcases with motion-responsive lighting
- 🏛️ Museum Exhibits: Engaging displays that activate as visitors approach
- 🎪 Event Lighting: Dynamic stage or venue lighting that follows performers
- 🏥 Healthcare Facilities: Gentle wayfinding assistance in medical environments
- 💚 Motion-Only Activation: Lights only when needed, reducing energy waste
- ⏰ Automatic Shutoff: Configurable timeout when no motion detected
- 🎯 Targeted Illumination: Only lights necessary areas, not entire spaces
- 📊 Usage Analytics: Monitor activation patterns for optimization
- Microcontroller: ESP32-C3 (RISC-V, 160MHz, WiFi + Bluetooth)
- Radar Sensor: LD2410 (24GHz, 0-6m range, ±60° detection angle)
- LED Support: WS2812B/NeoPixel compatible strips (up to 2000 LEDs)
- Communication: ESP-NOW for multi-sensor coordination
- Power: 5V DC input, automatic LED power management
- Framework: Arduino Core for ESP32
- Web Server: Built-in ESP32 WebServer (no external dependencies)
- Data Storage: EEPROM with CRC validation and corruption recovery
- Communication Protocols:
- UART for LD2410 radar communication
- ESP-NOW for inter-device coordination
- WiFi for web interface and network connectivity
- WiFi Modes: Station (client) and Access Point modes
- mDNS Support: Easy device discovery via
hostname.local - ESP-NOW Range: Up to 100 meters line-of-sight between devices
- Network Security: WPA2 WiFi encryption, no external cloud dependencies
- Local Processing: All motion detection handled on-device
- No Cloud Dependencies: Complete offline operation capability
- Privacy-First Design: Radar sensing provides presence detection without cameras
- Secure Communication: Encrypted ESP-NOW and WiFi protocols
- Response Time: <50ms motion detection to LED update
- Update Rate: 20Hz radar sensor polling
- ESP-NOW Latency: <10ms between master and slave devices
- Memory Usage: Optimized for 4MB flash, <80KB RAM usage
- Power Consumption: <500mA at 5V with 30 LEDs active
- Compilation Errors:
- Ensure you're using AmbiSense v5.1 or later
- Verify all required libraries are installed
- Check ESP32 board package is up to date
- WiFi Connection Problems:
- Use physical button to reset WiFi settings
- Check network password and signal strength
- Try manual configuration via Access Point mode
- Multi-Sensor Connectivity:
- Verify all devices are running the same firmware version
- Check ESP-NOW range limitations (~100m)
- Use Diagnostics tab to monitor connection health
- Issues & Bugs: GitHub Issues * Discussions: GitHub Discussions * Documentation: Wiki # 📜 License & Credits
- Created by: Ravi Singh for TechPosts Media
- Copyright: © 2025 TechPosts Media. All rights reserved.
- License: MIT License - see
LICENSEfile for details
- Espressif Systems: ESP32 platform and development tools
- Adafruit: NeoPixel library and hardware ecosystem
- HiLink: LD2410 radar sensor technology
- Community Contributors: Bug reports, feature suggestions, and feedback


