This repository serves as a platform for my personal terraform training, showcasing my skills in scripting with Python and Shell Scripting, as well as utilizing DevOps tools such as Ansible and Terraform. Its primary objectives are:
- Self-Training: To train myself in terraform tasks.
- Skill Demonstration: To demonstrate my capabilities in terraform tools and scripting to potential employers and collaborators.
- Personal Future Reference: This repository will be used by me for future reference and for future projects.
- Servers Updates: Simplify the update process for two of my personal servers and AWS EC2 server.
- Automated AWS EC2 Setup: Implement automated setup, and destruction of Ubuntu servers on AWSEC2.
- Remote Server Monitoring: Monitor system status from all servers remotely, no direct access needed.
- Simple Execution: Execute all tasks with a simple command-line interface.
- Keep it Simple: I am aiming to make the scripts and codes as simple and readable as possible.
Since I try to keep it simple, I aim to maintain the scripts and code with minimal dependencies possible. Additionally, it's important that they remain readable without excessive commenting. I will thoroughly explain the solution on each section.
Throughout this README, I will reference three servers. Please refer to the table below. I will refer to the servers by their names.
| Name | Hostname | os | Comments |
|---|---|---|---|
| cloud | cloud.ss.fish | Ubuntu | My personal cloud server |
| ss | ss.fish | OpenBSD | My personal OpenBSD server |
| ec2 | Ubuntu | This server will be created on an AWS EC2 instance |
To update all servers, I'll employ both Ansible and Python scripts. The Python script is crucial for converting the CSV file into an INI format for the Ansible inventory. Since servers are listed in a CSV file for other automation purposes, it's necessary.
Ansible Playbooks:
- Update and check if reboot is needed on cloud server: ansible-playbook/update_upgrade_cloud.yml
- Update all the package on ss server: ansible-playbook/update_upgrade_ss.yml
- Update and check if reboot is needed on ec2 server: ansible-playbook/update_upgrade_ec2.yml
On all three servers, the playbook will run as the user named ansible, which I created for security purposes. This user can execute specific commands without a password when using sudo and doas, as I have manually configured.
Please note that on both the cloud and ec2 server playbooks, I do not use the apt module. Instead, I manually run the command in the Ansible playbook due to this GitHub issue #51663. Additionally, in both server playbooks, it will check if a reboot is needed after every update.
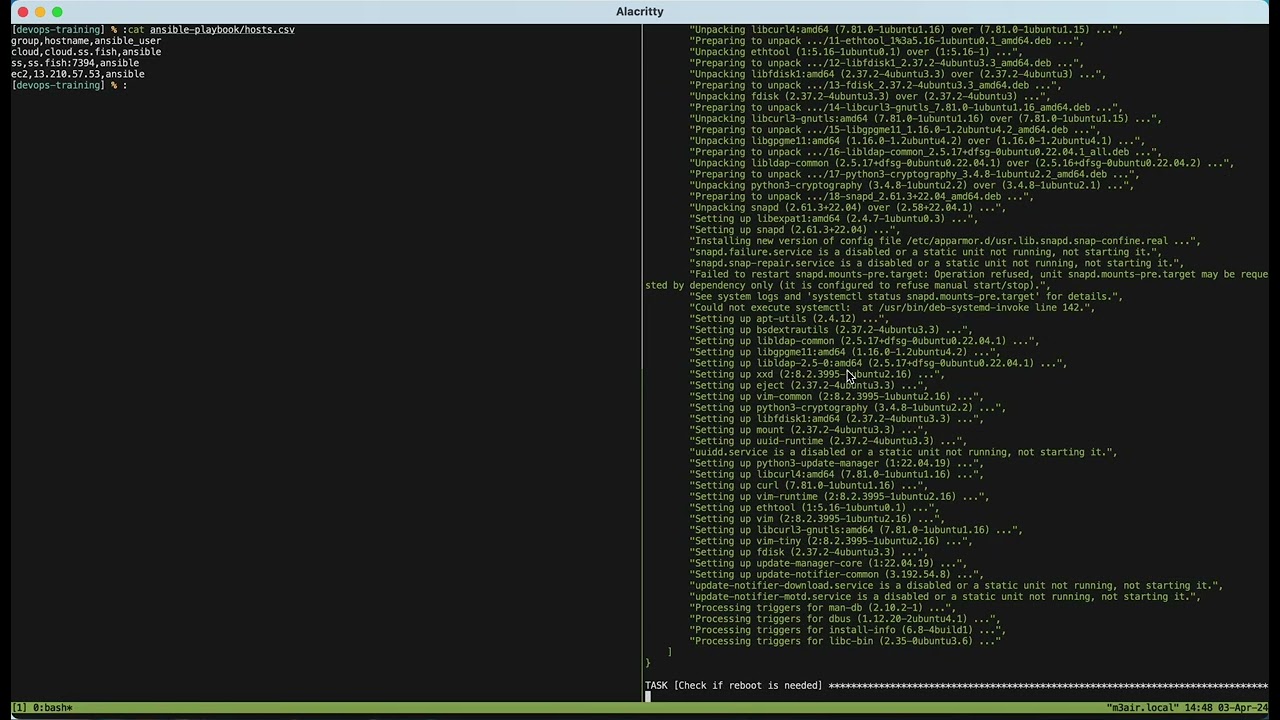
The inventory is located here: ansible-playbook/hosts.csv and will be converted by the script csv_to_ini.py to ansible-playbook/hosts. This script will run automatically when using the run.sh command and can also be executed manually. Further details on the run.sh command will be explained on further section.
To create an EC2 instance in AWS, I utilized Terraform and aws-cli. aws-cli is only needed for authentication and connection to my AWS account. To make this work, I created three files: provider.tf, main.tf, and output.tf. Let me explain what each of these files does:
-
- Specifies
hashicorp/awsas the provider so Terraform will work with AWS. - Sets the region to Sydney (
ap-southeast-2). - Sets up the VPC, Internet Gateway, and creates the Security Group to allow SSH connection.
- All of this is needed for it to connect to the internet and for SSH to work.
- Specifies
-
- Sets the EC2 AMI to
ami-09c8d5d747253fb7a(Ubuntu 22.04 LTS, x86), sets the instance type tot2.micro, and names it "terraform-Training". - Sets the security group 'SSHAcess', which is created in the
provider.tffile. - Creates the user 'ansible', adds my public key, edits the sudoers file, and installs the Python psutil library.
- My public key is visible in the file, but since it's a public key, it's safe to share publicly.
- I configured it so that
aptandapt-getcommands can run passwordless with sudo so Ansible will work. - Installs Python psutil library so that the stats monitoring script will work.
- Sets the EC2 AMI to
-
- Provides the instance IP as output after it successfully creates the instance. I do not plan to use a fixed IP to save costs, so this is necessary for other automation scripts.
To remotely monitor system statistics on all servers, I'll utilize the psutil Python library for reading system statistics and Python paramiko library for establishing SSH connections remotely.
Originally, I planned to create the system reader from scratch using available Unix tools and parsing, but this approach would complicate things, especially since I intend to use this script on three different platforms (Linux, OpenBSD, and Darwin [MacOS]). Instead, it's simpler to use the psutil library since it already works across all these platforms.
I prefer to start most of my scripts with a shebang to env, like below:
#!/usr/bin/env python3
This way, I can run the script without specifying python3 or python in front of it. Using env also ensures that the OS will pick the correct Python version/program, and since Python isn't always located in the same path on every platform, this approach is more robust.
sys_reading.py code
This script was created with the assistance of the psutil documentation. It displays various system metrics, including Hostname, Platform, Uptime, CPU usage, Memory usage, Network Card IPs, Public IP, and Root disk usage.
Using Psutil
- Cpu Reading: Utilizes
psutil.cpu_percent()to obtain CPU usage in percentage with half-second readings for quick updates. - Memory usage: Retrieves memory usage information using
psutil.virtual_memory(). - Root disk usage: Obtains disk usage for the root partition using
psutil.disk_usage().
Using Unix tools
- Uptime: Parses system uptime using the typical Unix uptime command, processed with awk and sed. Although I couldn't find a straightforward way to use
psutil.boot_time(), I may revisit this approach in the future. - Network Card IPs: Extracts IP addresses from network interfaces using the typical Unix ifconfig command and parses the output with awk.
- Public IP: Retrieves the public IP address by querying the ifconfig.me website using curl.
- Hostname: just to keep this consistant I'll be using the standard Unix
hostnamecommand.
Using Platform Library
- Platform: Utilizes the standard Python platform library to obtain platform information. This could prove essential for future updates to the script, especially if different commands are required for specific platforms.
This script is currently incomplete and somewhat messy. In the future, I plan to improve it by adding the following readings and features:
- Disk usage statistics for all storage partitions.
- Last system update information.
- Detection of security vulnerabilities in the kernel and installed packages.
- Implementation of email alerts for high resource usage.
However, if I end up adding too many features, it might be more efficient to use other specialized tools that can handle these tasks more effectively than a custom script. Nevertheless, this script serves as a valuable practice exercise for me to improve my skills and expanding my knowledge in the realm of DevOps.
sys_reading_remote.py code
The script sys_reading.py lacks the capability to SSH into servers and parse CSV files. I do not intend to add this functionality as it would complicate the script further as its already look messy. Additionally, this script is separated because it will execute sys_reading.py on the hosts themselves. In the future, I may consider combining both scripts.
This script parses ansible-playbook/hosts.csv and SSHs into each host listed in it to execute the sys_reading.py script locally.
Initially, I intended to use the pandas library for parsing the CSV file. However, I discovered that Python's built-in csv module functions well for small datasets and offers cleaner code. As a result, I opted to switch to the csv library instead of pandas.
To streamline operations, all the functionalities described above are connected using a single shell script run.sh.
This shell script also utilizes a shebang to env, similar to all the Python scripts above:
#!/usr/bin/env sh
The script accepts four arguments and performs five actions: 'create', 'destroy', 'stats', 'update', and runs everything when no argument is given. When using the argument, it's possible to specify a character like 'c', 'd', 's', or 'u'.
create|c
- Executes
terraform applywith the-auto-approveargument. - Adds instance IPs to hosts.csv.
destroy|d
- Executes
terraform destroywith the-auto-approveargument. - Removes instance IPs from hosts.csv.
stats|s
- Executes
sys_reading_remote.py, which runssys_reading.pylocally on the server.
update|u
- Runs
csv_to_ini.pyto convert hosts.csv to hosts. - Reads hosts.csv and runs ansible-playbook on each host to update it.
ansible-playbookcommands will use the hosts file as inventory and run with the argumentANSIBLE_HOST_KEY_CHECKING=Falseto disable fingerprint checks on the first SSH connection.
No Arguments When running run.sh with no argument, it will execute the script in the following order:
- create
- update
- stats
- destroy
Details on usage for each section are provided below.
This section demonstrates how to utilize this repository and the run.sh command for automating and simplifying various tasks. Additionally, I provide links to the STDOUT of all the commands.
The ansible-playbook directory contains playbooks for all three servers and the inventory file hosts.
To upgrade the cloud server, run the following command in the ansible-playbook directory:
ansible-playbook -i hosts update_upgrade_cloud.ymlTo execute updates on all servers easily, simply run run.sh with the argument u as shown below:
./run.sh u
The basic terraform arguments of plan, apply and destroy are working.
Plan
terraform plan Apply
terraform applyDestroy
terraform destroy The creation and termination of EC2 instance can be simplify and automate with running the run script with the argument c and d. Create
./run.sh cDestroy
./run.sh d
The sys_reading.py can run on any Unix system, to run this script just run it without any argument:
./sys_reading.pyTo run this script remotely, just run sys_reading_remote.py without argument.
./sys_reading_remote.pysys_reading_remote.py can run with the script csv_to_ini.py, this can be automate by running run.sh with the argument u
./run.sh u
I have demonstrated in each section above how to utilize run.sh with arguments. To execute all tasks in the sequence of creation, update, system statistics check, and destruction, simply run the following command without any argument:
./run.sh Watch the video below to observe how this command operates: