-
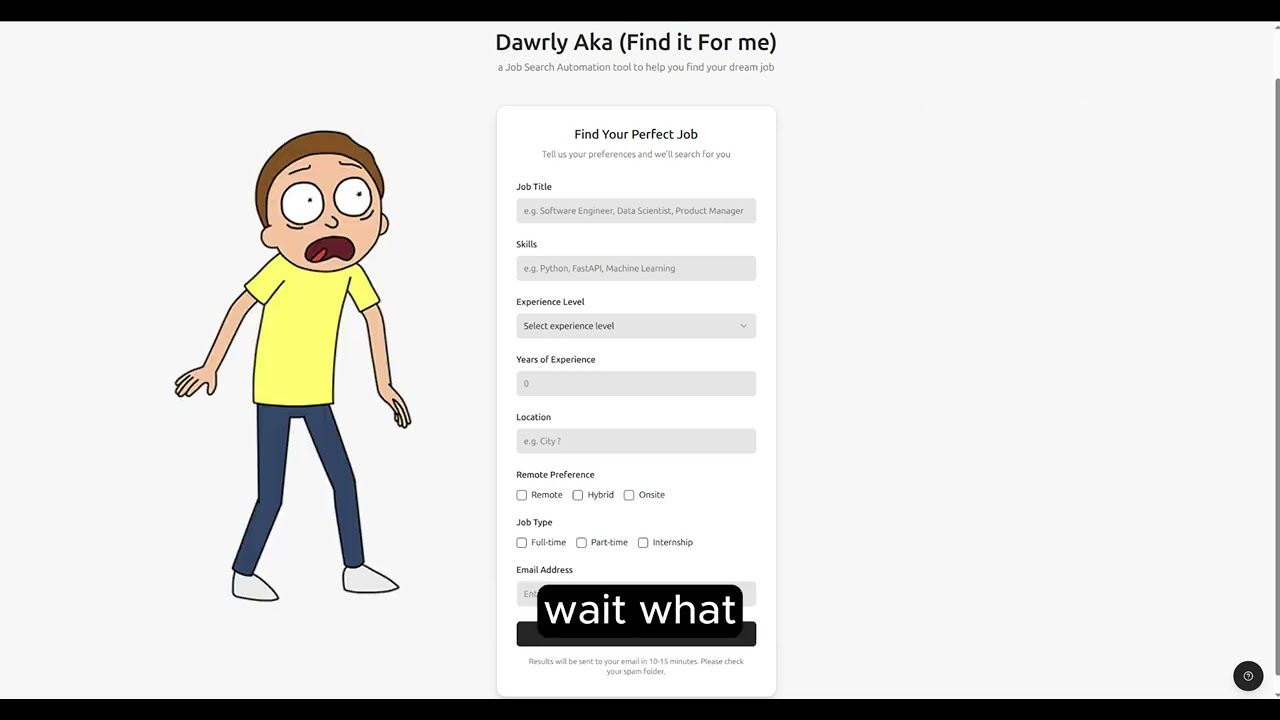
Dawrly is a multi agent system designed to automate the job hunting process. (so yeah boy no need to spend a lot of time again on linkedin or indeedd , etc..)
-
As you probably know, the current tech job market is pretty tough. After studying MAS (Multi-Agent Systems), I got the idea to build Dawrly, an AI job hunter that automates the entire process for us.
-
you can check the deep wiki docs for this project and chat with Mr Devin here about it
-
or speak with me I'd be more than happy to help

- check this Demo and the Following diagrams

- Cause it's a custom LangGraph workflow while the other 2 agents are built using CrewAI
Click to view the diagram
graph TD
    A["Start: Read Job URLs"] --> B["Scraping Node"];
    B --> C{"Scraping Successful?"};
    C -- Yes --> D["Filtering Node"];
    C -- No --> H["Drop / Skip URL"];
    D --> E{"Filtering Successful?"};
    E -- Yes --> F["LLM Analysis Node"];
    E -- No --> H;
    F --> G{"Matches Requirements?"};
    G -- No --> H;
    G -- Yes --> I["Schema Conversion"];
    I --> J["Collect Valid Jobs"];
    J --> K["End"];
1. the demo while it's live Click Me
2. you can use it locally on your own device
The Docker Compose Way 🐳
- This method allows you to run Dawrly and its dependencies using Docker containers, providing an isolated and consistent environment.
-
Clone the Repository:
First, you need to clone the project repository:
git clone https://github.com/ZiadWaleed2003/Dawrly-Crew-of-AI-Agents.git cd Dawrly-Crew-of-AI-Agents -
Ensure Docker and Docker Compose are Installed:
Make sure you have Docker and Docker compose locally
-
Configure Environment Variables:
Both the
backendandfrontenddirectories require a.envfile for configuration.-
Create
.envfiles: Navigate into thebackenddirectory and create a file named.env:cd backend touch .envThen, do the same for the
frontenddirectory:cd ../frontend touch .env cd .. # Go back to the main project directory
-
Populate
.envfiles: Open the newly created.envfiles in your text editor and add the required environment variables based on their respective.env.examplefiles.Example:
backend/.env.exampleAGENTOPS_API_KEY=your-api-key TAVILY_API_KEY=your-api-key FIRECRAWL_API_KEY=your-api-key CEREBRAS_API_KEY=your-api-key NVIDIA_API_KEY=your-api-key GEMINI_API_KEY=your-api-key GROQ_API_KEY=your-api-key LANGSMITH_API_KEY=your-api-key LANGSMITH_TRACING=true LANGSMITH_PROJECT=anyname-you-want EMAIL=email to use when sending the results EMAIL_PASSWORD= I guess this one is obvious
Example:
frontend/.env.example# Example variables for the frontend VITE_BACKEND_URL=http://localhost:8000
-
-
How to get the API keys ?
- unfortunately while developing this app I used alot of services but the good news it's all free and you can get the API keys too :
- Nvidia NIM
- Agentops
- Tavily
- FireCrawl
- Cerebras
- Gemini API
- Groq
- LangSmith
- Email --> you need to create a new google account and use it here for the app to be able to send you the results on your perosnal email
- Email Password --> you will also need to get it from google
add these to the .env file in the backend and you are good to go
-
Run with Docker Compose:
Once Docker is installed and your
.envfiles are configured, navigate to the main project directory (where yourdocker-compose.ymlfile is located) and run the following command:docker compose up --build
This command will:
up: Start all services defined indocker-compose.yml.--build: Rebuild images if there are any changes inDockerfilesor context.
After the services are up and running, you should be able to access the frontend of Dawrly in your web browser, at
http://localhost:3000(make sure to kill any process running on port 3000 or 8000).
- I'm going to hold your hands when I say this (ma man you need to learn how to use Docker it's 2025 and you are still drowning in dependency conflicts)
- I almost forgot ... for monitoring I used LangSmith and AgentOps
- Don't worry there is nothing more u need to do just add the env vars and you are good to go you will find the logs on LangSmith website and AgentOps