A full-stack economics dashboard and discussions forum, powered by AWS services
and World Bank REST API.
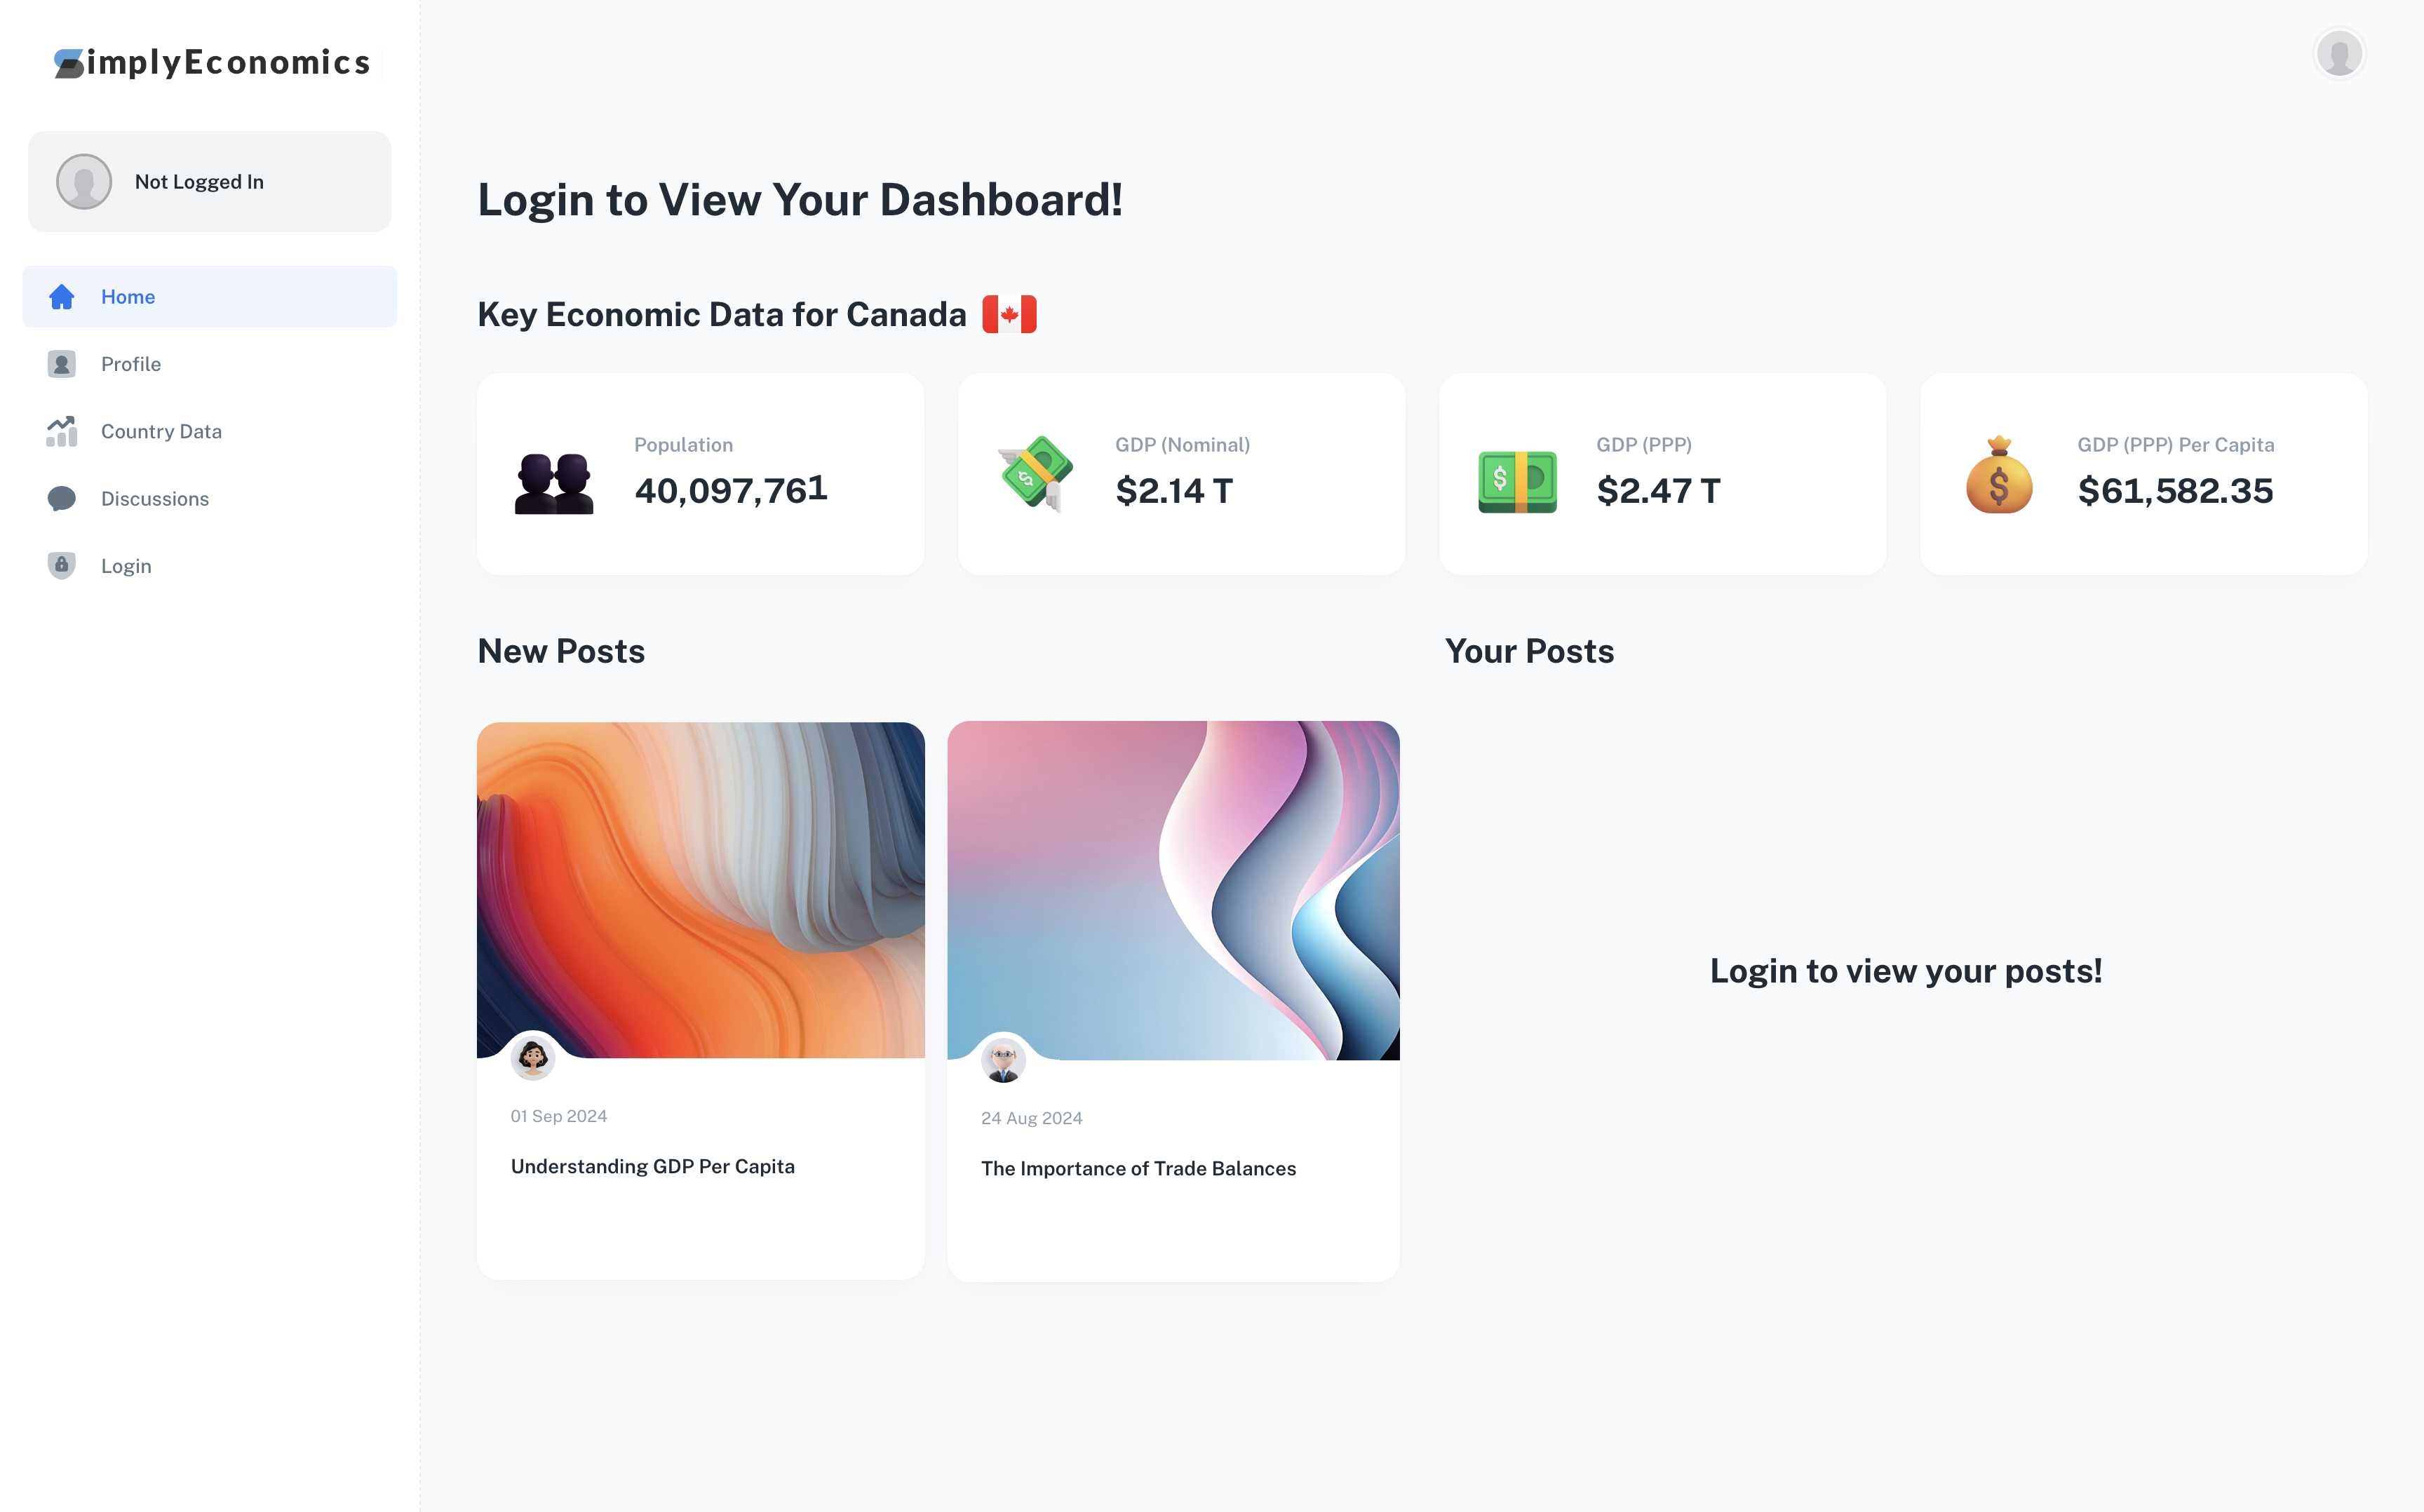
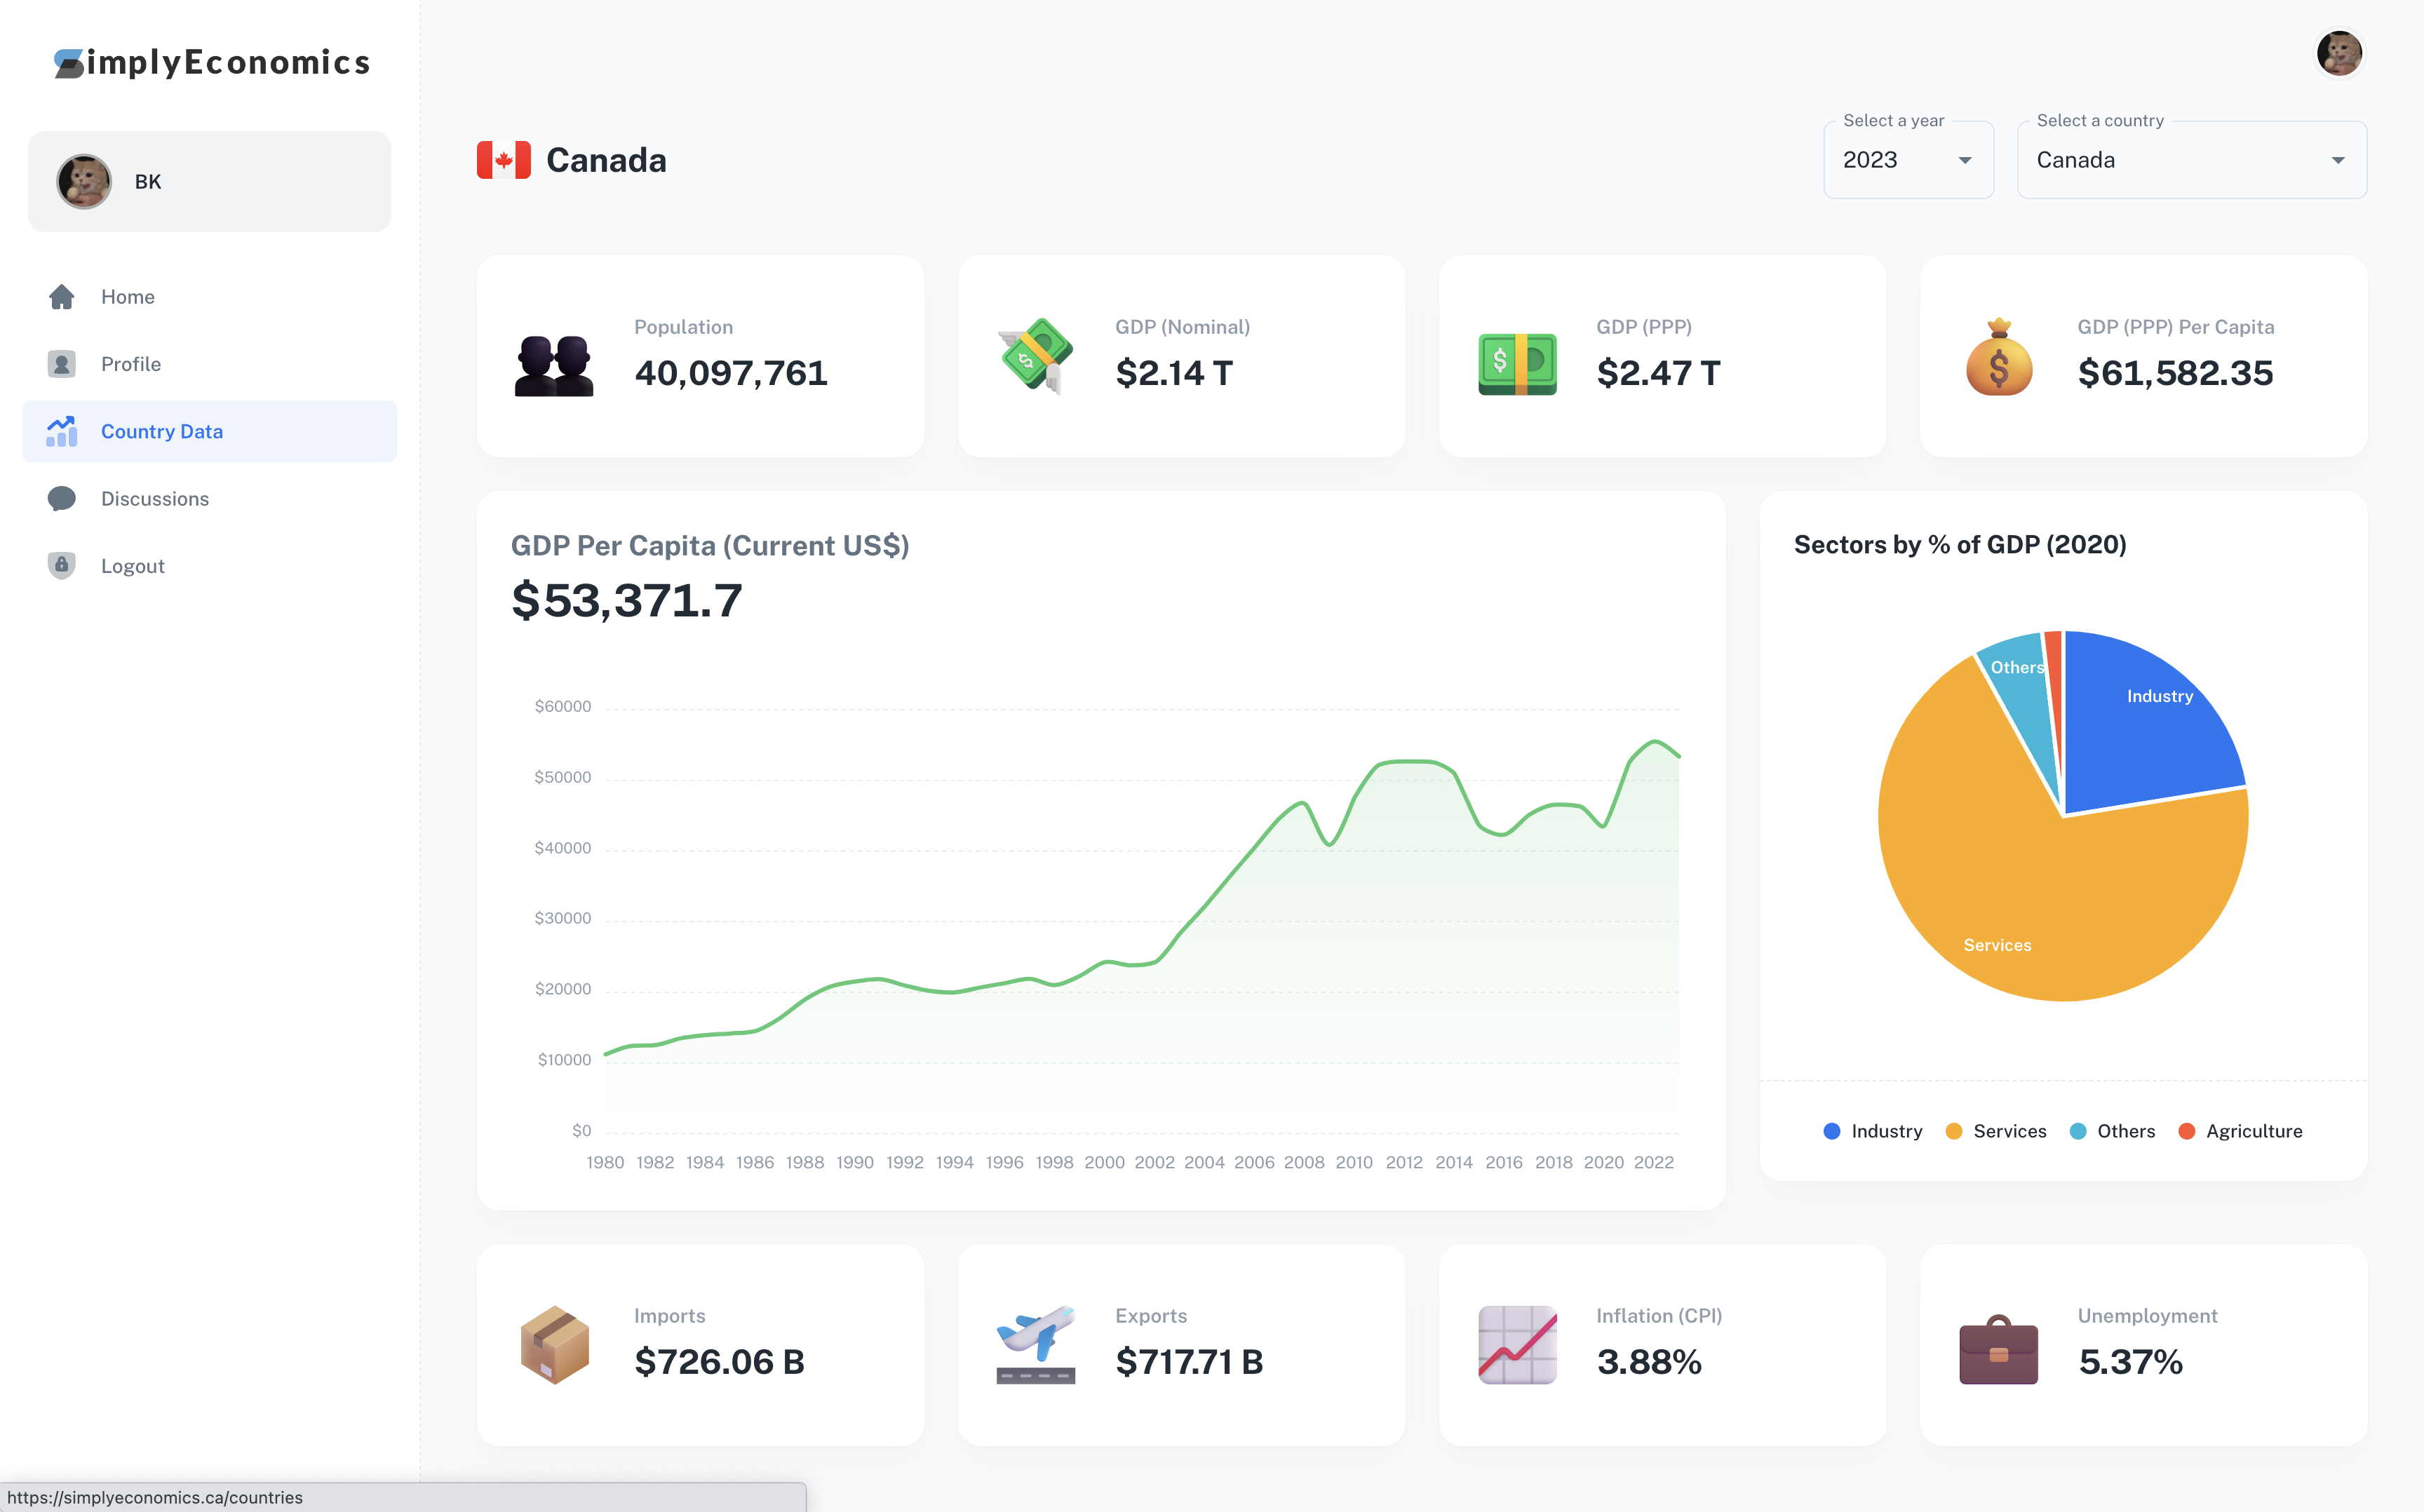
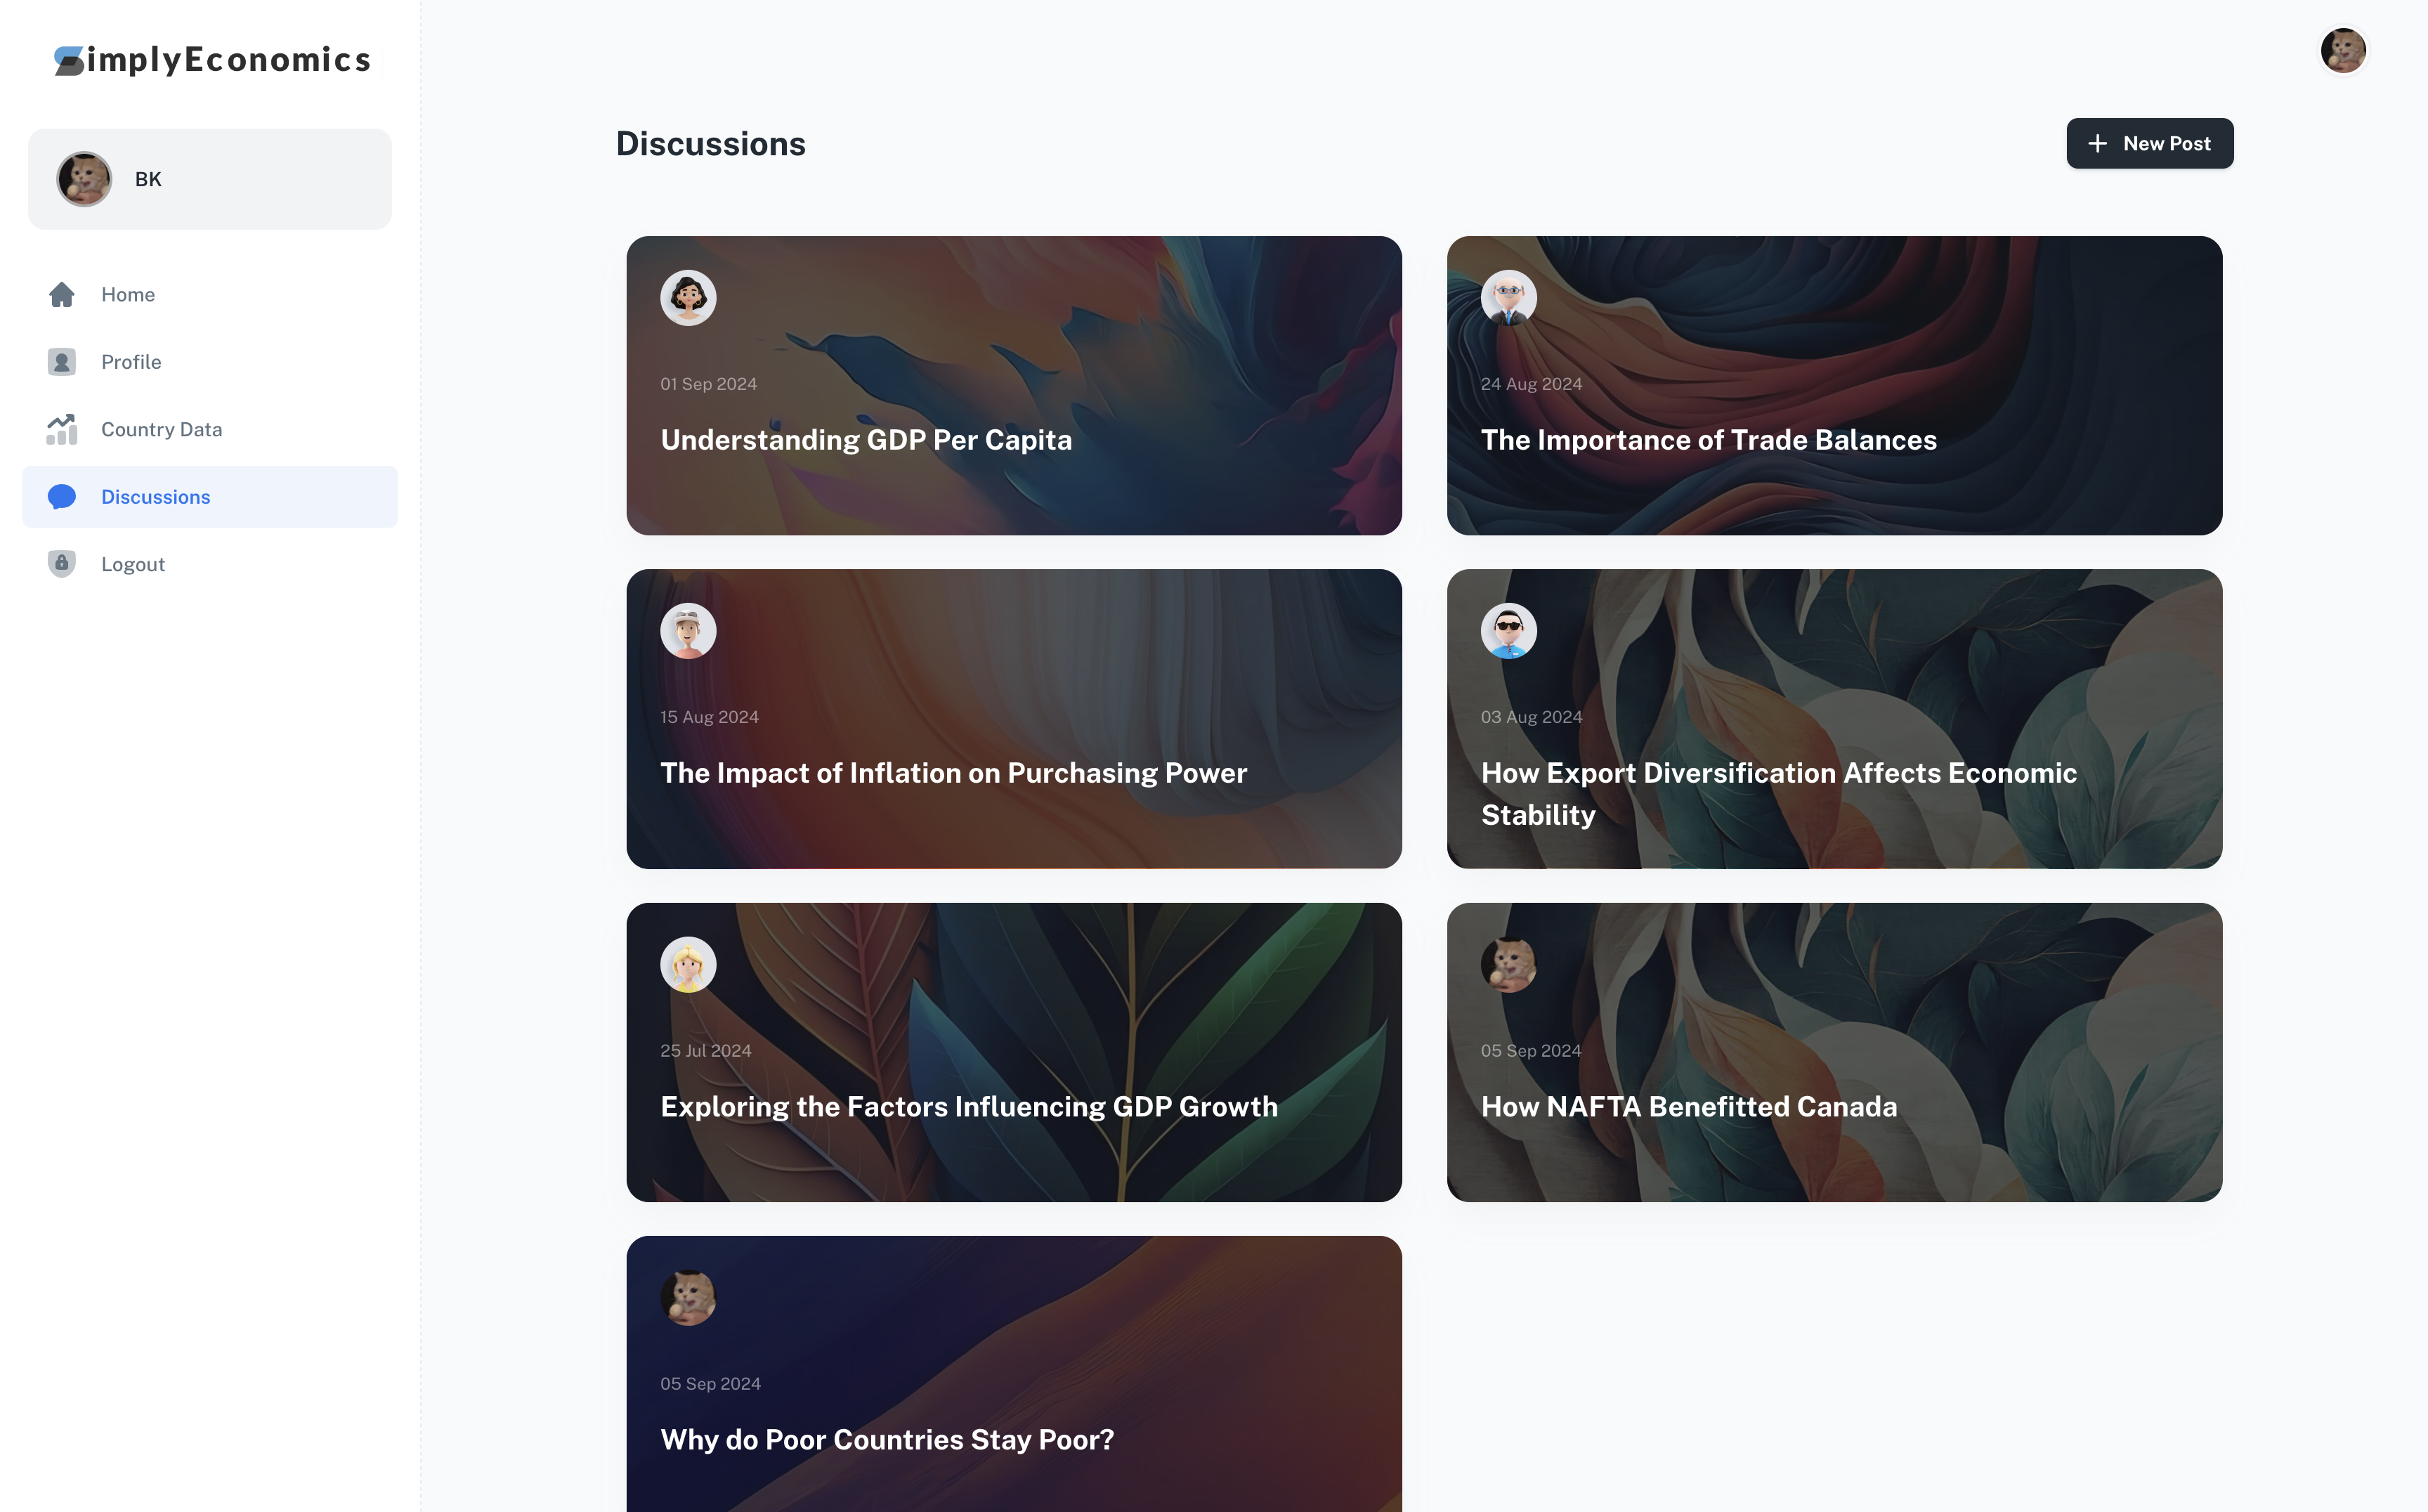
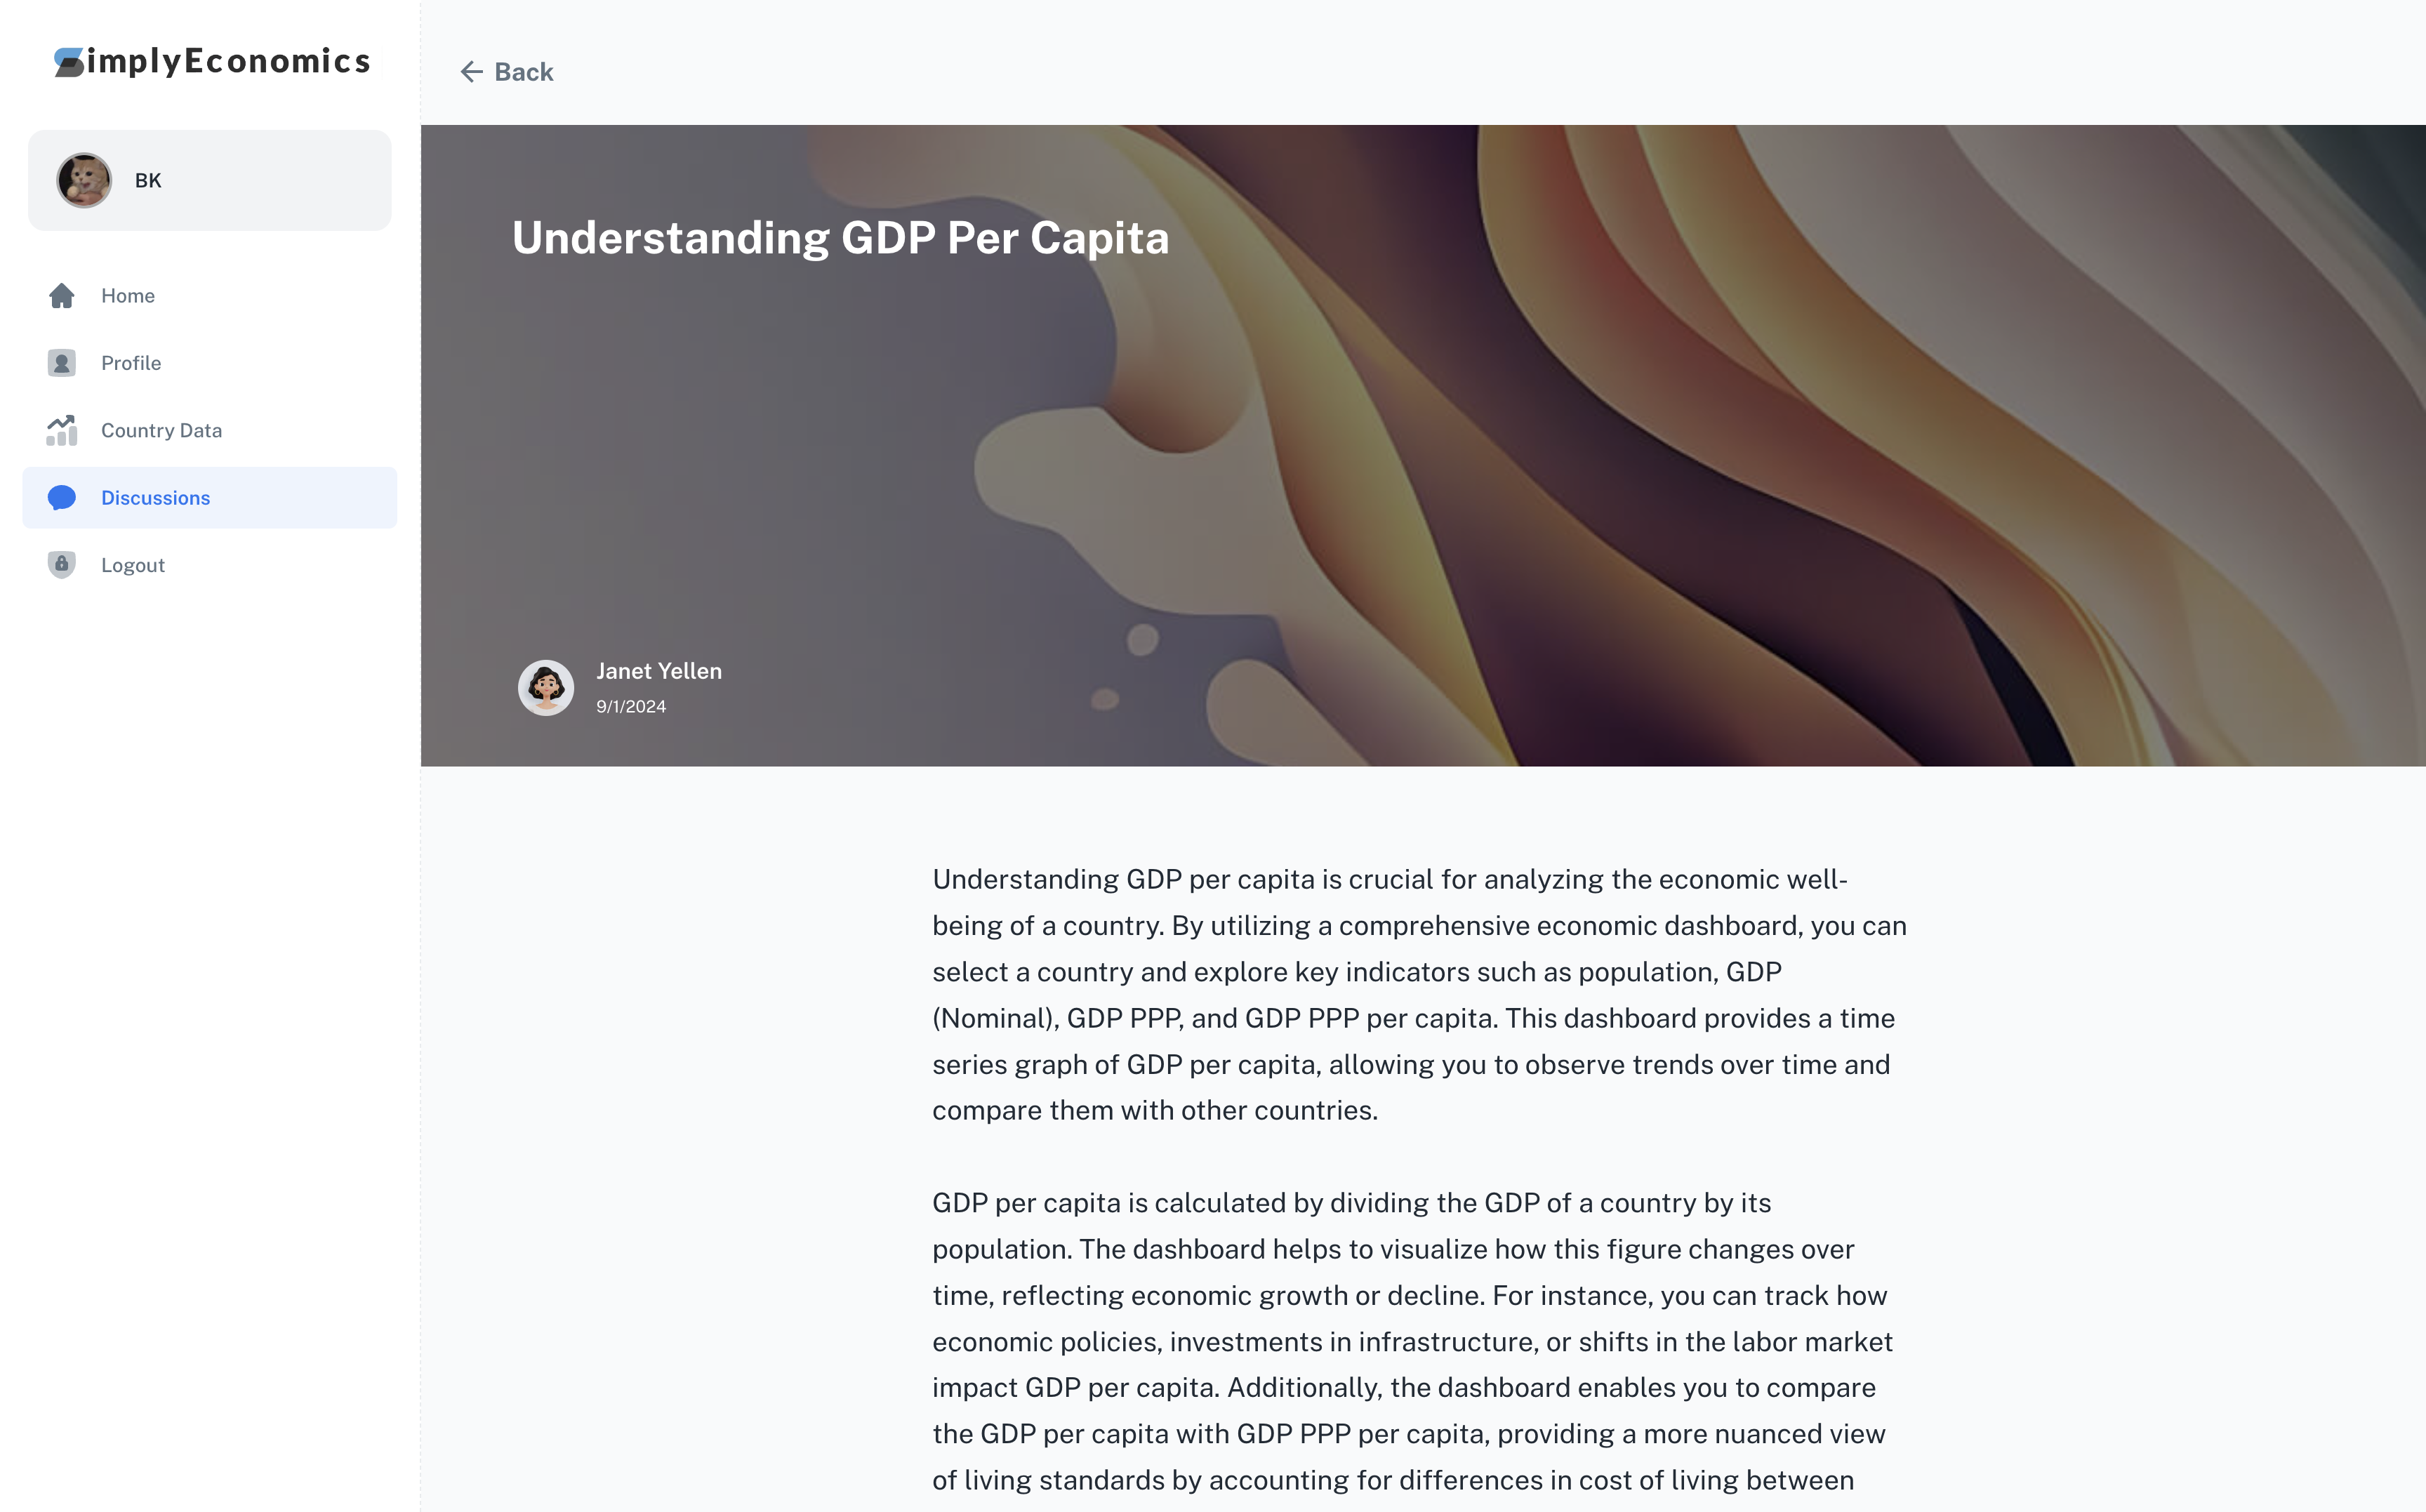
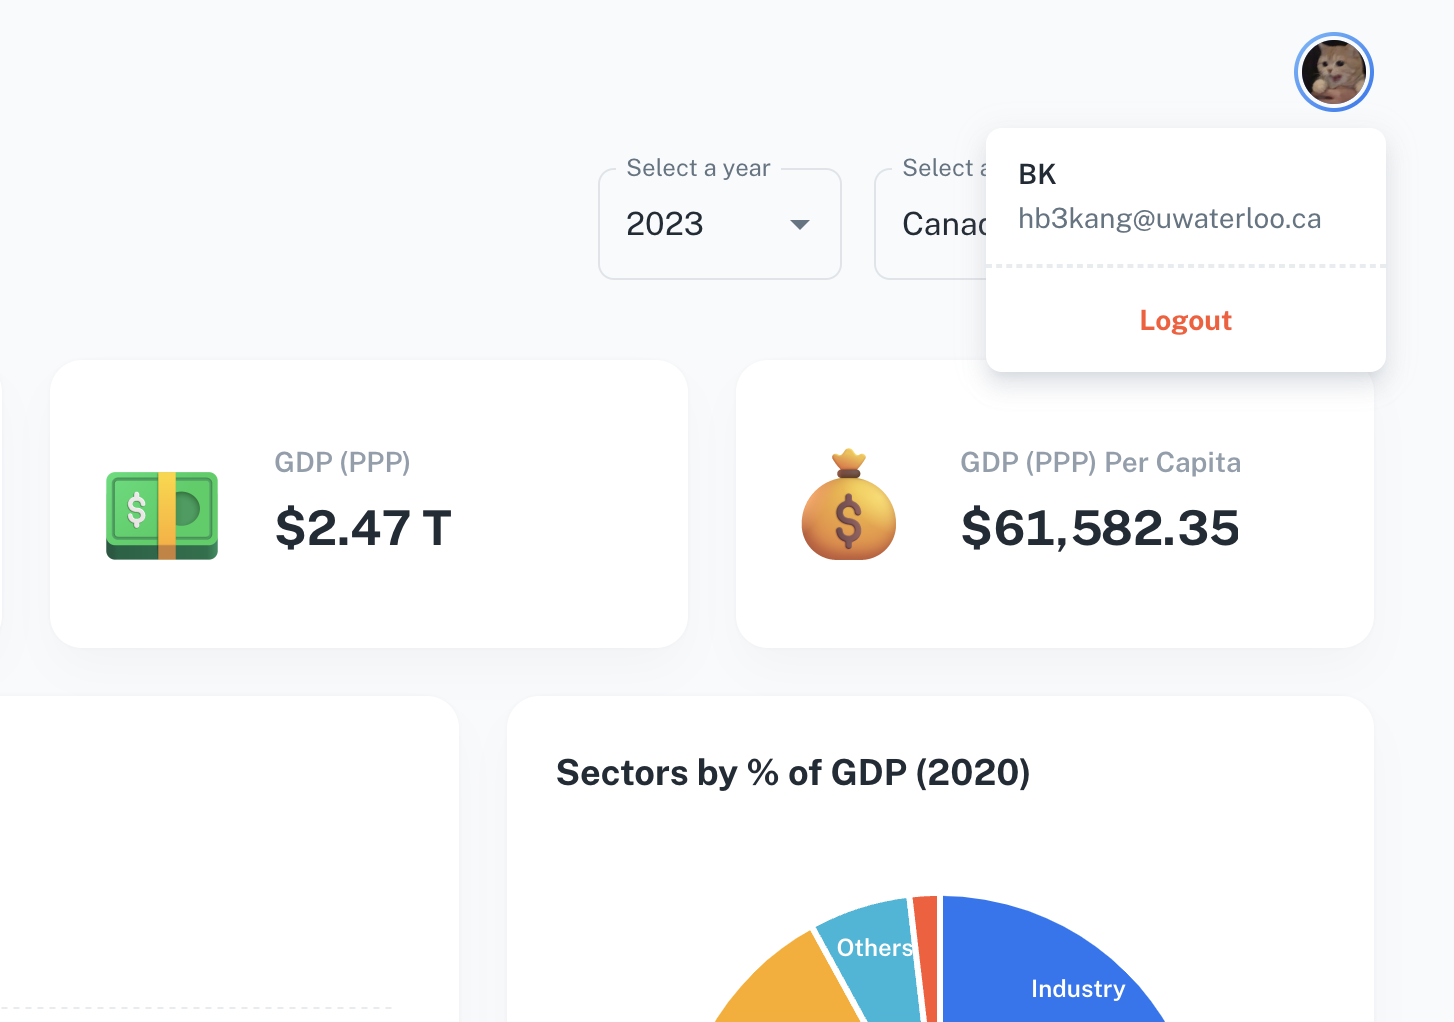
SimplyEconomics features an interactive economics dashboard integrating the World Bank API to make your economic discussions more convenient! With the ability to select the country you are interested in and the year, easily share your economic insights and discuss with other users.
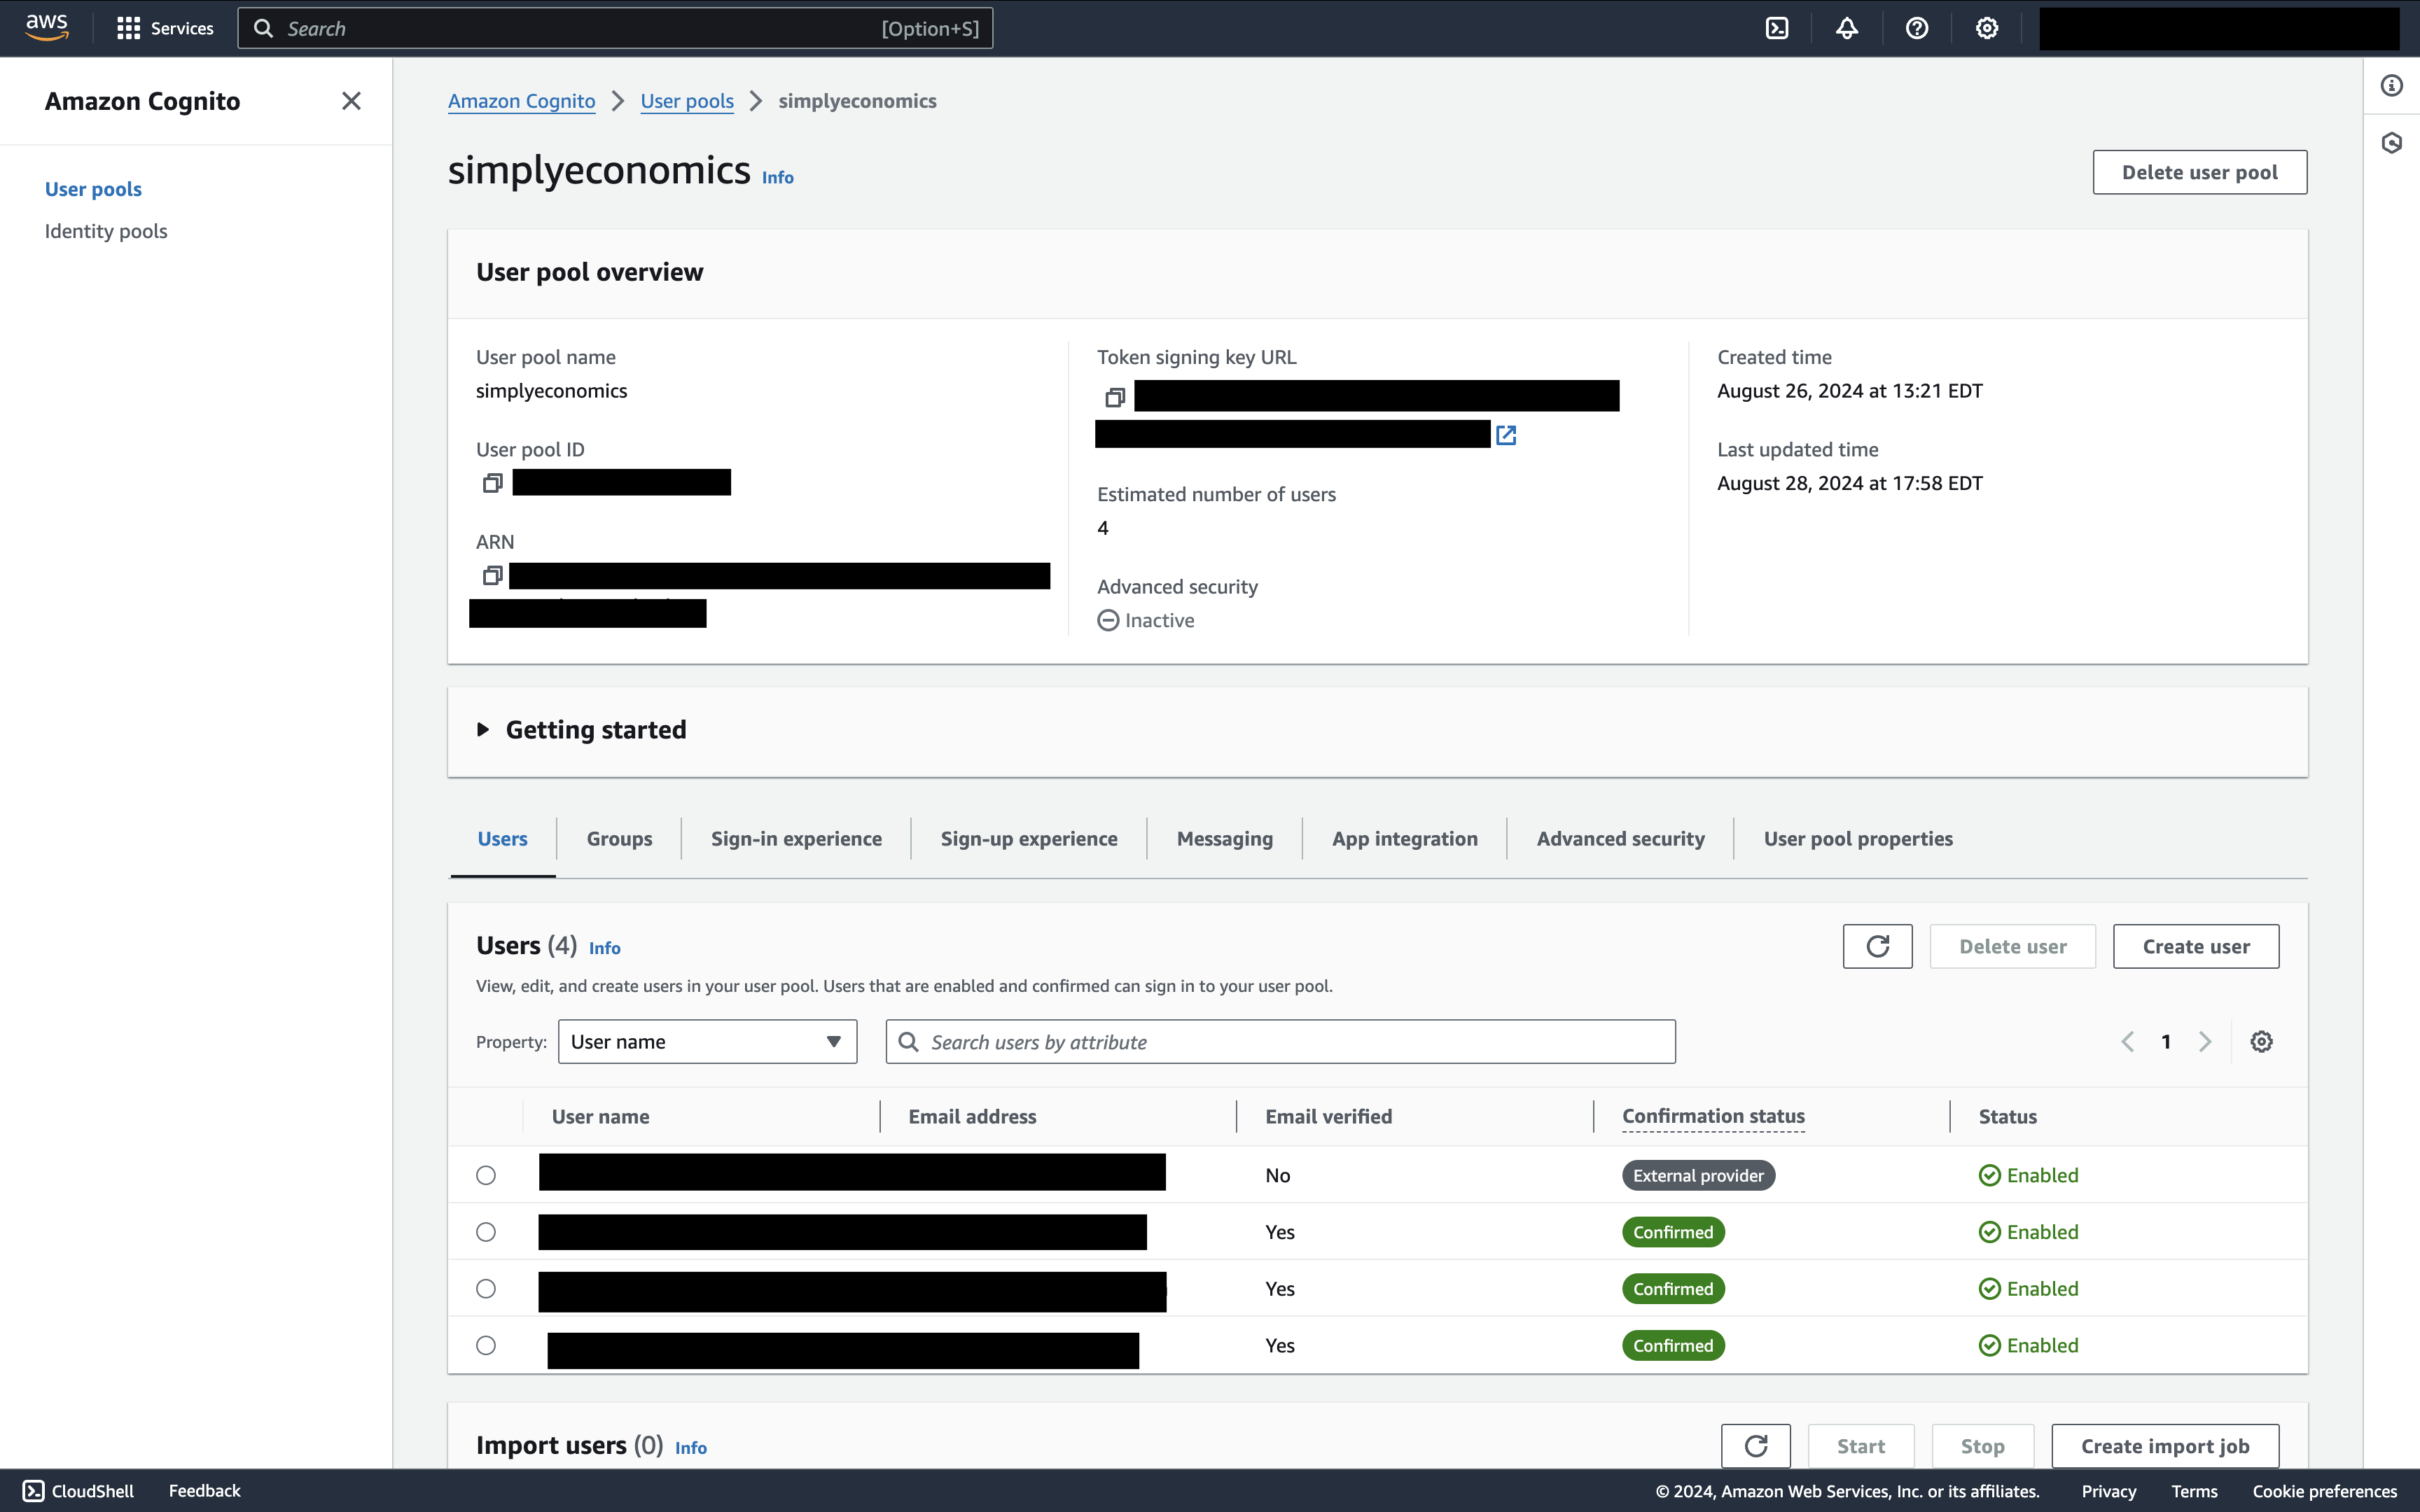
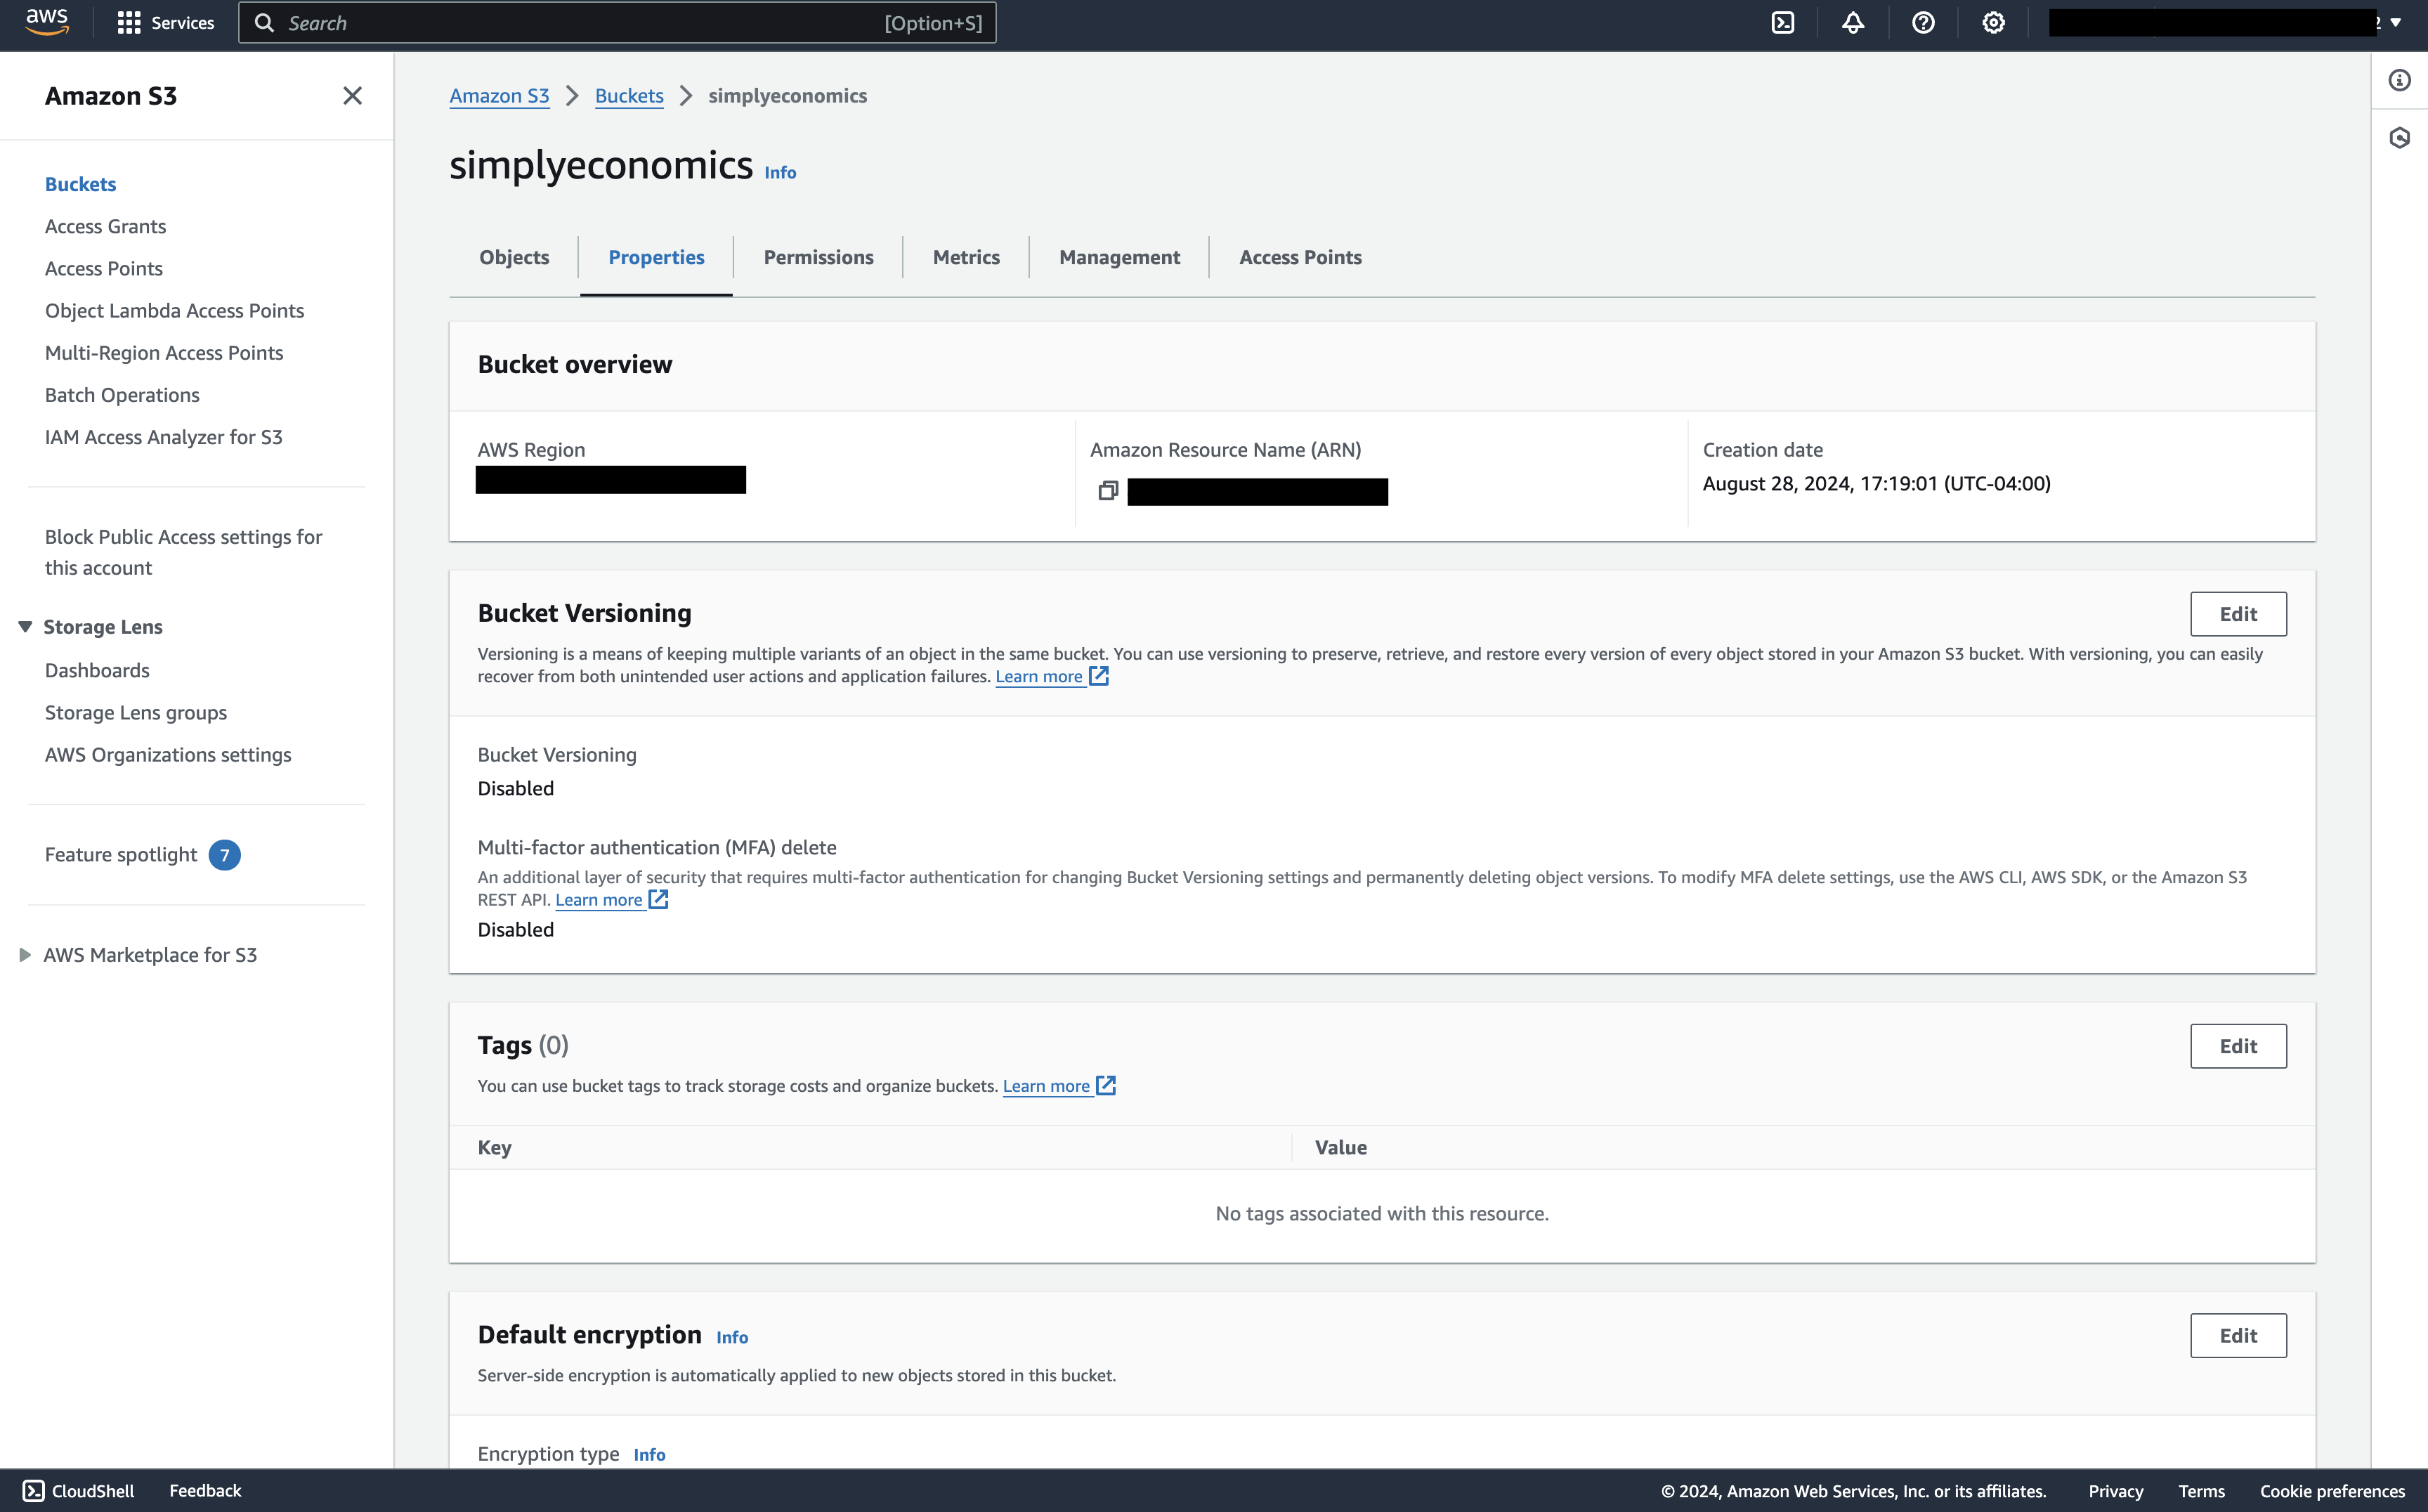
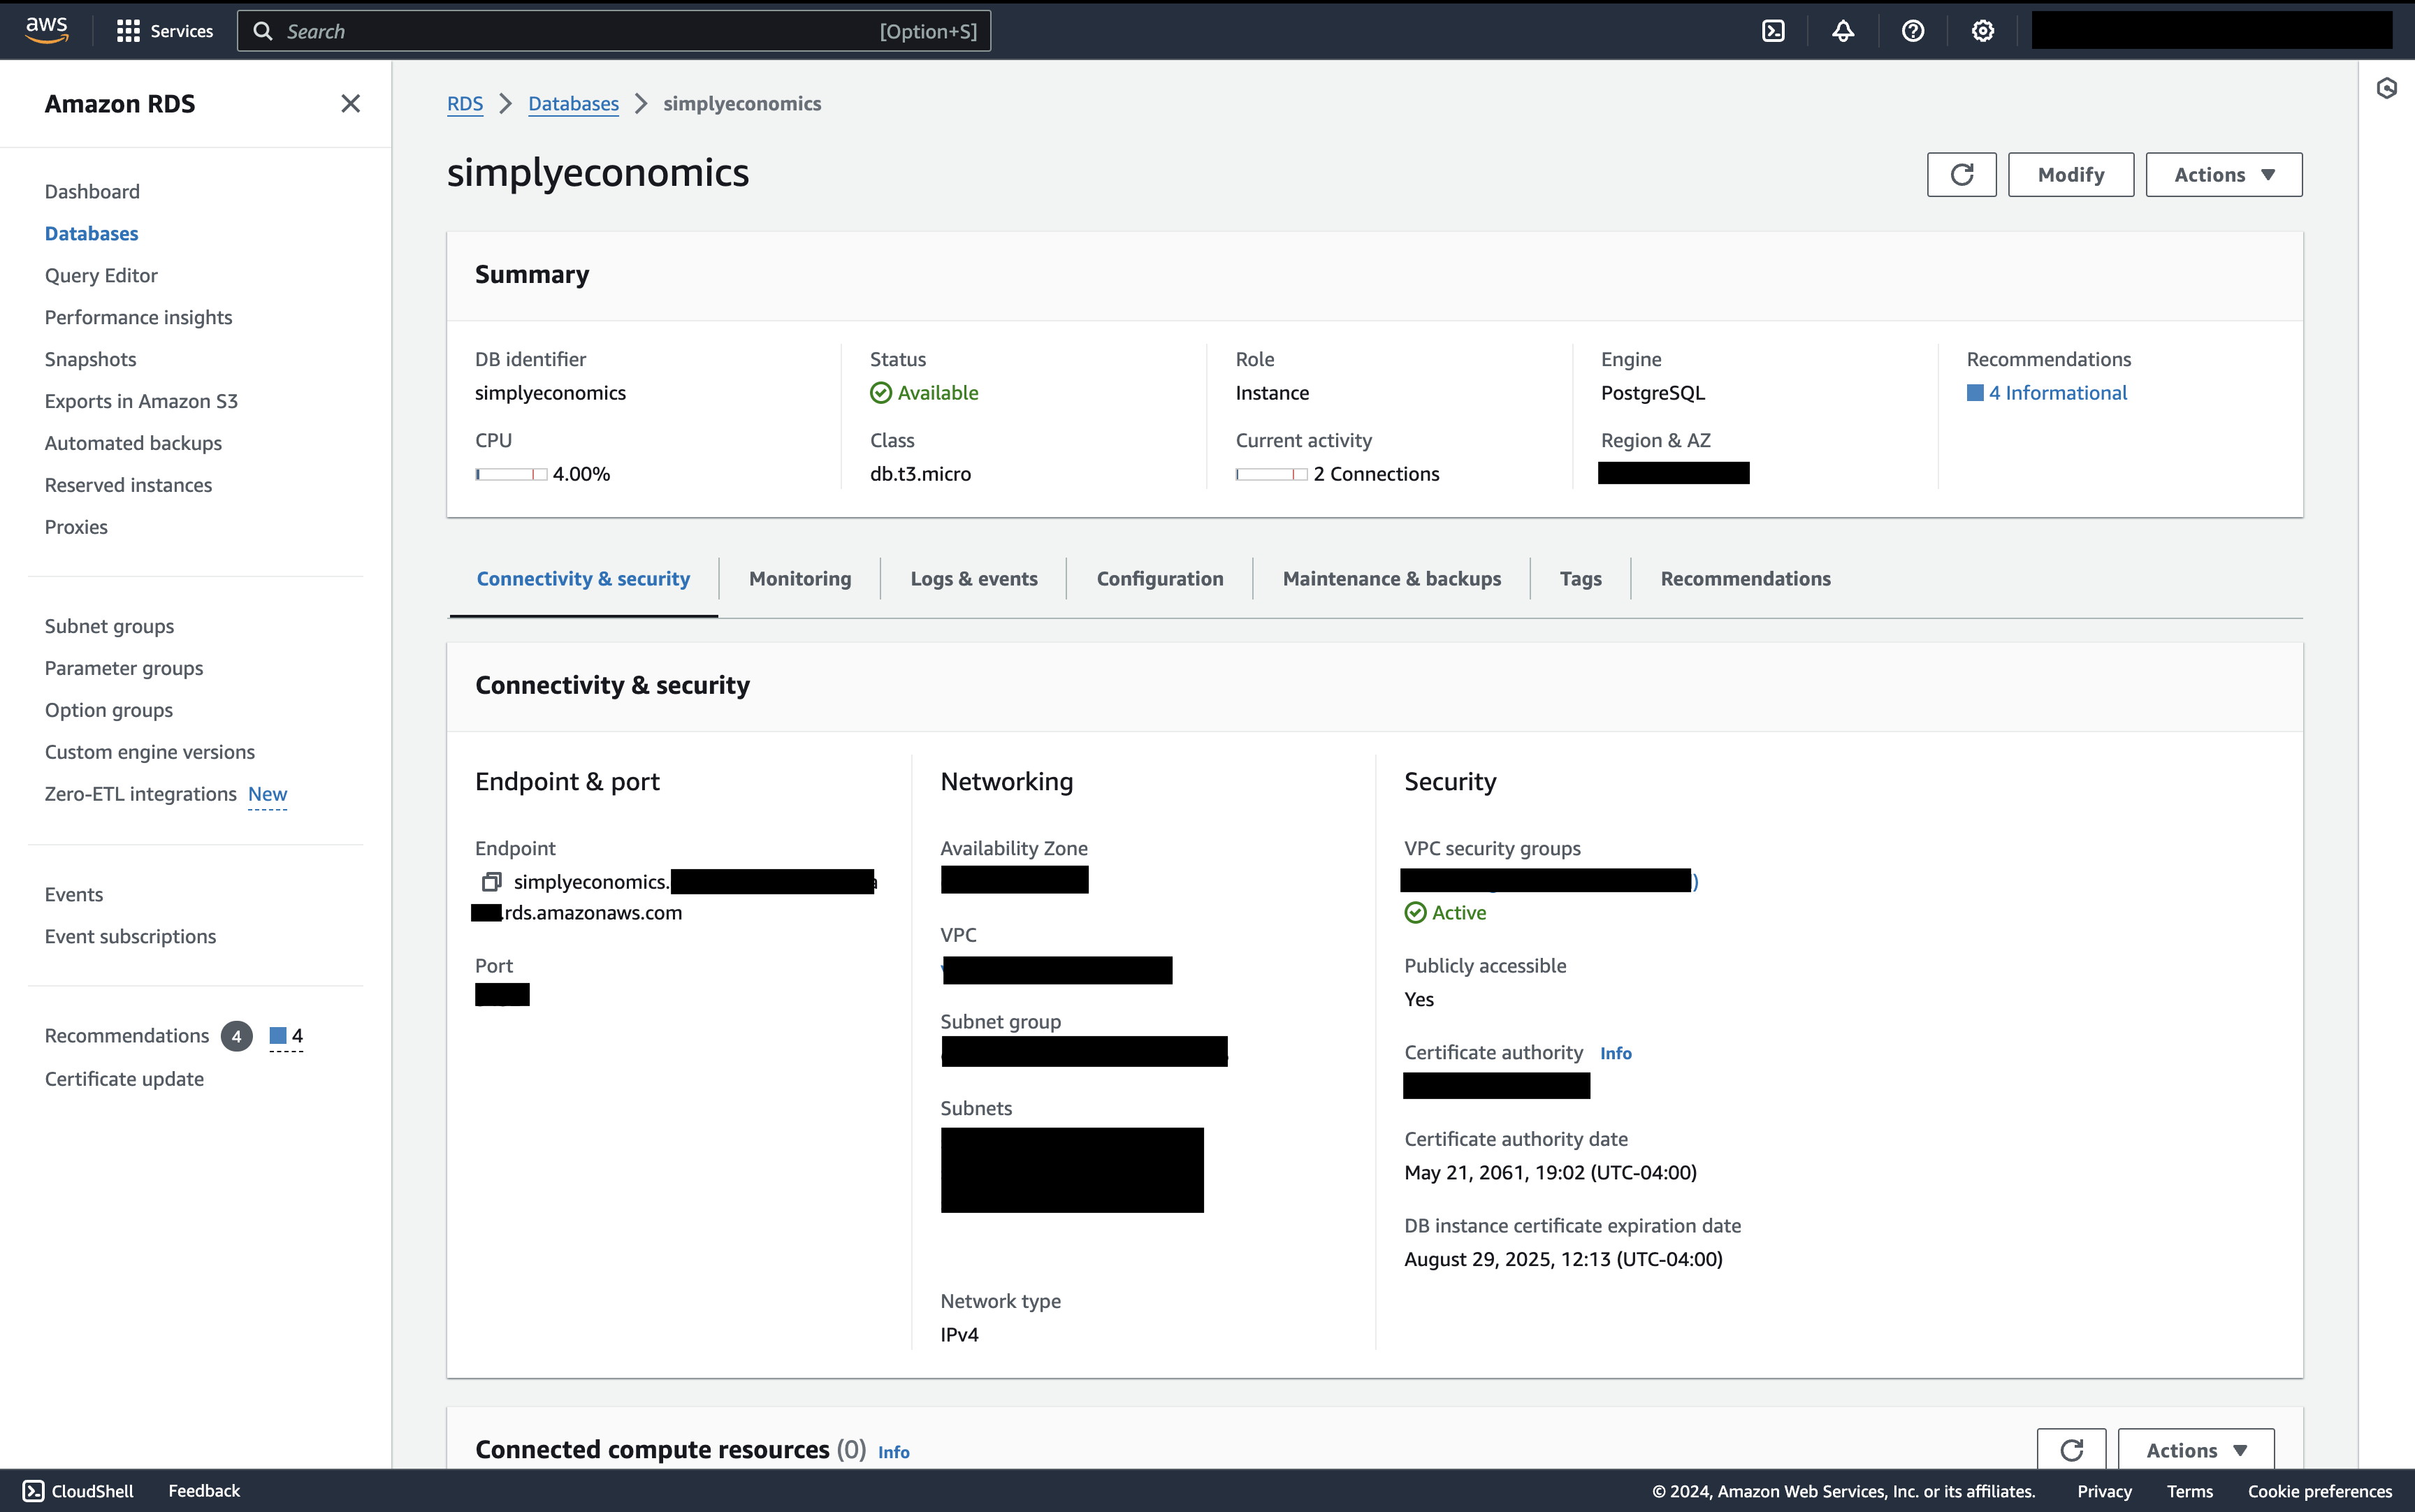
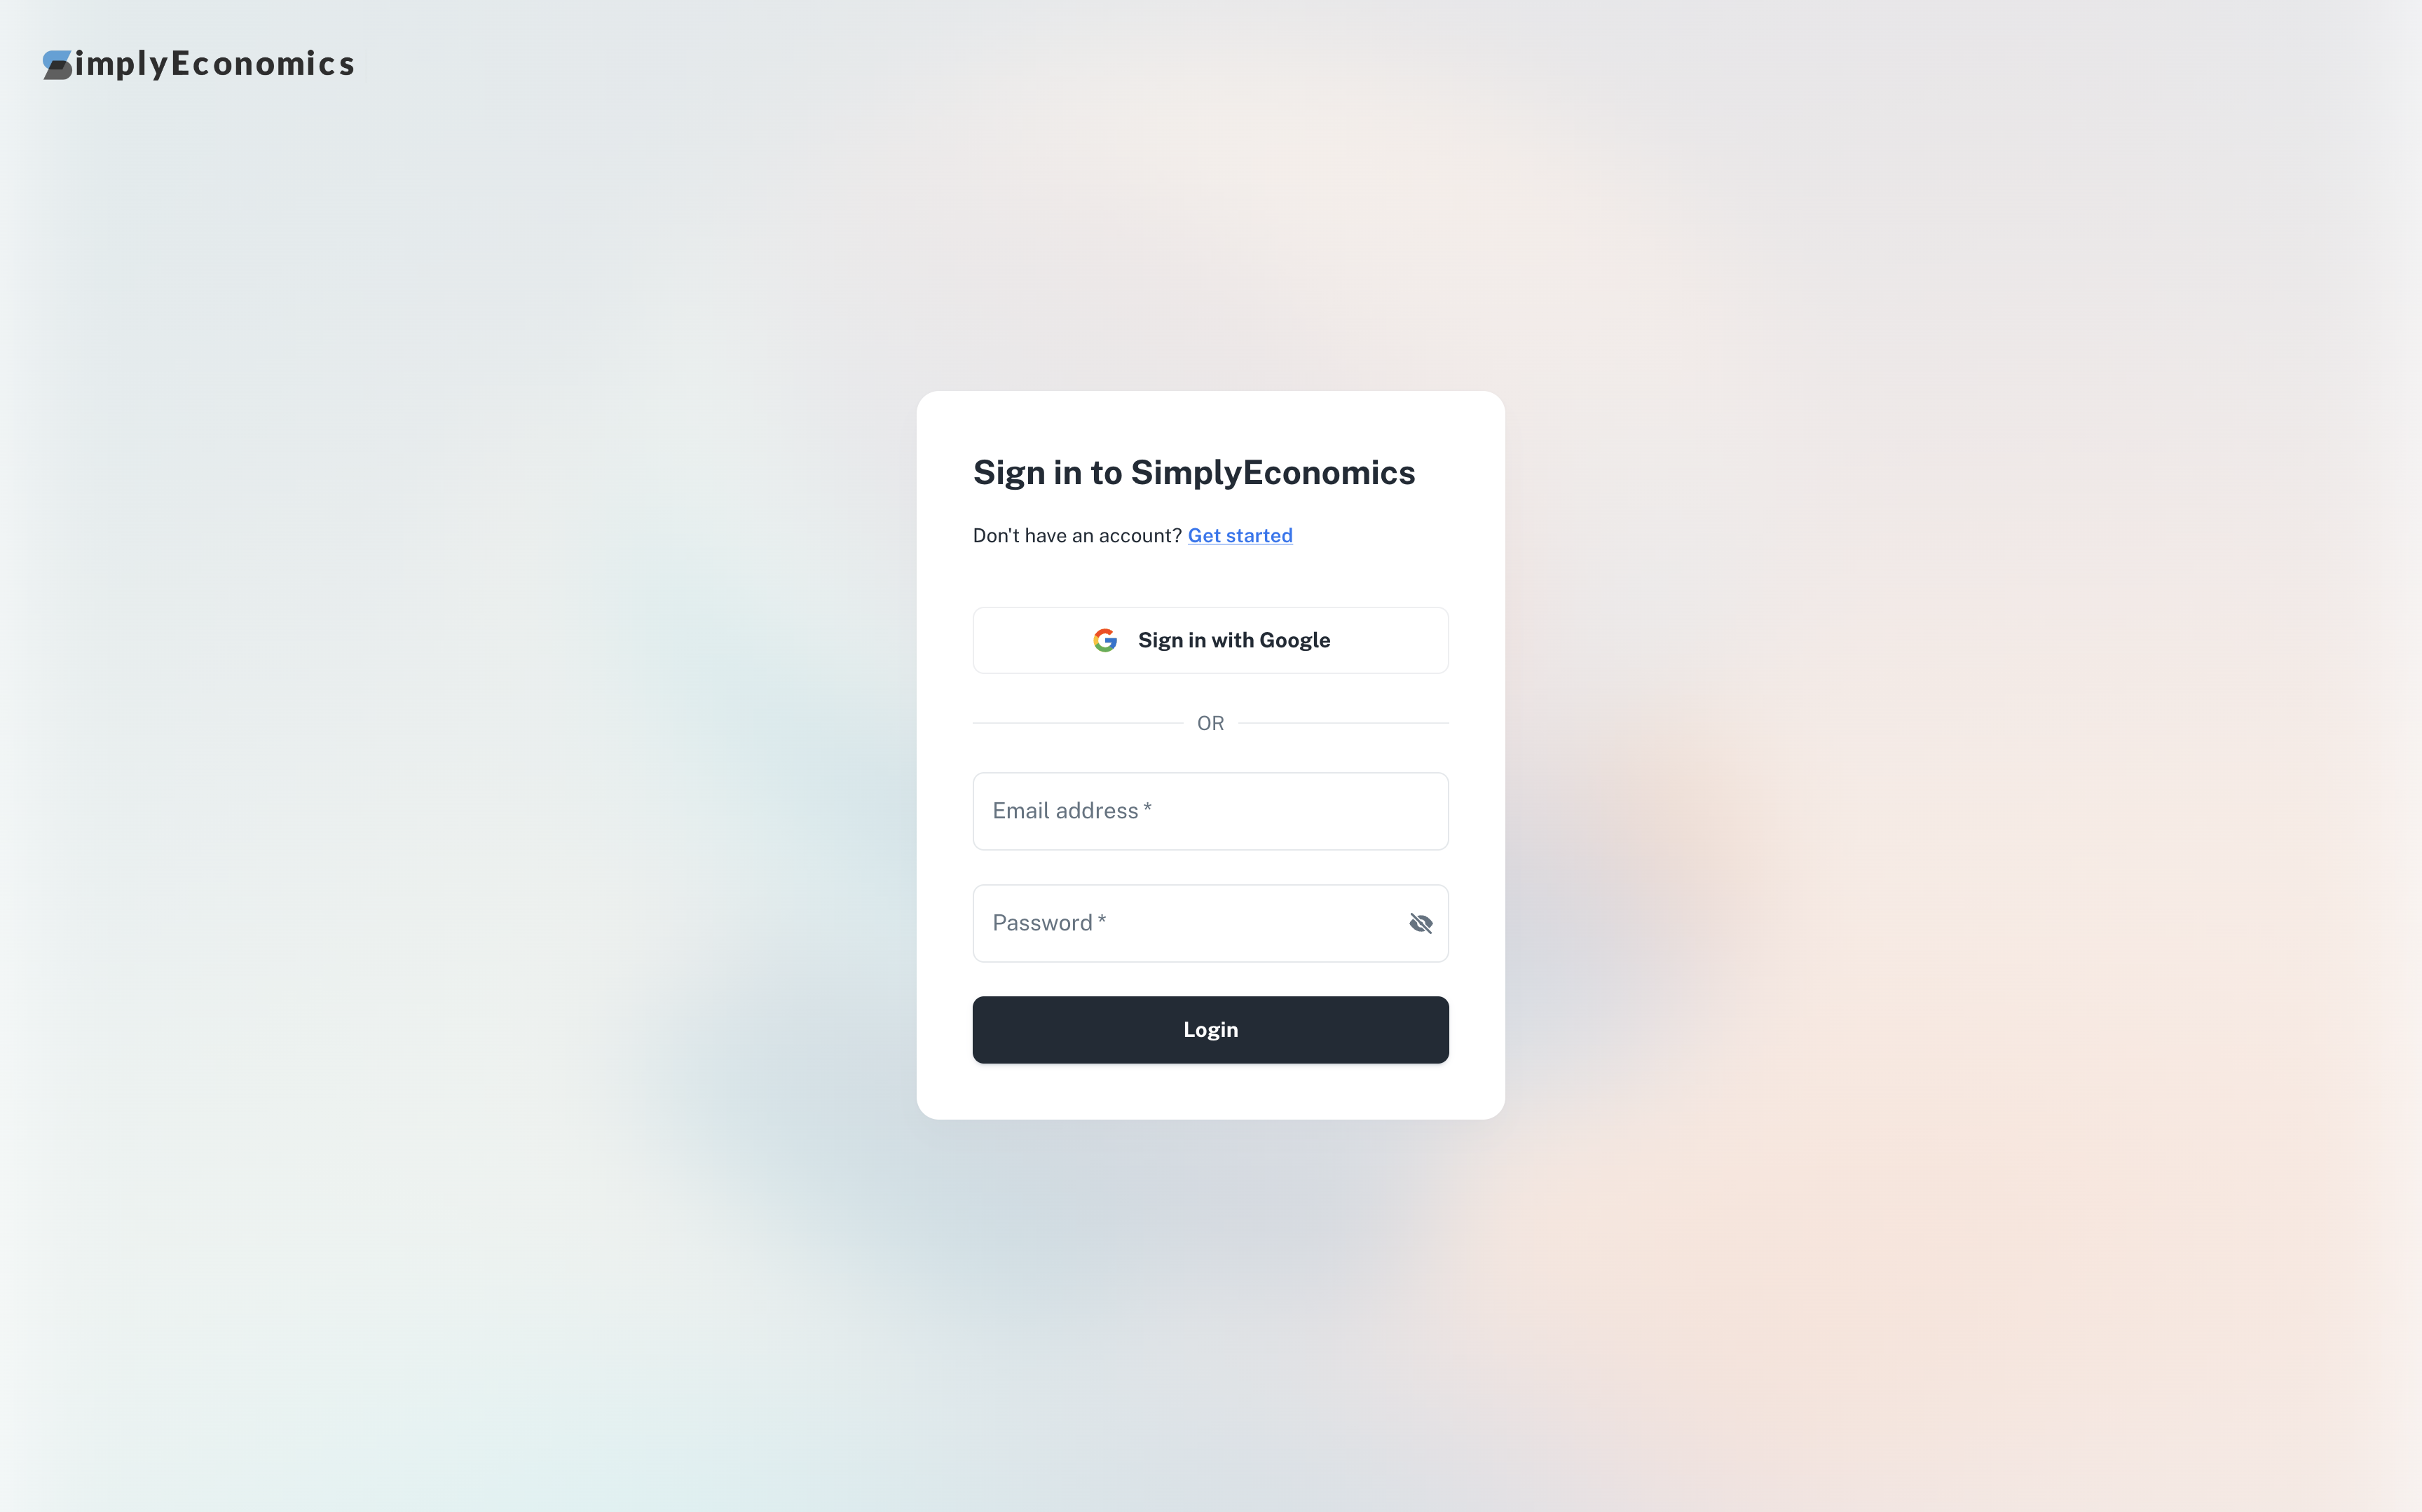
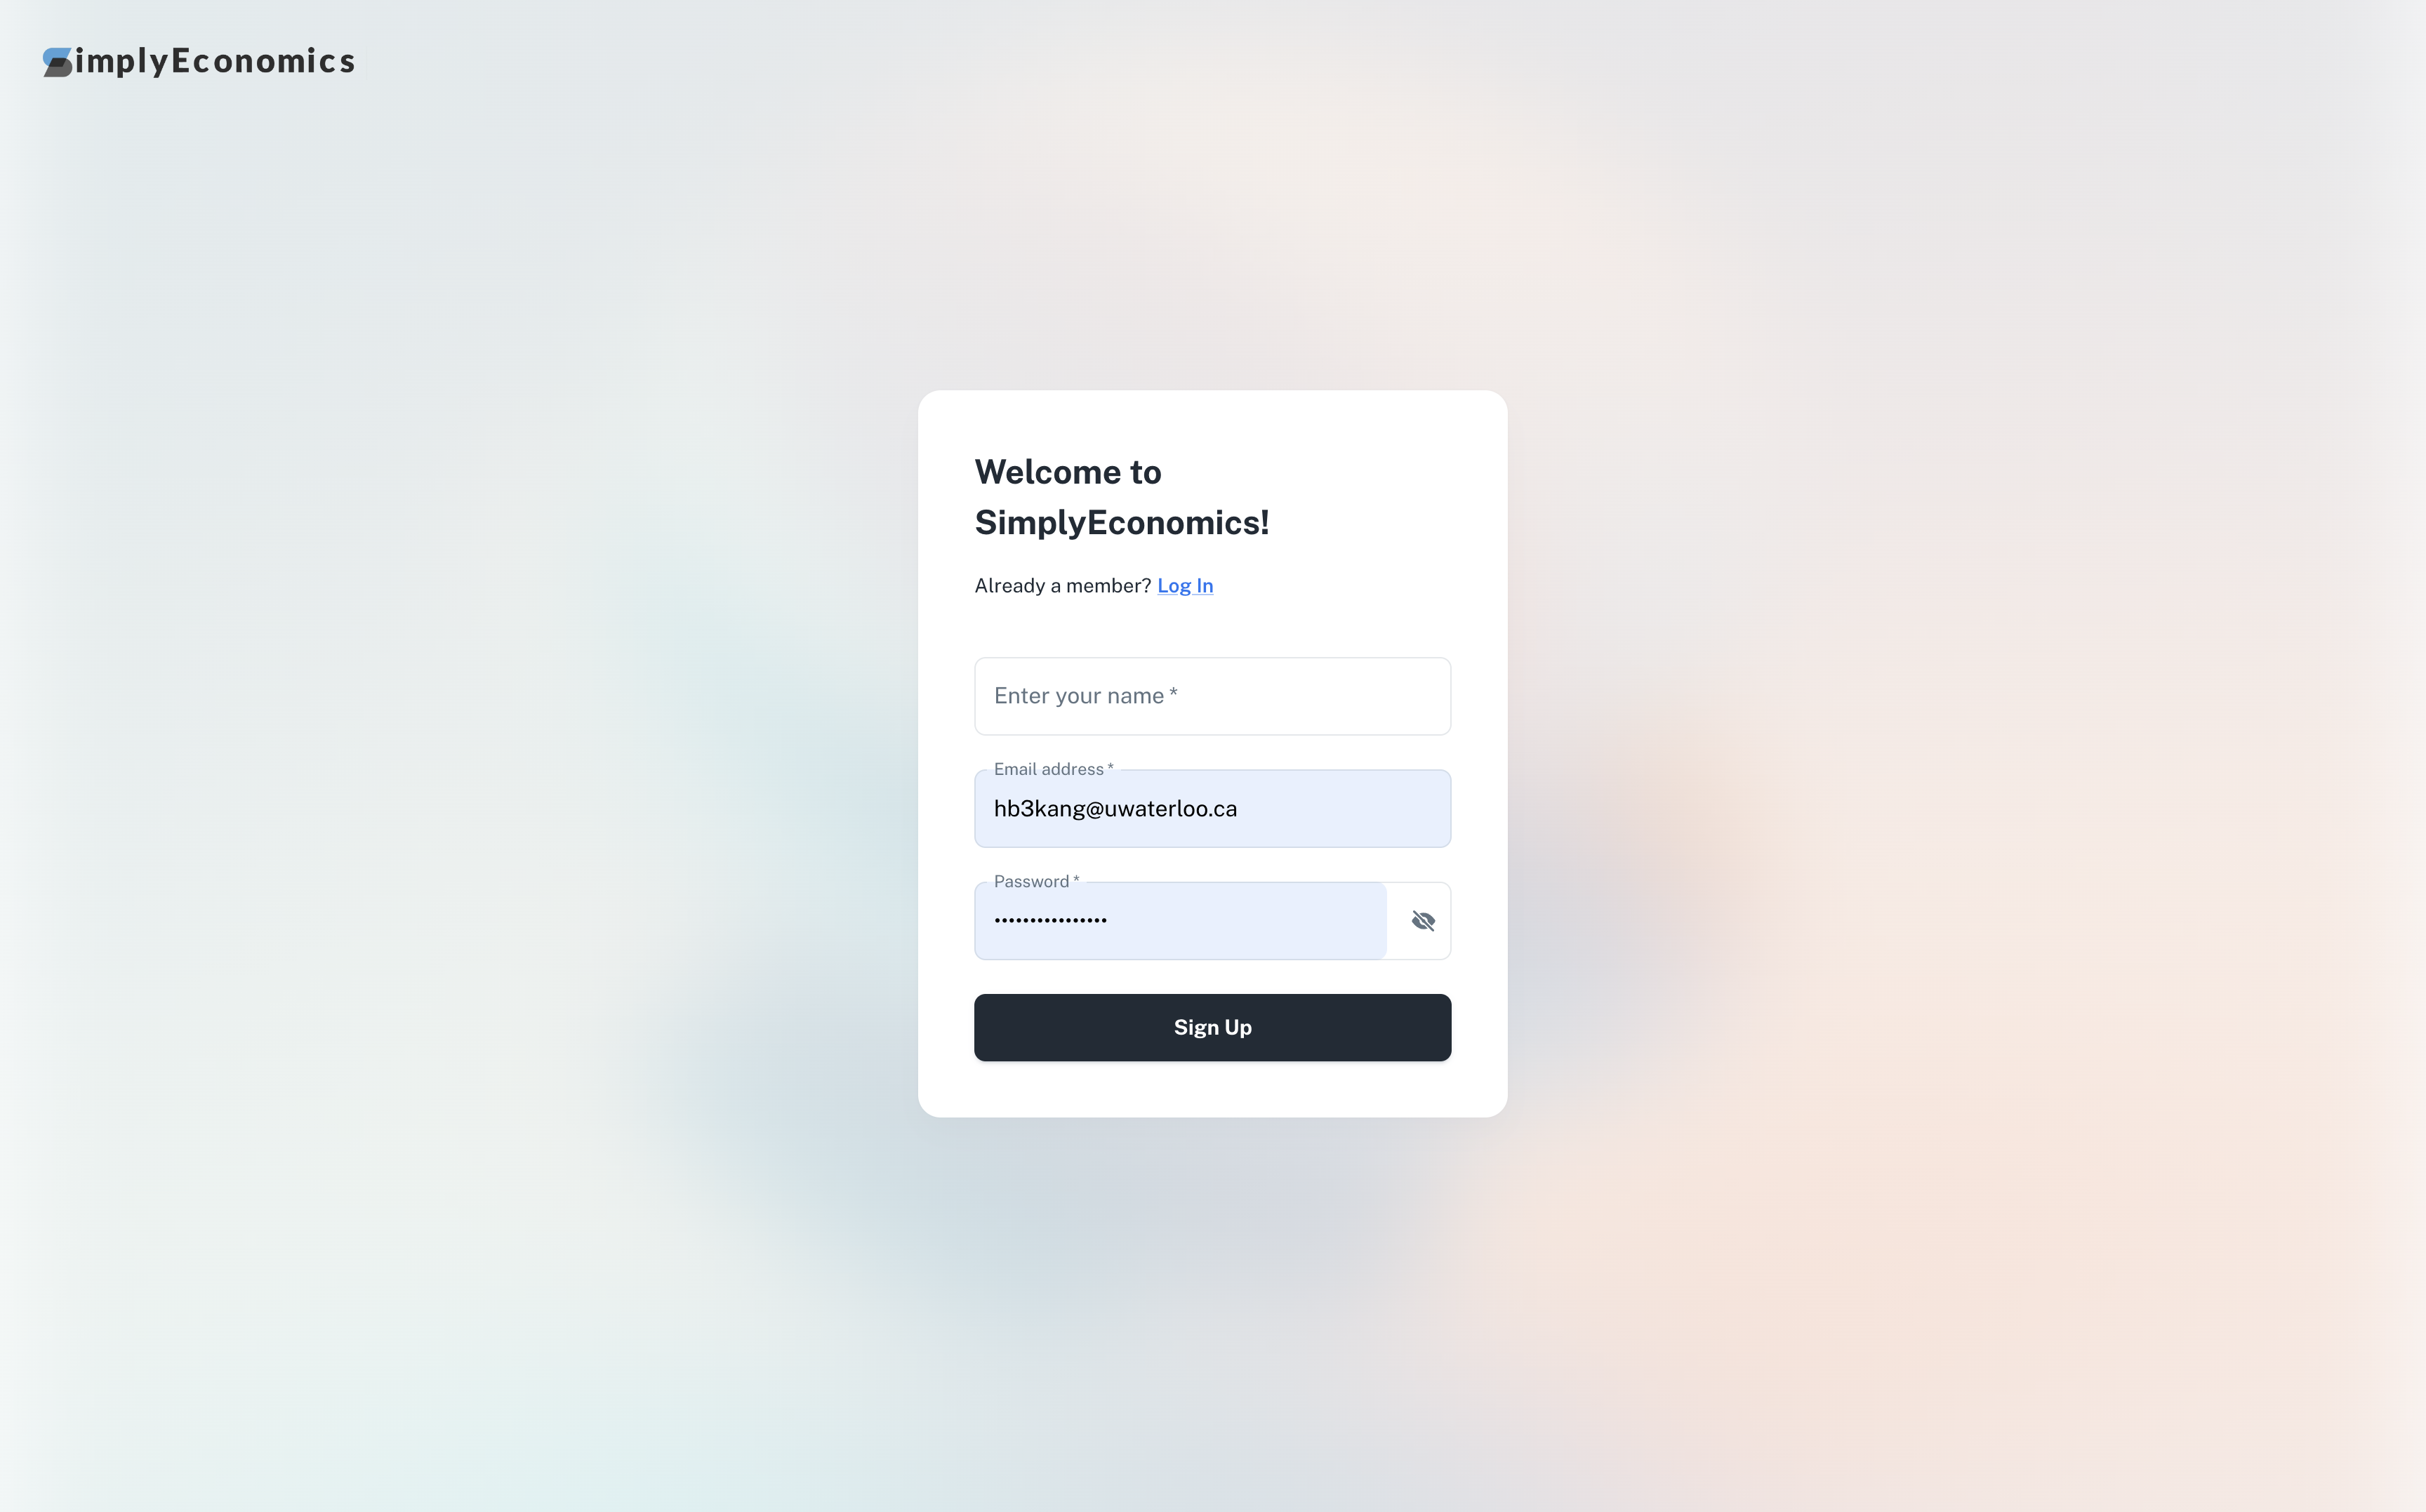
This project makes use of various AWS services. Account logins and signups are powered by Amazon Cognito and AWS Amplify, while the database is set up on a PostgreSQL AWS RDS and the user data is on a S3 bucket.
To set up the project locally and get a local copy up and running:
- npm
npm install npm@latest -g
- Clone the repository:
git clone https://github.com/bkctrl/simplyeconomics.git
- Navigate to the project directory & install the dependencies:
cd simplyeconomics && npm install
- Install the dependencies for the backend API:
cd src/backend && npm install
- Set up the environment variables. More information on each of them are given further below. Your
.envfile should consist of (with similar names):
 VITE_USER_POOL_ID=
 VITE_USER_POOL_CLIENT_ID=
 VITE_COGNITO_DOMAIN=
 VITE_RDS_USER=
 VITE_RDS_HOST=
 VITE_RDS_DATABASE=
 VITE_RDS_PASSWORD=
 VITE_RDS_PORT=
 VITE_RDS_APIURL=
 VITE_BUCKET_NAME=
 VITE_IAM_USER_KEY=
 VITE_IAM_USER_SECRET=
- An AWS account with Administrator access
The World Bank API is used to fetch economic data of selected countries in selected years.
// src/backend/country-data.js
// Utilizing World Back REST API
const APIURL = `https://api.worldbank.org/v2/country`;

const indicators = {
  gdp: 'NY.GDP.MKTP.CD',
  gdpGrowth: 'NY.GDP.MKTP.KD.ZG',
  gdpPerCapita: 'NY.GDP.PCAP.CD',
  gdpPPP: 'NY.GDP.MKTP.PP.CD',
  gdpPPPPerCapita: 'NY.GDP.PCAP.PP.CD',
  population: 'SP.POP.TOTL',
  imports: 'NE.IMP.GNFS.CD',
  exports: 'NE.EXP.GNFS.CD',
  inflation: 'FP.CPI.TOTL.ZG',
  unemployment: 'SL.UEM.TOTL.ZS'
};

// country name codes list
export const countries = [
  { value: 'CA', label: 'Canada' },
  { value: 'US', label: 'United States' },
  { value: 'CN', label: 'China' },
  { value: 'JP', label: 'Japan' },
  { value: 'DE', label: 'Germany' },
...// src/backend/country-data.js
export async function fetchEconomicData(countryCode, year) {
try {
const fetchPromises = Object.entries(indicators).map(async ([key, indicator]) => {
const response = await fetch(`${APIURL}/${countryCode}/indicator/${indicator}?format=json&date=${year}`);
if (!response.ok) {
throw new Error(`Network response was not ok for indicator ${indicator}`);
}
const data = await response.json();
return { key, data: data[1] ? data[1][0] : null };
});
const results = await Promise.all(fetchPromises);
return results;
} catch (error) {
console.error('Fetch error:', error);
return null
}
}// src/sections/countries/page/countries.jsx
<Grid xs={12} sm={6} md={3}>
<AppWidgetSummary
title="Population"
haveDollarSign={false}
havePercentageSign={false}
total={getCountryDataByKey(countryData, "population")}
color="success"
icon={<img alt="icon" src="/assets/icons/glass/ic_glass_people.png" />}
/>
</Grid>
<Grid xs={12} sm={6} md={3}>
<AppWidgetSummary
title="GDP (Nominal)"
isBIG={true}
total={formatGDP(getCountryDataByKey(countryData, "gdp"))}
color="info"
icon={<img alt="icon" src="/assets/icons/glass/ic_glass_fly_money.png" />}
/>
</Grid>
<Grid xs={12} sm={6} md={3}>
<AppWidgetSummary
title="GDP (PPP)"
isBIG={true}
total={formatGDP(getCountryDataByKey(countryData, "gdpPPP"))}
color="warning"
icon={<img alt="icon" src="/assets/icons/glass/ic_glass_banknotes.png" />}
/>
</Grid>Above is the frontend code displaying the first 3 values fetched. Similar code can be found in the source file.
Ensure your IAM account has access to the privileges being accessed below. Save your IAM user key and secret as environment variables.
// .env
VITE_IAM_USER_KEY='YOUR_USER_KEY'
VITE_IAM_USER_SECRET='YOUR_USER_SECRET'2. Take note of the user pool ID, client ID, and Cognito domain. These will be stored as environment variables.
// .env
VITE_USER_POOL_ID='YOUR_USER_POOL_ID'
VITE_USER_POOL_CLIENT_ID='YOUR_USER_POOL_CLIENT_ID'
VITE_COGNITO_DOMAIN='USER_POOL.auth.REGION.amazoncognito.com'// src/lib/cognitoActions.ts
export async function handleSignUp(formData: any) {
try {
const { isSignUpComplete, userId, nextStep } = await signUp({
username: String(formData.email),
password: String(formData.password),
options: {
userAttributes: {
email: String(formData.email),
name: String(formData.name),
picture: "https://simplyeconomics.s3.ca-central-1.amazonaws.com/placeholder-pfp.jpg"
},
autoSignIn: true,
},
});
} catch (error) {
return getErrorMessage(error);
}
window.location.href = "/confirm-email";
}
// ... handleConfirmSignUp, handleSignIn, handleSignOut// src/lib/cognitoActions.ts
export async function handleUpdateUserAttribute(formData: any) {
let attributeKey;
let attributeValue;
if (formData.new_pfp) {
attributeKey = "picture";
attributeValue = formData.new_pfp;
} else if (formData.name) {
attributeKey = "name";
attributeValue = formData.name;
}
try {
const output = await updateUserAttribute({
userAttribute: {
attributeKey: String(attributeKey),
value: String(attributeValue),
},
});
return handleUpdateUserAttributeNextSteps(output);
} catch (error) {
console.log(error);
return "error";
}
}// src/sections/signup/signup-view.jsx
import { handleSignUp } from "src/lib/cognitoActions";
export default function SignupView() {
const [formData, setFormData] = useState({
name: '',
email: '',
password: '',
});
const [errorMessage, setErrorMessage] = useState('');
const [isSubmitting, setIsSubmitting] = useState(false);
const [showPassword, setShowPassword] = useState(false);
...
const handleInputChange = (e) => {
setFormData({
...formData,
[e.target.name]: e.target.value,
});
};
const handleSubmit = async (e) => {
console.log("handleSubmit triggered");
e.preventDefault();
setIsSubmitting(true);
setErrorMessage('');
try {
await handleSignUp(formData);
} catch (error) {
setErrorMessage(error.message);
} finally {
setIsSubmitting(false);
}
};
...
const renderForm = (
<>
<Stack spacing={3}>
<TextField name="name" label="Enter your name" value={formData.name}
onChange={handleInputChange}
required />
<TextField name="email" label="Email address" value={formData.email}
onChange={handleInputChange}
required />
<TextField
name="password"
label="Password"
type={showPassword ? 'text' : 'password'}
value={formData.password}
onChange={handleInputChange}
required
InputProps={{
endAdornment: (
<InputAdornment position="end">
<IconButton onClick={() => setShowPassword(!showPassword)} edge="end">
<Iconify icon={showPassword ? 'eva:eye-fill' : 'eva:eye-off-fill'} />
</IconButton>
</InputAdornment>
),
}}
/>
</Stack>
<br/>
<SignUpButton isSubmitting={isSubmitting} handleSubmit={handleSubmit} />
</>
);We will store user profile pictures here.
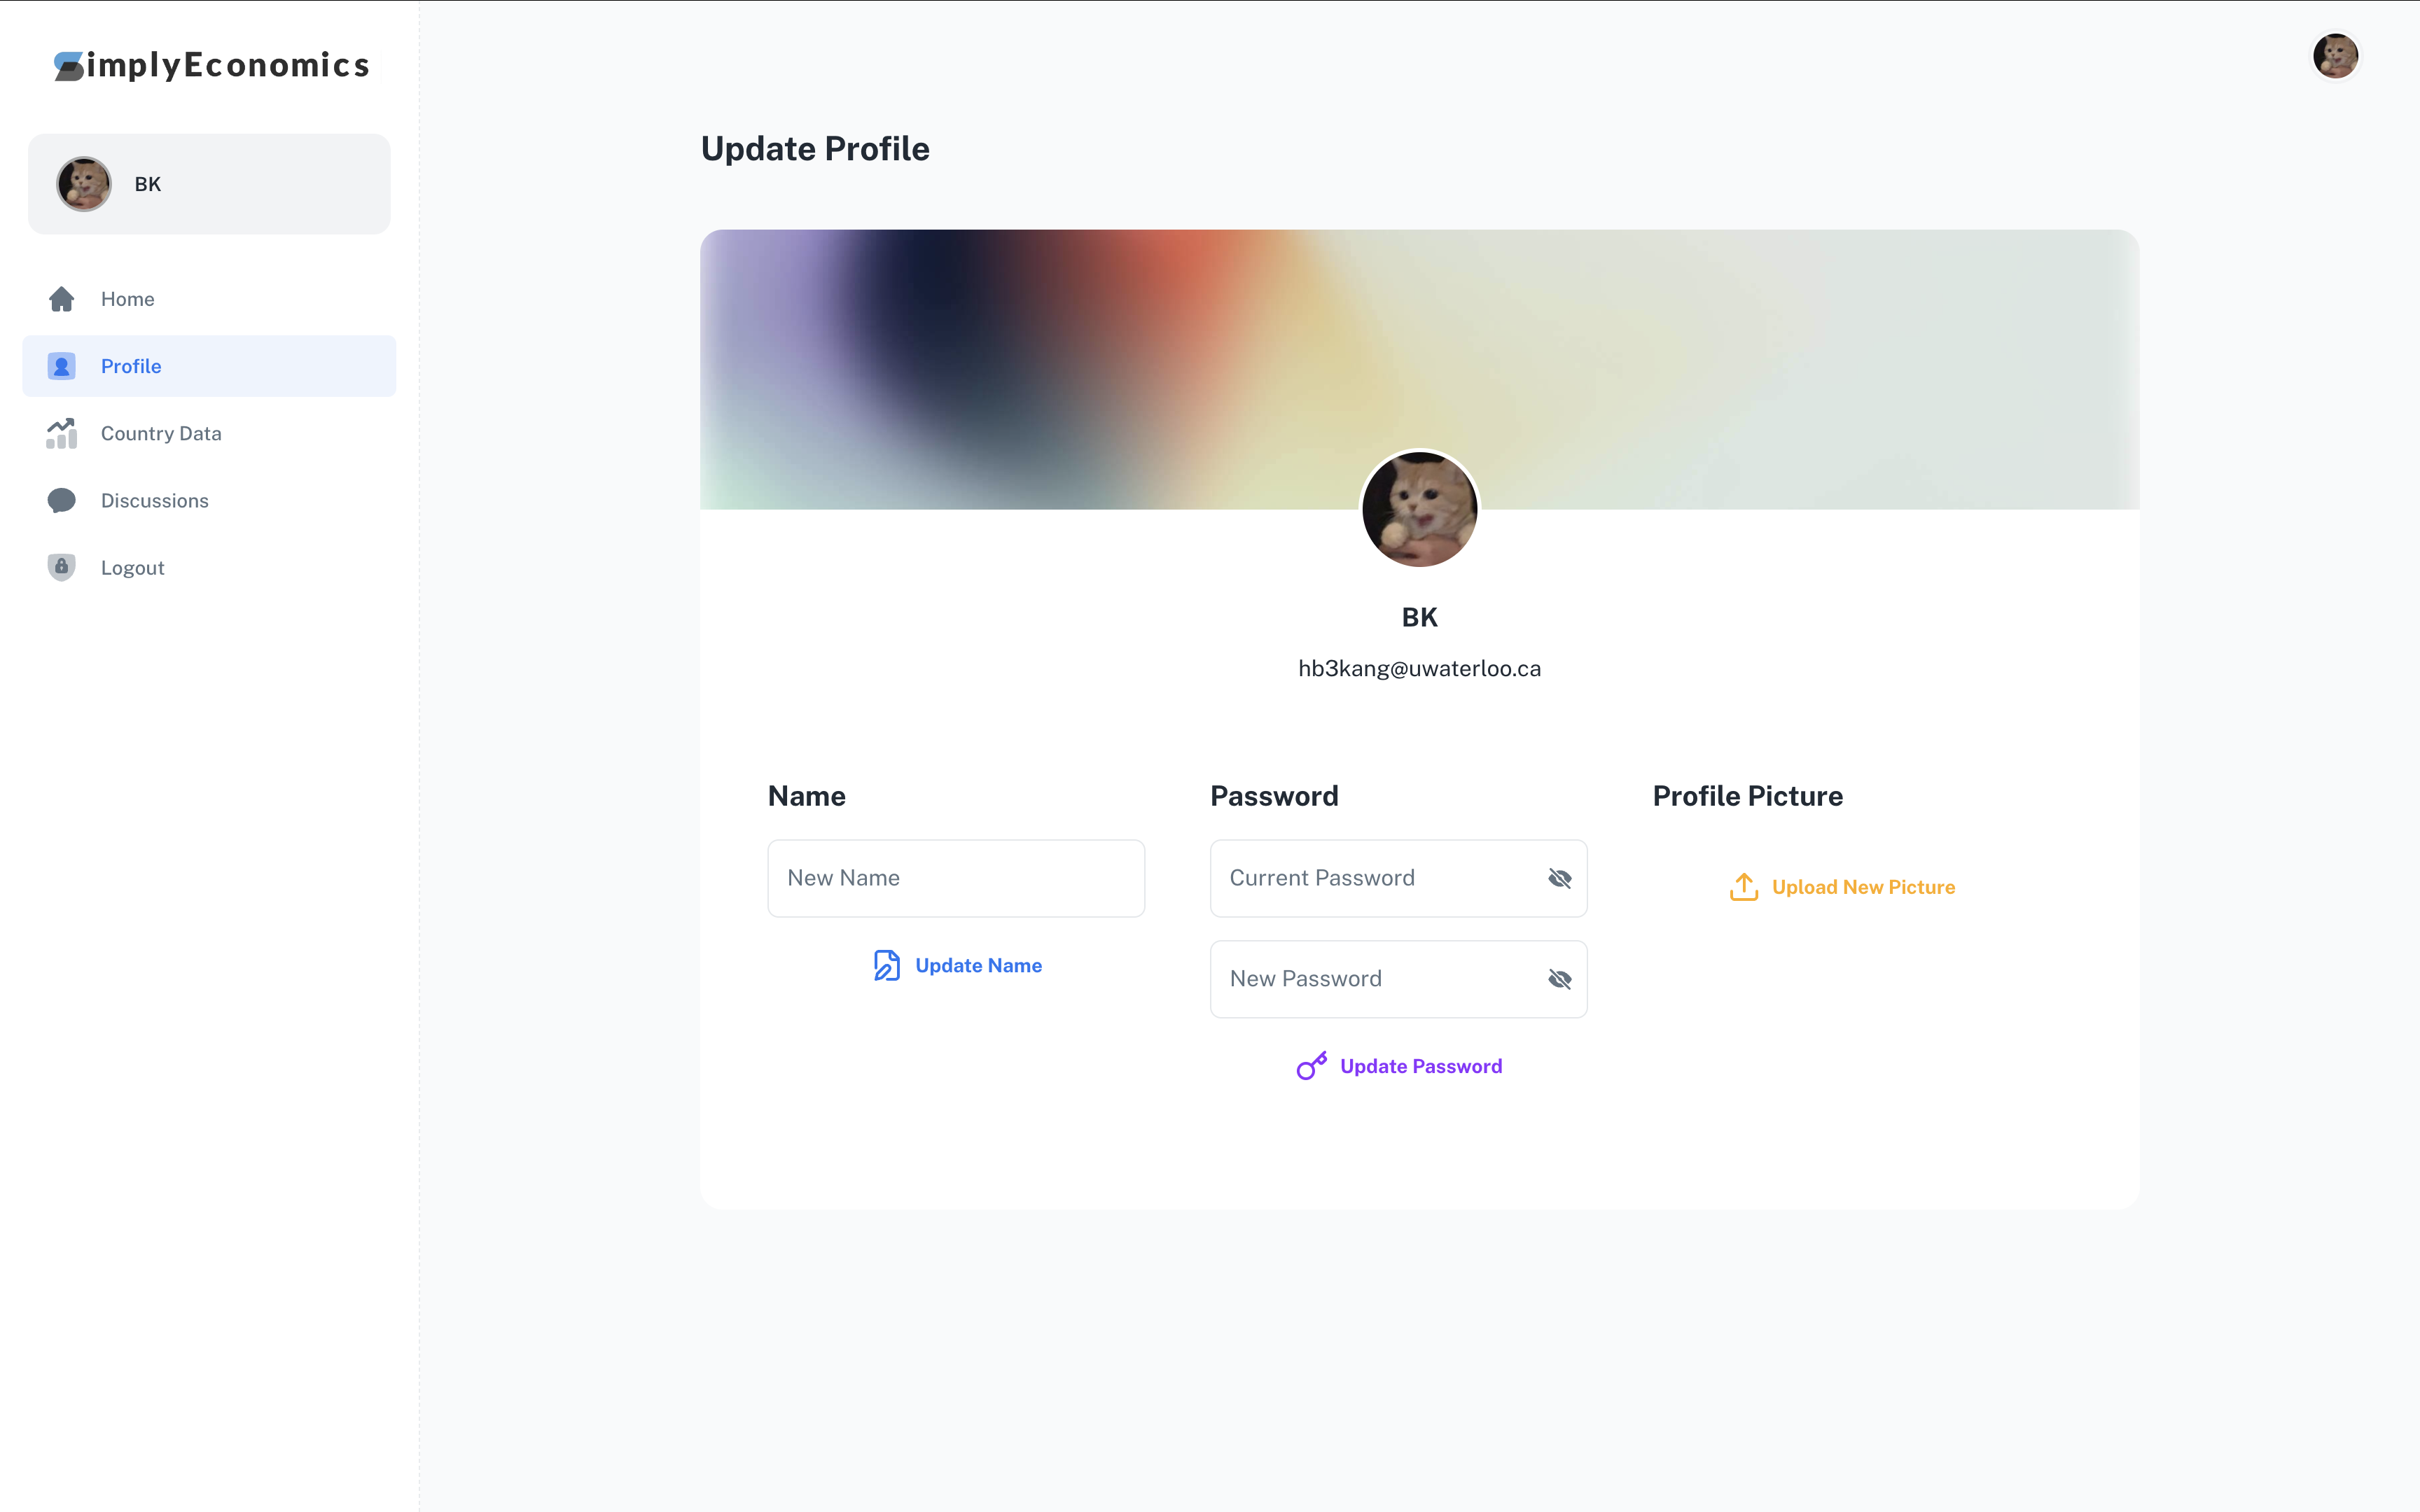
This will allow the user to update their profile picture by uploading a local image to our S3 bucket created above.
// src/lib/cognitoActions.ts
const s3Client = new S3Client({
  region: "ca-central-1",
  credentials: {
    accessKeyId: `${import.meta.env.VITE_IAM_USER_KEY}`,
    secretAccessKey: `${import.meta.env.VITE_IAM_USER_SECRET}`,
  },
});

export async function uploadToS3(file) {
  const params = {
    Bucket: "simplyeconomics",
    Key: `${file.name}`,
    Body: file,
    ContentType: file.type,
    ACL: "public-read" as const,
  };

  try {
    const command = new PutObjectCommand(params);
    const data = await s3Client.send(command);
    console.log("Successfully uploaded to S3:", data);
    return `https://${params.Bucket}.s3.${s3Client.config.region}.amazonaws.com/${params.Key}`;
  } catch (err) {
    console.error("Error uploading to S3:", err);
    throw err;
  }
}// src/sections/user/view/user-view.jsx
import { handleUpdateUserAttribute, handleUpdatePassword, uploadToS3 } from "src/lib/cognitoActions";
export default function UserPage() {
...
const handleProfilePictureUpload = async (file) => {
console.log("handleProfilePictureUpload Triggered")
setIsSubmitting(true);
setErrorMessage('');
try {
const profilePictureUrl = await uploadToS3(file);
await handleUpdateUserAttribute({
new_pfp: profilePictureUrl,
});
window.location.reload();
} catch (error) {
setErrorMessage(error.message);
} finally {
setIsSubmitting(false);
}
};
...
return (
<Container maxWidth="xl">
<link rel="stylesheet" href="https://cdn.jsdelivr.net/npm/[email protected]/dist/aos.css" />
<Stack direction="row" alignItems="center" justifyContent="space-between" mb={5}>
<Typography variant="h4" style={{paddingLeft: "10rem"}}>Update Profile</Typography>
</Stack>
<Grid xs={16} sm={8} md={4}>
<Typography variant="h5" style={{paddingBottom: "1rem"}}>Profile Picture</Typography>
<div style={{paddingTop: "1rem"}}></div>
<input
type="file"
name="profilePicture"
accept="image/*"
ref={fileInputRef}
style={{ display: 'none' }}
onChange={handleInputChange}
/>
<Button color="warning" size="medium" variant="text" style={{ width: "90%" }}
onClick={triggerFileInput} loading={isSubmitting} disabled={isSubmitting}>
<UploadIcon className="w-3 h-3"/>
<span style={{paddingLeft: "0.5rem"}}>Upload New Picture</span>
</Button>
</Grid>
...// src/lib/cognitoActions.ts
export async function handleUpdateUserAttribute(formData: any) {
let attributeKey;
let attributeValue;
if (formData.new_pfp) {
attributeKey = "picture";
attributeValue = formData.new_pfp;
} else if (formData.name) {
attributeKey = "name";
attributeValue = formData.name;
}
try {
const output = await updateUserAttribute({
userAttribute: {
attributeKey: String(attributeKey),
value: String(attributeValue),
},
});
return handleUpdateUserAttributeNextSteps(output);
} catch (error) {
console.log(error);
return "error";
}
}// src/sections/user/view/user-view.jsx
import { handleUpdateUserAttribute, handleUpdatePassword, uploadToS3 } from "src/lib/cognitoActions";
export default function UserPage() {
...
const handleUpdateAttribute = async (e) => {
console.log("handleUpdateAttribute triggered");
e.preventDefault();
setIsSubmitting(true);
setErrorMessage('');
try {
await handleUpdateUserAttribute(formData);
} catch (error) {
setErrorMessage(error.message);
} finally {
setIsSubmitting(false);
window.location.reload();
}
};
...
return (
<Grid container spacing={2}>
<Grid xs={16} sm={8} md={4}>
<Typography variant="h5" style={{paddingBottom: "1rem"}}>Name</Typography>
<TextField name="name" label="New Name" style={{width: "90%"}}
value={formData.name} onChange={handleInputChange}/>
<div style={{paddingTop: "1rem"}}></div>
<Button color="primary" size="medium" variant="text" style={{ width: "90%" }}
loading={isSubmitting} disabled={isSubmitting} onClick={handleUpdateAttribute} >
<FilePenIcon className="w-3 h-3" /> <span style={{paddingLeft: "0.5rem"}}>Update Name </span>
</Button>
</Grid>
...2. Note your username, RDS database host endpoint, database name, password, and port number, storing them in .env
// .env
VITE_RDS_USER='YOUR_USERNAME'
VITE_RDS_HOST='DATABASE.ID.REGION.rds.amazonaws.com'
VITE_RDS_DATABASE='DB_NAME'
VITE_RDS_PASSWORD='PASSWORD'
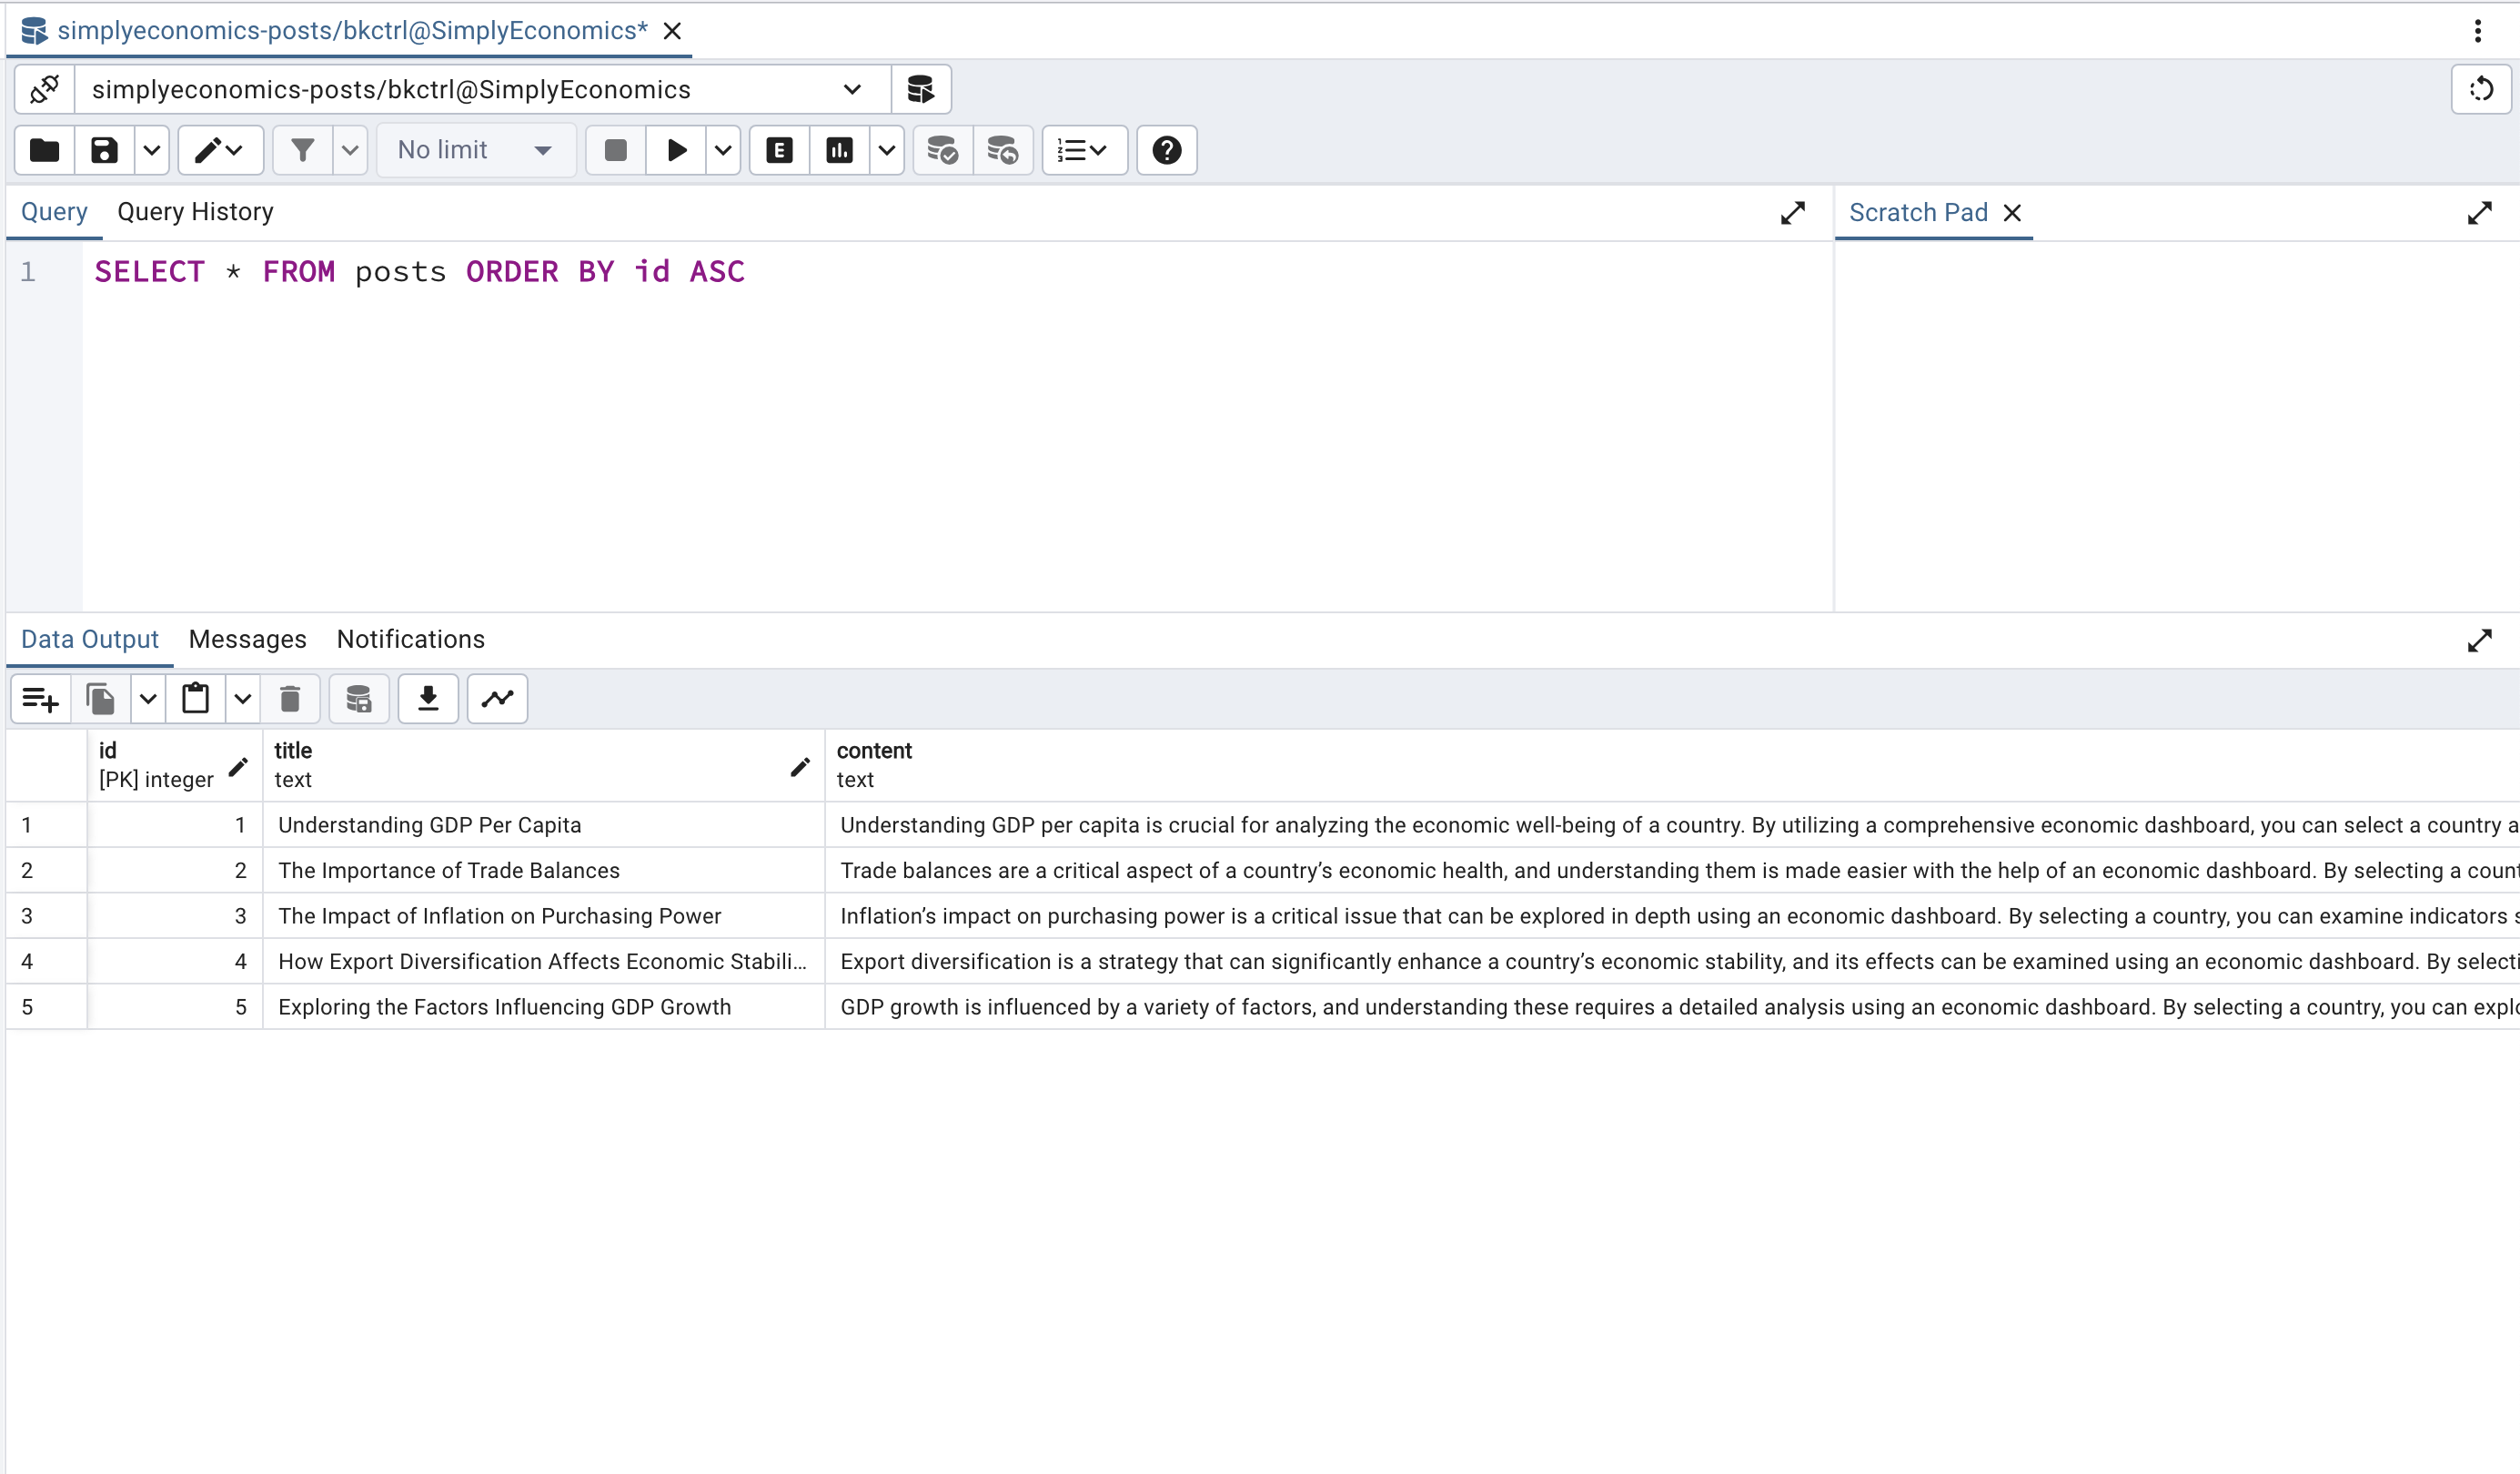
VITE_RDS_PORT=PORT_NUM-- src/backend/create-posts-db.sql
CREATE TABLE posts (
id SERIAL PRIMARY KEY,
title TEXT NOT NULL,
content TEXT NOT NULL,
created_at TIMESTAMP DEFAULT CURRENT_TIMESTAMP,
author_name VARCHAR(255) NOT NULL,
author_user_id VARCHAR(255) NOT NULL,
author_avatar_url TEXT
);
CREATE TABLE comments (
id SERIAL PRIMARY KEY,
post_id INT REFERENCES posts(id) ON DELETE CASCADE,
content TEXT NOT NULL,
created_at TIMESTAMP DEFAULT CURRENT_TIMESTAMP,
author_name VARCHAR(255) NOT NULL,
author_user_id VARCHAR(255) NOT NULL,
author_avatar_url TEXT
);// src/backend/rds-api.js
const client = new pg.Client({
user: import.meta.env.VITE_RDS_USER,
host: import.meta.env.VITE_RDS_HOST,
database: import.meta.env.VITE_RDS_DATABASE,
password: import.meta.env.VITE_RDS_PASSWORD,
port: import.meta.env.VITE_RDS_PORT,
ssl: {
rejectUnauthorized: false,
},
});
await client.connect();
// Fetch all posts
app.get('/posts', async (req, res) => {
try {
console.log("fetching posts");
const result = await client.query('SELECT * FROM posts ORDER BY id ASC');
res.json(result.rows);
} catch (error) {
console.error('Error fetching posts:', error);
res.status(500).json({ error: 'Internal Server Error' });
}
});
// other functions for editing/deleting posts and commentsTo test locally, uncomment:
// Enable for local testing
app.listen(4000, () => {
   console.log("Server running on port 4000");
 });
Prior to deployment, it is recommended the API to be hosted elsewhere with a reachable endpoint. Once the API is deployed, note the API URL as an environment variable:
VITE_RDS_APIURL='API_URL'export default function BlogView() {
...
useEffect(() => {
AOS.init();
const loadPosts = async () => {
try {
const response = await fetch(`${import.meta.env.VITE_RDS_APIURL}/posts`);
if (!response.ok) {
throw new Error(`Failed to fetch posts: ${response.statusText}`);
}
const postsFromDb = await response.json();
setPosts(postsFromDb);
console.log("Read from RDS:", postsFromDb);
} catch (error) {
console.error('Failed to fetch posts:', error);
} finally {
setIsLoading(false);
}
};
loadPosts();
}, []);
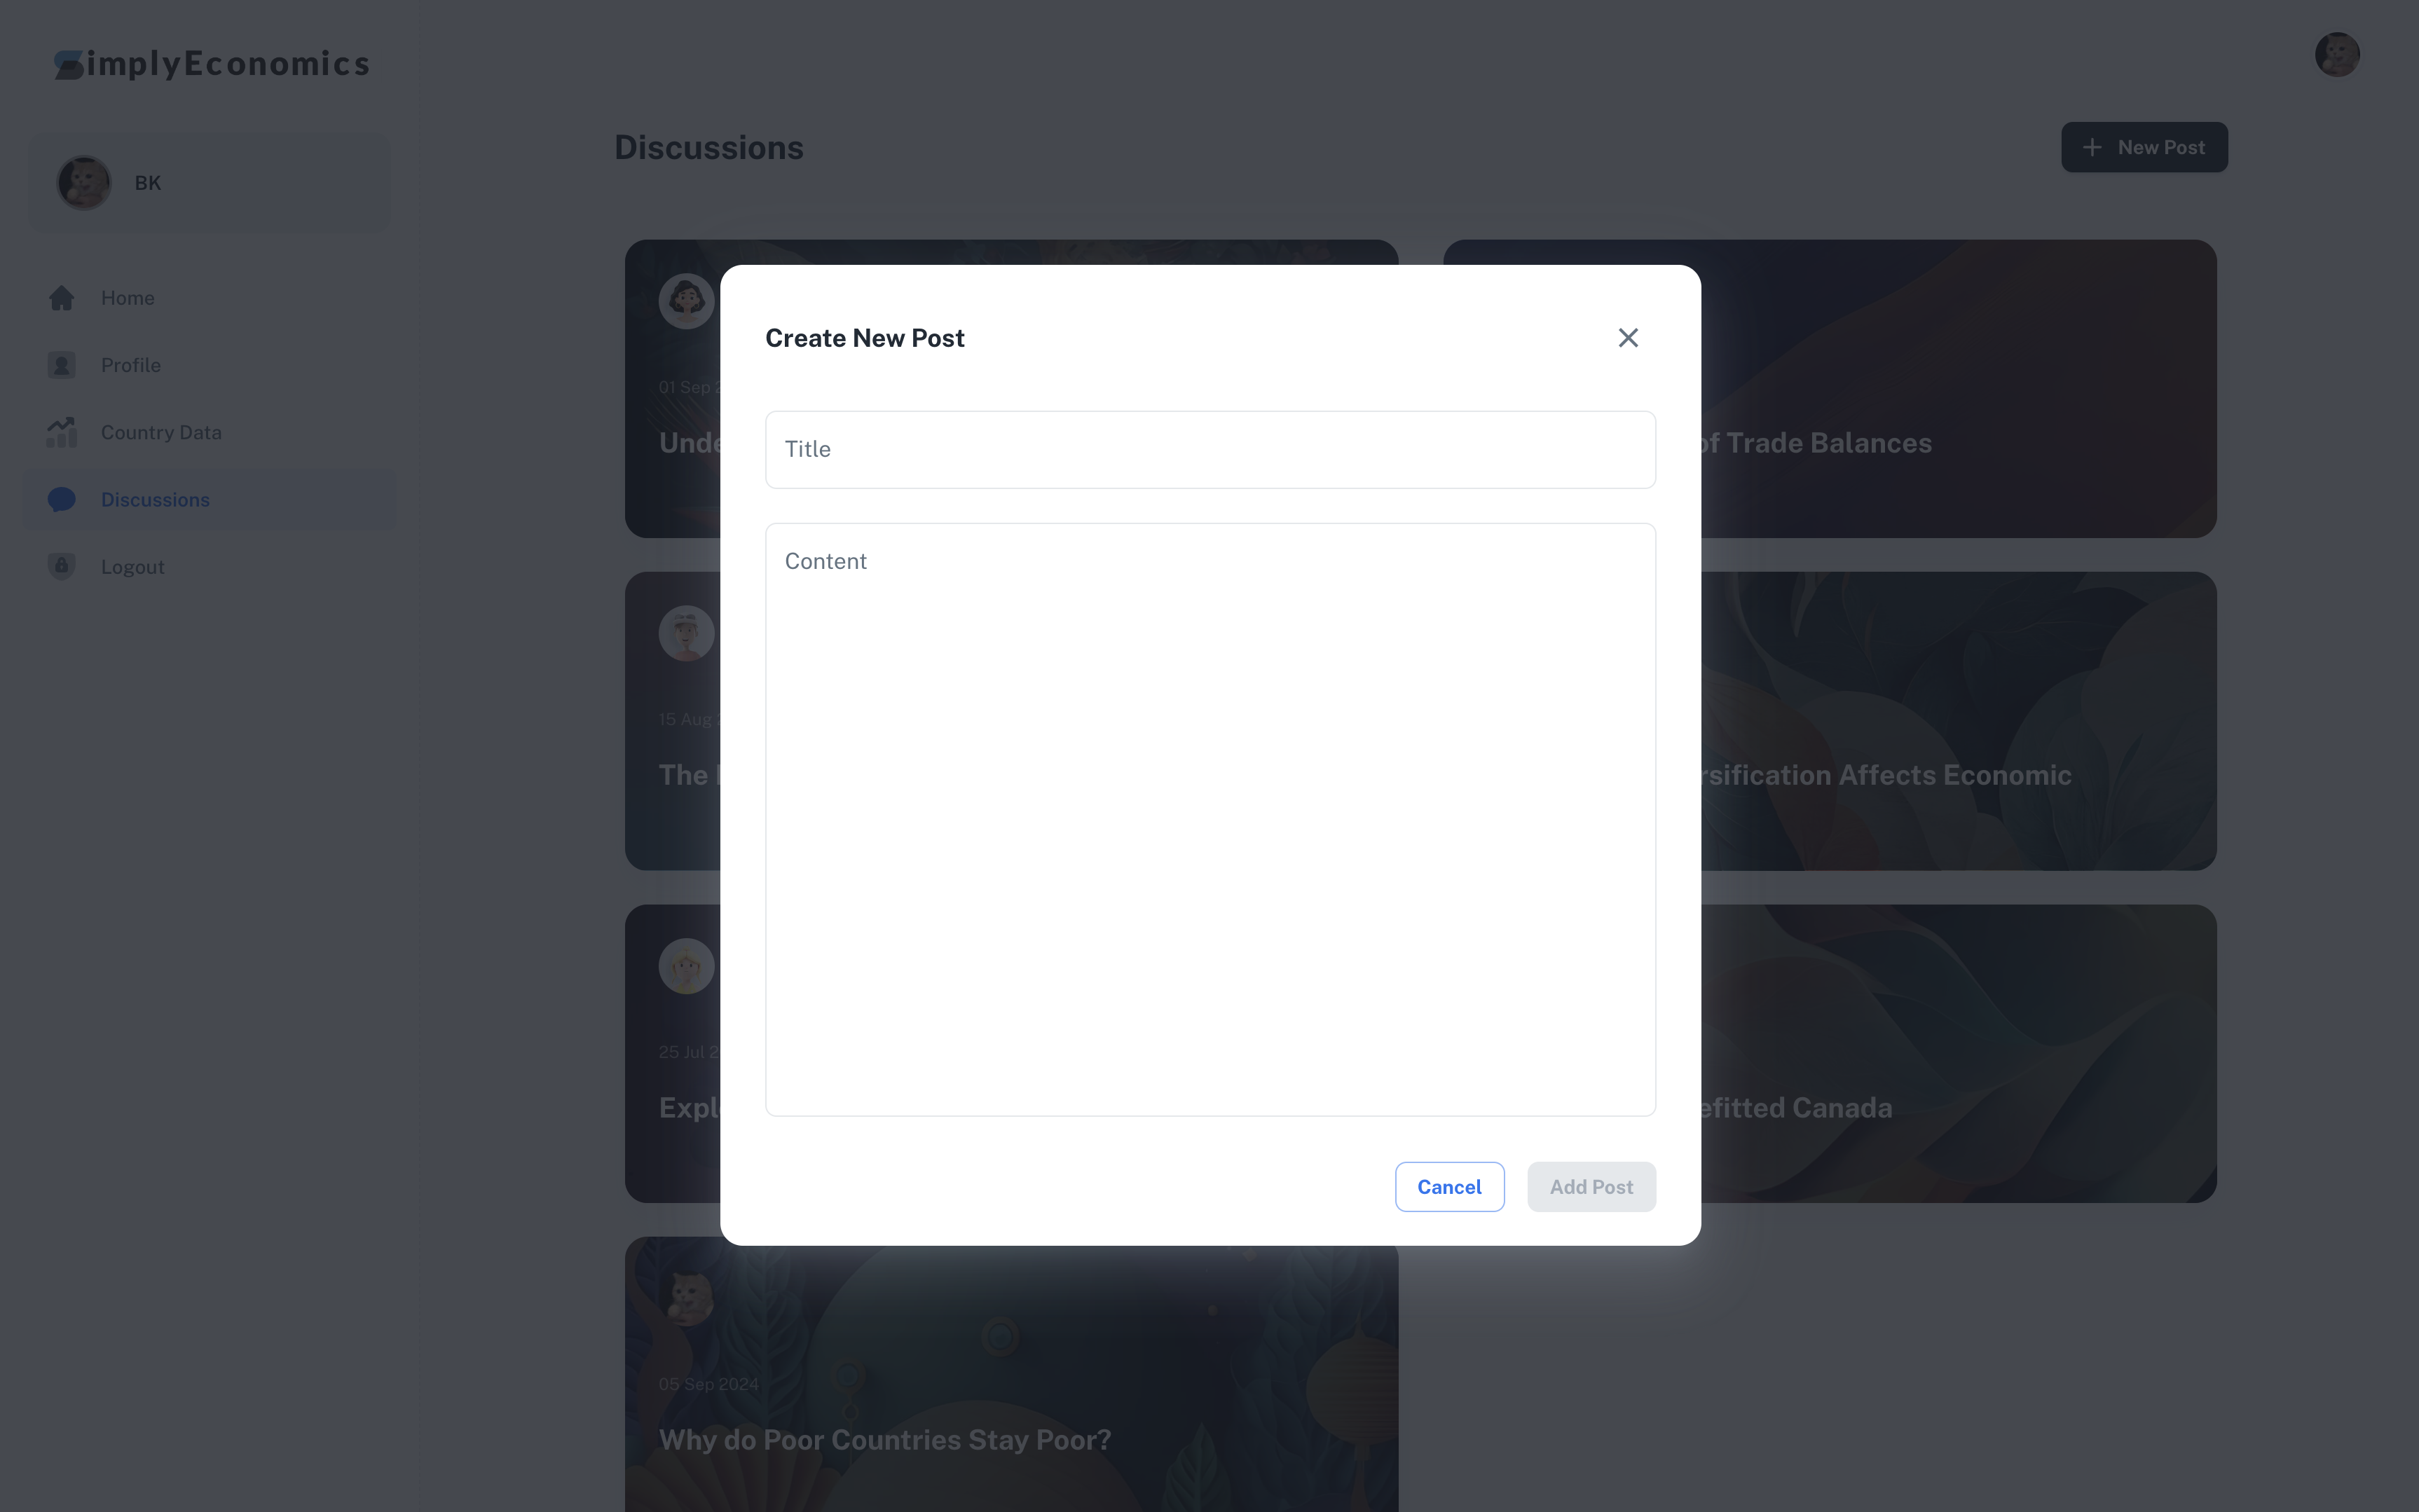
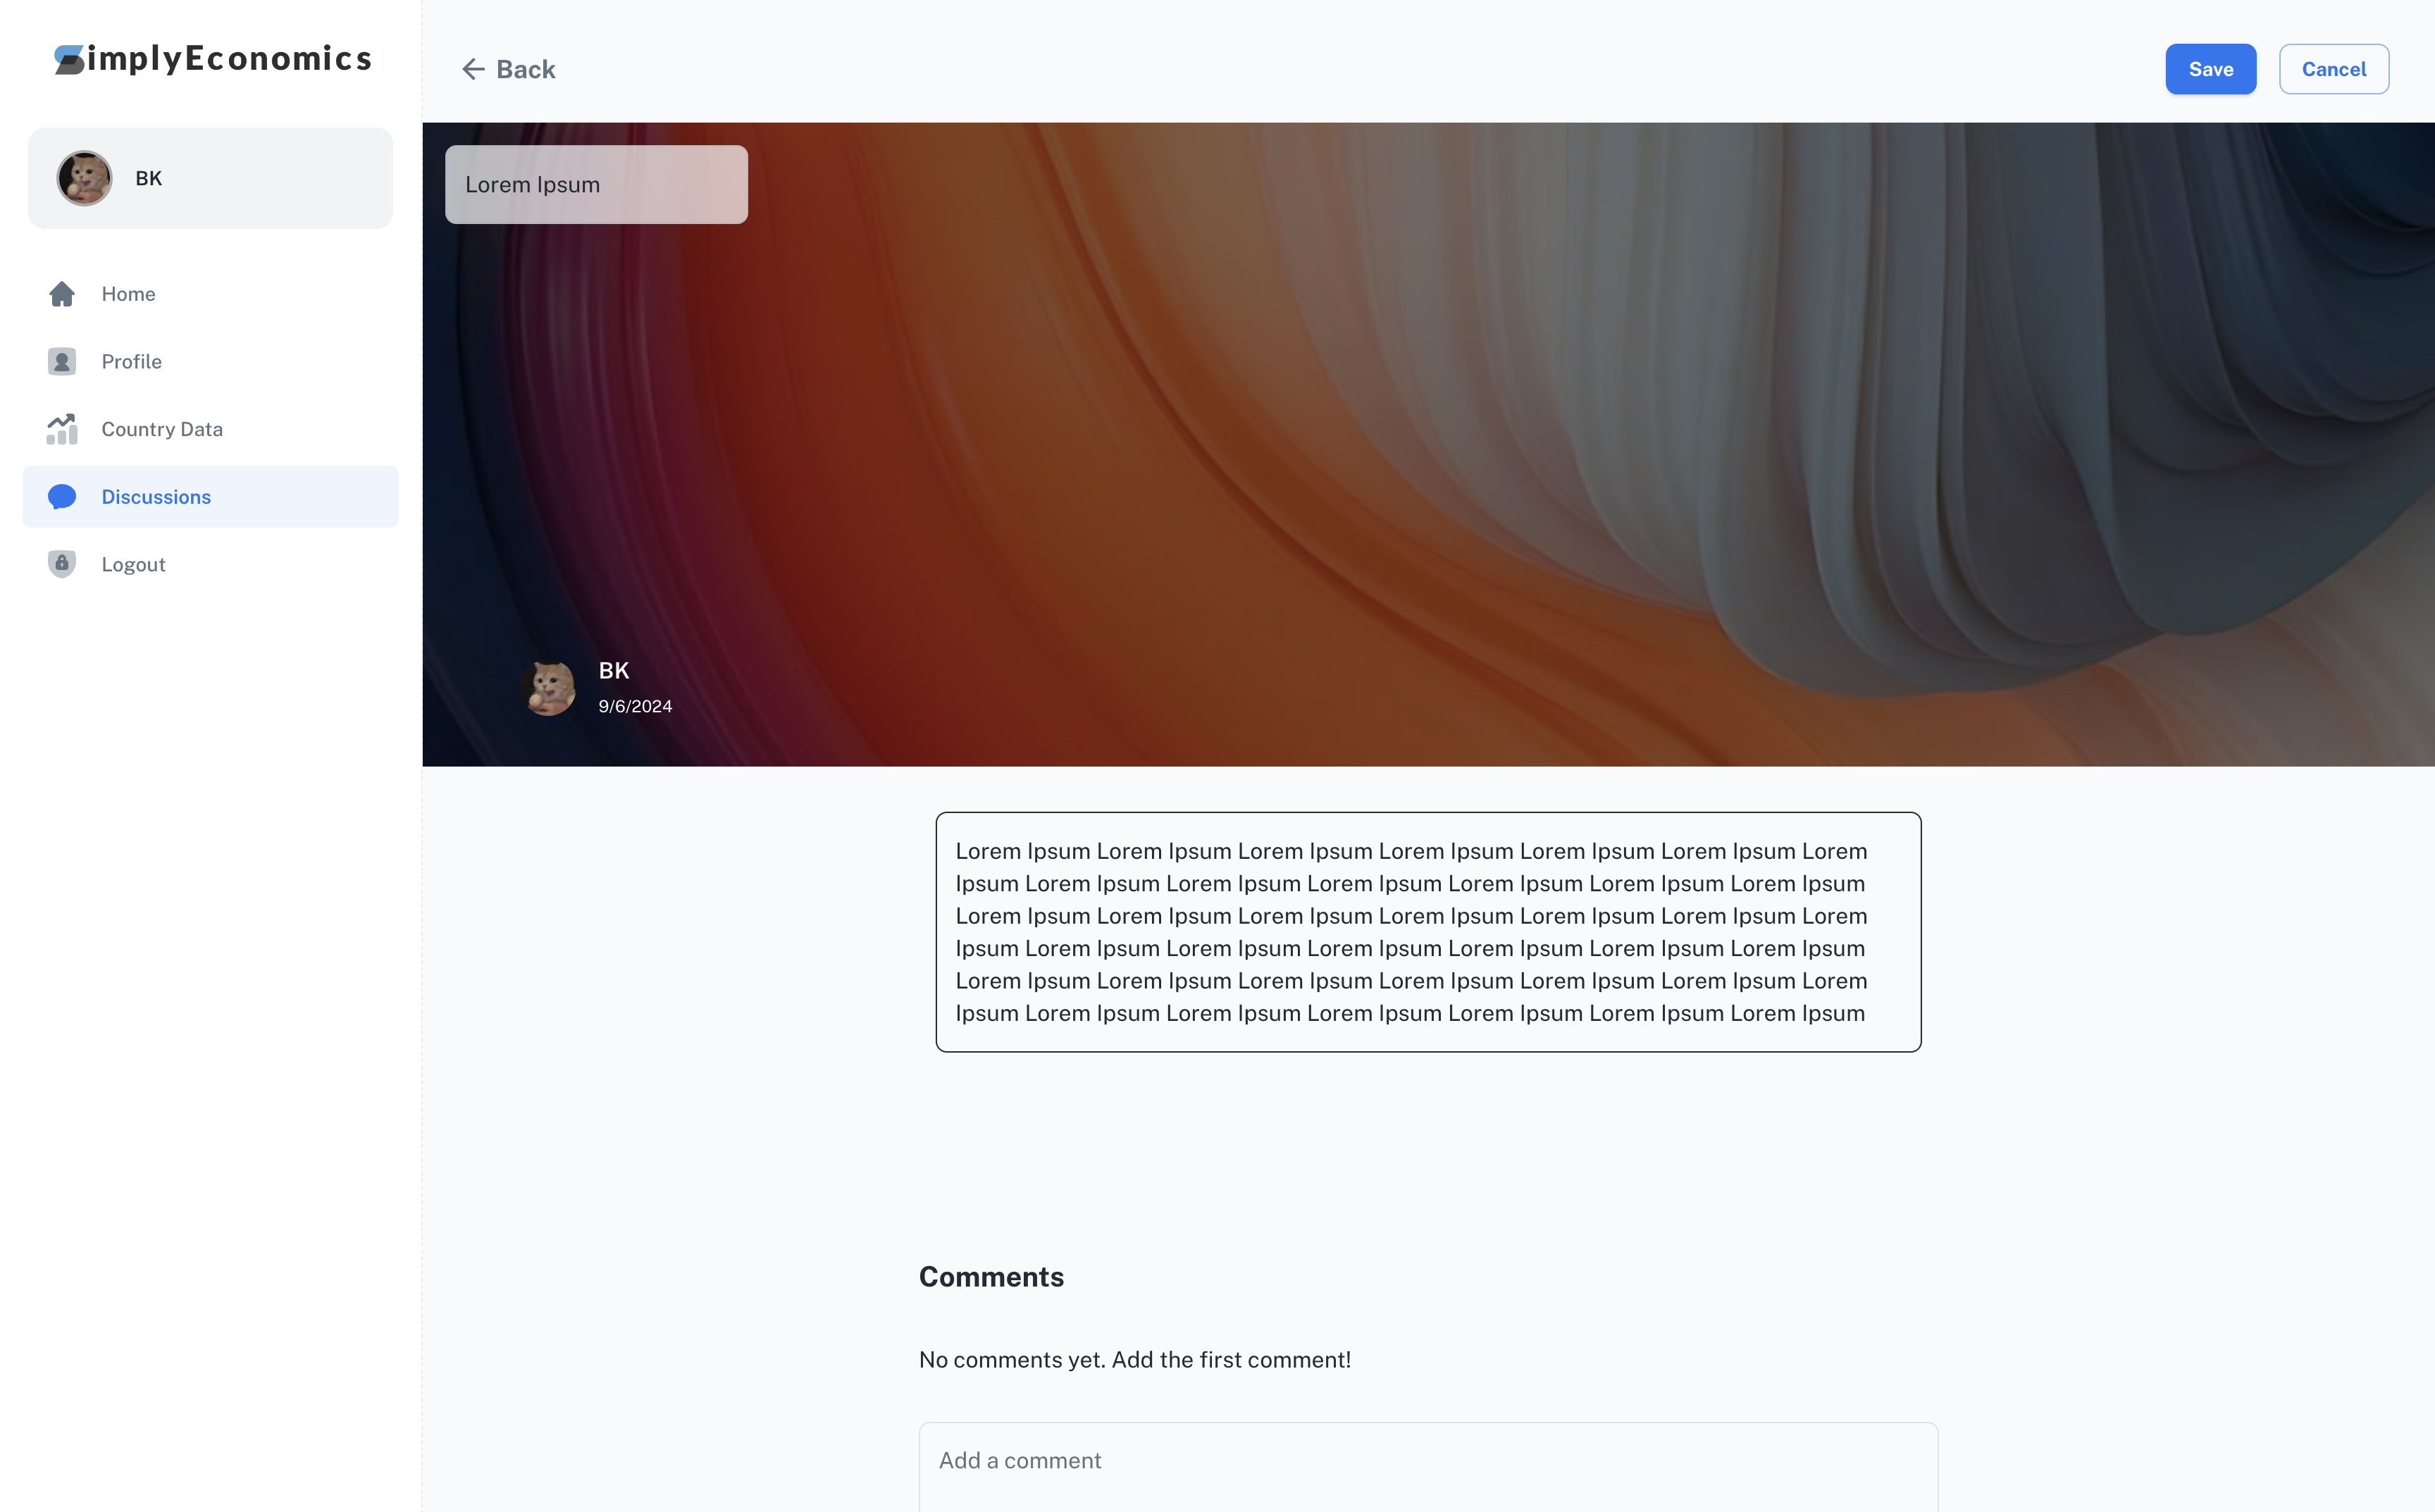
...Other CRUD functions follow. Adding posts is implemented in src/sections/blog/add-post-modal.jsx.
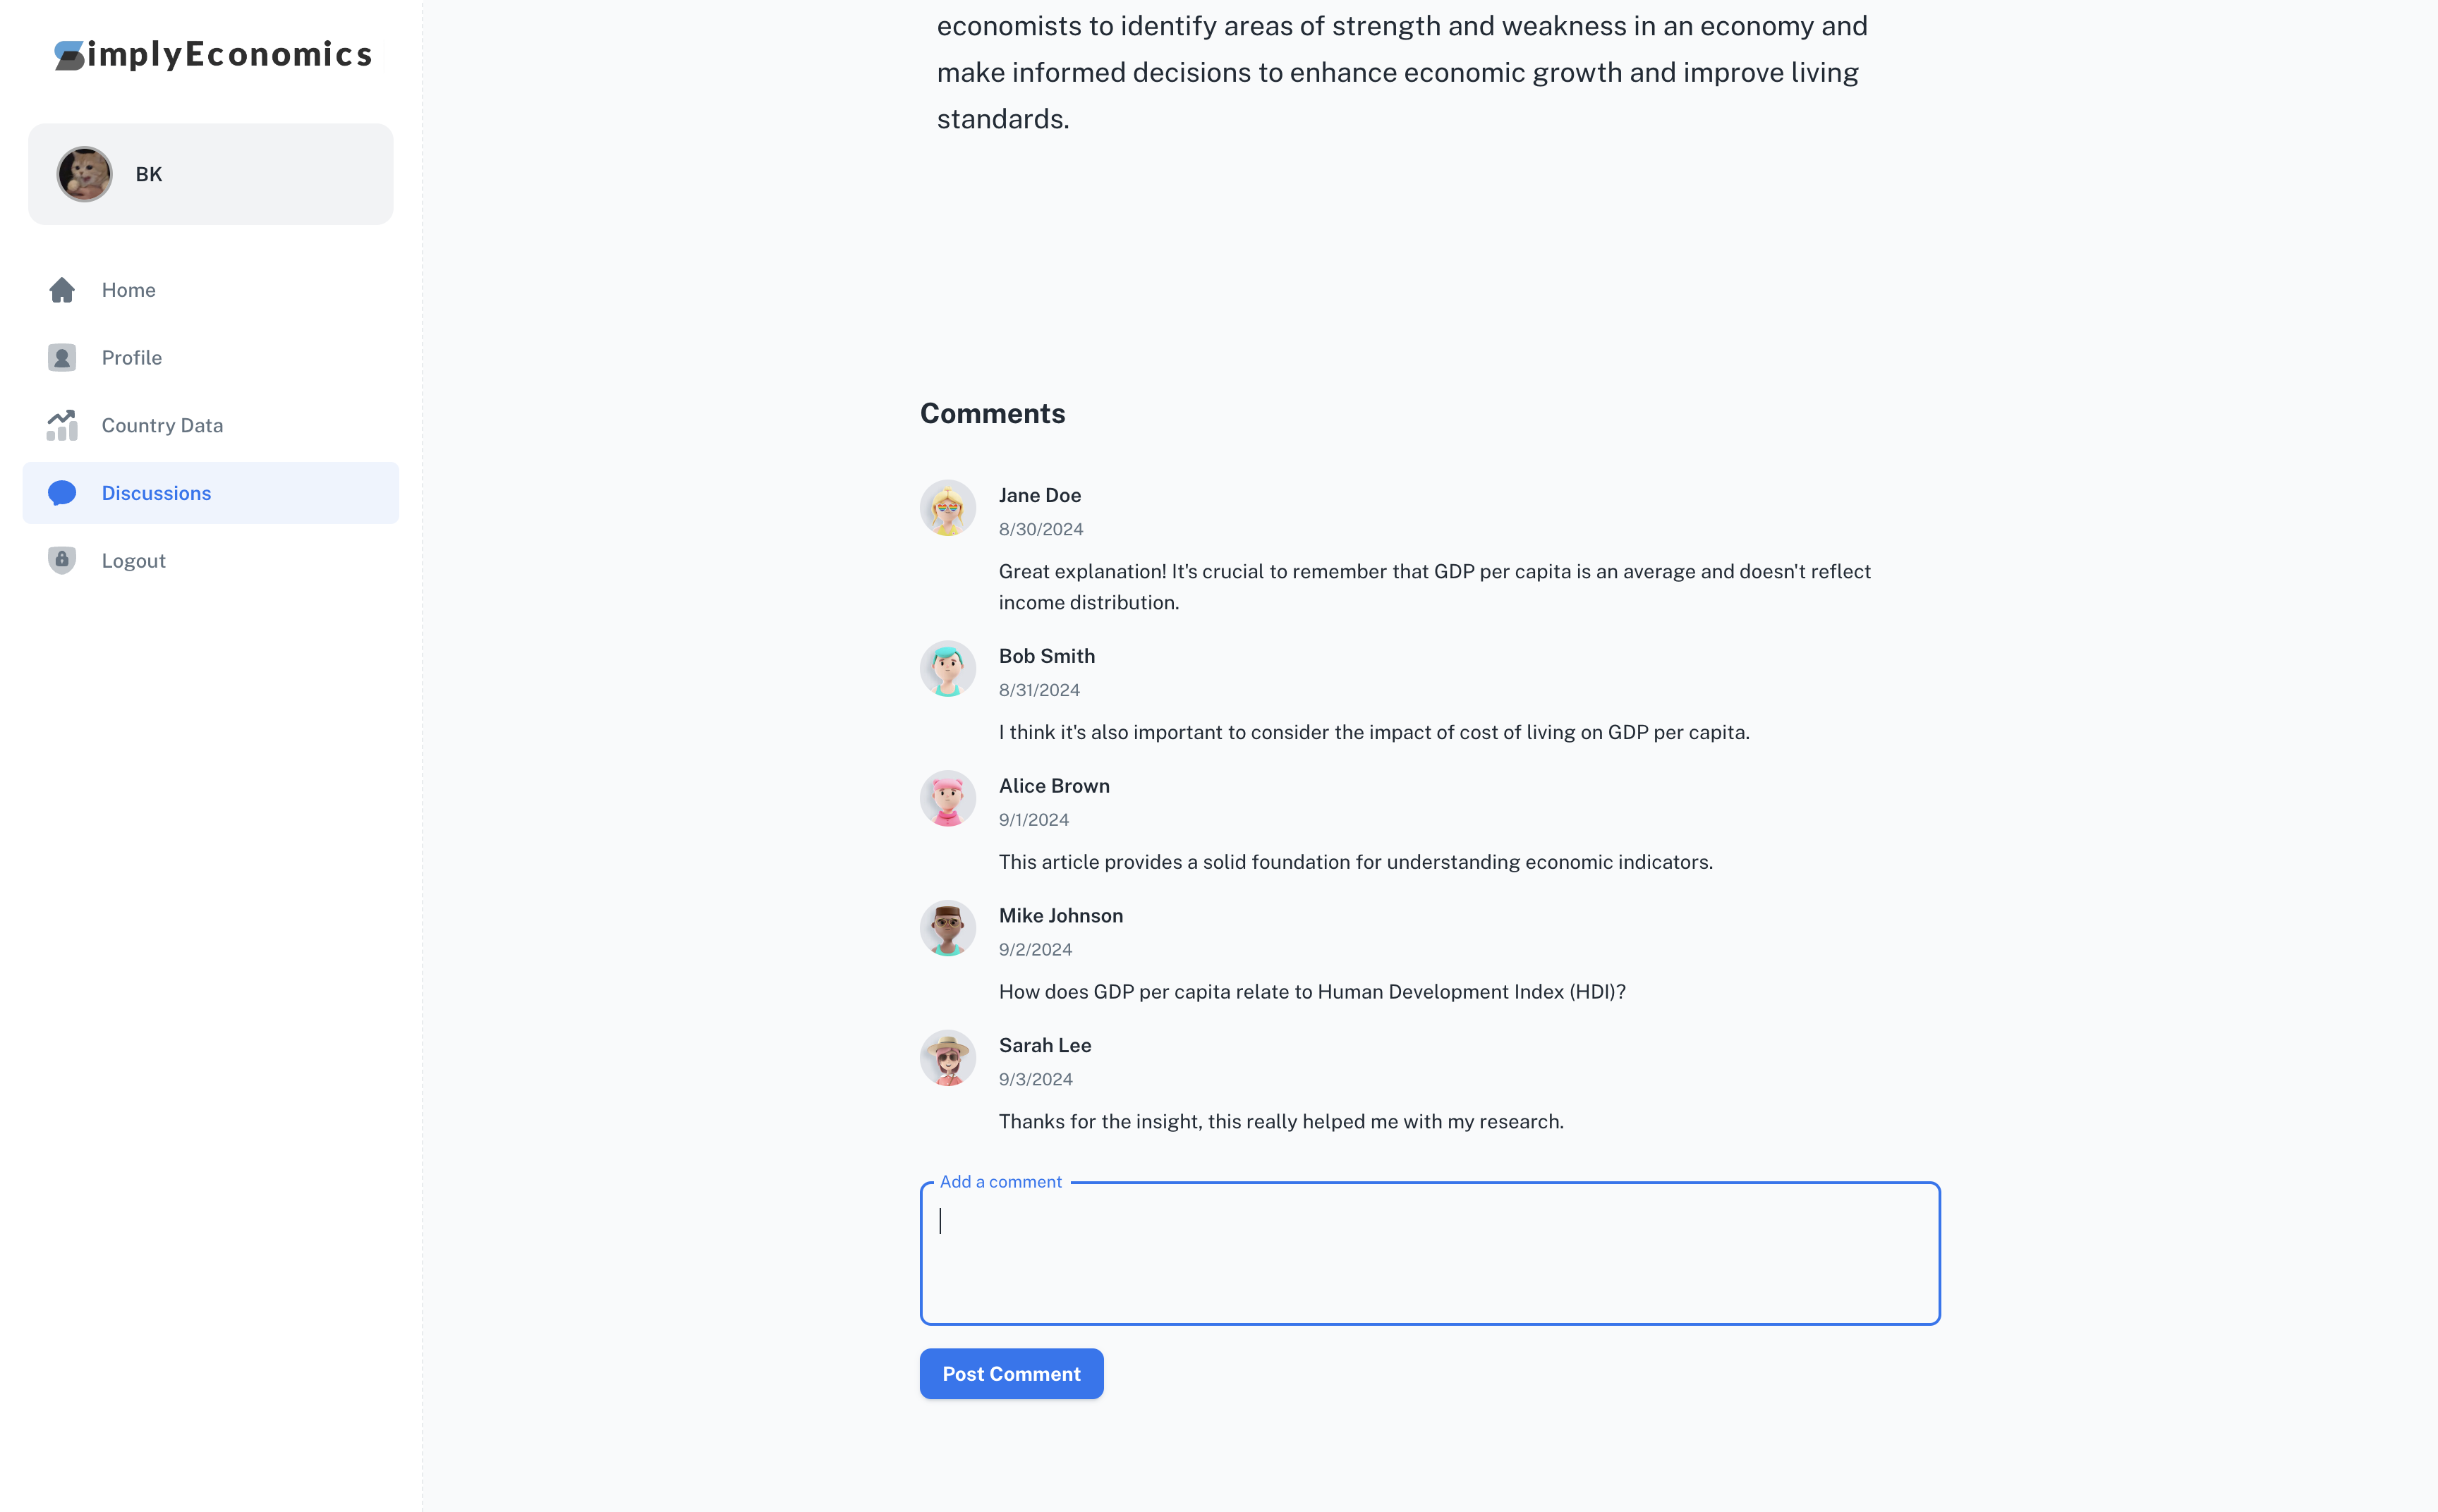
Editing/deleting posts and adding comments are implemented in src/sections/blog/post-detail-popover.jsx.
The data for the currently logged-in user (i.e. their name, profile, picture, email, etc.) had to be accessed across different sections and files. Fetching such data from Amazon Cognito in each page/section would result in prolonged loading times and greatly reduce the overall user experience. To resolve this issue, user data was fetched in a separate file and exported - this data was imported by different pages/sections.
The user data being fetched in a separate backend file:
// src/UserContext.jsx
const UserContext = createContext(null);

export const UserProvider = ({ children }) => {
useEffect(() => {
    const loadUserData = async () => {
      try {
        const session = await fetchAuthSession();
        console.log("Session:", session); // Debugging session

        if (session) {
          setIsLoggedIn(true);
          const currentUser = await getCurrentUser();
          console.log("User:", currentUser); // Debugging user data
          setUser(currentUser);
        } else {
          setIsLoggedIn(false);
        }
      } catch (error) {
        console.error('Error checking user session:', error);
        setIsLoggedIn(false);
      } finally {
        setLoading(false);
      }
    };

    loadUserData();
  }, []);

  return (
    <UserContext.Provider value={{ user, attributes, isLoggedIn, loading }}>
      {children}
    </UserContext.Provider>
  );
};

export const useUser = () => useContext(UserContext);
This is rendered before the entire project (individual pages) is loaded.
// src/app.jsx
import { UserProvider, useUser } from 'src/UserContext';

export default function App() {
  return (
    <ThemeProvider>
      <ConfigureAmplifyClientSide />
      <UserProvider>
        <MainContent />
      </UserProvider>
    </ThemeProvider>
  );
}


