


The goal of this template is to make creating an Inventor addin as easy as possible. All that is required is to create the buttons and write the code that will be executed when the buttons are clicked. The template will handle adding the buttons to the ribbon.
- Simplifies the creation of Inventor addins
- Automatically adds buttons to the ribbon
- Supports light and dark themes
- Easy to extend and customize
1️⃣ Creating Buttons
3️⃣ Referencing the Inventor Interop
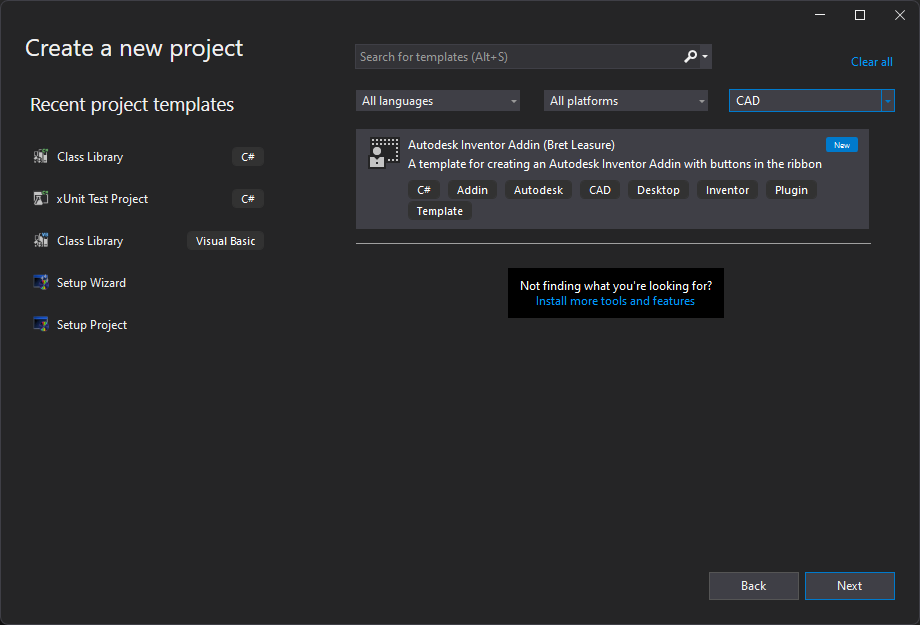
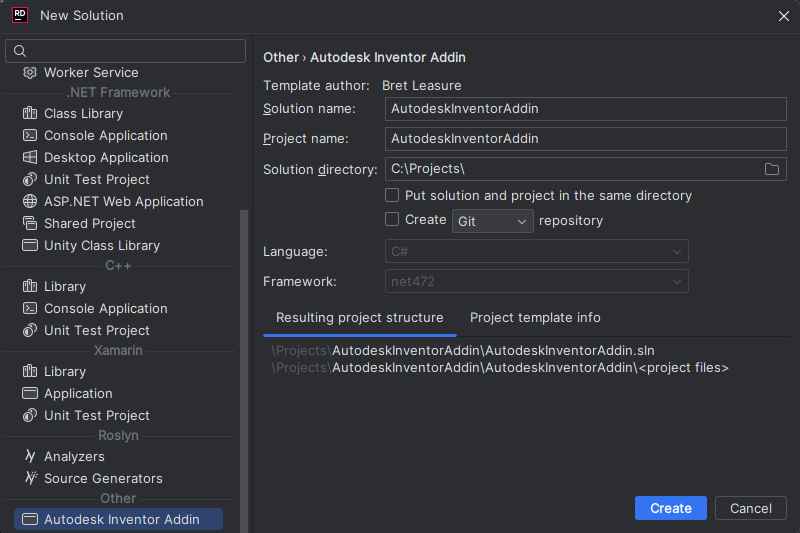
4️⃣ Installing and Using this Template
All buttons need to inherit the InventorButton class, which contains abstract
properties for all of the required information for creating a button. There are
also some optional properties and methods that can be used.
The InventorButton class handles adding the button to the ribbon and executing
the code when the button is clicked. All subclasses (i.e., user defined buttons)
in the project are automatically loaded into the Inventor UI. A button can be
prevented from being loaded by overriding the Enabled property to return
false.
The code that should run when the button is clicked should be placed in the
Execute() method.
| Name | Description |
|---|---|
Execute(NameValueMap context, Inventor.Application inventor) |
This is the code that will execute when the button is clicked by the user. The Inventor.Application argument is the active instance of Inventor |
| RibbonName | The internal name of the Ribbon the button will be added to. See Internal Naming |
| RibbonTabName | The name of the Ribbon Tab the button will be added to. If an Internal name of an existing Ribbon Tab is used, the button will be added to that Tab. Otherwise, a new tab will be created. See Internal Naming |
| RibbonPanelName | The name of the Ribbon Panel the button will be added to. If an Internal name of an existing Ribbon Panel is used, the button will be added to that Panel. Otherwise, a new panel will be created. See Internal Naming |
| Label | The display name of the button. This value will be shown as the text for the button if ShowLabel is set to true |
| Description | The description text for the button |
| Tooltip | the tool tip text for the button |
| LargeIconResourceName | The resource to be used as the Large Icon for the button. See Icon Resources |
| DarkThemeLargeIconResourceName | The resource to be used as the Large Icon when Inventor's Dark Theme is used. See Icon Resources |
| SmallIconResourceName | The resource to be used as the Small Icon for the button. See Icon Resources |
| DarkThemeSmallIconResourceName | The resource to be used as the Small Icon when Inventor's Dark Theme is used. See Icon Resources |
The NuGet package Inventor.InternalNames is referenced in this template and contains all of the Internal Names for the Inventor Ribbon, RibbonTabs, and RibbonPanels.
Button icons need to be .PNG files and be added to the project as embedded resources. Large icons should be 32px by 32px and small icons should be 16px by 16px.
| Name | Default Value | Description |
|---|---|---|
| UseLargeIcon | true | Whether the button will be displayed with a Large Icon |
| ShowText | true | Whether the button's label will be displayed |
| Enabled | true | Whether the button will be displayed |
| SequenceNumber | 0 | Used to control the order that the buttons are added (if creating multiple buttons). Buttons are ordered lowest to highest from Left to Right / Top to Bottom |
ConfigureProgressiveToolTip(ProgressiveToolTip toolTip) |
Allows configuring a progressive tooltip. The Label and Tooltip properties will be ignored if this is used. Refer to Autodesk's ProgressiveToolTip Documentation for the available properties for ProgressiveToolTip |
|
OnHelp(NameValueMap context, out HandlingCodeEnum handlingcode) |
Only Available if using a Progressive Tool Tip. Allows overriding what happens when a user selects F1 while the progressive tool tip is being displayed. Refer to Autodesk's ButtonDefinition.OnHelp Event Documentation |
using System.Windows.Forms;
using Inventor;
using Inventor.InternalNames.Ribbon;

namespace Inventor.AddinTemplate.Buttons
{
    public class DefaultButton : InventorButton
    {
        protected override void Execute(NameValueMap context, Inventor.Application inventor)
        {
            MessageBox.Show($"Current document name: {inventor.ActiveDocument.DisplayName}");
        }

        protected override string RibbonName => InventorRibbons.Drawing;

        protected override string RibbonTabName => DrawingRibbonTabs.PlaceViews;

        protected override string RibbonPanelName => "Inventor.AddinTemplate";

        protected override string Label => "DefaultButton";

        protected override string Description => "Default Button Description";

        protected override string Tooltip => "Click the Default Button";

        protected override string LargeIconResourceName => "Inventor.AddinTemplate.Buttons.Assets.Default-Light.png";

        protected override string DarkThemeLargeIconResourceName => "Inventor.AddinTemplate.Buttons.Assets.Default-Dark.png";

        protected override string SmallIconResourceName => LargeIconResourceName;

        protected override string DarkThemeSmallIconResourceName => DarkThemeLargeIconResourceName;
    }
}Deploying your addin is fairly simple. Just copy the build contents of your project and put them in the correct folder so that Inventor can find them.
The only catch is there are multiple locations that Inventor looks for addins to load. Deciding on which location to use will depend on the following factors:
- Should it load for all users of the computer or only a specific user?
- Should it load for all versions of Inventor or only a specific version?
%AllUsersProfile%\Autodesk\ApplicationPlugins
%AllUsersProfile%\Autodesk\Inventor 2024\Addins
Important
This is the recommended installation location by Autodesk
%AppData%\Autodesk\ApplicationPlugins
%AppData%\Autodesk\Inventor 2024\Addins
Inventor Addins must reference the Inventor Interop library
(Autodesk.Inventor.Interop.dll) in order to access Inventor's API. This
template includes a copy of the Inventor 2023 Interop in the lib folder. If
needed, you can change the reference to a different version. The
Autodesk.Inventor.Interop.dll can be found in the following location:
C:\Program Files\Autodesk\Inventor 20xx\Bin\Public Assemblies
xx should be set to the version of Inventor you want to reference.
This article on Mod the Machine explains how the different versions of the Interop work and how you can be sure that your app continues to work even with new versions of Inventor.
The easiest way to install this template is by using the dotnet CLI. Simply run the following command and the project will then show in Visual Studio and JetBrains Rider:
dotnet new install Inventor.AddinTemplate