Creating a new workflow
Here's how you might create a simple workflow to send an HTTP request in response to a user logging in.
The intended audience for these instructions is a Moodle Administrator, with knowledge of Moodle's admin Interface and elements.
The following image shows the the Manage Workflow Moodle Administration page.
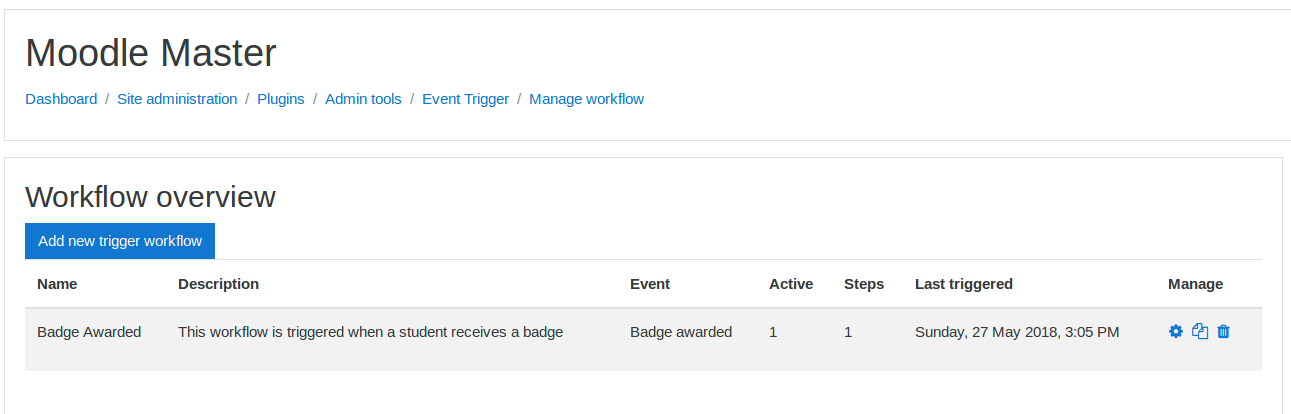
This page allows you to create a new Workflow, by clicking the Add new trigger workflow button
This page also shows summary information about the currently defined workflow, this summary information is:
- Name: This is the name given to the workflow when it was created.
- Description: This is the summary of what the summary does.
- Event: This is the Moodle event that triggers the workflow.
- Active: This shows the status of the workflow. Workflows can be active or inactive. Inactive workflows are not triggered when the associated Moodle event is fired.
- Steps: This is the number of steps defined for a workflow. All workflows require at least one step.
- Last triggered: This is the date and time the workflow was last processed. This is not the time when the associated Moodle event was triggered.
- Manage: These icons allow you to: copy, delete or edit existing workflows.
The following image shows the user interface for adding or editing a workflow.
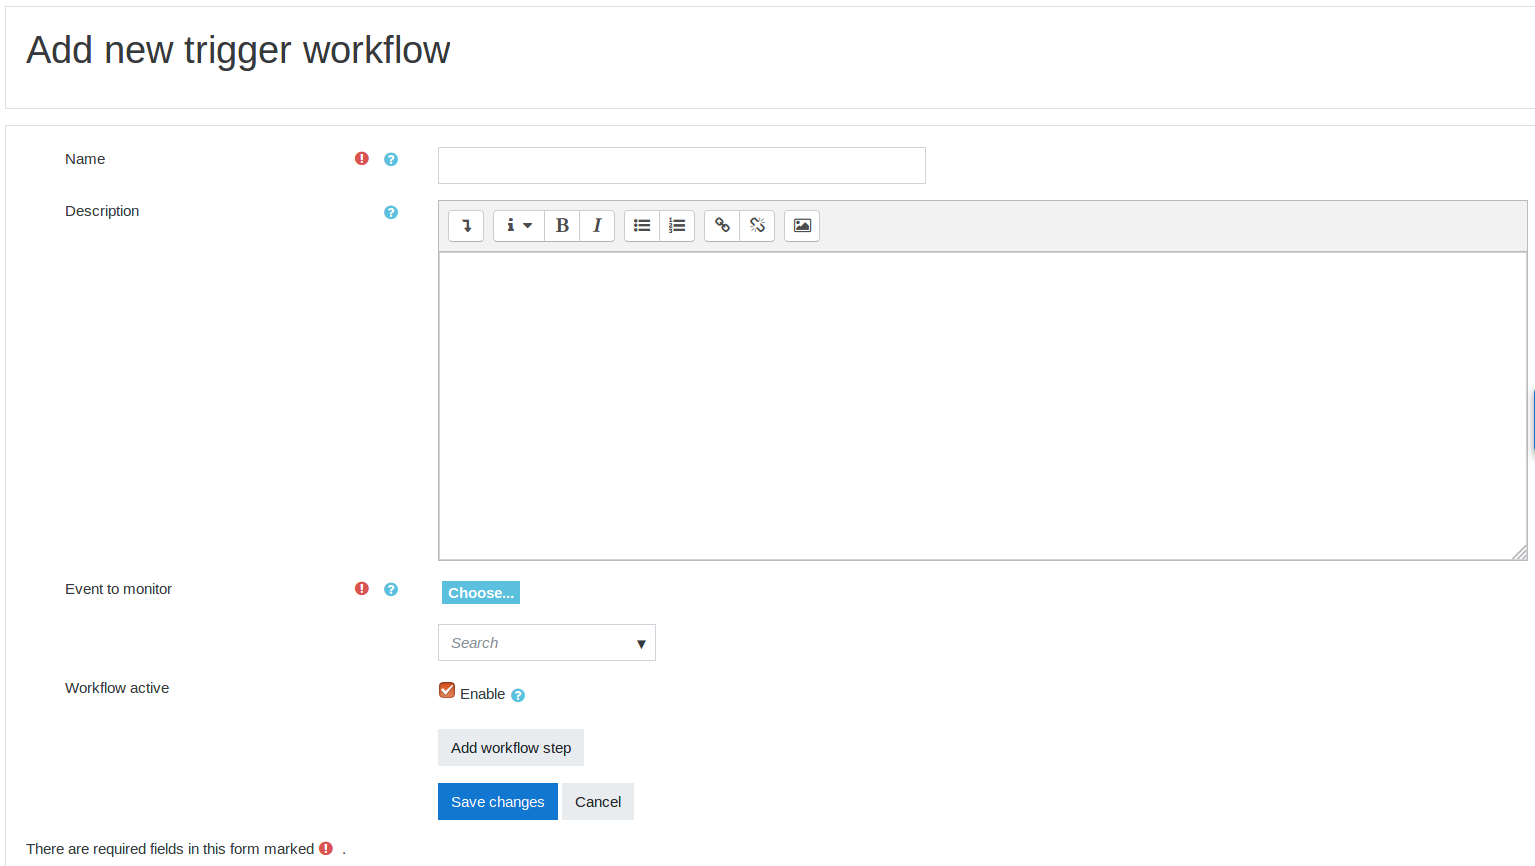
The elements of this page are:
- Name: This is the name given to the workflow when it was created.
- Description: This is the summary of what the summary does.
- Event to Monitor: This is the Moodle event that triggers the workflow.
- Workflow active: Workflows can be active or inactive. Inactive workflows are not triggered when the associated Moodle event is fired. The default is active.
- Add workflow step: This button allows you to add the required steps to the workflow. It opens a modal form window.
- Save or Cancel buttons: Save or cancel the changes to the workflow.
The following steps will guide you on how to setup a workflow that posts data to a http endpoint.
-
As an admin, go to Site administration > plugins > Admin tools > Event Trigger
-
Press "Add new trigger workflow"
-
Give the trigger a name/description to help you remember what it does.
-
Search for an event to monitor and select it. This is a searchable list, if you enter the text "graded" you will see a list of related events.

There are 3 types of steps:
- Filter - Ability to check if the event meets certain conditions before processing it.
- Lookup - Most core events only contain a small amount of information, this allows you to obtain extra information from Moodle to pass to the trigger/action. (for example a users email or the course fullname)
- Trigger - this is an action such as an external HTTP post or email and should typically be the last step in your workflow.
- Press "Add workflow step"
- Choose "Trigger" -> "Http Post"

- Enter a name/description to help you remember what it does.
- Enter the url.
- Enter the http headers/parameters that should be used.
When developing the action/ trigger workflow steps, you can include a range of variables contained from the event or from the lookups by using the format {fieldname} for example if you wanted to include user information in the http post parameters you would enter:
param1={user_email}¶m2={user_firstname}
...and the users email and firstname would be passed to the external url with the names "param1" and "param2"