This repository contains all client-side data, including locale files, configurations, and descriptive text used by the game client.
For installation and configuration, see instructions below.
- Affect tooltips: ALL affects now display realtime countdowns, titles and are wrapped in tooltips! Realtime countdowns does not apply to infinite affects such as the Exorcism Scroll, the Concentrated Reading and the Medal of the Dragon (Death penalty prevention)
- AFFECT_FIRE: The Continuous Fire debuff has been added to the affects dictionary by name.
This is the final part of the entire project and it's now time to pack everything up for your first launch of the game!
Below you will find a comprehensive guide on how to configure all the necessary components from scratch.
This guide is made using a Windows environment as the main environment and cannot work in non-Windows operating systems! If you haven't yet setup your Server or haven't built the Client Source, now is the chance to do so as these are required steps to continue!
This guide also uses the latest versions for all software demonstrated as of its creation date at February 4, 2026.
© All copyrights reserved to the owners/developers of any third party software demonstrated in this guide other than this project/group of projects.
If one or more of the previous items is not yet configured please come back to this section after you complete their configuration steps.
- ✅ M2Dev Server Source
- ✅ M2Dev Server
- ✅ M2Dev Client Source
▶️ M2Dev Client [YOU ARE HERE] [ALSO CONTAINS ADDITIONAL INFORMATION FOR POST-INSTALLATION STEPS]
Please make sure that you have installed the following software in your machine before continuing:
Python: The software used to execute python scripts. It is recommended to ADD TO PATH at the end of the installation. Download

To clone the client, open up your command prompt and cd into your desired location or create a new folder wherever you want and download the project using Git.
Here's how
Open up your terminal inside or
cdinto your desired folder and type this command:git clone https://github.com/d1str4ught/m2dev-client.git
Before packing everything else, we make sure that our item_proto and mob_proto files are packed with the latest updates from the server.
Instructions
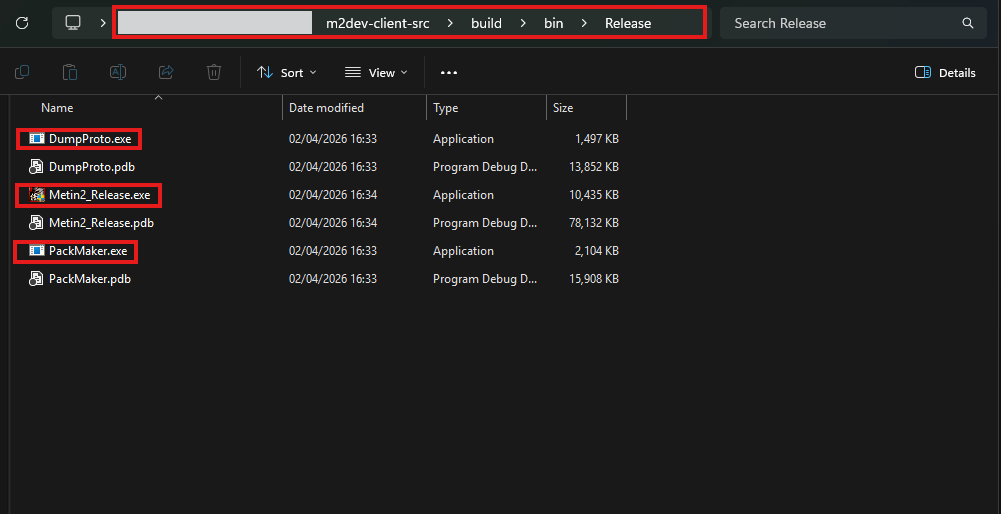
Go inside the build folder of your Client Source cloned repository. There, you should have a bin folder and inside that, you should have a Debug, Release, RelWithDebInfo or MinSizeRel folder, depending on your build configuration selection.
In that folder you should be seeing all your binaries:
There you should be seeing the DumpProto.exe, the tool you will use to compile the protos. You can leave it there or move it to a new, clean location to work.
Either you are running your Server project on Windows or FreeBSD, go to
share/confand paste all the required files to compile your protos.To compile
item_proto, paste:
item_proto.txt- At least one
item_names_<XX>.txtoritem_names.txt(whereXX= locale name)To compile
mob_proto, paste:
mob_proto.txt- At least one
mob_names_<XX>.txtormob_names.txt(whereXX= locale name)
Compilation of
item_protois independent ofmob_proto.DumpProto.exe will compile all protos found in its current directory.
You can paste multple
item_names<XX>.txt/mob_names_<XX>.txtat one go if you wish to!
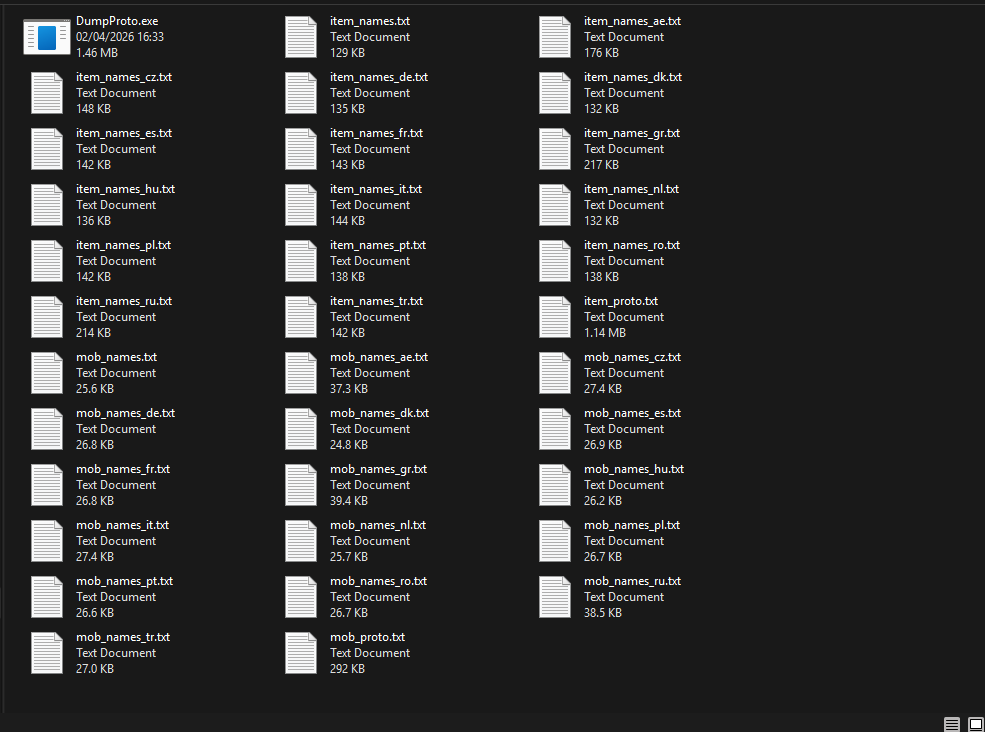
The following example will be showing the compilation of all protos for all locales in one go.
Paste everything in the same directory as DumpProto.exe:
Double click DumpProto.exe and wait for the compiling to finish. This may take a while depending on how many
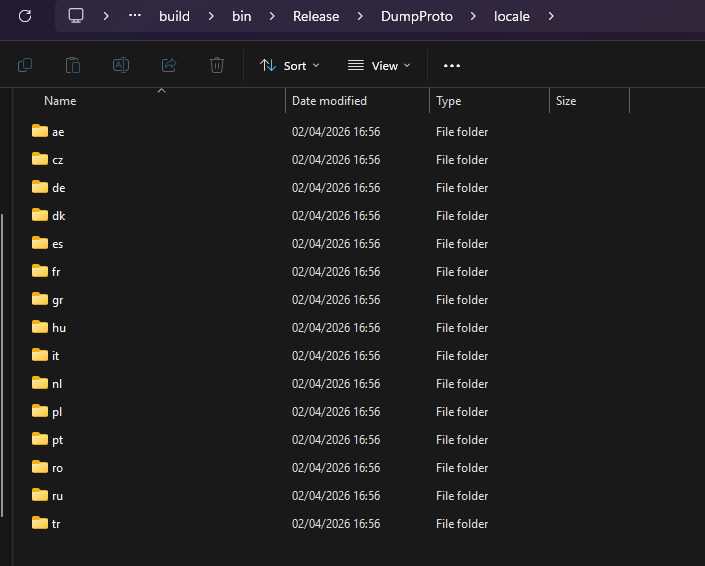
item_namesor/andmob_namesexist in the folder and from the Build Configuration you selected in Visual Studio (Debug,Release, etc...)After compiling is done, DumpProto.exe will automatically close and you should be seeing the following in your DumpProto.exe folder:
- If you had
item_proto.txt+item_names.txt, a newitem_protofile- If you had
mob_proto.txt+mob_names.txt, a newmob_protofile- For every
item_names_<XX>.txt, alocale/XXfolder withitem_protoinside it- For every
mob_names_<XX>.txt, alocale/XXfolder withmob_protoinside it
Non-localized protos
These are your default locale's protos. If your server for example is configured to English (
share/locale/english), youritem_proto/mob_protowould be the English translation, and in that case,locale/enwould be missing from the newlocalefolder inside the DumpProto.exe.Copy the new protos in the assets folder
In your client's
assets/localefolder, every locale must have itsitem_protoandmob_prototo work. Paste all the new protos you created in there. You can also copy thelocalefolder created from DumpProto.exe and paste it directly into theassets/localefolder, then if prompted, select to replace the existing files.If you compiled protos for your default server locale, you must paste the manually in their locale folder as well (e.g.,
assets/locale/locale/enfor English protos).
✅ You have successfully compiled the item/mob proto files and distributed them to their respective directories!

Now that you have your proto files, it's time for the few final steps.
The few final steps
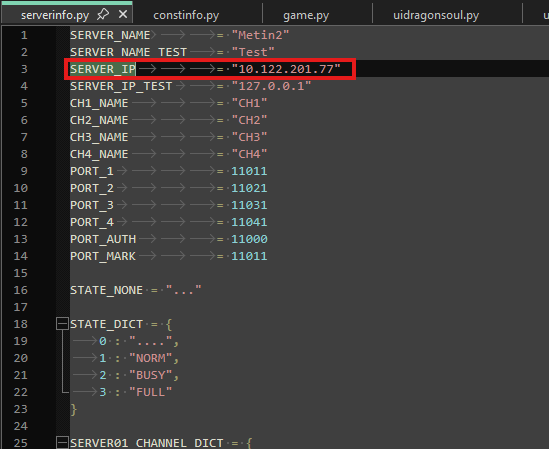
In the
assets/rootfolder, find a file calledserverinfo.pyand open it with an editor of your choice. In theSERVER_IPvariable, replace the value with:
- FreeBSD Servers: Your IP from
ifconfig- Windows Servers:
127.0.0.1,localhost, or your IP (Preferred) from the commandipconfig /all, it's all the same thing
Save the file and go back to your command prompt.
Now
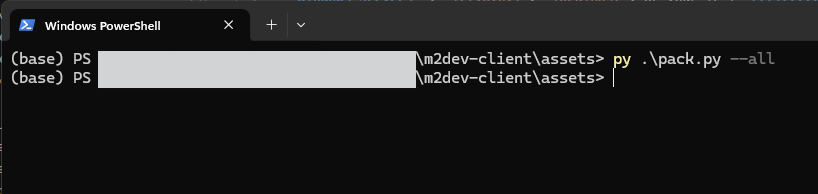
cdin theassetsfolder if not already there and execute thePackMaker.exewith the help of thepack.pyscript that is included in theassetsfolder:python pack.py --allThis process will take some time, grab a coffee and come back in a little bit.
After it's done, you won't see any messages, but if the command prompt is ready for the next command, you're done!
Note:
--allpacks everything inside theassetsfolder, if you wanna pack only one folder (rootfor example), you can execute this command instead:python pack.py root
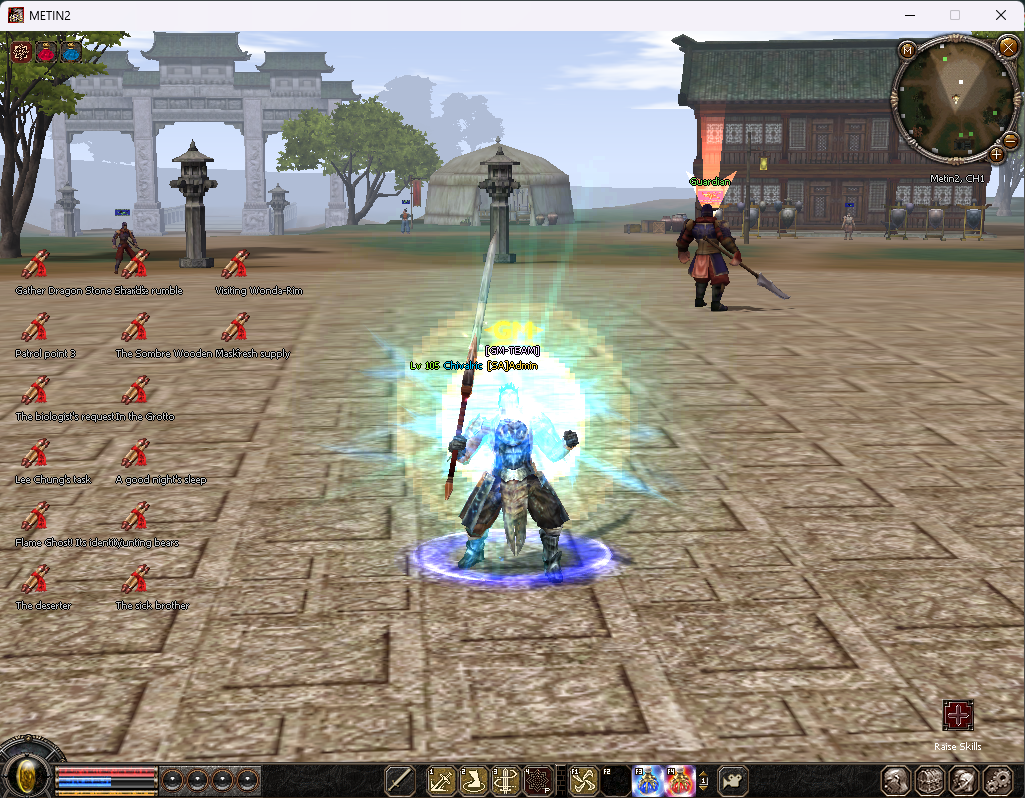
With your Server running, go to the root folder of the Client project and execute your compiled Metin2_XX.exe launcher.
You know how it goes from here.
Available accounts:
- admin
- test
Password for both is 123456789
🤩 Your client is now fully built and packed!
After finishing this part, you should now have knowledge of:
- Compiling client protos from server
txtfiles - Packing the
assetfolders
These are some next steps that apply to all project, regardless of the operating system you use.
These next steps can be done in both Windows and FreeBSD environments.
How to keep your repos up to date
To update your repositories when a new version comes out, open up a terminal or go to the root folder of the desired project (let's take the Server Source for example).
Type these commands (in every project that requires updates):
Making sure that you are in the main branch
git checkout mainIf you get the message "Your branch is up to date with 'origin/main'." at the end, you have no updates available.
Checking remote status
git remote -vYou should be seeing "origin" twice. If you have cloned the repo from your custom fork you should also be seeing "upstream" (more below).
Getting the updates
git fetch originMerging the updates
git merge origin/main
This is the best and maybe one of the fastest ways for the maintainer(s) of the project to see what's wrong.
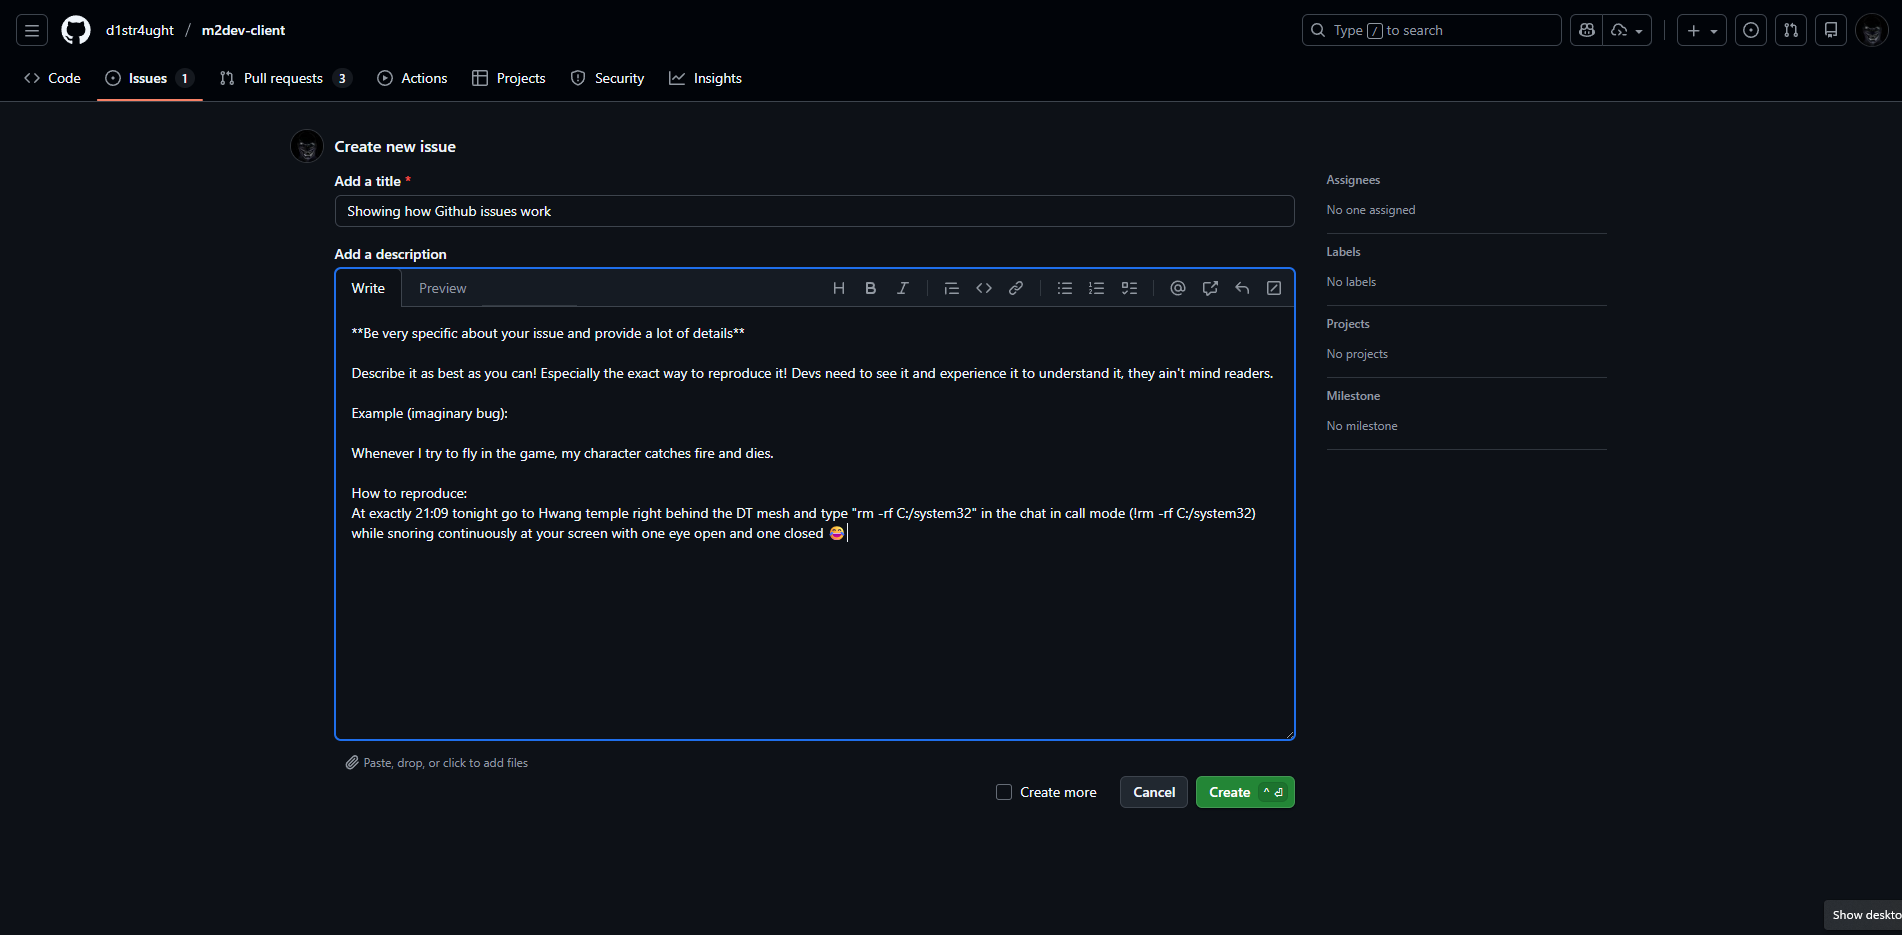
How to submit an Issue
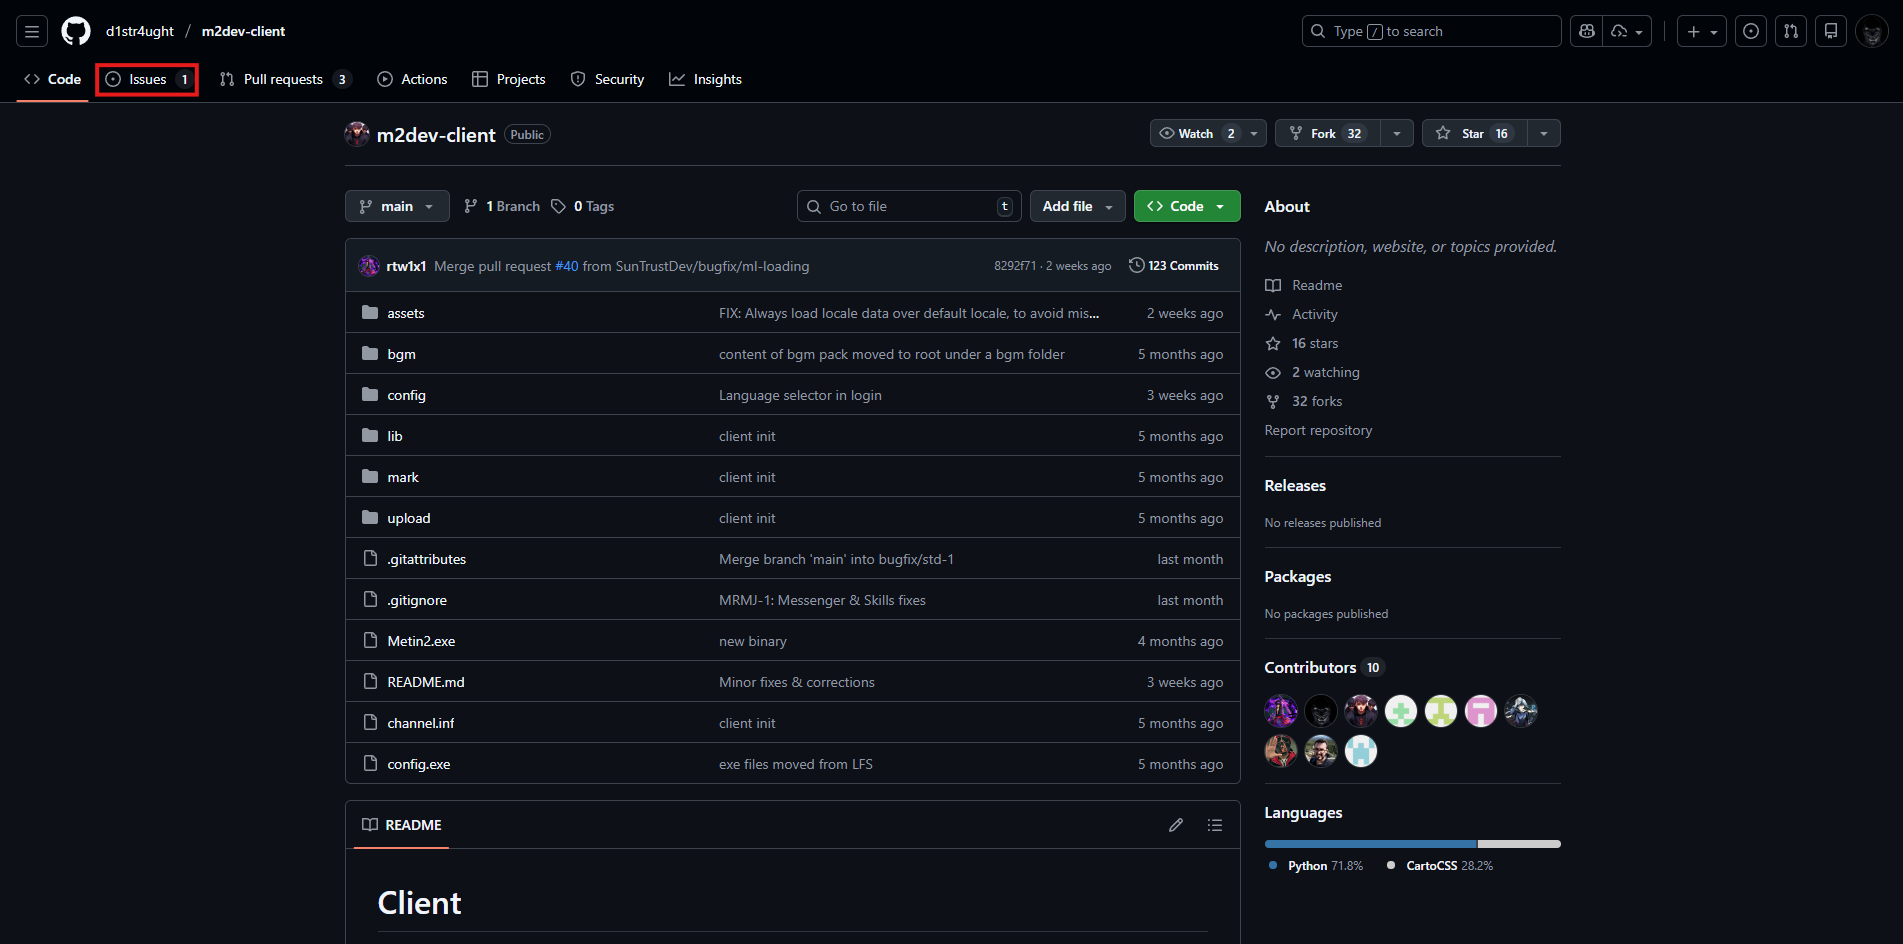
Create an account for Github if you haven't already and fo to the problematic project's page (e.g., Client). Go to Issues at the top left corner.
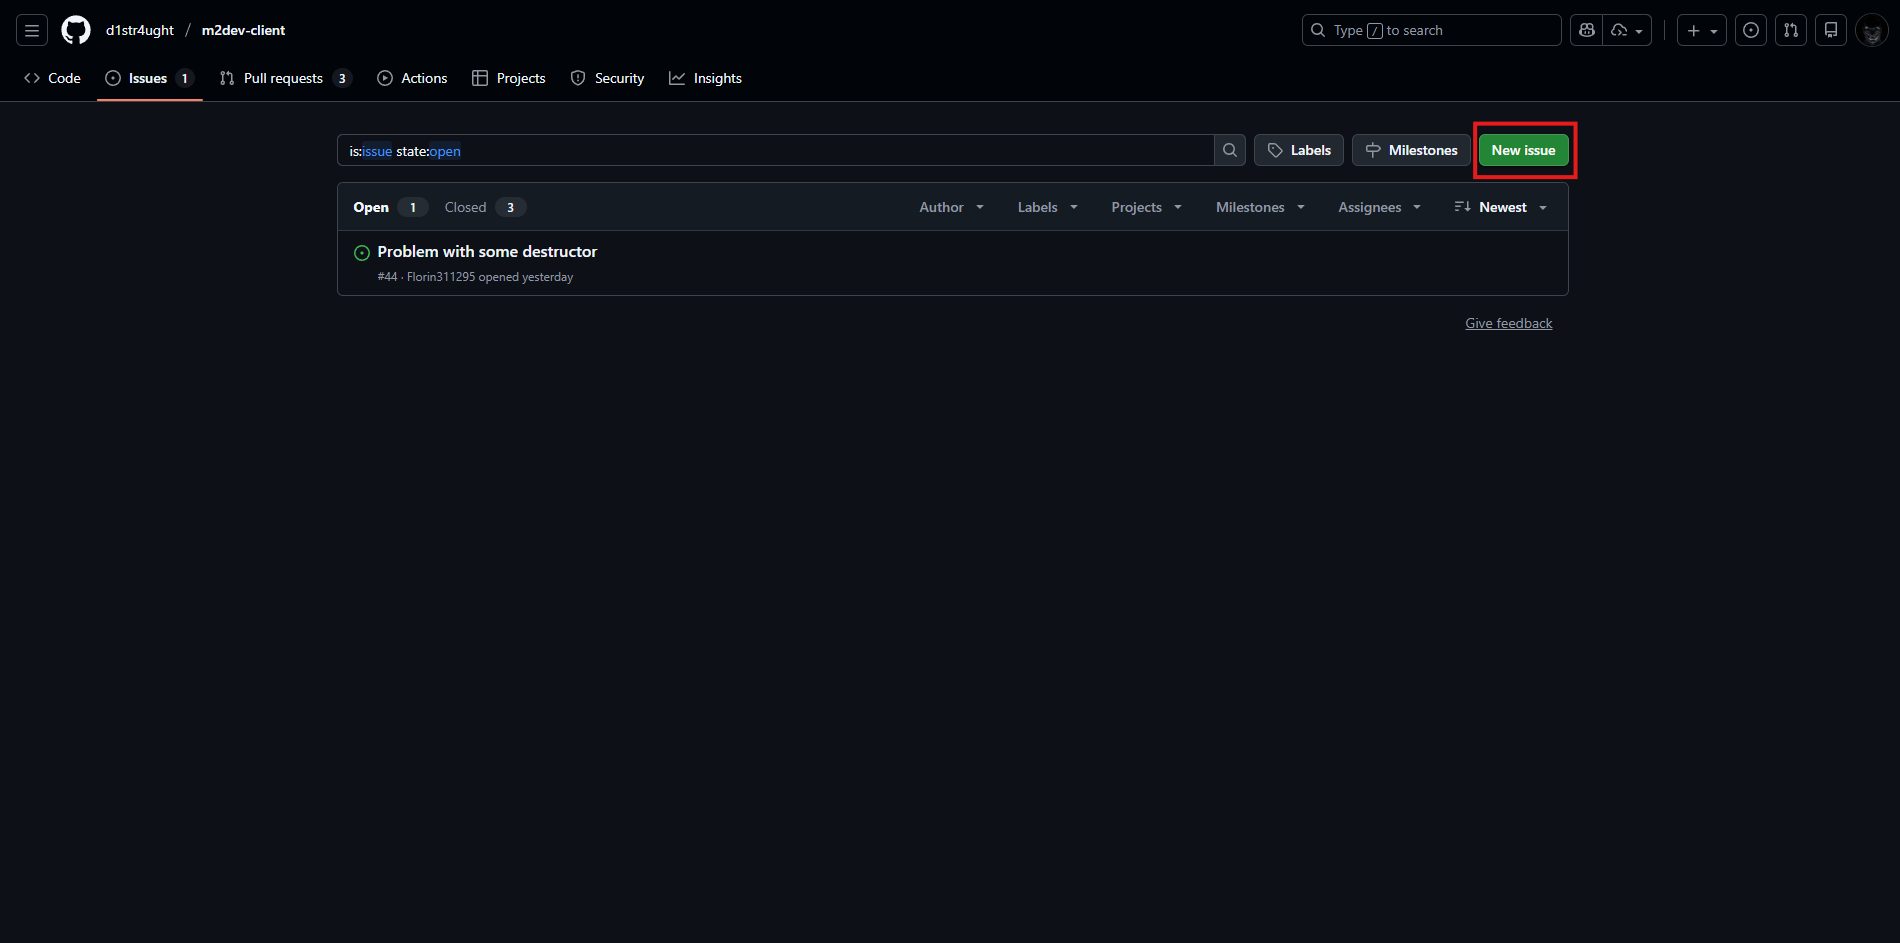
Click on the green button that says "New issue".
There describe your issue:
When the devs/maintainers see your issue, they will probably start fixing it (depends on how serious of a bug it is and how detailed your explanation was).
People don't like to waste their time or other people's time, the best your description is, the more likely it is for someone to show interest and the less chance you have to get a "What do you mean?" question and wait another 24 hours for someone to understand the issue.
Feeling ready to take on the WORLD??? Start by your first pull request!
The first step in becoming a legend
Ok, so you've played with the files and the source, you had a nice idea and you developed it. You have now anxiety depression from too much trial and error, your mortgage is 3 months behind, and you may have cried a little, but it's done! You TESTED THOUROUHLY, again and again, then woke up in the middle of the night to test ONE MORE TIME and you liked what you saw. You are ready for your first contribution to the project! 😂
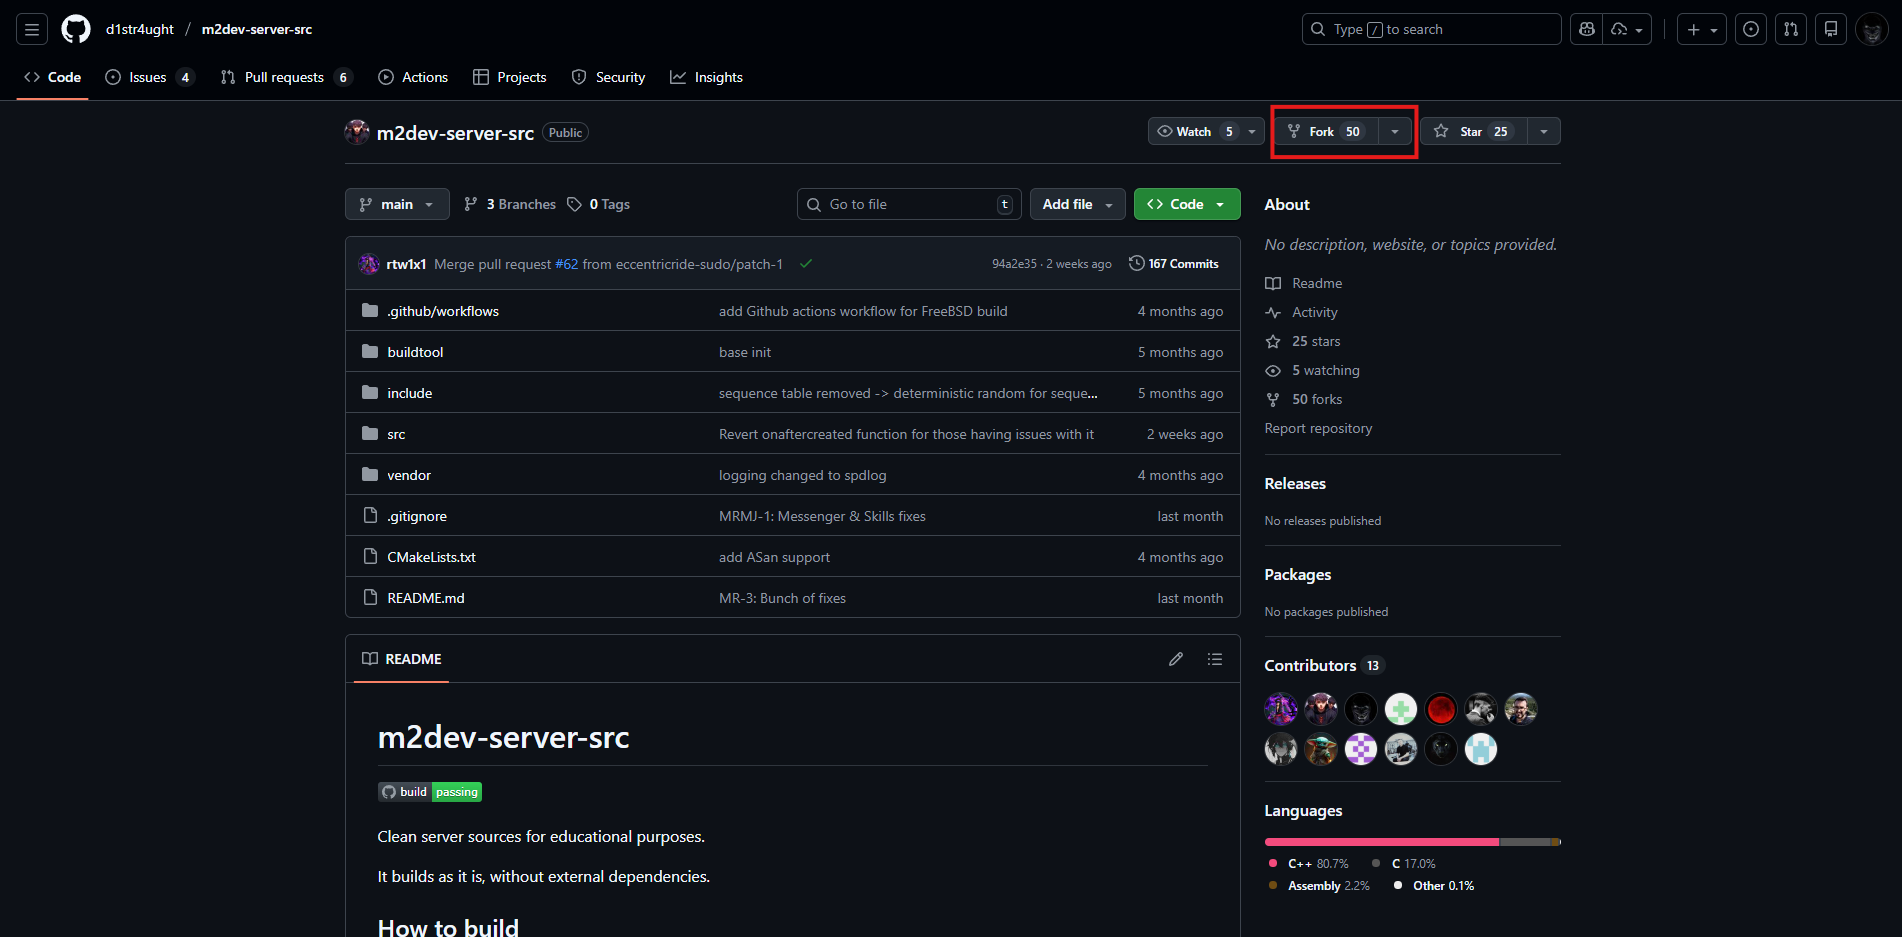
Here is an example on how to PR using the Server Source as an example.
First you need to fork the official project as a project of your own, an identical copy that you own, tied to the original one:
Accept the defaults and finish the fork creation.
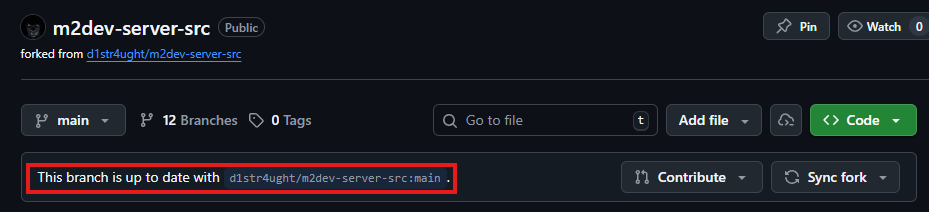
You now have the project in your repositories!
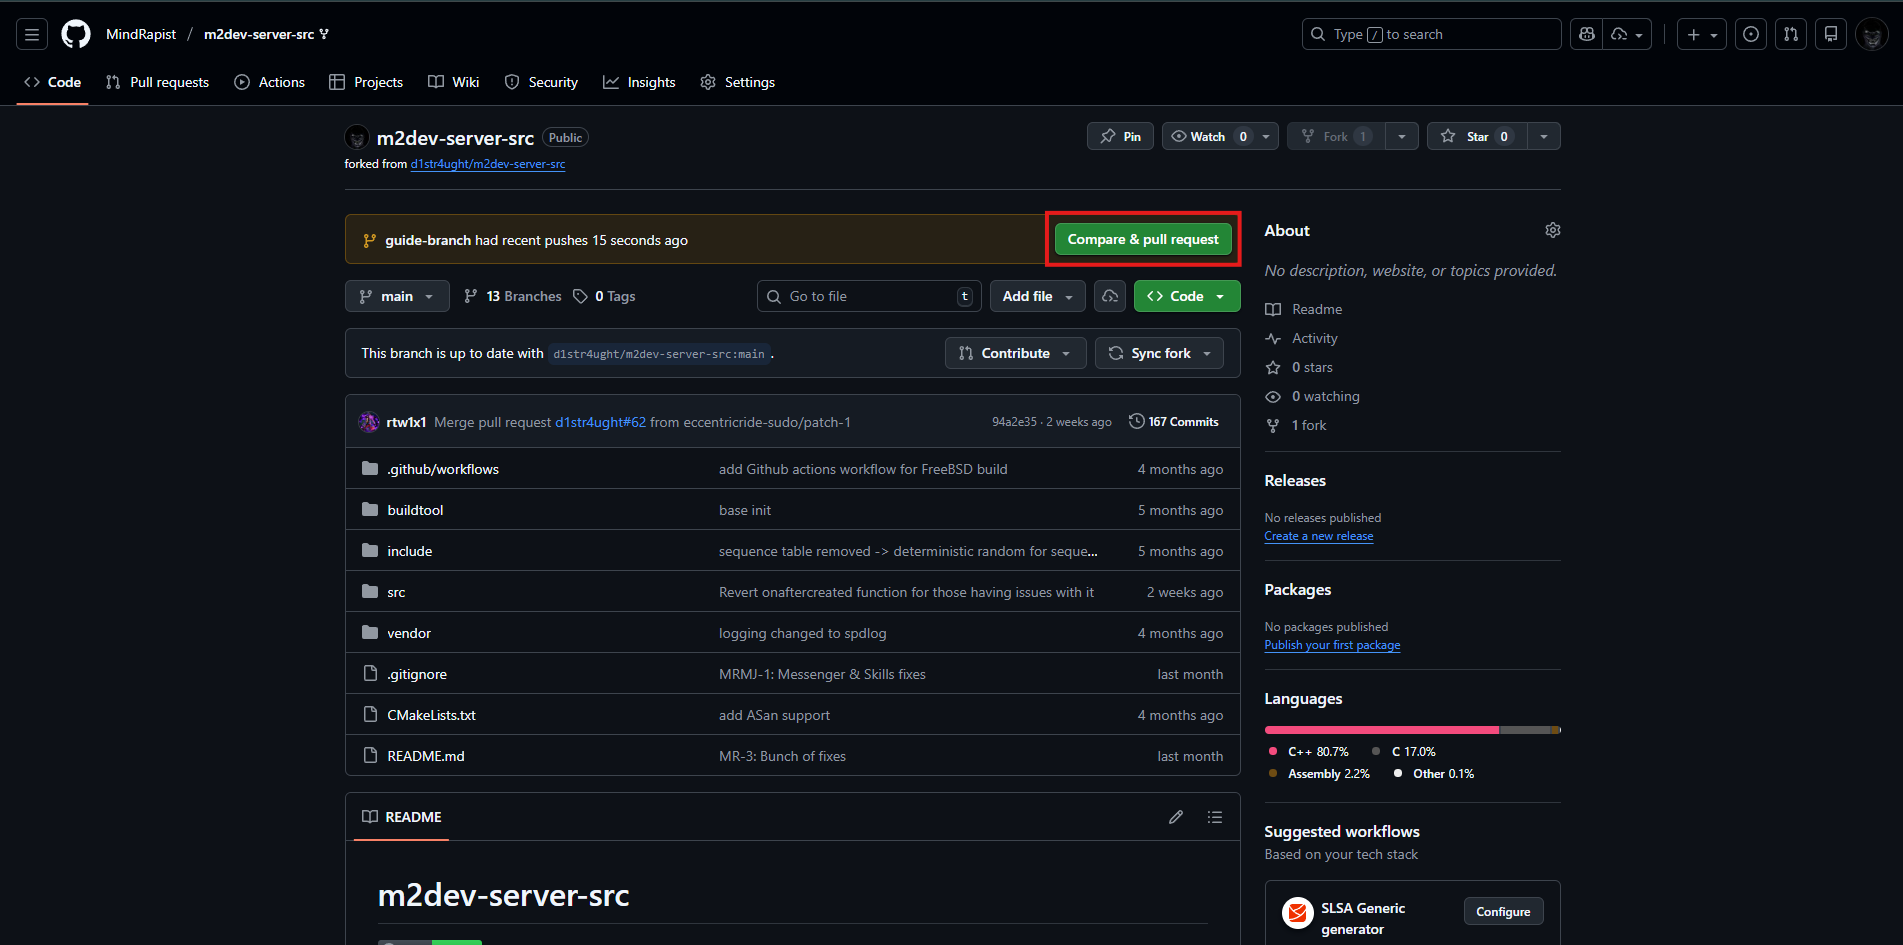
As you can see it says "forked from d1str4ught/m2dev-server-src".
Also the highlighted message means that there are no pending changes in the official repo that this fork is lacking, nor it has any changes that the upstream (official) repo doesn't have. This is the state your fork needs to be in order to push a PR!
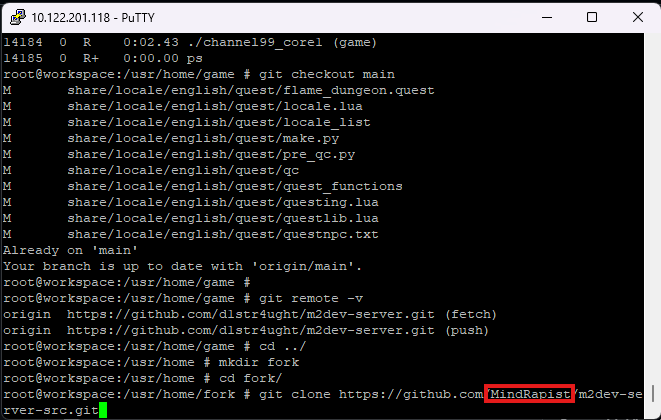
Next, you must download YOUR FORK. The upstream (official project) is not your fork and you cannot push a PR to it because it is not owned by you.
Go to your terminal and clone your fork:
Obviously type your own Github username in the URL.
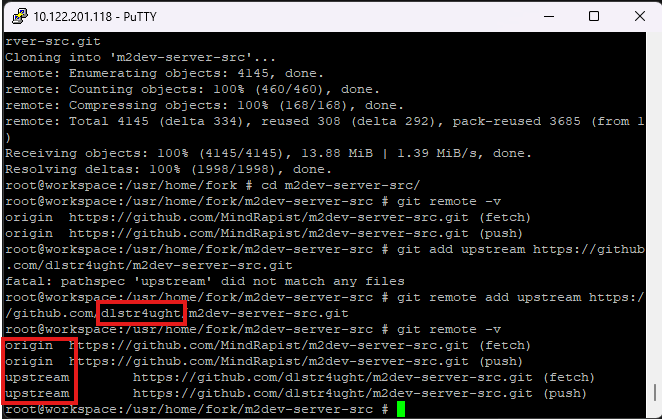
Now add an upstream. An upstream is a repo that your fork gets updates from and is checked against whenever you are looking for changes. Execute this command:
git remote add upstream https://github.com/d1str4ught/m2dev-server-src.gitThis time, use the link from the official project as the upstream.
Verify with
git remote -v
As you can see now we have 2 origins (your profile's URLs) and 2 upstreams.
Here is how to check for changes (very similar to the commands we saw earlier about updating the repos):
WARNING: This will overwrite all your modified files! Make sure they are copied in a safe place first!
git fetch upstream
git merge upstream/main
git clean -fd
That's it, simply replace
originwithupstreamand you are now updating your cloned fork with the official repo's latest updates.But these changes are only local. It is very important to update your fork in Github before pushing a PR. If you have ran all these commands, do the following:
git checkout main
git push origin main
Once this last one is done, any
X commits behindin your forked repo's page on Github should be gone and your fork should be updated to the latest version as the original project. You have basically made it a perfect copy.
You are now ready to PR your changes.
Copy all the modified files into the updated project clone folder at the right places.
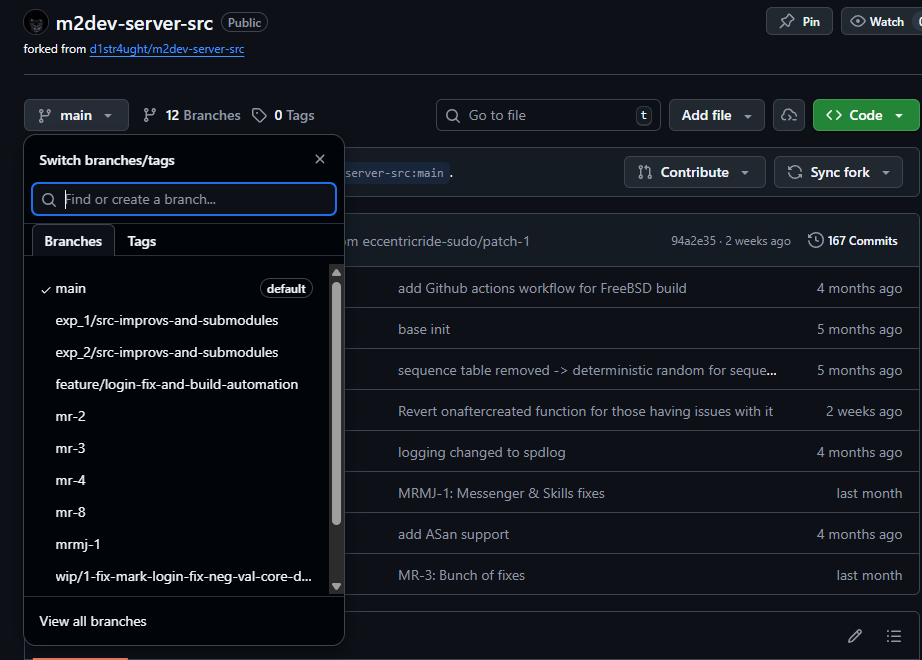
Now it is recommended to create a new branch for your PR to keep things organized and to have online backups in case something goes wrong.
Branches are different versions of the repository, the
mainis the default one and it is recommended to be always kept "clean".
After you have copied your modified files, go to the root folder of the project in your local machine and type these commands in the terminal:
git checkout -b new_branch_name
git add .
git commit -m "Fixed the pancake bug, added translations for dungeon X"
git push -u origin new_branch_name
You may need to login with your Github account in your terminal for pushing. If your password doesn't work:
- Go to the Developer settings in the Github website
- Go to Access tokens and create a new Classic token for general use
- Select the
reposcope and name they token.- Once you create it, copy the code in the green box, you won't have another chance to copy it
- Paste that code as your password in the terminal
Once your push is complete, you should be seeing your new branch in the forked repo page!
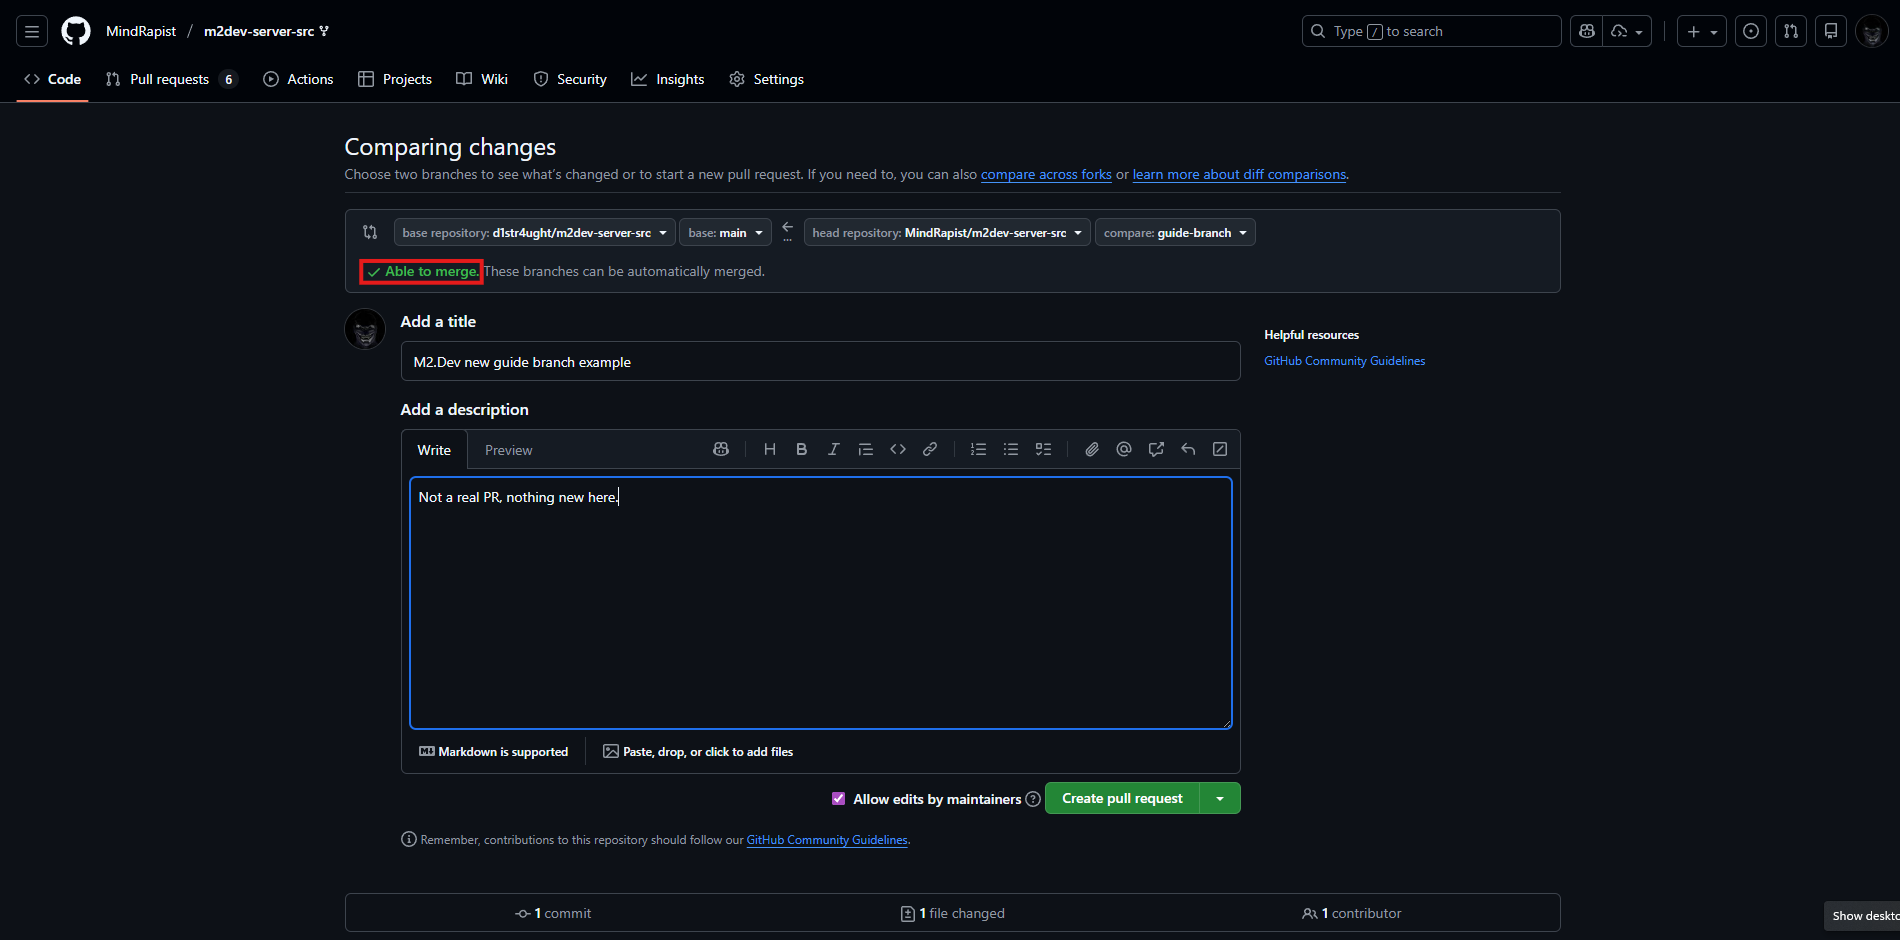
Click the Compare & pull request green button in order to submit your new updates as a PR.
Able to mergewith green font is good. Add a title if you don't have one already and click the green Create pull request at the bottom.
You should now have full knowledge of how to get started with your project and if you wish to, give back to the community!
Can't wait to see what you'll create!
After finishing this part, you should now have knowledge of:
- Updating your repos
- Forking your own copies of the repos
- Opening issues in Github
- Submitting PRs after you successfully update the code
To the entire community that's been supporting this project and makes things possible!
⭐ NEW: We are now on Discord, feel free to check us out!