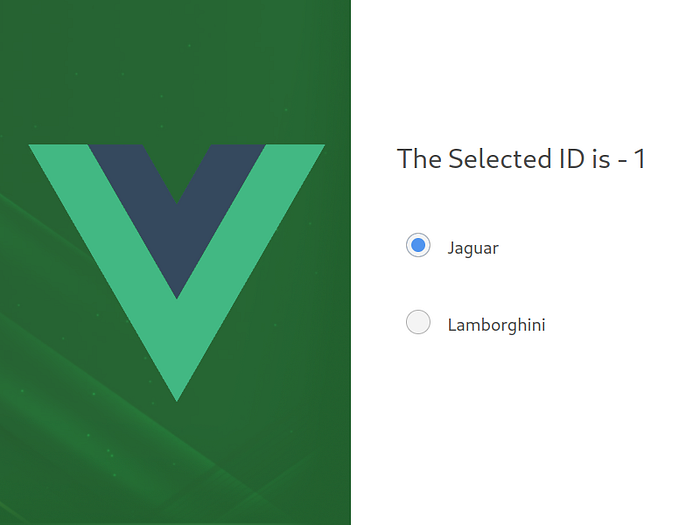
A comprehensive guide to building a reusable and customizable radio select list component in Vue.js with modern styling and functionality.
More information at - https://medium.com/@murilolivorato/creating-a-custom-radio-select-list-component-in-vue-js-d40436b74be5
This project demonstrates how to build:
- A custom radio select list component
- Interactive selection handling
- Custom styling with Bulma
- Event emission
- Form integration
- Accessible radio inputs
- Custom radio button styling
- Interactive selection handling
- Form integration
- Accessibility support
- Bulma CSS integration
- SCSS support
- Event emission
- Customizable appearance
- Node.js (v14 or higher)
- Vue.js 3.x
- npm or yarn
- Basic understanding of Vue.js components
- Basic knowledge of SCSS
- Create a new Vue project:
npm create vue@latest- Navigate to project directory:
cd your-project-name- Install dependencies:
# Install Bulma and SASS
npm install bulma
npm install -D sasssrc/
├── components/
│ ├── RadioSelect/
│ │ ├── RadioSelect.vue
│ │ └── RadioOption.vue
│ └── examples/
│ └── RadioSelectExample.vue
├── assets/
│ └── styles/
│ └── radio-select.scss
└── App.vue<!-- src/components/RadioSelect/RadioSelect.vue -->
<template>
<div class="radio-select">
<div class="radio-select__list">
<div
v-for="option in options"
:key="option.id"
class="radio-select__item"
:class="{ 'is-selected': modelValue === option.id }"
@click="selectOption(option.id)"
>
<input
type="radio"
:id="`radio-${option.id}`"
:value="option.id"
:name="name"
:checked="modelValue === option.id"
@change="selectOption(option.id)"
class="is-hidden"
/>
<label :for="`radio-${option.id}`" class="radio-select__label">
{{ option.label }}
</label>
</div>
</div>
</div>
</template>
<script setup>
import { defineProps, defineEmits } from 'vue'
const props = defineProps({
options: {
type: Array,
required: true,
validator: (value) => {
return value.every(option =>
typeof option.id !== 'undefined' &&
typeof option.label !== 'undefined'
)
}
},
modelValue: {
type: [String, Number],
default: ''
},
name: {
type: String,
required: true
}
})
const emit = defineEmits(['update:modelValue', 'change'])
const selectOption = (id) => {
emit('update:modelValue', id)
emit('change', id)
}
</script>
<style lang="scss" scoped>
.radio-select {
&__list {
display: flex;
flex-direction: column;
gap: 0.5rem;
}
&__item {
position: relative;
padding: 0.75rem 1rem;
border: 1px solid #dbdbdb;
border-radius: 4px;
cursor: pointer;
transition: all 0.2s ease;
&:hover {
border-color: #485fc7;
background-color: #f5f5f5;
}
&.is-selected {
border-color: #485fc7;
background-color: #f0f3ff;
.radio-select__label {
color: #485fc7;
font-weight: 600;
}
}
}
&__label {
display: block;
cursor: pointer;
user-select: none;
}
}
.is-hidden {
position: absolute;
opacity: 0;
pointer-events: none;
}
</style><!-- src/components/examples/RadioSelectExample.vue -->
<template>
<div class="container">
<h2 class="title">Select an Option</h2>
<RadioSelect
v-model="selectedOption"
:options="options"
name="example-radio"
@change="handleChange"
/>
<div class="mt-4">
<p>Selected Option: {{ selectedOption }}</p>
</div>
</div>
</template>
<script setup>
import { ref } from 'vue'
import RadioSelect from '../RadioSelect/RadioSelect.vue'
const selectedOption = ref('')
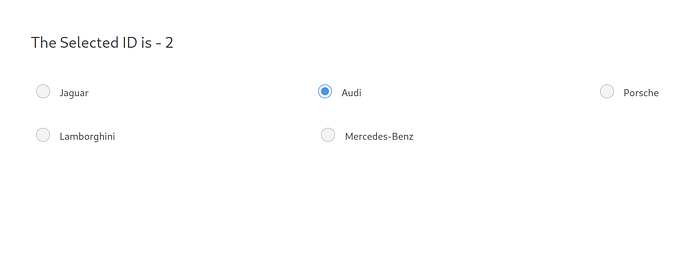
const options = [
{ id: 1, label: 'Option 1' },
{ id: 2, label: 'Option 2' },
{ id: 3, label: 'Option 3' },
{ id: 4, label: 'Option 4' }
]
const handleChange = (id) => {
console.log('Selected option:', id)
}
</script>
<style lang="scss" scoped>
.container {
max-width: 600px;
margin: 2rem auto;
padding: 0 1rem;
}
.mt-4 {
margin-top: 1rem;
}
</style><template>
<form @submit.prevent="handleSubmit">
<div class="field">
<label class="label">Select an Option</label>
<RadioSelect
v-model="formData.option"
:options="options"
name="form-radio"
@change="handleChange"
/>
</div>
<div class="field">
<button type="submit" class="button is-primary">
Submit
</button>
</div>
</form>
</template>
<script setup>
import { reactive } from 'vue'
import RadioSelect from '../RadioSelect/RadioSelect.vue'
const formData = reactive({
option: ''
})
const handleSubmit = () => {
console.log('Form submitted:', formData)
}
</script>options: Array (required)id: String/Number - Unique identifier for the optionlabel: String - Display text for the option
modelValue: String/Number (required) - v-model binding valuename: String (required) - Name attribute for the radio inputs
update:modelValue: Emitted when selection changes (for v-model)change: Emitted when selection changes with the selected option ID
The component can be customized using SCSS variables:
// src/assets/styles/_variables.scss
$radio-select-border-color: #dbdbdb;
$radio-select-hover-color: #485fc7;
$radio-select-selected-bg: #f0f3ff;
$radio-select-transition: 0.2s ease;You can extend the component's styling by adding custom classes:
<RadioSelect
  class="custom-radio-select"
  :class="{ 'is-large': isLarge }"
  ...
/>-
Accessibility
- Use proper label associations
- Implement keyboard navigation
- Use ARIA attributes
- Ensure proper contrast
-
Performance
- Use proper event handling
- Implement proper prop validation
- Use appropriate component structure
-
User Experience
- Provide clear visual feedback
- Implement smooth transitions
- Handle all interaction states
- Ensure responsive design
For questions, suggestions, or collaboration:
- Author: Murilo Livorato
- GitHub: murilolivorato
- linkedIn: https://www.linkedin.com/in/murilo-livorato-80985a4a/