This sample shows some new features introduced in DotVVM Business Pack 4.0.
- Make sure you have installed DotVVM for Visual Studio
-
Open the GitHub repo in Visual Studio or
git clone https://github.com/riganti/dotvvm-samples-businesspack4.git -
Open
src/BPSamples/BPSamples.sln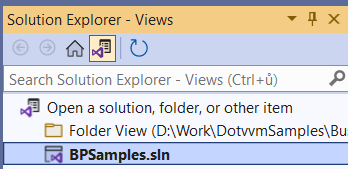
-
Make sure you have a license for DotVVM Business Pack or you have requested a free 30-days trial.
-
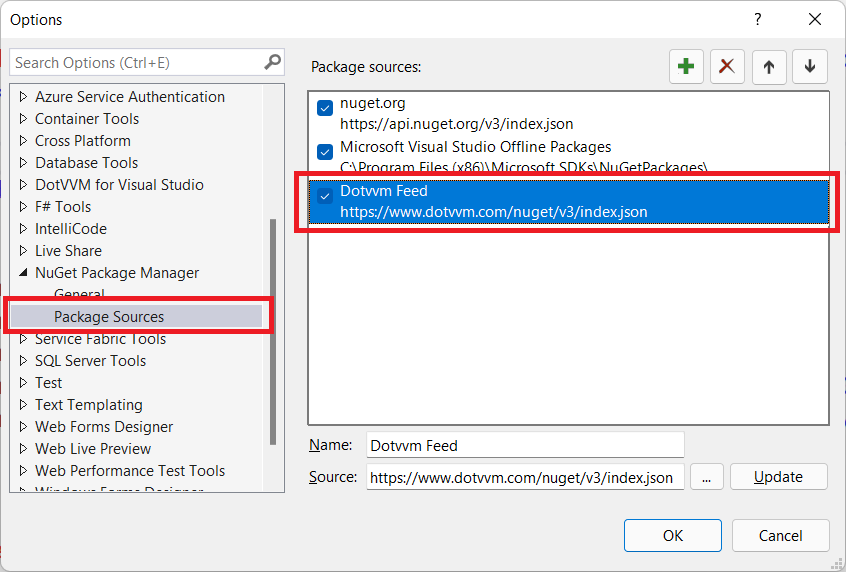
Open the Tools > NuGet Package Manager > Package Manager Settings and make sure you have the DotVVM Private NuGet Feed configured. If not, follow the steps to Configure DotVVM Private NuGet Feed.

-
Right-click the
BPSamples.CustomPropertiesproject and select View > View in Browser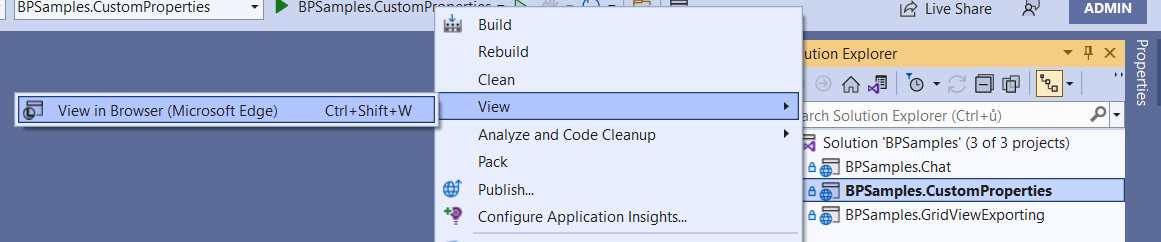
-
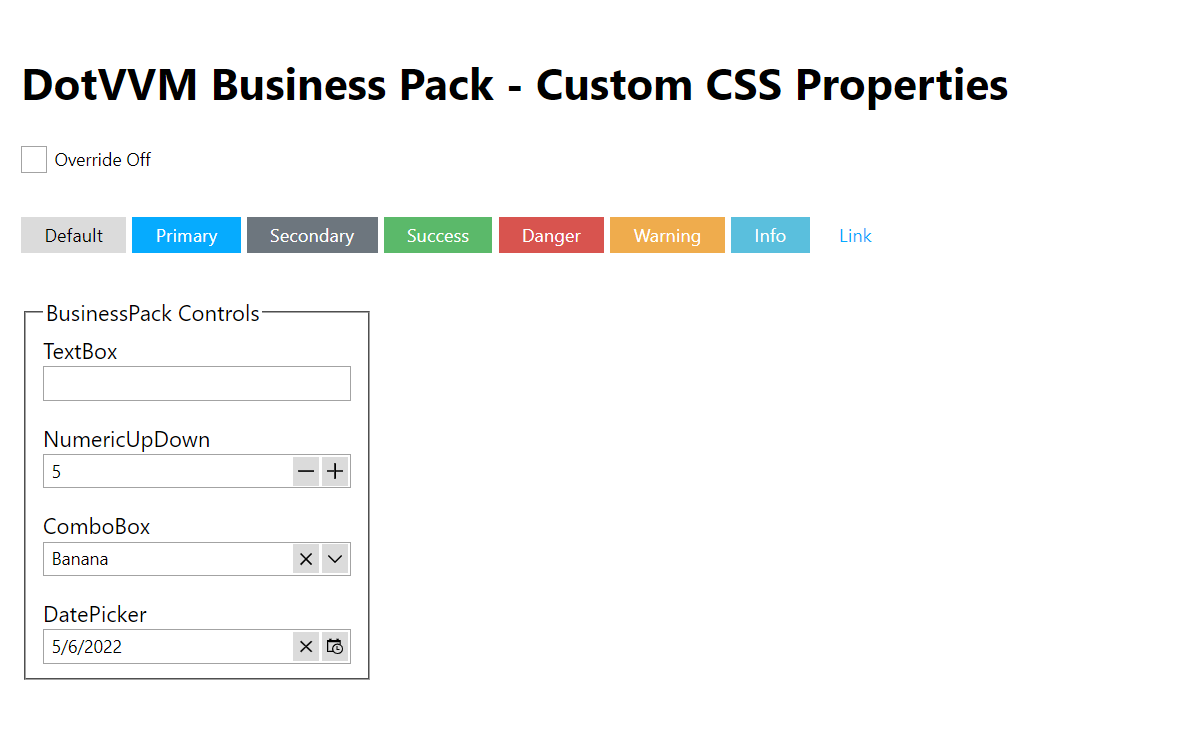
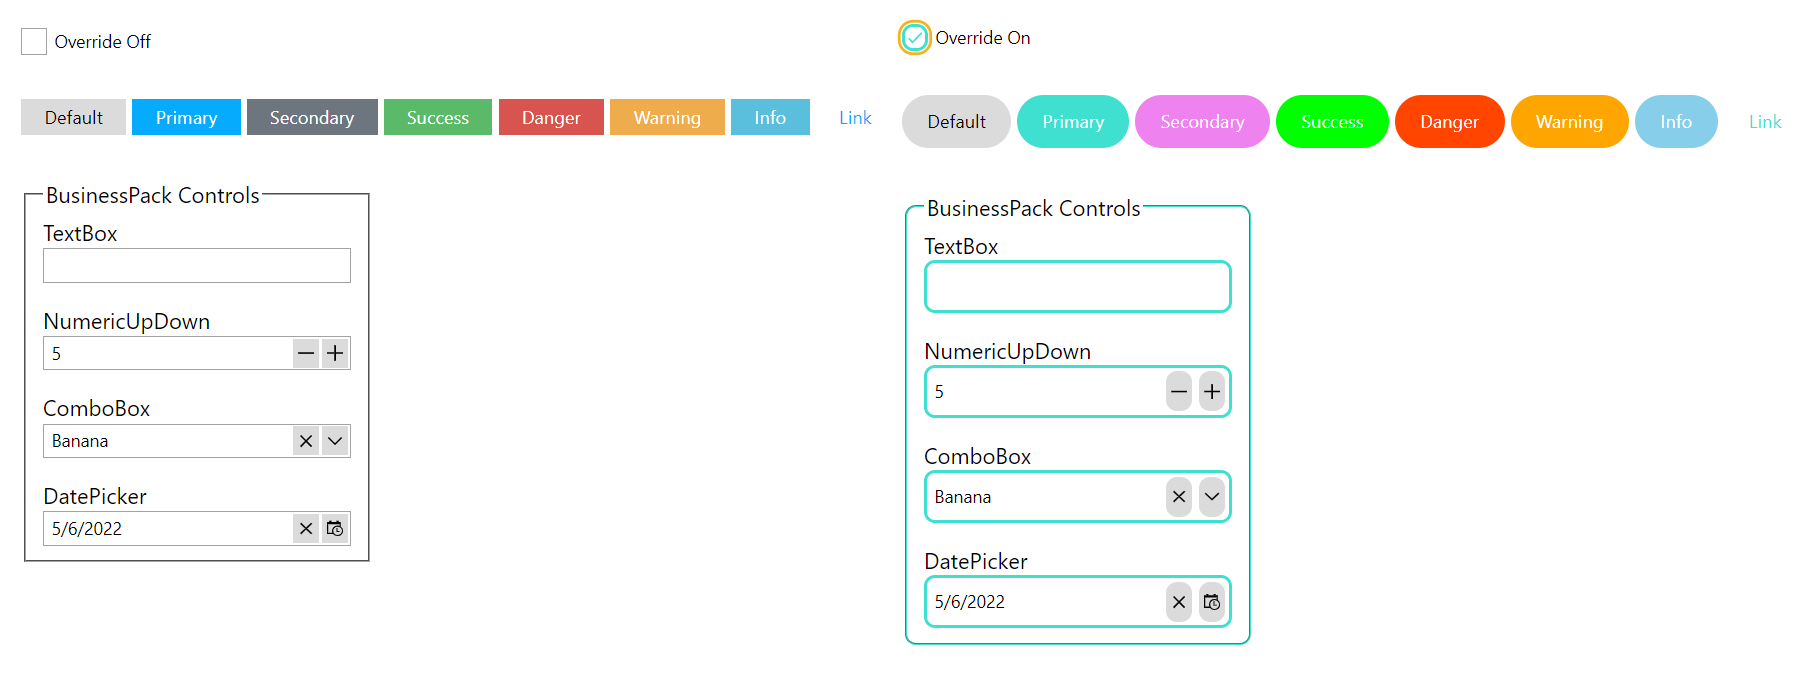
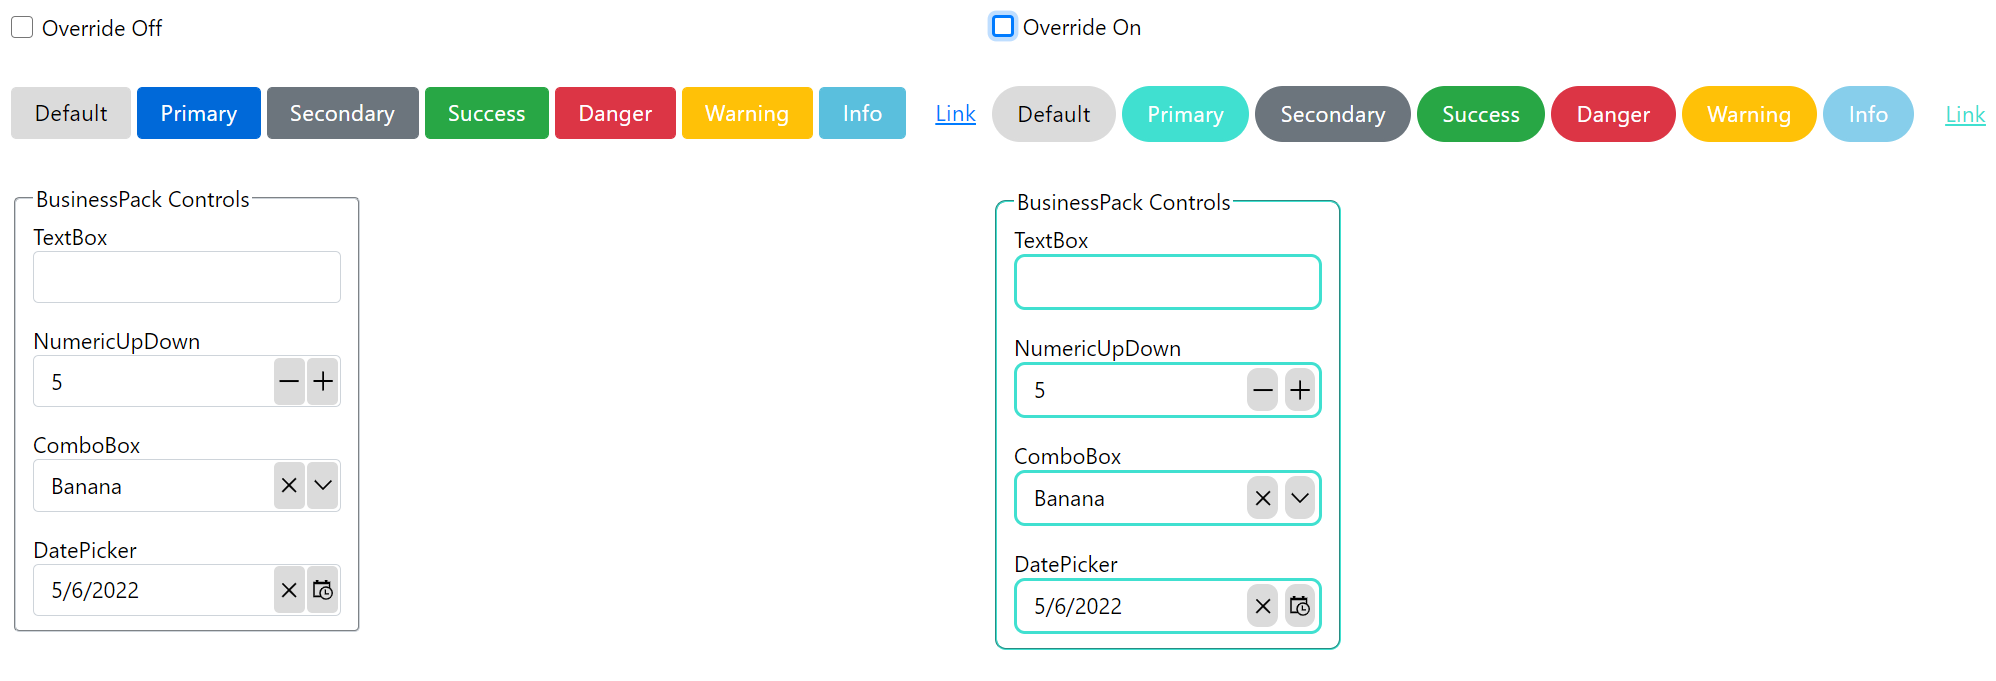
You can see the Business Pack components using the default style. Click on the checkbox to see the overriden style. You can find the overriden styles in the
src\BPSamples.CustomProperties\wwwroot\css\style.cssfile.
- You can try switching to the Bootstrap 4 theme by changing the theme in the
src\BPSamples.CustomProperties\DotvvmStartup.csfile in theConfigureServicesmethod.
-
Right-click the
BPSamples.GridViewExportingproject and select View > View in Browser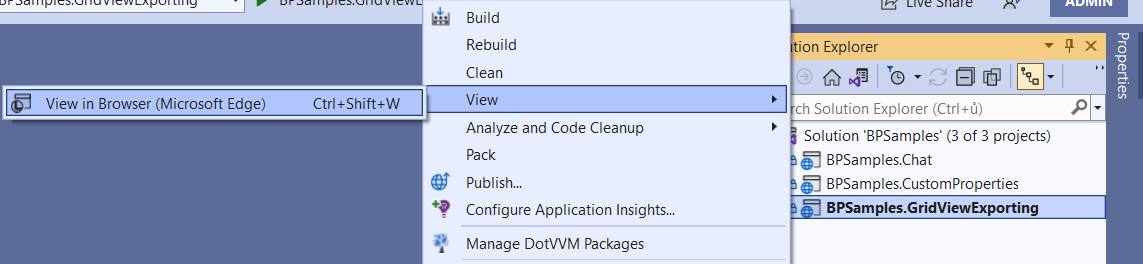
-
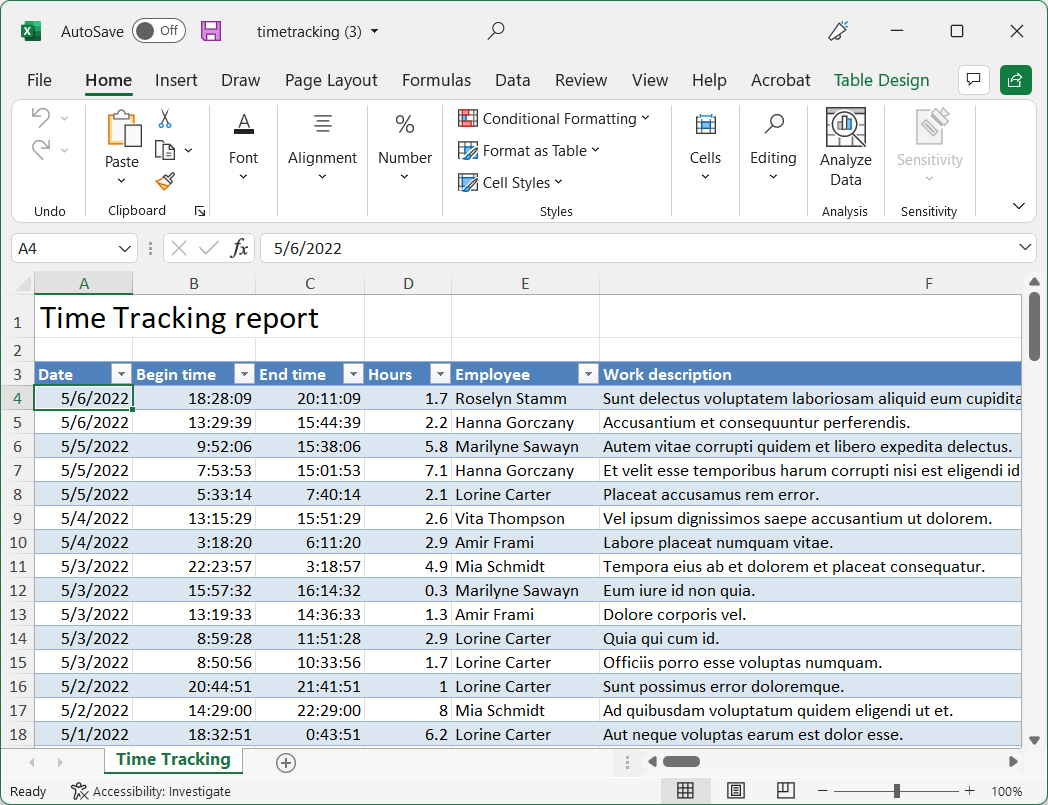
The application will auto-generate a sample data set. When you click the Export button, the Excel file will be generated. You can find the configuration of the export in
src\BPSamples.GridViewExporting\ViewModels\DefaultViewModel.csfile.
-
Right-click the
BPSamples.Chatproject and select View > View in Browser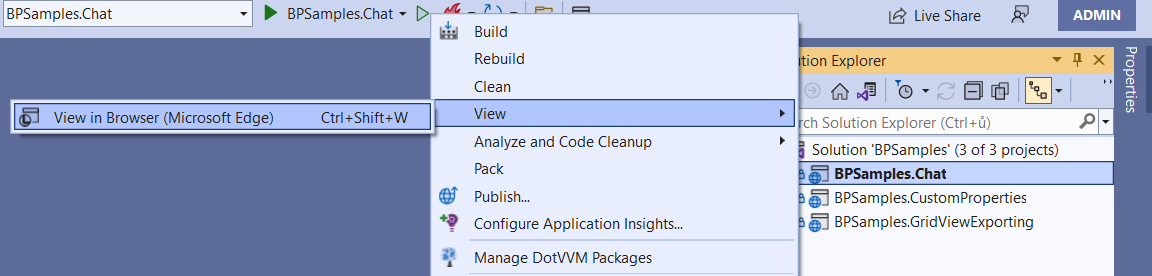
-
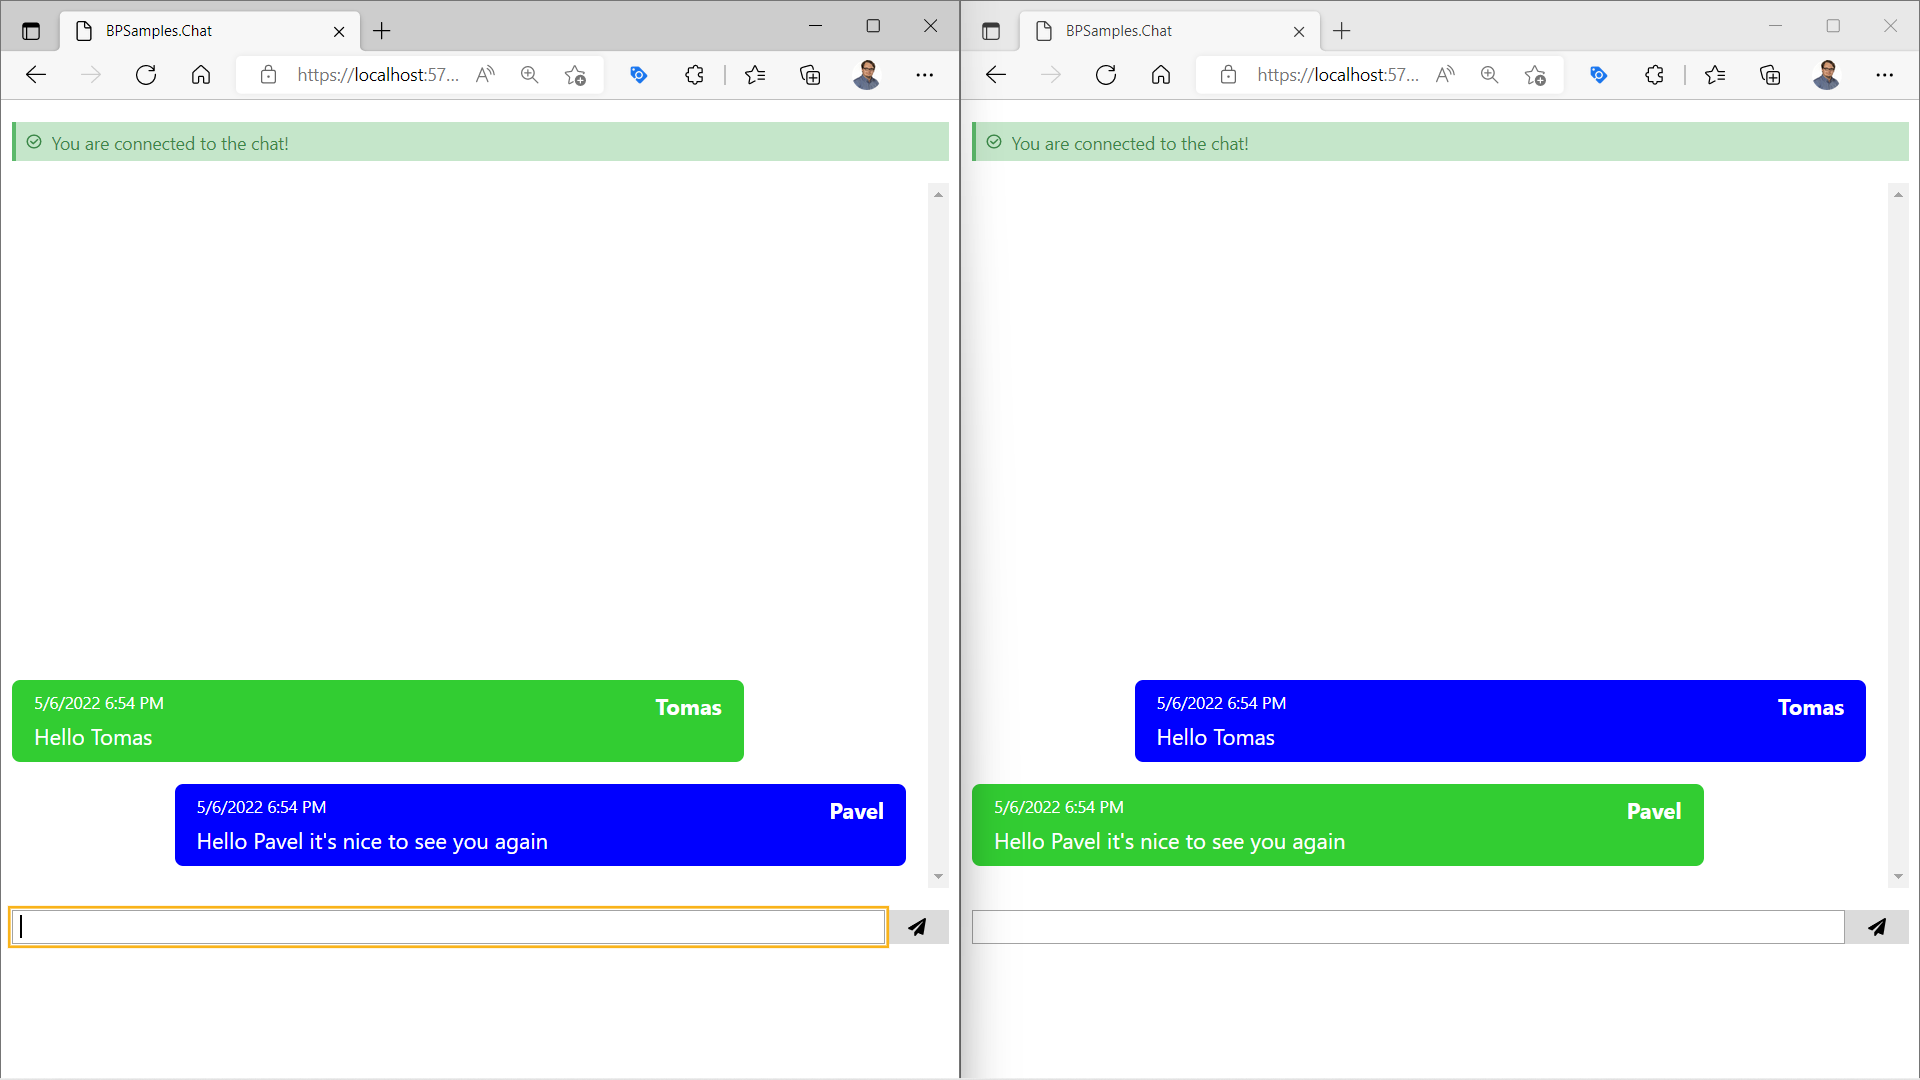
Repeate the same action again to open the app in a second tab.
-
Enter a different name in each tab.
-
Write chat messages and see how they are synchronized between the two tabs in the real-time.
- Using CSS variables to override DotVVM Business Pack look & feel
- How to customize Excel exports in GridView
- How to use the new
DotVVM.BusinessPack.Messagingpackage