このパッケージはCRANE+ V2 ROS 2パッケージのサンプルコード集です。
CRANE+ V2の起動方法はcrane_plus_examplesのREADMEを参照してください。

CRANE+ V2本体をPCに接続します。 接続方法は製品マニュアルを参照してください。
Note
CRANE+ V2本体が接触しないように、十分なスペースを確保してください。
USB通信ポートの設定についてはcrane_plus_controlの
README
を参照してください。
Note
正しく設定できていない場合、CRANE+ V2が動作しない、振動する、などの不安定な動きになるので注意してください。
-
標準のCRANE+ V2を使用する場合
次のコマンドでmove_group (
crane_plus_moveit_config)とcontroller (crane_plus_control)を起動します。ros2 launch crane_plus_examples demo.launch.py port_name:=/dev/ttyUSB0
-
Webカメラ搭載モデルを使用する場合
Webカメラ搭載モデルの場合は、次のコマンドを実行してください。
video_deviceは使用するWebカメラを指定してください。ros2 launch crane_plus_examples demo.launch.py port_name:=/dev/ttyUSB0 use_camera:=true video_device:=/dev/video0
-
標準のCRANE+ V2を使用する場合
次のコマンドでmove_group (
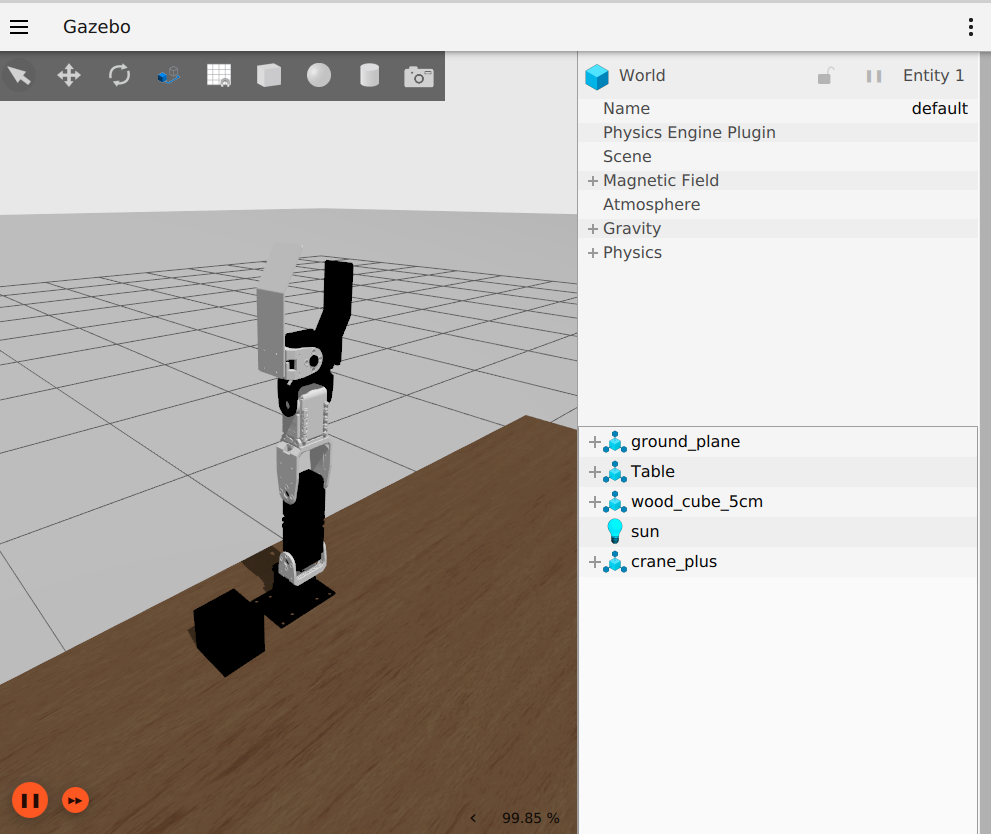
crane_plus_moveit_config)とGazeboを起動します。ros2 launch crane_plus_gazebo crane_plus_with_table.launch.py
-
Webカメラ搭載モデルを使用する場合
Webカメラ搭載モデルの場合は、次のコマンドを実行してください。
ros2 launch crane_plus_gazebo crane_plus_with_table.launch.py use_camera:=true
Note
CRANE+ V2の前にArUcoマーカ付きのBoxを置いたシミュレータ環境を使用する場合は次のコマンドを実行します。
aruco_detectionサンプルを実行する際に使用することを想定しています。
ros2 launch crane_plus_gazebo crane_plus_with_aruco_cube.launch.py use_camera:=trueNote
CRANE+ V2の前に赤いBoxを置いたシミュレータ環境を使用する場合は次のコマンドを実行します。
color_detectionサンプルを実行する際に使用すること想定しています。
ros2 launch crane_plus_gazebo crane_plus_with_red_cube.launch.py use_camera:=true次のコマンドでmove_group (crane_plus_moveit_config)とcontroller (crane_plus_control)を起動します。
ros2 launch crane_plus_examples demo.launch.py use_mock_components:=trueNote
Mock Componentsではカメラを使ったサンプルを実行することはできません。
準備ができたらサンプルプログラムを実行します。 例えばグリッパを開閉するサンプルは次のコマンドで実行できます。
ros2 launch crane_plus_examples example.launch.py example:='gripper_control'終了するときはCtrl+cを入力します。
Note
Gazeboでサンプルプログラムを実行する場合はuse_sim_timeオプションを付けます。
ros2 launch crane_plus_examples example.launch.py example:='gripper_control' use_sim_time:=truedemo.launch.pyを実行している状態で各サンプルを実行できます。
Note
実行できるサンプルの一覧は、example.launch.pyにオプション-sを付けて実行することで表示できます。
ros2 launch crane_plus_examples example.launch.py -s

Arguments (pass arguments as '<name>:=<value>'):

    'example':
        Set an example executable name: [gripper_control, pose_groupstate, joint_values, pick_and_place]
(default: 'gripper_control')グリッパを開閉させるコード例です。
次のコマンドを実行します。
ros2 launch crane_plus_examples example.launch.py example:='gripper_control'
group_stateを使うコード例です。
SRDFファイルcrane_plus_moveit_config/config/crane_plus.srdf
に記載されているhomeとverticalの姿勢に移行します。
次のコマンドを実行します。
ros2 launch crane_plus_examples example.launch.py example:='pose_groupstate'
アームのジョイント角度を1つずつ変更するコード例です。
次のコマンドを実行します。
ros2 launch crane_plus_examples example.launch.py example:='joint_values'
モノを掴む・持ち上げる・運ぶ・置くコード例です。
次のコマンドを実行します。
ros2 launch crane_plus_examples example.launch.py example:='pick_and_place'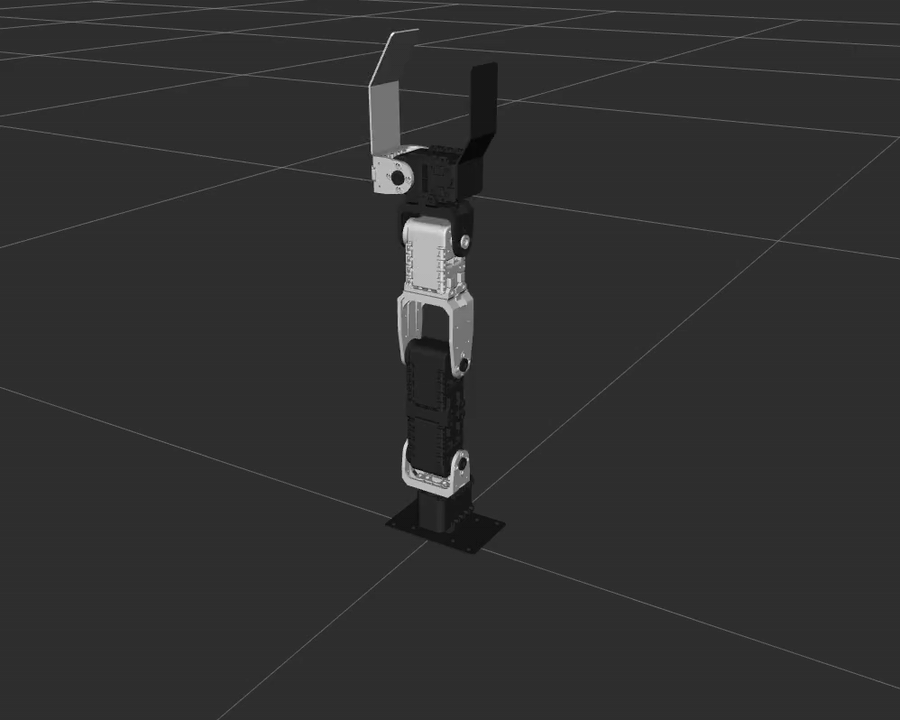
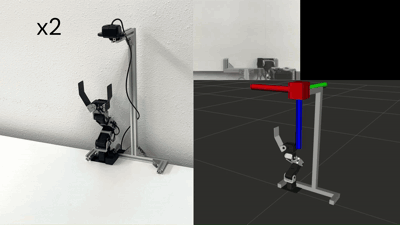
Webカメラ搭載モデルのカメラを使用したサンプルコードです。
「Webカメラ搭載モデルを使用する場合」の手順に従い、demo.launch.pyを実行している状態で各サンプルを実行します。
実行できるサンプルの一覧は、camera_example.launch.pyにオプション-sを付けて実行することで確認できます。
ros2 launch crane_plus_examples camera_example.launch.py -s

Arguments (pass arguments as '<name>:=<value>'):

    'example':
        Set an example executable name: [color_detection]
        (default: 'color_detection')
モノに取り付けたArUcoマーカをカメラで検出し、マーカ位置に合わせて掴むコード例です。
- マーカはaruco_markers.pdfをA4紙に印刷し、一辺50mmの立方体に取り付けます。
- 検出されたマーカの位置姿勢はtfのフレームとして配信されます。
- 各マーカはそれぞれ異なる
tfフレームとして配信され、ID0のマーカはframe_id=target_0になります。 - 掴む対象は
target_0に設定されています。 - マーカ検出にはOpenCVを使用しています。

次のコマンドを実行します。
ros2 launch crane_plus_examples camera_example.launch.py example:='aruco_detection'特定の色の物体を検出して掴むコード例です。
- デフォルトでは青い物体の位置をtfのフレームとして配信します。
- tfの
frame_idはtarget_0です。 - 色の検出にはOpenCVを使用しています。
次のコマンドを実行します。
ros2 launch crane_plus_examples camera_example.launch.py example:='color_detection'