🚧 Some M5.Lcd function NOT yet implemented! (Look here ) 🚧
OpenCV (Version 4.3.0 Recommended)
VisualStudio 2019 (Windows)
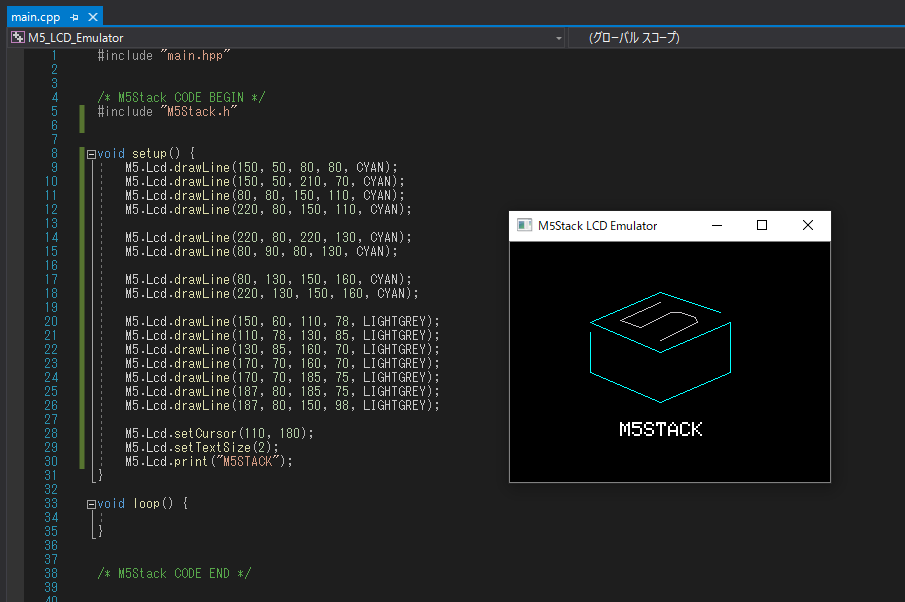
Sample code (show main.cpp) /* M5Stack CODE BEGIN */ include " M5Stack.h" void setup () {
for (int i = 0 ; i < COLORS_NUM ; i++) {
M5 .Lcd .fillScreen (COLORS [i]);
delay (1000 );
}
M5 .Lcd .fillScreen (BLACK );
for (int i = 1 ; i < 8 ; i++) {
M5 .Lcd .setTextSize (i);
M5 .Lcd .print (" Hello World\n " /* M5Stack CODE END */
Open M5_LCD_Emulator.sln.
Press Ctrl+F5.
Execute cd M5_LCD_Emulator/M5_LCD_Emulator.
Execute make.
Execute ./m5hello.
Setup OpenCV (Windows with VisualStudio)
Download OpenCV from here .
Extract to install directory (exp. C:\).
Add C:\opencv\build\x64\vc14\bin to environment path.
Make empty project.
Select x64 platform.
Open Project -> Property.
Open VC++ directory > Include directory and add C:\opencv\build\include.
Open VC++ directory > Library directory and add C:\opencv\build\x64\vc14\lib.
Open Linker > Input > Additional dependent files and add opencv_worldxxxd.lib. (xxx is version, look at opencv dir)
Install some package for build OpenCV.
sudo apt update
sudo apt upgrade -y
sudo apt install build-essential git cmake pkg-config
sudo apt install libgtk2.0-dev libcanberra-gtk-module libcanberra-gtk3-module
Download OpenCV from here .
Extract to install directory (exp. ~/).
Execute below command to build OpenCV.
cd ~
cd opencv-4.3.0
mkdir build
cd build
cmake -D CMAKE_BUILD_TYPE=Release -D CMAKE_INSTALL_PREFIX=/usr/local ..
make -j4
sudo make install
Export include path (If you need, write below command to ~/.bashrc).
export CPATH=/usr/local/include/opencv4