This guide explains how to jailbreak your Kindle using WinterBreak, then convert it into a personal dashboard with TRMNL.
As of June 10, 2025 this is a beta release. Issues and PRs are welcome. Tested on 10th gen, 12th gen Kindle e-ink displays.
- A PC/Mac
- TRMNL BYOD license or BYOD/S client. No* purchase necessary.
- Registered Kindle (6th gen or later)
- Kindle connected to WiFi
* - for a 100% free DIY approach, modify our TRMNL_KINDLE Zip (Step 19 below) to point to your own server.
WinterBreak is a jailbreak released by HackerDude on New Year’s Day 2025. It's based on Mesquito and allows Kindle users to run custom applications like TRMNL. Special thanks to their many contributors and beta testers.
Note: Mesquito does NOT work on Kindle firmware 5.18.1 and later. Open your Kindle's settings tray > All Settings > Device options > Device info to determine which version you're using. If newer than 5.18, roll back.
Download the latest WinterBreak:
Turn on Airplane Mode on your Kindle. Swipe down or tap the battery icon in the top right corner to access the tray.
From the same settings tray as Airplane Mode, click All Settings > Device options > Restart. Pending your Kindle device and firmware, you may see either modal option below.
- After reboot, connect Kindle to PC.
- Extract
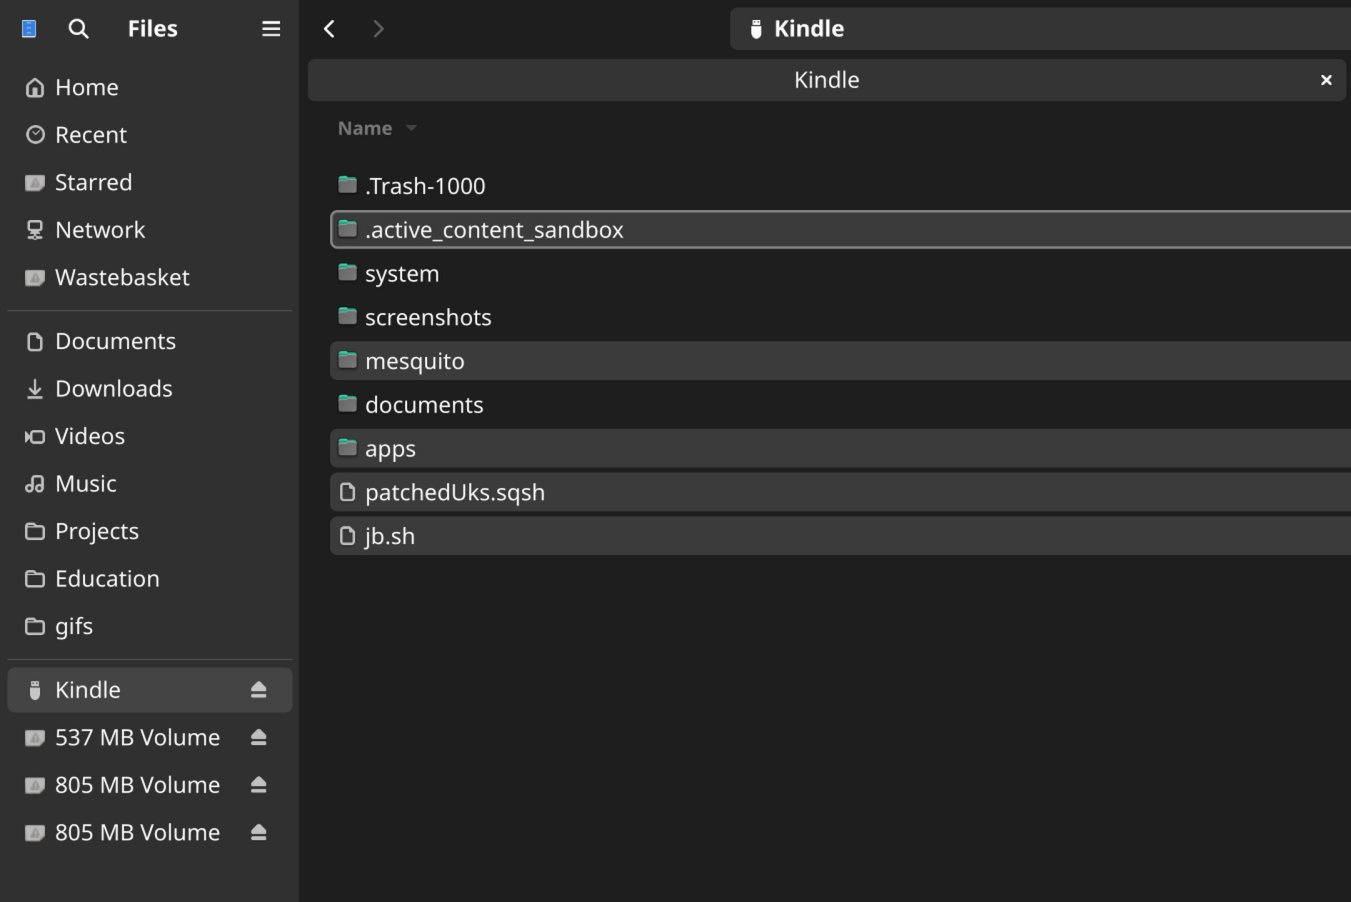
WinterBreak.tar.gzon your computer, then copy all enclosed files to Kindle. - For Linux/Mac users, ensure
.active_content_sandboxfolder is also copied. See troubleshooting below for help accomplishing this.
Replace files if prompted.
Troubleshooting (Mac) - Kindle doesn't appear connected
If you connected the Kindle via USB but don't see it, install the ConnectMyKindle app.
Open the app, then click "Open USB File Manager" in the top right. The default app will not work.
Drag all files from the extracted WinterBreak folder:
To ensure the hidden .active_content_sandbox content is also copied, open the hidden folder from your terminal and then drag/drop the store directory into the Kindle's existing .active_content_sandbox directory.
- Eject your Kindle by clicking "Disconnect" on the device screen.
- Open the Kindle Store by clicking the cart icon and turn Airplane Mode back "off" when prompted.
Click the WinterBreak icon after the Kindle store reloads.
If you don't see this, follow these steps to factory reset, drag/drop Winterbreak files before* signing into Amazon, delete the LocalStorage folder if exists, etc. While building this TRMNL jailbreak guide we experienced both scenarios with different Kindle devices. Also delete ku and mfa folders if exist.
deleting KU, MFA folders
deleting LocalStorage folder
Wait ~30 seconds for the confirmation message ("Finished installing jailbreak"), then turn Airplane mode back on.
Download universal hotfix:
Important: Uninstall OTARenamer if previously installed.
Connect Kindle to your computer and copy Update_hotfix_universal.bin. Delete any other .bin files present.
- Eject/Disconnect Kindle from your computer.
- Open the settings tray > All Settings → Three dots → Update Your Kindle.
Confirm when asked to update.
After installation, run the Hotfix by opening Run Hotfix or Run Bridge from your Kindle library. It will say "opening" for several seconds, then should switch to restarting your device, with a progress bar.
Run the Hotfix after every OTA update.
- Newer Kindles (6th gen +): KUAL Coplate
- Legacy Kindles: KUAL Legacy
- Extract MRPI, copying the
extensionsandmrpackagesfolders to Kindle. - Extract KUAL and copy the
.binfile into Kindle'smrpackagesfolder.
extracting MRPI
extracting KUAL
Safely eject (disconnect) and unplug your Kindle.
Run MRPI by typing ;log mrpi into the search bar and pressing enter. Nothing will happen for a few seconds, then your device screen may go blank.
Wait until installation completes and KUAL book appears in your library.
Note: an "Application Error" dialog may appear; this is normal.
(Skip this step if using a BYOS server and do not have a TRMNL account)
Inside TRMNL visit your BYOD device settings via the top-right > gear cog icon. Select your Kindle edition in the Device Model dropdown. Do not save the changes just yet.
Still on the BYOD device setting page, scroll down to the Device Credentials section and enter your Kindle's MAC address. Save all changes on this screen.
You can find the MAC address of your Kindle by navigating to Settings → Device Options → Device Info on your device (this might differ slightly by kindle models and firmware versions).
Download your TRMNL KUAL package. Log into usetrmnl.com and find your Device ID by navigating to the top-right dropdown > clicking a device. Your Device ID will be in the URL, e.g. 1234.
Next, construct this URL and visit in a new tab:
https://usetrmnl.com/devices/<device-id>/kindle/TRMNL_KINDLE.zip
This will download a file, TRMNL_KINDLE_<date>.zip.
If you do not have a TRMNL account with BYOD license, you can instead try the zip_example contents and point the URL to your BYOS setup.
Do this on your computer.
Connect USB and enter drag/drop mode.
Copy the TRMNL_KINDLE folder to Kindle’s extensions folder. It may be named TRMNL_KINDLE_20250415 with a datestamp at the end.
- The API key is already included in the TRMNL_KINDLE folder, however if you are using the example from this repo, then you need to
login to your TRMNL account and grab the API Key associted with your BYOD license.
Create a new file called
apikey.txtin theTRMNL_KINDLEdirectory that only has your API Key in it
Safely eject (disconnect) your Kindle.
Launch KUAL from your Kindle library.
- Press the TRMNL button, then select Start TRMNL.
Your Kindle is now successfully running TRMNL!
Troubleshooting JSON error
You may see an error, such as Fetching JSON... error.. Retry in 60s. This likely means you are still in Airplane Mode. Disble Airplane Mode, then re-open KUAL > TRMNL > Start TRMNL.
Our team is working to accommodate multiple Kindle device frame dimensions, open source more the TRMNL_KINDLE jailbreak logic for easy extension, and handle Kindle device "sleep" screens + redraws.
Issues and PRs welcome!


