Card Edition. Quick start
- Connect the USB cable to your PC, press and hold the device button, then quickly connect the charging cable twice, the green LED will be solid, and a virtual disk with T1000-E volume name should appear in your "File manager" afterwards ;
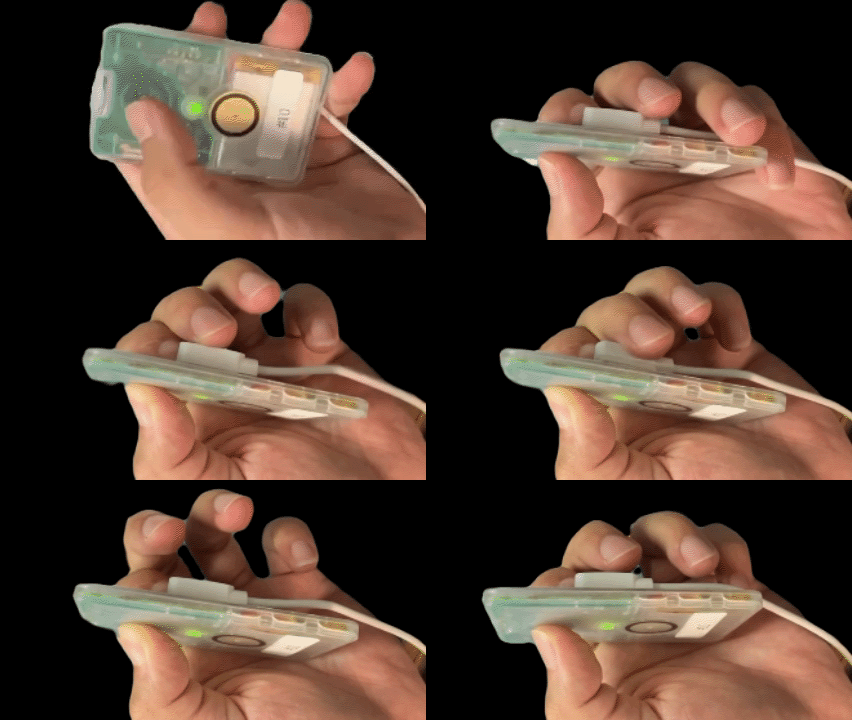
-
Download a release of Meshtastic firmware for nRF52840 ( file name firmware-nrf52840-X.X.X.XXXXXXX.zip ) from this location then extract Meshtastic_nRF52_factory_erase_v3_S140_7.3.0.uf2 from the ZIP ;
-
Drag the Meshtastic_nRF52_factory_erase_v3_S140_7.3.0.uf2 file by your pointing device (mouse, trackball,...) , then drop it into T1000-E disk. Wait until the file transfer is complete ;

Tip
If the T1000-E disk does not come up after the Meshtastic nRF52 factory erase - reconnect the USB cable twice while holding the button pressed, as explained on the Step 1
Important
This step is required to remove some data left from Meshtastic in the T1000-E device flash memory . SoftRF Bluetooth LE feature may fail to operate properly if this step is not done
-
Download t1000_e_bootloader-0.9.2_s140_6.1.1.zip file from this location ;
-
Download adafruit-nrfutil file from this location and extract the ZIP ;
-
Update the bootloader. Use this picture as a reference:

Important
This step is required because Meshtastic for T1000-E uses SoftDevice 7.3.0 while SoftRF uses SoftDevice 6.1.1 across all the nRF52 devices being supported
- Inspect that the update gives positive effect necessary:

- Follow regular instructions to install SoftRF firmware binary into your Card Edition ;

- Turn on power of your SoftRF unit by the button press and release. Wait until 4 tones beep ;
- Move your Card into an area of good GPS/GLONASS reception and wait few minutes until it will pick satellites up.
The device will start to transmit as soon as it gets a GNSS fix ;
- Use SoftRF Tool
 to connect with the Card:

-
Install XCSoar app from Google Play.
-
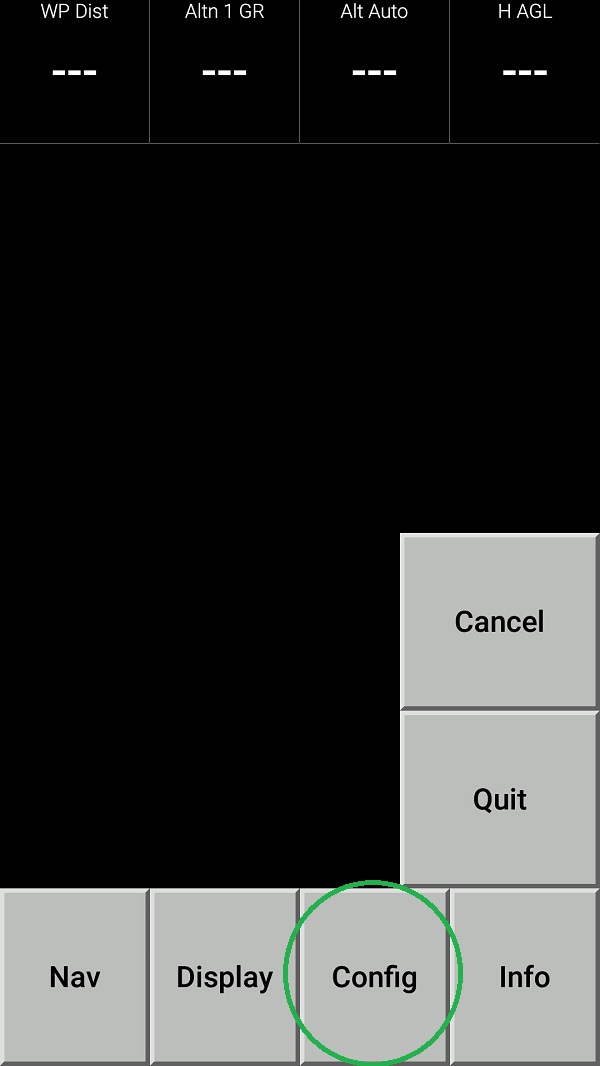
Open the XCSoar app in Fly mode. Double tap the screen then select Config:
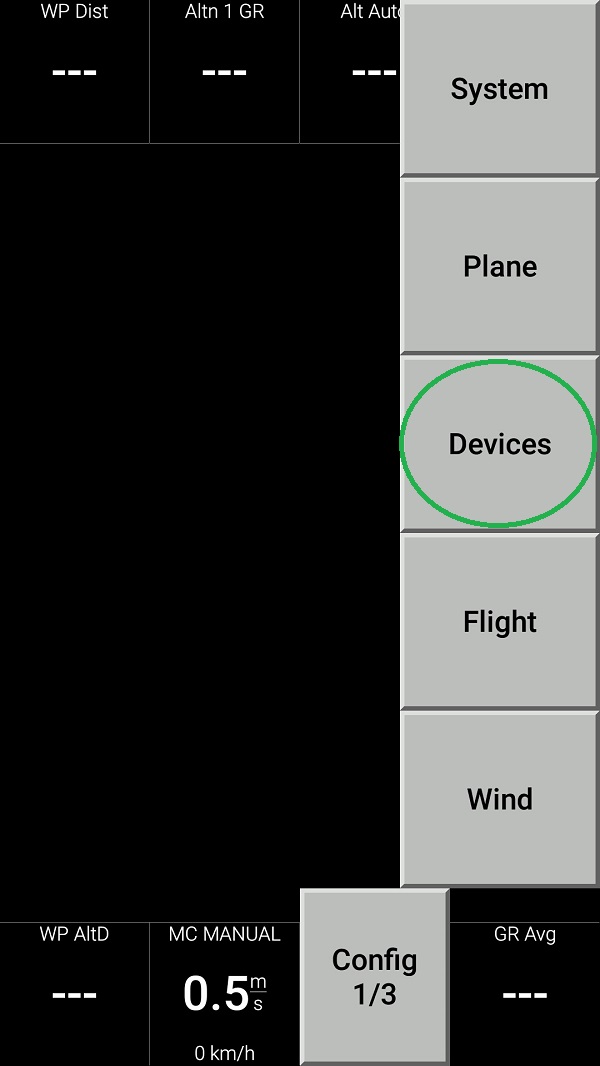
3 Select Devices:
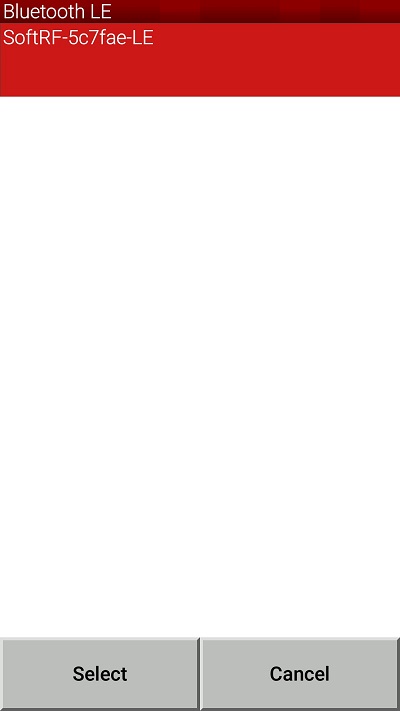
- Push Edit button then configure the device as follows:
 |
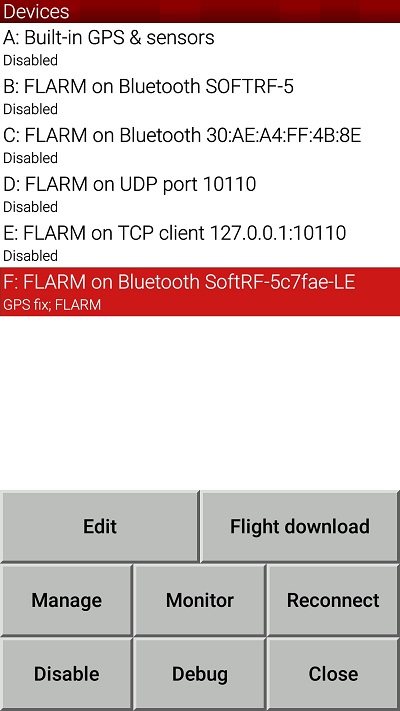 |
|---|
- Use Monitor button to inspect appropriate NMEA data flow
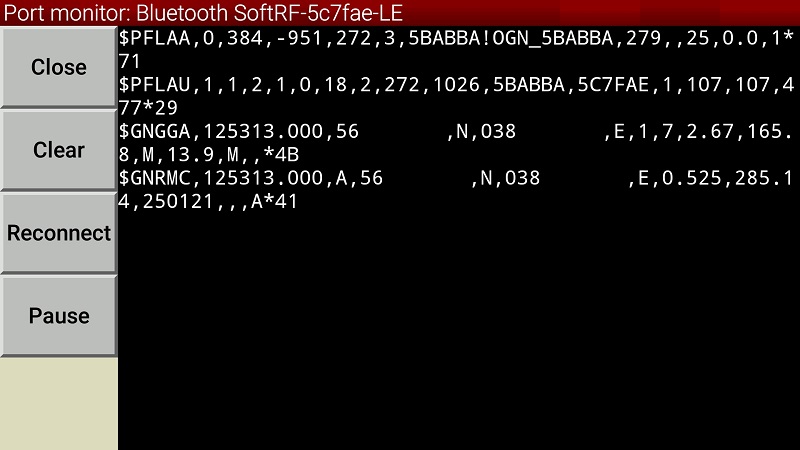
- Return all the way back to XCSoar main screen:
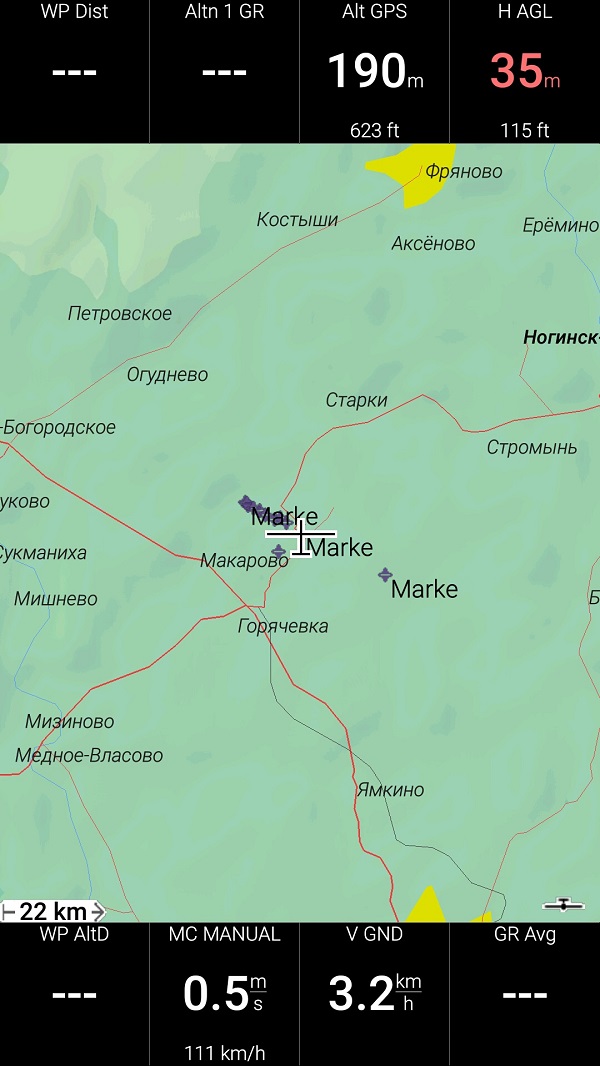
- Swipe three times to the left to reach Radar View. When any other traffic (another SoftRF unit or OGN Tracker) is around - you should see it on this screen:
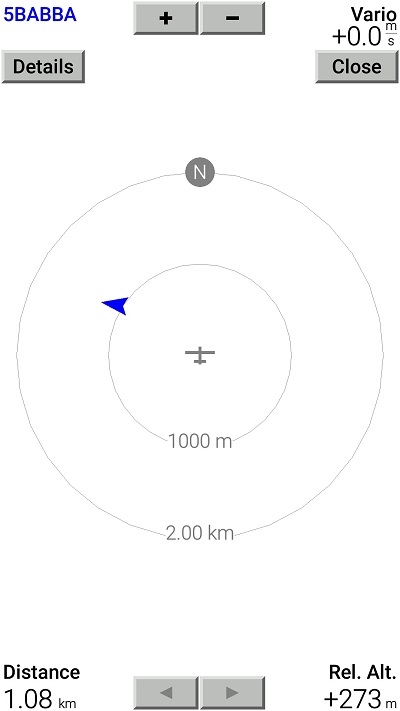
Follow these instructions on the Seeed Studio wiki to bring Meshtastic firmware back.
Install the bootloader first, then install the Meshtastic.
SoftRF
-
Standalone

- UAV
-
LoRa module
-
Concorde

-
Retro MkII
-
Prime MkIV
-
Prime MkIII
-
Badge
-
Card MkII
-
Card
-
Stylus
-
Airventure
-
Pocket
-
Nano
- Prime MkII
-
Dongle
- Ham
- Handheld
-
Solaris
-
Lyra
-
Labubu
- Eco
- Gizmo
- ES
- Octave
- Duo
- Uni
- Cozy
- Midi
- Mini
- Lego
- Balkan
-
Academy
- Raspberry
- Bracelet
- Retro
SkyView
Flight Recorder
Adapters
Firmware
Tools
Protocols