Conda installation

We need many bioinformatics programs to be installed to process metagenomics sequencing data. Conda is a package and environment manager to make installing, executing, and managing multiple packages easier.
We are following instructions from Conda website
We don't need a full function of conda so we will download and install Miniconda (a minimum version of conda)
System requirements
- 32- or 64-bit computer
- For Miniconda: 400 MB disk space
- For Anaconda: Minimum 3 GB disk space to download and install
- Windows, macOS, or Linux
- For Windows: Windows 8.1 or newer for Python 3.9, or Windows Vista or newer for Python 3.8
For Windows - https://conda.io/projects/conda/en/latest/user-guide/install/windows.html
For MacOS - https://conda.io/projects/conda/en/latest/user-guide/install/macos.html
For Linux - https://conda.io/projects/conda/en/latest/user-guide/install/linux.html
Install miniconda3
For Windows
NOTE: If you are installing in your Roar space, you are NOT using windows anymore. Roar is Linux based system, so you need to follow the instruction for Linux users. If you are installing conda on your local windows computer, follow this instruction
- Download the installer
- Double-click the .exe file
- Follow the instruction on the screen
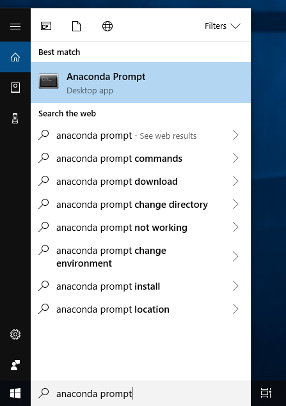
- After installation is completed, open the "Anaconda Prompt" from the Start menu
For MacOS and Linux Click the link above based on your OS, and right-click to the name of the installer, and click "copy link"

Open your terminal and type the below
wget https://repo.anaconda.com/miniconda/Miniconda3-latest-Linux-x86_64.sh >>
bash Miniconda3-latest-Linux-x86_64.sh -b ## URL should be changed based on your OS
## This URL should be replaced as what you copied from the previous step
source ~/.bashrc
Once your installation is completed, you can see (base) at the beginning of your terminal (or Anaconda prompt)
Update conda to the latest version
conda
conda update conda #update conda to the latest version
Add bioconda and conda-forge channel to the conda package manager
conda config --add channels bioconda
conda config --add channels conda-forge
Set up conda environment with required packages - and additional programs installation with initial configuration
A conda environment is where you can install a collection of conda packages. The main advantage of using an environment is to avoid the different versions of the dependencies from different bioinformatics tools because you only can use the installed packages in the specific environment.
Create an environment
conda create -y --name DAWG python=3.8 # Create an environment named "DAWG" and install "python (version 3.8)"
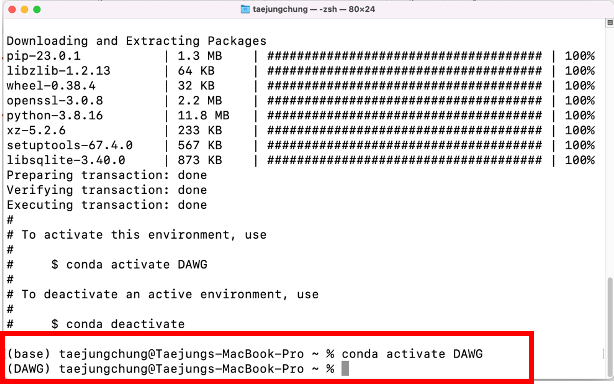
conda activate DAWG # Activate your environment; now you only use packages installed in your environment
Now you can see your (base) has changed to (DAWG) - your environment name
Now you can install packages for the specific environment.
You will automatically return to your base environment if you close your terminal/shell and restart. Also, you can always deactivate one environment and activate other environments.
conda deactivate
Even though you can download and install the bioinformatics package via the conda installer, I prefer to use Mamba, which is a reimplementation of the conda package manager in C++. It provides faster and more convenient installation
Install mamba using conda
You need conda to install mamba. As I mentioned, you can always use the conda installer to install conda packages.
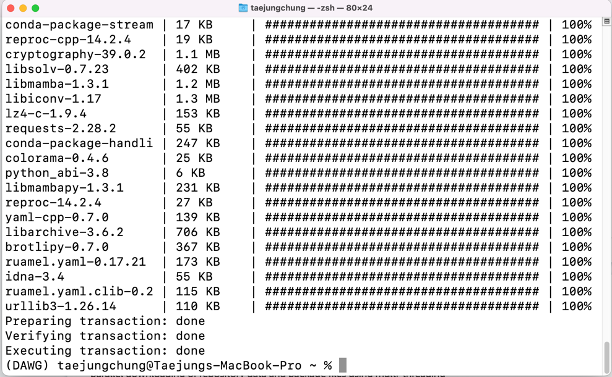
conda install -c conda-forge mamba
Check the installation
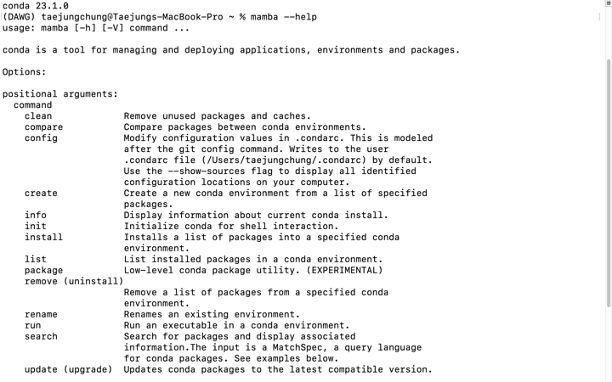
You can check if your mamba installation was successful by typing the below code
mamba -h
Now you can use the mamba installer (or conda if you prefer) to install bioinformatics packages. You can search and find if your bioinformatics tool was uploaded in conda repository (https://anaconda.org).
- Go to https://anaconda.org

-
Search the package you want to install
-
Click the package name
-
follow the conda install instructions; please replace "conda" with "mamba" if you want to use the mamba installer
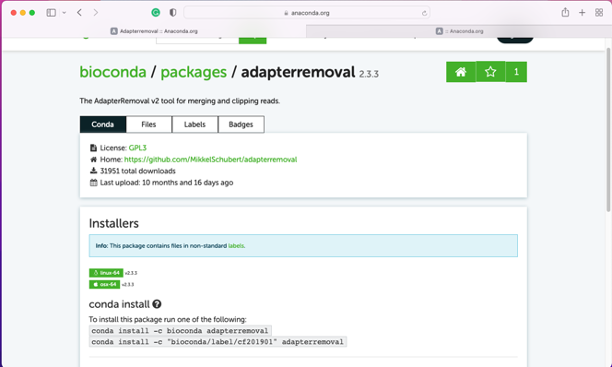
For example, if you want to install the "AdapterRemoval" package, you can type below -
## using conda installer
conda install -c bioconda adapterremoval
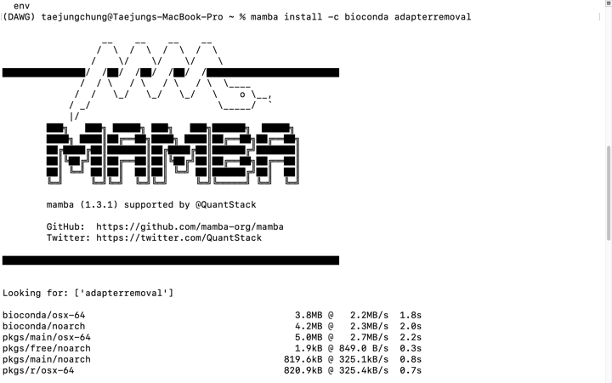
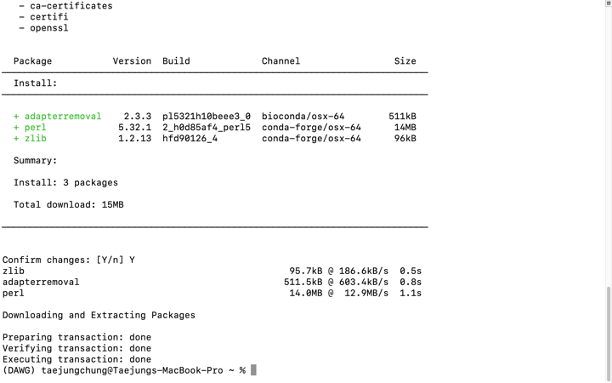
## using mamba install
mamba install -c bioconda adapterremoval
The results should be the same. One fantastic thing about conda/mamba is that they download and install all the required and optional dependencies together with the package, so you don't have to have a headache installing individual dependencies.
- Check your installation
adapterremoval --help
If your terminal print the whole list of parameters, your installation is successful. yay!