-
Notifications
You must be signed in to change notification settings - Fork 1.6k
en plugin dev publish github
You can upload your plugin to GitHub, create a Release for the repository, and upload the .lbpkg file, allowing other users to install it in LangBot.
Execute the following command in the plugin directory:
lbp buildThis will generate a .lbpkg file in the dist directory.
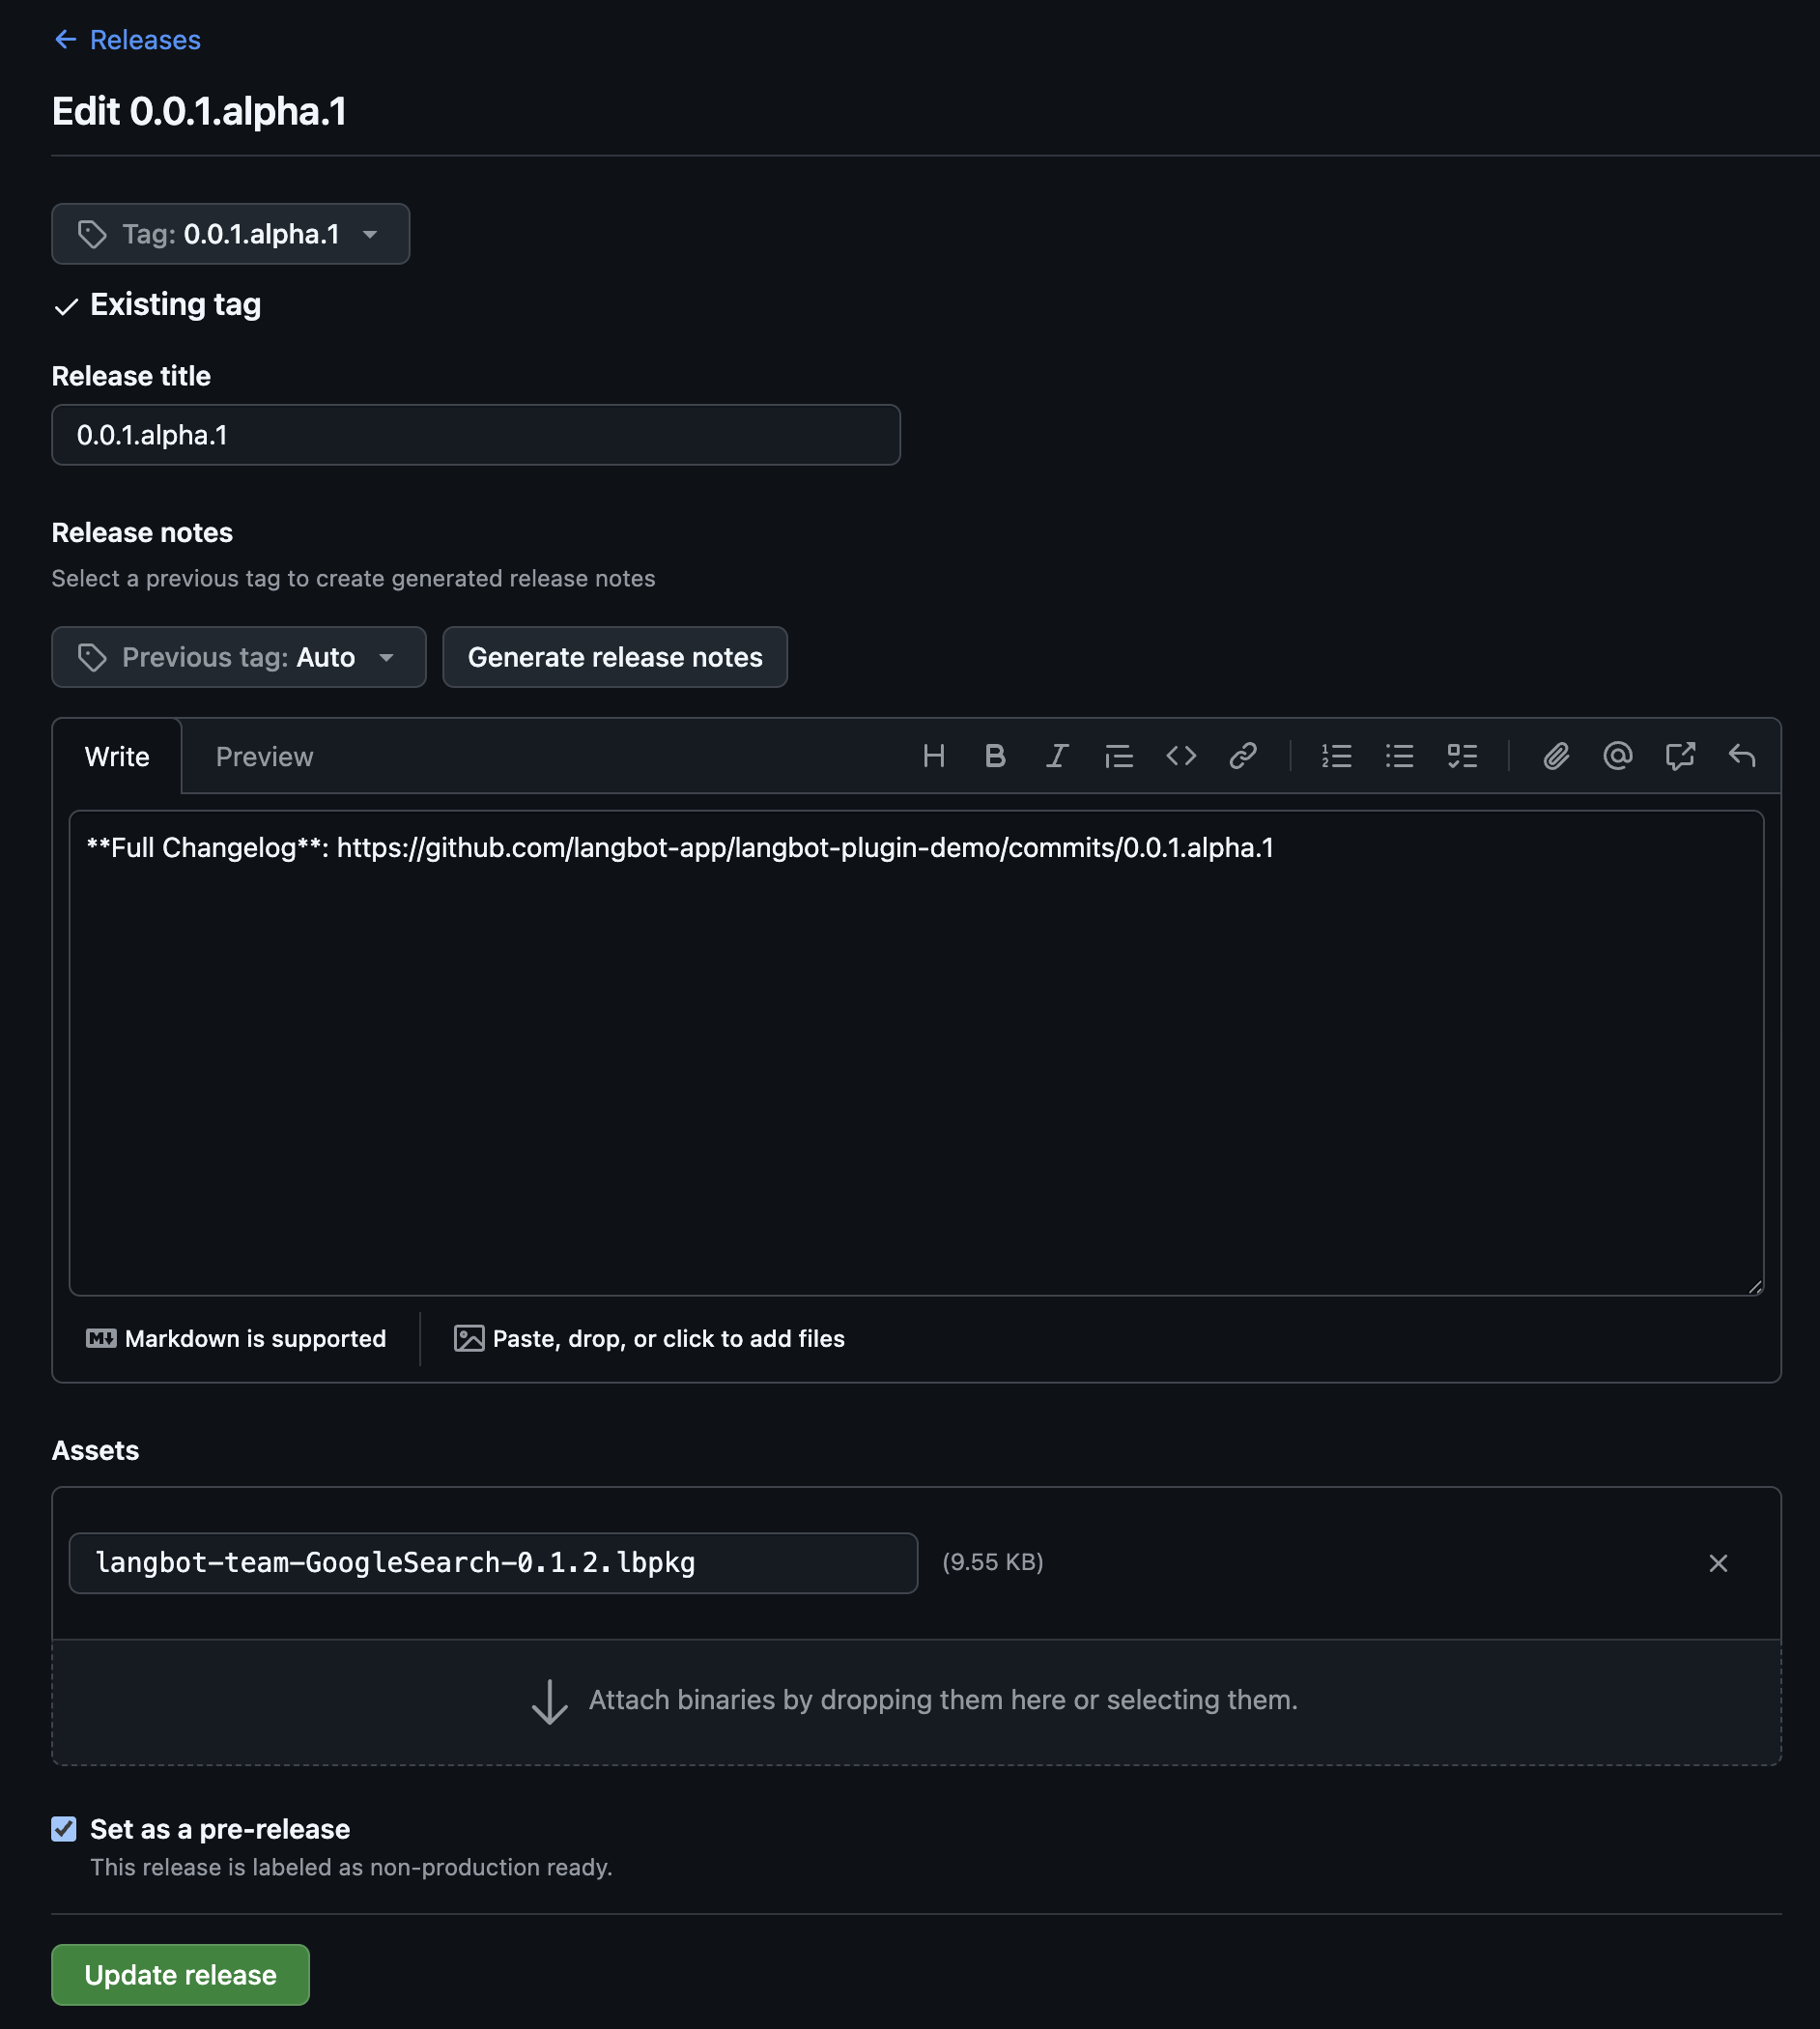
Upload your plugin to GitHub, then go to the Release page of your plugin repository, click to create a Release, and upload the .lbpkg file you just built.
Plugins created by lbp init come with a built-in GitHub Actions workflow (.github/workflows/release.yml), so you don't have to build and upload manually.
After pushing your plugin repository to GitHub, whenever you bump the version field in manifest.yaml and push to the main or master branch, the workflow will automatically:
- Install the
lbpCLI and runlbp buildto package the plugin; - Create a GitHub Release tagged
v<version>and upload the generated.lbpkgfile.
If a Release for that version already exists, the workflow skips it to avoid duplicate publishing. You can also trigger it manually from the repository's Actions page (workflow_dispatch).
Note
The workflow relies on the repository's default GITHUB_TOKEN and requires the contents: write permission (already declared in the template). Make sure Actions is enabled for the repository, and that the metadata.author, metadata.name, and metadata.version fields in manifest.yaml are correct — the Release name and artifact filename are composed from these fields (<author>-<name>-<version>.lbpkg).
In LangBot's plugin management page, click the top-right corner to select the GitHub installation method.
Automatically synchronized from langbot-app/langbot-wiki.
简体中文
指南
开发者
- 插件开发
- 插件 SDK API
- 核心开发
文章
- 浏览
- 产品动态
- 技术解析
- 教程与集成
- 公告
API 参考
- Service API
English
Guides
Developers
-
Plugin Development
- Plugin Development Tutorial
- Completing Plugin Configuration Information
- Plugin Directory Structure
- Component Development
- Code Style Guide
- Migration Guide
- Publish Plugin
- Plugin SDK API
- Core Development
Articles
- Browse
- Product Updates
- Engineering
-
Tutorials & Integrations
- LangTARS: Open-Source AI Agent for Remote PC Control — Works with Dify, n8n & 10+ Messaging Platforms
- How to Connect DeepSeek R1 to WeChat, Discord & Telegram in 5 Minutes (FREE)
- Deploy Your Own AI Bot to Discord, Telegram & WeChat in 5 Minutes
- Finally Got My Dify Agent Working in Discord, Telegram and Slack
- How I Built a Multi-Platform AI Bot with Langflow's Drag-and-Drop Workflows
- How I Built a Multi-Platform AI Chatbot with n8n and LangBot
- LangBot 4.6.0 External Knowledge Base Tutorial: Integrating Dify with LangBot for RAG-powered Conversations
- Announcements
API Reference
- Service API
Other pages
日本語
ガイド
開発者
- プラグイン開発
- プラグイン SDK API
- コア開発
記事
- 一覧
- 製品アップデート
- エンジニアリング
-
チュートリアルと連携
- LangTARS:Dify・n8n と連携するオープンソース PC 操作 Agent
- DeepSeek R1 を WeChat・Discord・Telegram に5分で接続する方法
- AI Bot を Discord・Telegram・WeChat に5分でデプロイ
- Dify Agent を Discord・Telegram・Slack で動かす
- Langflow のドラッグ&ドロップでマルチプラットフォーム AI Bot を構築
- n8n と LangBot でマルチプラットフォーム AI Chatbot を構築
- LangBot 4.6.0 外部ナレッジベース入門:Dify と連携した RAG 会話
- お知らせ
API リファレンス
- Service API